Raspberry Pi Tips and Tricks
Changing the default keyboard layout
By default the Raspbian operating system comes configured to recognise and use a keyboard with a Great Britain (GB) character set. If we want to change the default keyboard to something else (for example a US keyboard) we will need to edit the keyboard configuration file.
So, from the command line execute the following command;
This will present the keyboard configuration file which will look something like the following;
# KEYBOARD CONFIGURATION FILE

# Consult the keyboard(5) manual page.

XKBMODEL="pc105"
XKBLAYOUT="gb"
XKBVARIANT=""
XKBOPTIONS=""

BACKSPACE="guess"
Edit the file to implement the United States character keymapping by changing the file to the following;
# KEYBOARD CONFIGURATION FILE

# Consult the keyboard(5) manual page.

XKBMODEL="pc105"
XKBLAYOUT="us"
XKBVARIANT=""
XKBOPTIONS=""

BACKSPACE="guess"
Then we need to reboot the Pi to let the changes take effect;
Changing the default local time
By default Raspbian is configured to use UTC as its local time. This can be reconfigured by executing the following command from the terminal;
You will be asked to pick the continent or ocean of the time zone you are in and then the specific country.
Once your selection is complete, reboot to allow the changes to take effect;
Then we can check what time the Raspberry Pi thinks it is with the date command;
The response should be something like;
Sun Dec 28 16:47:16 NZDT 2014
(if you have set your local time to be New Zealand time (who wouldn’t?)).
Access the Pi with a ‘name’ or an IP address
Very few people will be used to accessing a web page by typing in the IP address of the server which they are trying to connect to. We can add a host name to the desktop computer we use to access the Pi so that we can use its name instead of the IP address.
Many thanks to the reddit user ‘asterisk_man’ for suggesting that it be included and for providing the details on how to get it done.
Making the assumption that we are accessing the Pi from a Windows machine and I have only tested this on Windows 7 (if there are significant differences on other flavours, please let me know what needs to be added). You need to have administrator permissions to carry this out, so if you haven’t got them, you aren’t going to be able to edit the following file. Browse to the C:WindowsSystem32\drivers\etc directory. There we should find a file called hosts. It should probably look a little like the following;
# Copyright (c) 1993-2009 Microsoft Corp.
#
# This is a sample HOSTS file used by Microsoft TCP/IP for Windows.
#
# This file contains the mappings of IP addresses to host names. Each
# entry should be kept on an individual line. The IP address should
# be placed in the first column followed by the corresponding host name.
# The IP address and the host name should be separated by at least one
# space.
#
# Additionally, comments (such as these) may be inserted on individual
# lines or following the machine name denoted by a '#' symbol.
#
# For example:
#
#      102.54.94.97     rhino.acme.com          # source server
#       38.25.63.10     x.acme.com              # x client host

# localhost name resolution is handled within DNS itself.
#	127.0.0.1       localhost
#	::1             localhost

127.0.0.1       localhost
As the instructions in the file say, we want to add in the IP address of our Raspberry Pi and the name that we are going to give it.
In the case of the example I will use, the IP address will be 10.1.1.8 and I will pick a Top Level Domain (TLD) name that should not be resolvable in the outside world (that could get confusing). Taking ‘asterisk_man’s example I will call it ‘pi’ and specify a TLD of ‘.local’.
The hosts file should therefore look like;
# Copyright (c) 1993-2009 Microsoft Corp.
#
# This is a sample HOSTS file used by Microsoft TCP/IP for Windows.
#
# This file contains the mappings of IP addresses to host names. Each
# entry should be kept on an individual line. The IP address should
# be placed in the first column followed by the corresponding host name.
# The IP address and the host name should be separated by at least one
# space.
#
# Additionally, comments (such as these) may be inserted on individual
# lines or following the machine name denoted by a '#' symbol.
#
# For example:
#
#      102.54.94.97     rhino.acme.com          # source server
#       38.25.63.10     x.acme.com              # x client host

# localhost name resolution is handled within DNS itself.
#	127.0.0.1       localhost
#	::1             localhost

127.0.0.1       localhost
10.1.1.8        pi.local
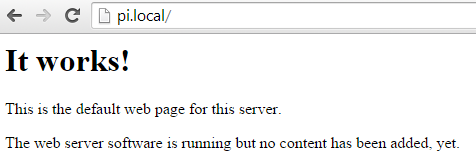
Now you can type ‘http://pi.local’ into your web browser and you should see the default web page for your Pi!
If you’re wanting to do the equivalent from a Linux box, the hosts file is in the ‘/etc’ directory. Apple users might want to consider using the ‘Bonjour’ service, but as I’m not an apple guy I will have to leave you to work that out on your own.
Many thanks asterisk_man.
Transfer files easily to / from the Pi
When working on simple files on the Pi it’s easy enough to be able to copy the code you’re working on from a desktop machine and paste it into a file that we’re editing on the Pi. However, it could be argued that this is not a simple mechanism and it should be a simple job to use a GUI to accomplish the same task.
This is possible using programs that will allow access via SSH File Transfer Protocol or SFTP.
The program that we’ll use to make this all happen is ‘FileZilla’. It can be downloaded from the site ‘https://filezilla-project.org/’. It is Open Source software distributed free of charge, so there’s a lot to like about the option.
Since we already have SSH running on the Pi (it does so by default in Raspbian) the only software we need to install is the client software on our desktop.
From the FileZilla site, download and install the client software appropriate for your desktop (the example I will be using here will be for Windows 7 64 bit). As much as I appreciate that Open Source projects need support to keep themselves operating, I recommend that you download the zipped software and not the installer, since the installer requires you to avoid installing additional software that you might not necessarily want.
Once installed, you should be presented with the main interface that looks like this;
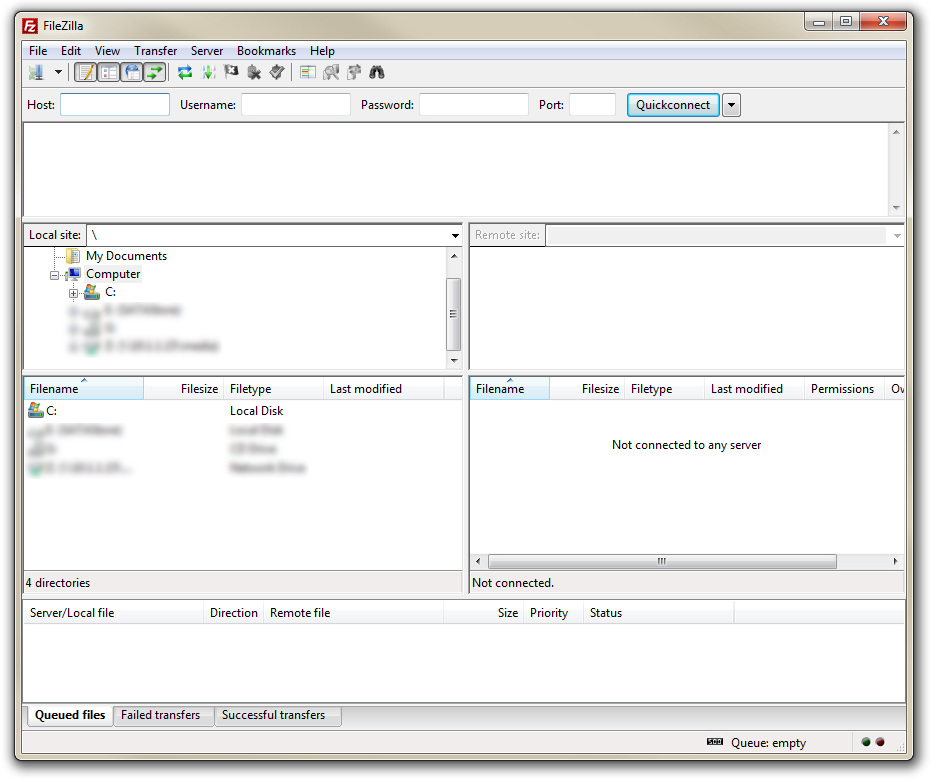
Now select File and then Site Manager from the main menus to start to set up our connection.
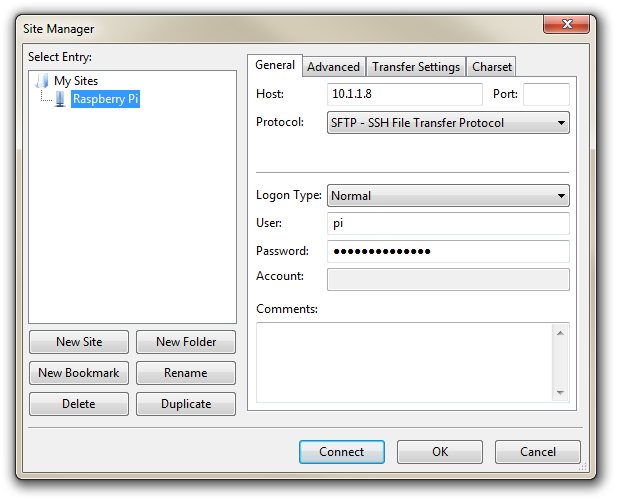
We will now see a dialogue box that will allow us to enter the connection details for our Raspberry Pi. Click on the ‘New Site’ button and we can fill in the following;
- In the ‘Host’ entry box type in the IP address of our Raspberry Pi.
- Change ‘Protocol’ to ‘SFTP SSH File Transfer Protocol’.
- Change ‘Logon Type’ to Normal
- Enter our login name in the ‘User’ box (showing the default ‘pi’ user here).
- Type in the users password into the ‘Password’ box.
- If you want, click on ‘Rename’ to change the name of the connection to make it easier to understand when you have multiple connections.
Once complete we can click on ‘Connect’ to initiate the connection. The first time we do this we will receive a warning that will allow us to confirm that we are wanting to carry out the connection. If we’re happy enough to trust this host on an on-going basis, feel free to tick the ‘Always trust this host, add this key to the cache’ box.
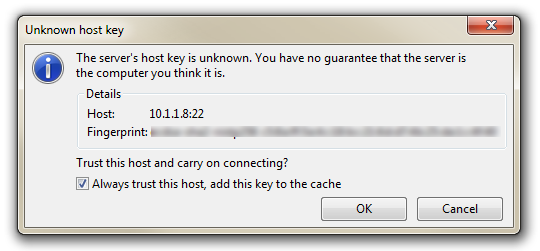
Then click on ‘OK’ and the connection should be made.
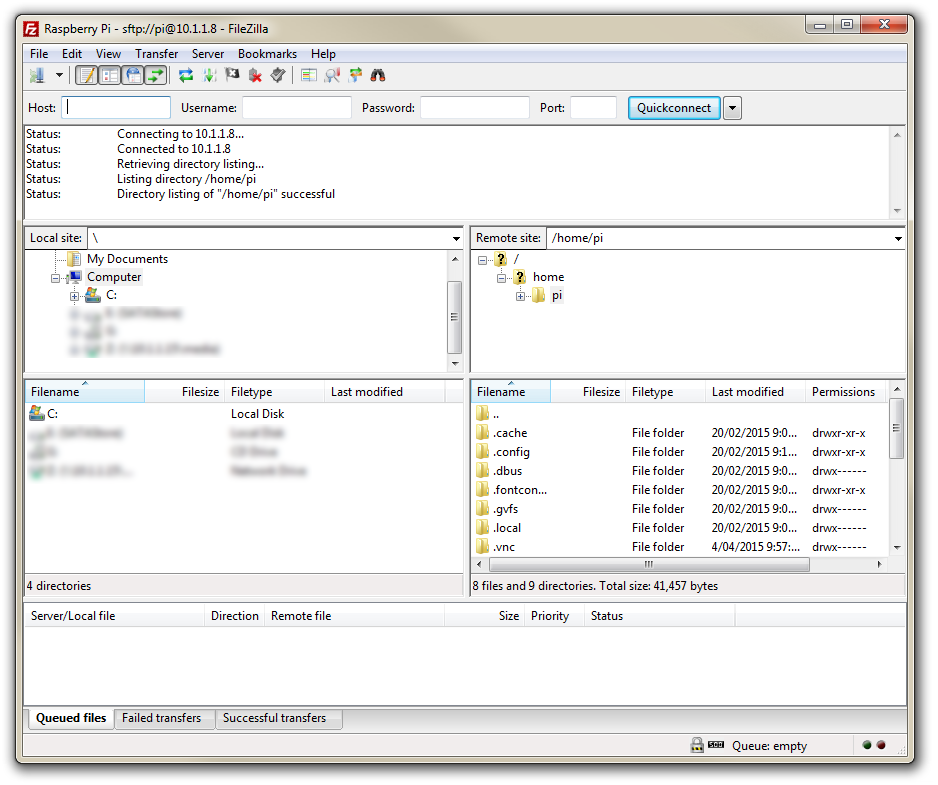
The GUI will now show the local (Desktop) files on the left and the remote (Pi) files on the right hand side of the window. We can use these two windows to drag and drop files between the computers.
Bonus: Edit Files on the Pi from your Desktop Editor
Once we are able to see the files on the Pi in FileZilla, we can go one step further and edit them on our Desktop machine in our favourite editor. As an example, I can use a TightVNC session to log into a remote desktop session on the Pi and edit a file in a nice GUI editor, but there is a great deal of overhead involved in supporting a desktop on the Pi and then routing that via the network. Alternatively, I can use Putty to connect via the terminal and I can use ‘nano’ or similar to edit the file, but as marvellous as those programs are, they will never be as familiar to me as the editor that I use most of the time on my Desktop. In my case I am a fan of ‘Geany’, so I would like to be able to edit a file on the Pi from my desktop using Geany.
To demonstrate how to do this we can go to a suitable file on the Pi window (‘m_temp.py’ has been used here as an example) and right click on it;
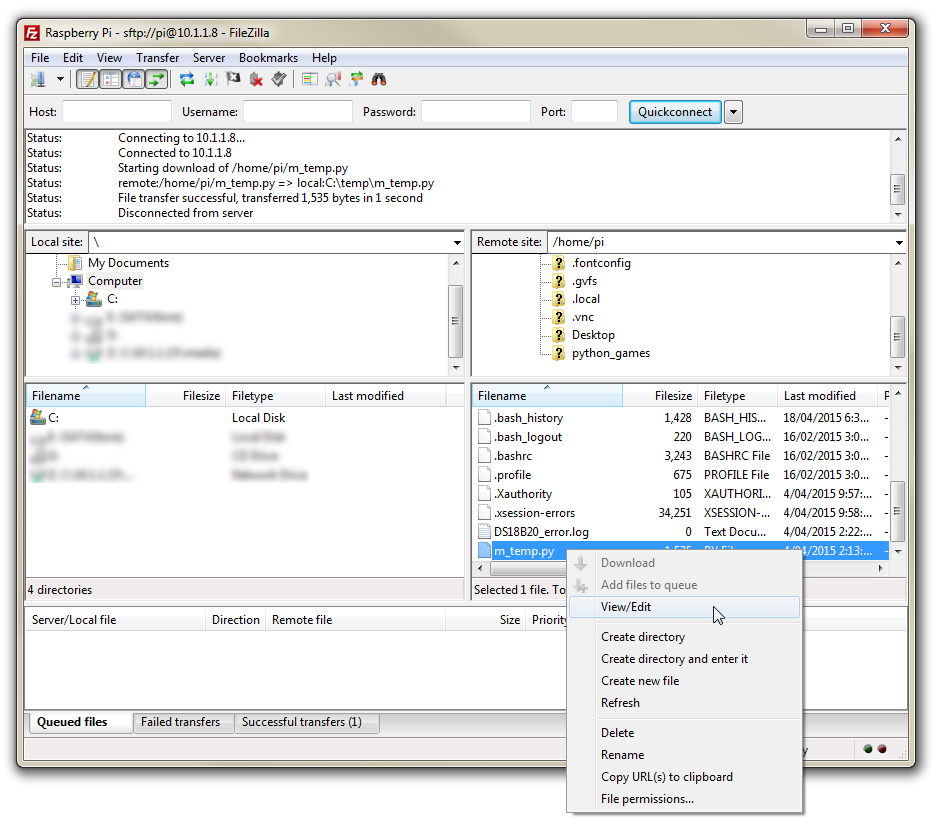
We can then select ‘View/Edit’
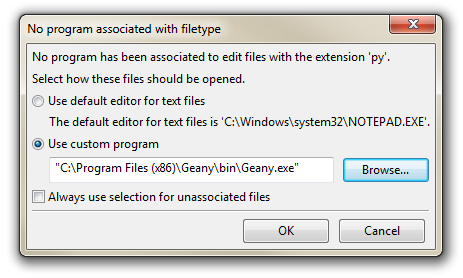
If the file has no associated program for editing, we can select one specifically. then click on ‘OK’.
The file will then open in your favourite editor and can be worked on to our hearts content. Once we are finished editing the file and save it we will be presented with another dialogue box that will ask us if we want to update the file back on the server ‘Pi’.
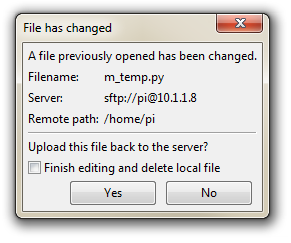
The answer is ‘Yes’, and the reason we do this is that when we go to edit the file it creates a local copy on the Desktop, we edit it and then when we go to save it, it uploads the file back to the remote (‘Pi’) server.