Hardware
The following is a list of various hardware components used in the projects we’ll work through.
Raspberry Pi A+
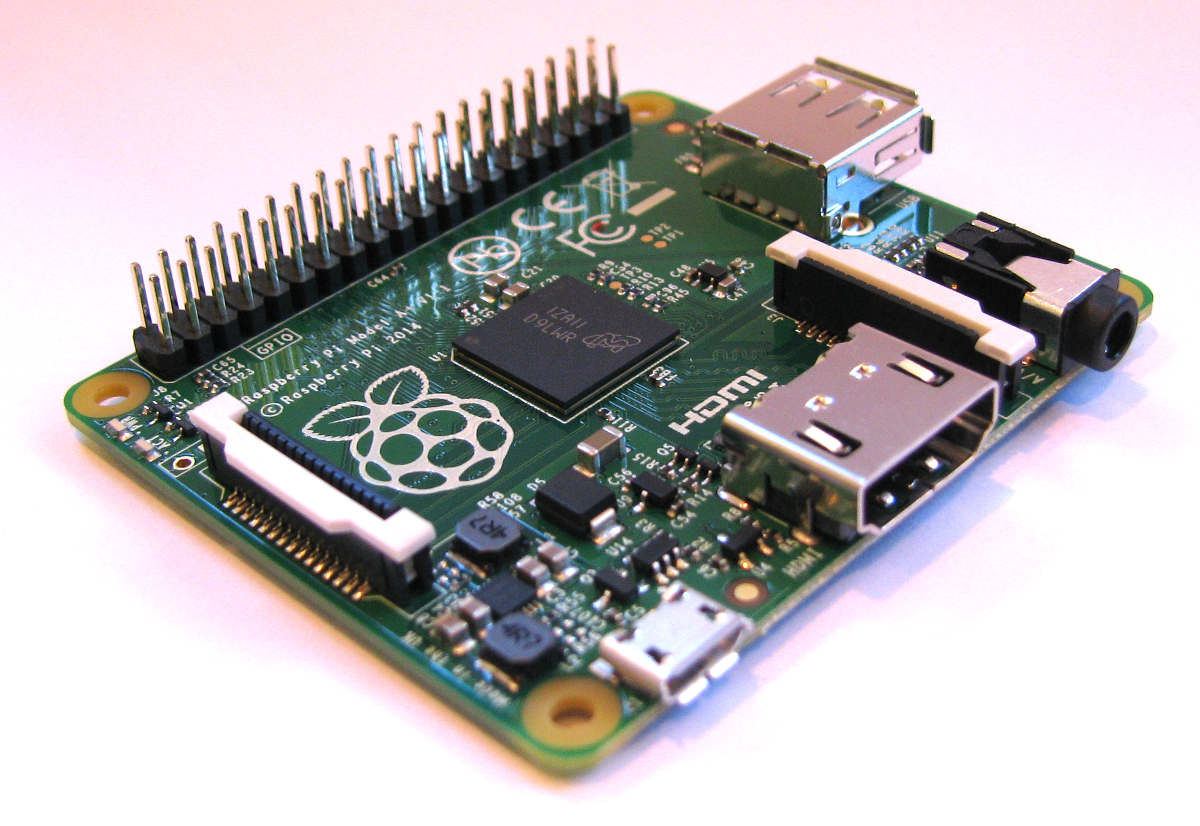
The model A+ of the Raspberry Pi is the most modern version of the lower-spec model of the Raspberry Pi line. It replaced the original Model A in November 2014. It is 65 x 56 x 10mm, weighs 23g and is powered by a Broadcom BCM2835 ARM11 700Mhz with 256MB RAM.
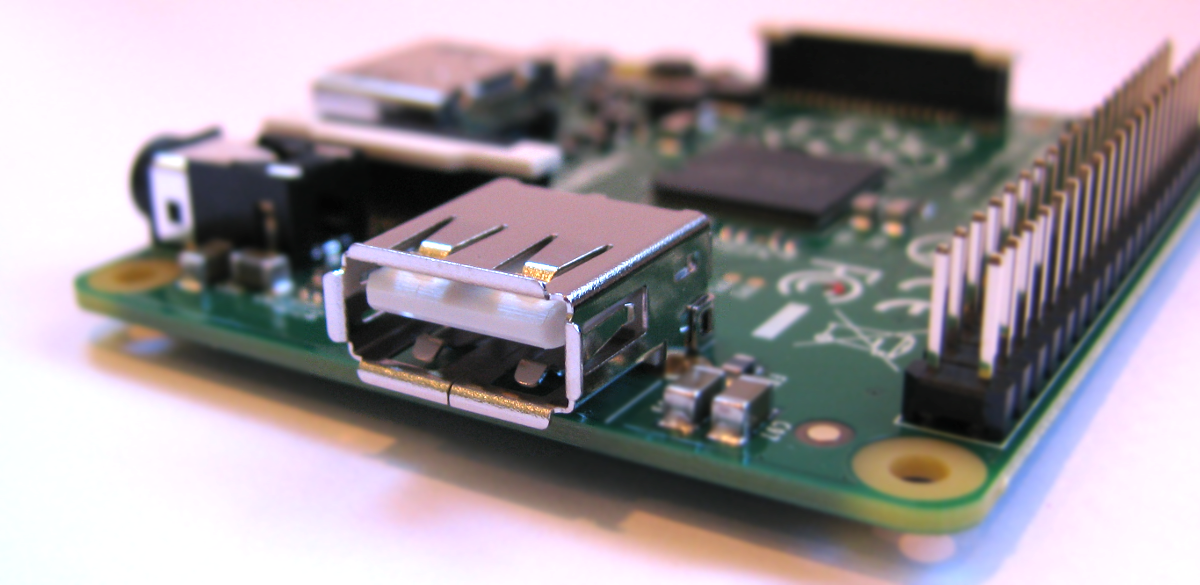
USB Port
It includes 1 x USB Port (with a maximum output of 1.2A)
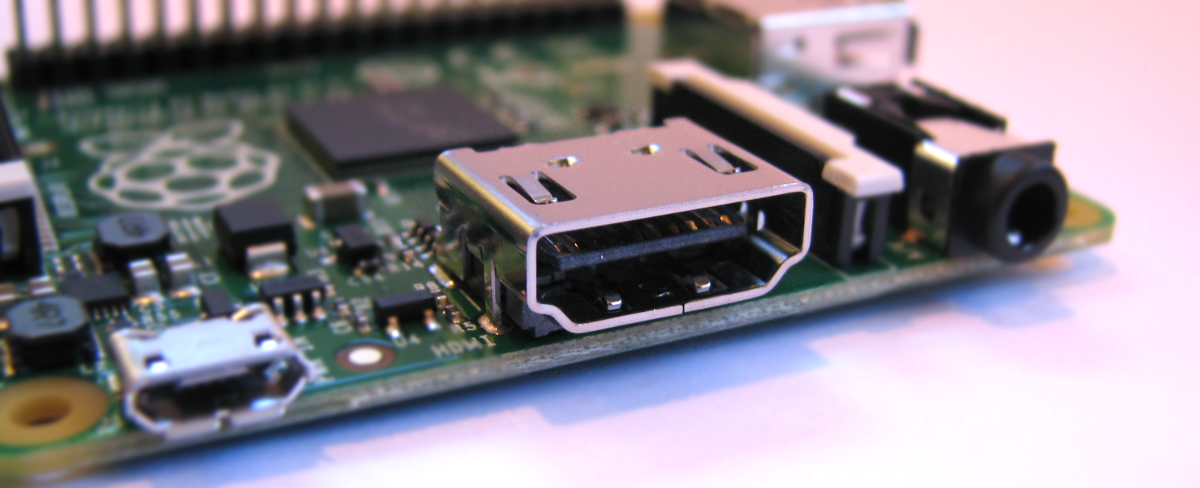
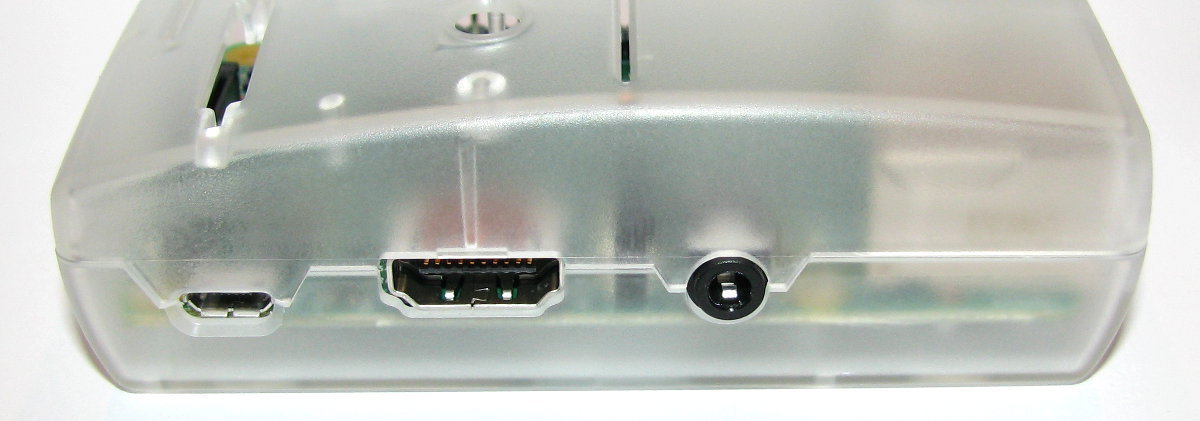
Video Out
Integrated Videocore 4 graphics GPU capable of playing full 1080p HD video via a HDMI video output connector. HDMI standards rev 1.3 & 1.4 are supported with 14 HDMI resolutions from 640×350 to 1920×1200 plus various PAL and NTSC standards.
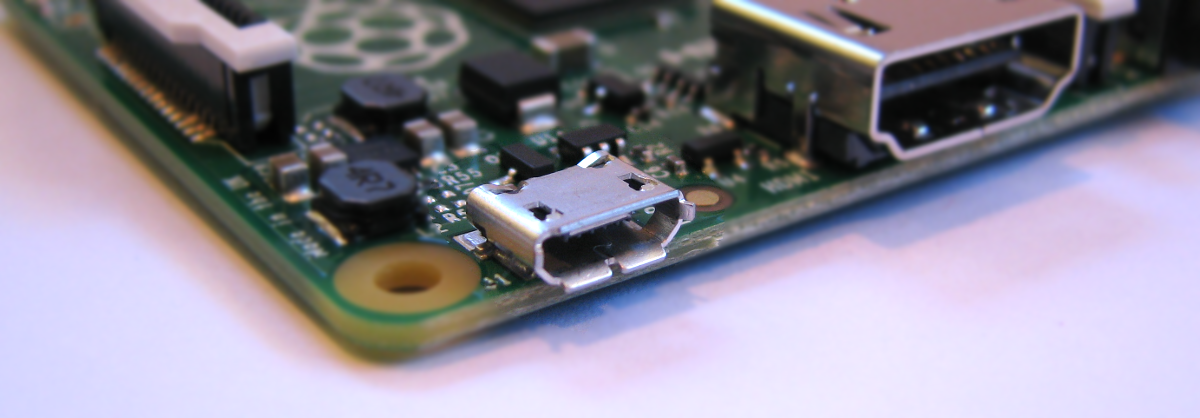
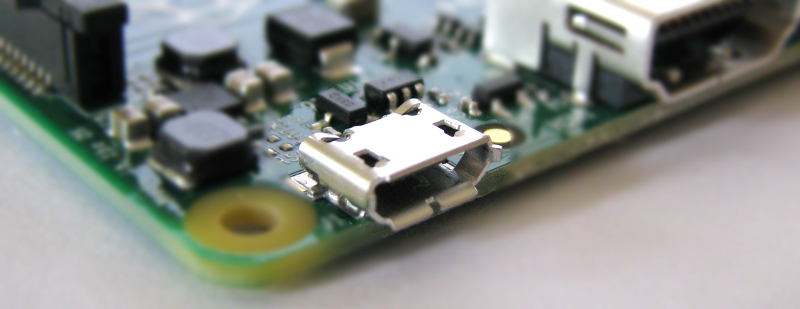
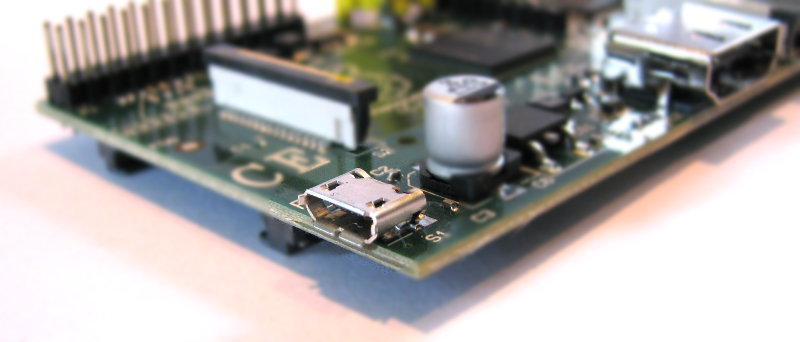
USB Power Input Jack
The board includes a 5V 2A Micro USB Power Input Jack.
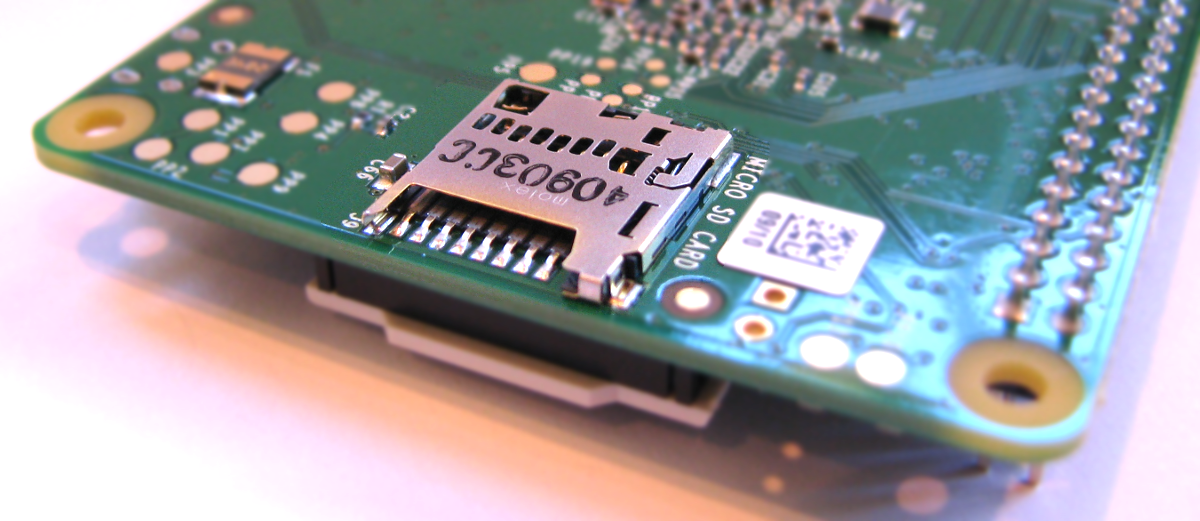
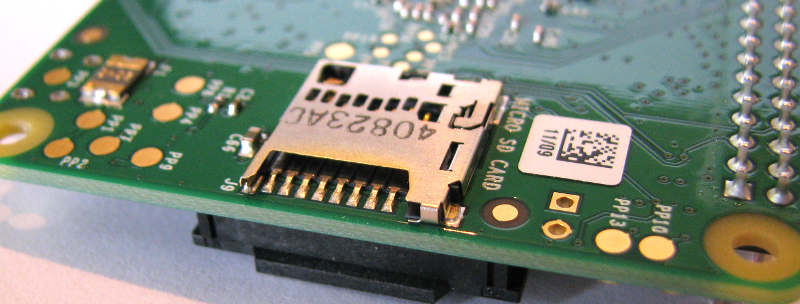
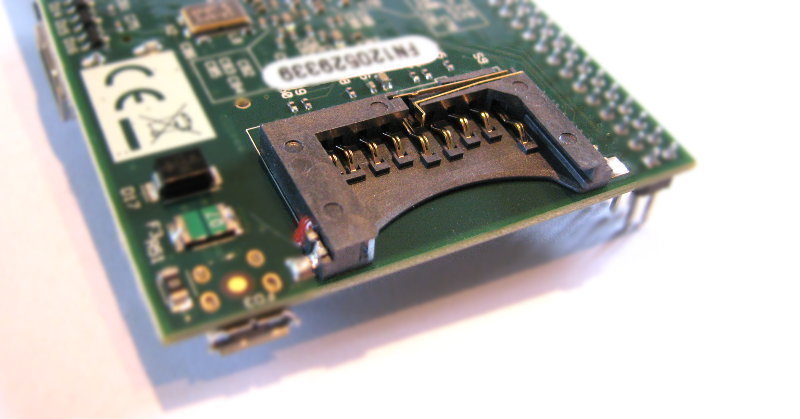
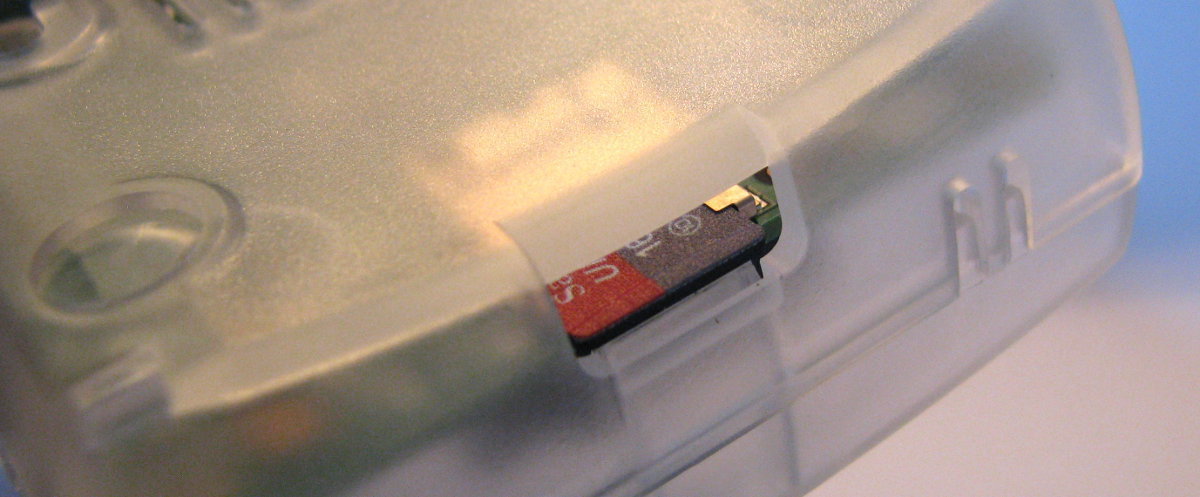
MicroSD Flash Memory Card Slot
The A+ Raspberry Pi includes a push-push microSD card socket. This is on the ‘underside ‘of the board.
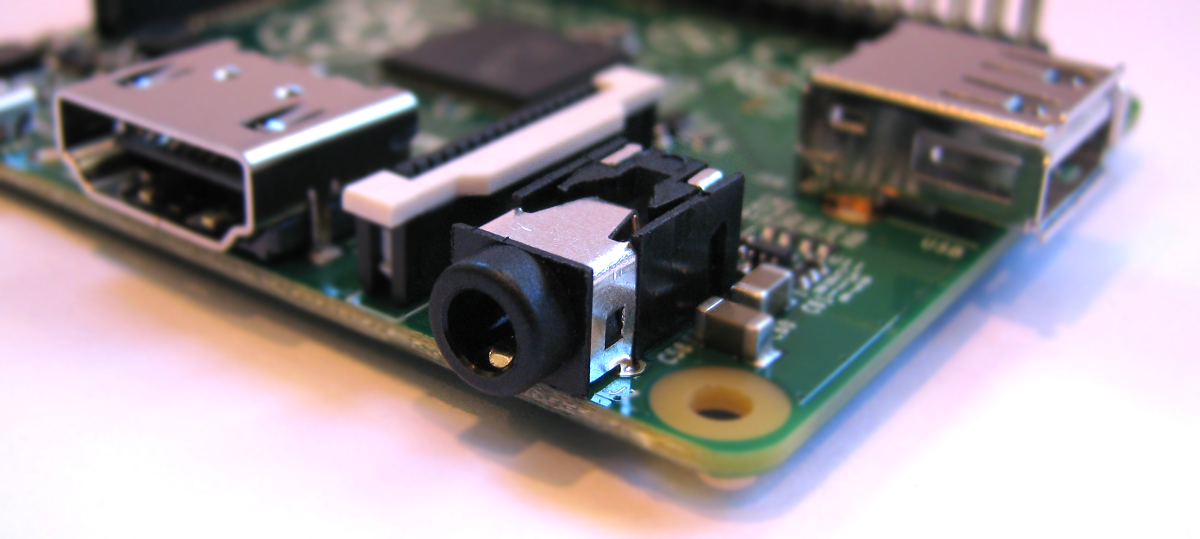
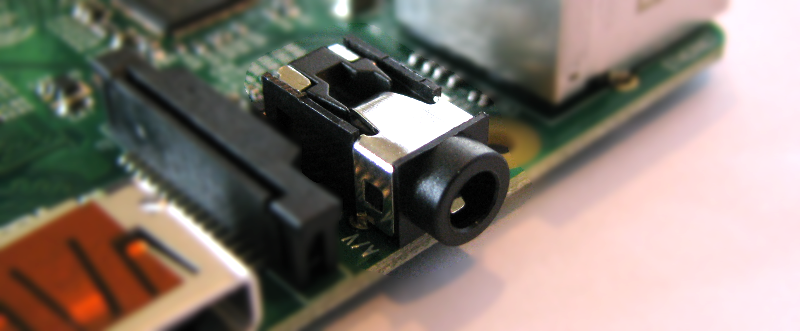
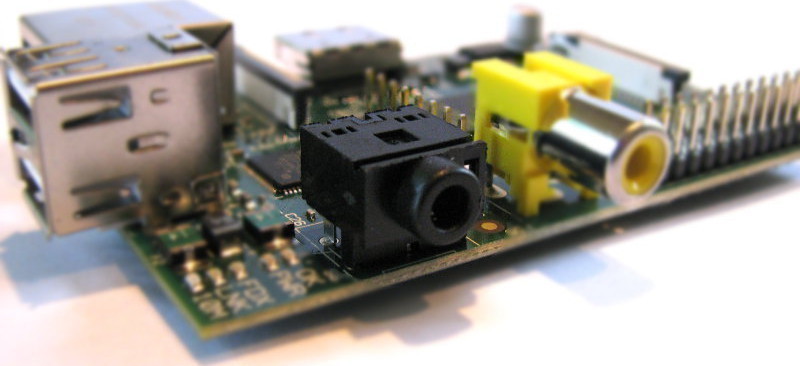
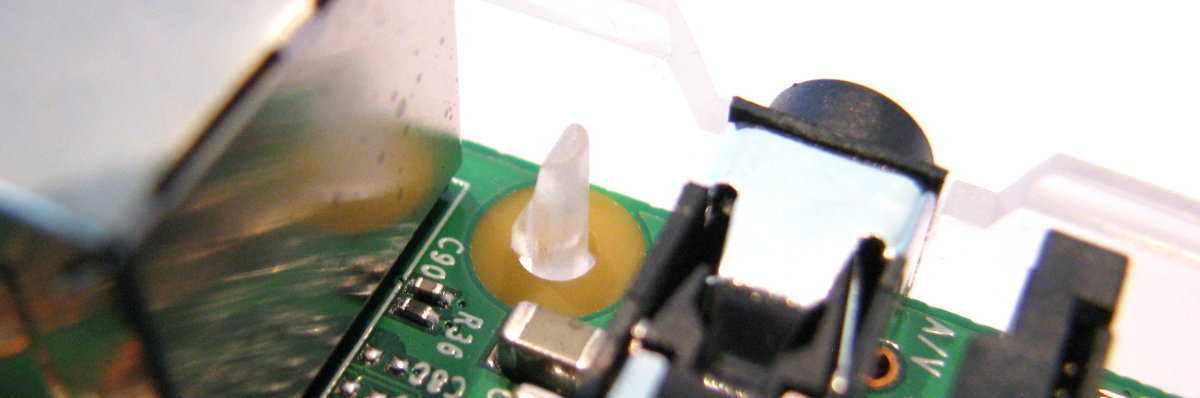
Stereo and Composite Video Output
The A+ includes a 4-pole (TRRS) type connector that can provide stereo sound if you plug in a standard headphone jack and composite video Output with stereo audio if you use a TRRS adapter.
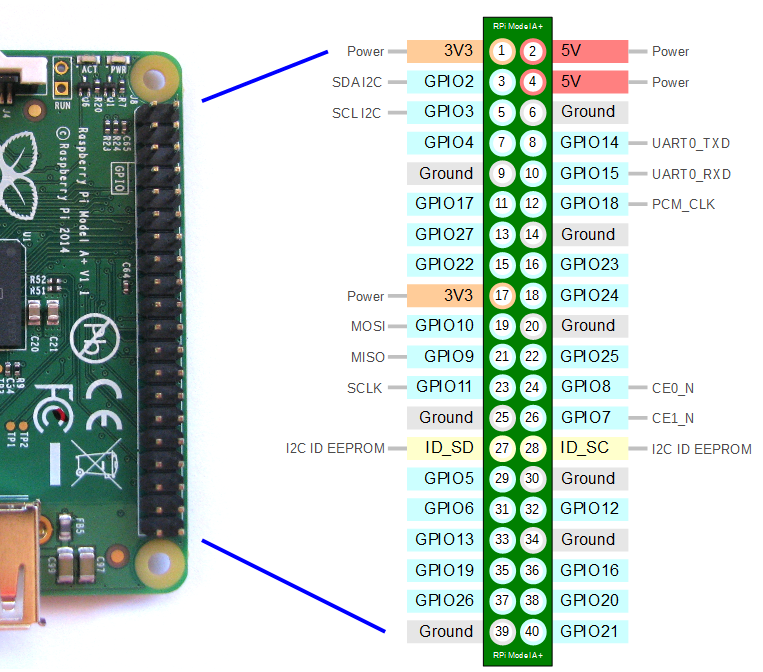
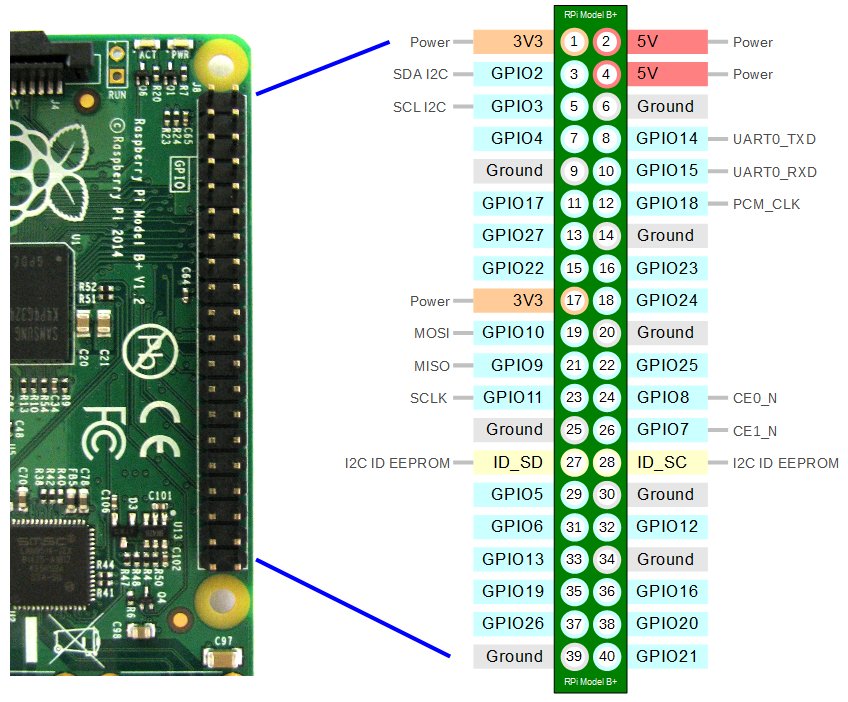
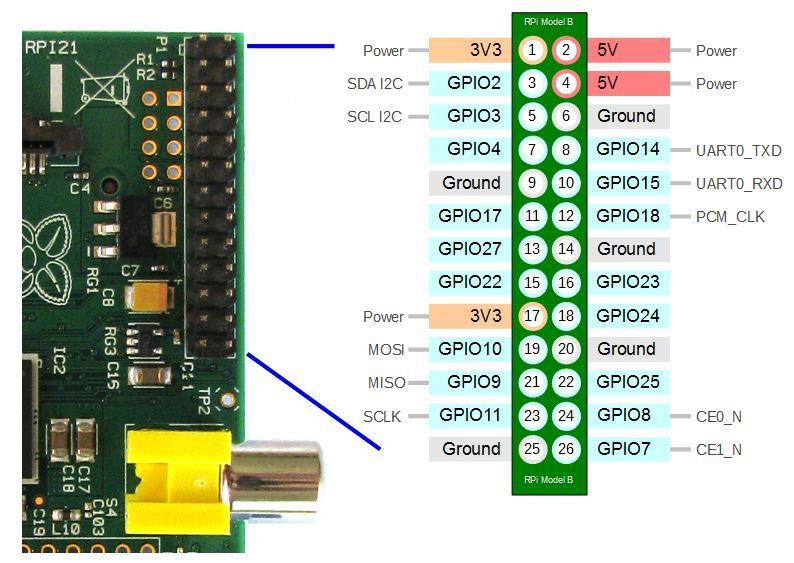
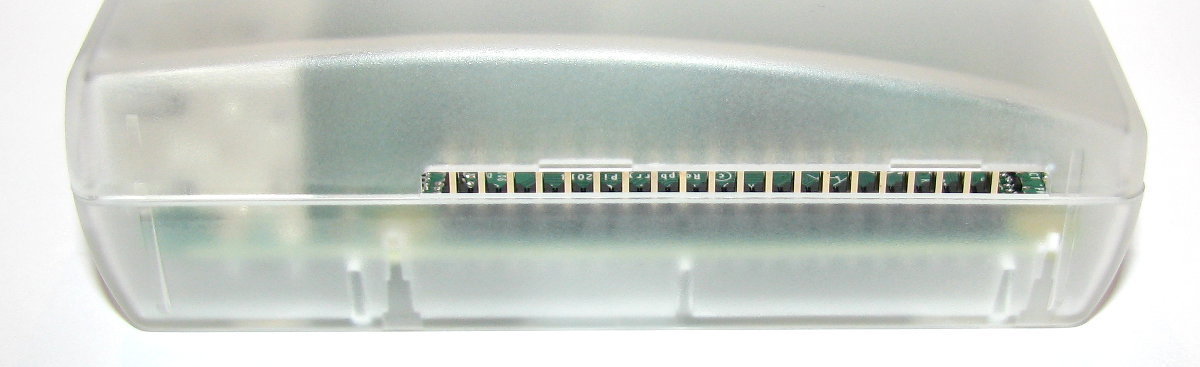
40 Pin Header
The Raspberry Pi A+ includes a 40-pin, 2.54mm header expansion slot (Which allows for peripheral connection and expansion boards).
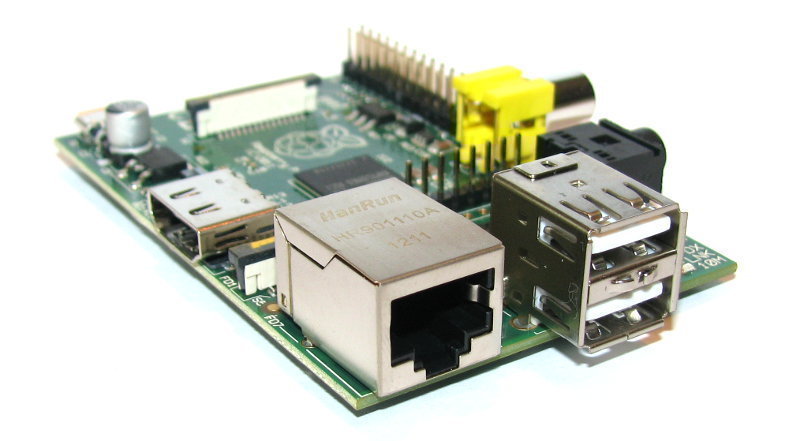
Raspberry Pi B+
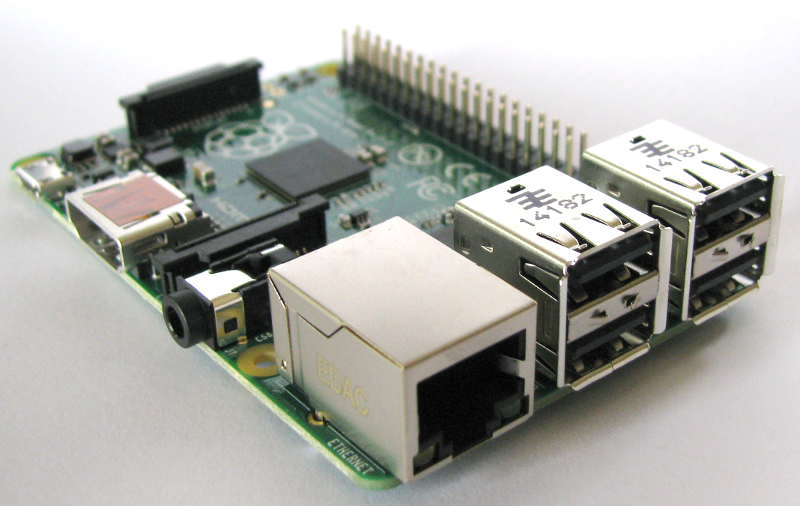
The model B+ of the Raspberry Pi is the highest-spec variant of the Raspberry Pi line. It replaced the original Model B in July 2014. It is 85 x 56 x 17mm, weighs 45g and is powered by a Broadcom BCM2835 ARM11 700Mhz with 512MB RAM.
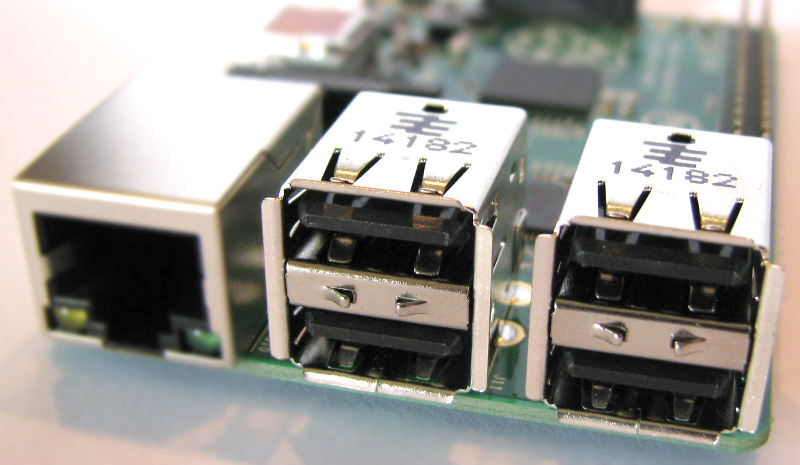
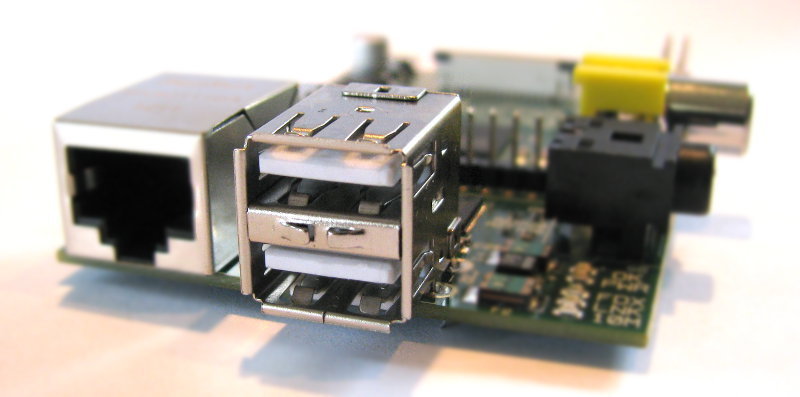
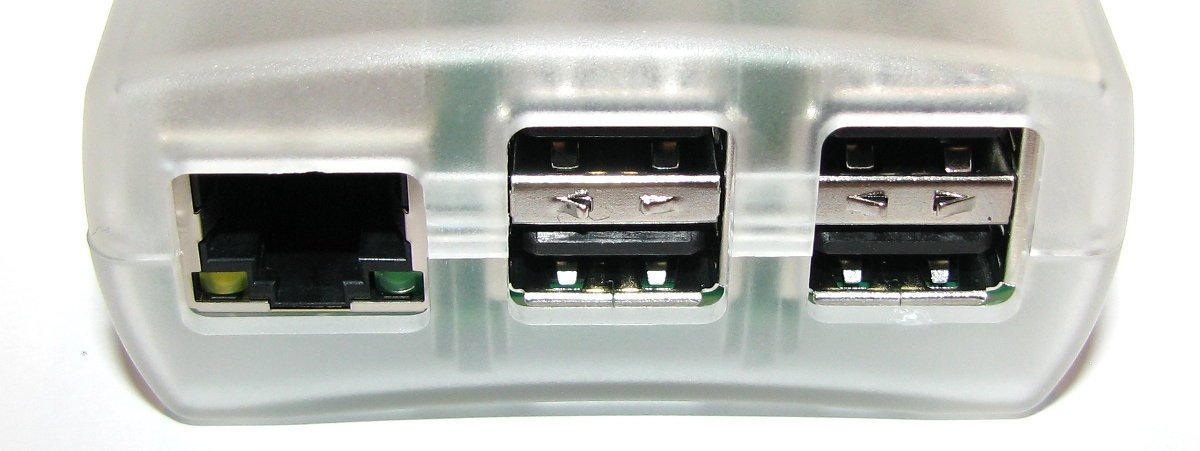
USB Ports
It includes 4 x USB Ports (with a maximum output of 1.2A)
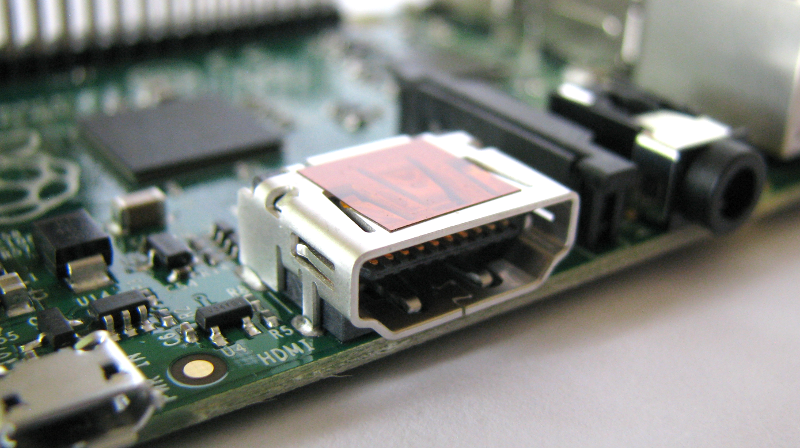
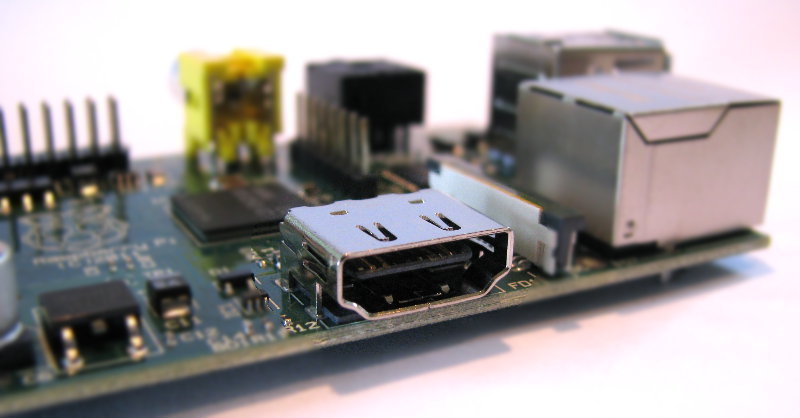
Video Out
Integrated Videocore 4 graphics GPU capable of playing full 1080p HD video via a HDMI video output connector. HDMI standards rev 1.3 & 1.4 are supported with 14 HDMI resolutions from 640×350 to 1920×1200 plus various PAL and NTSC standards.
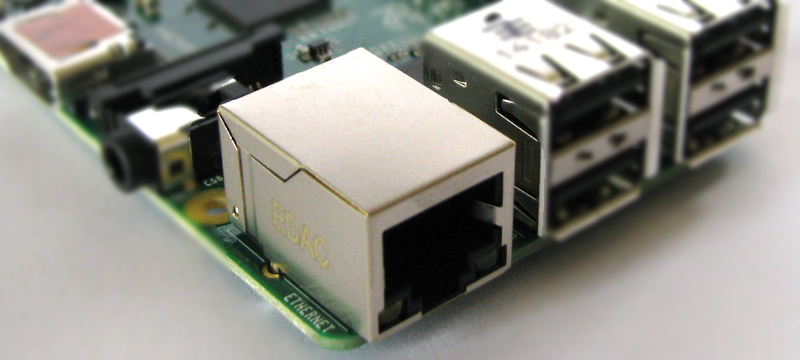
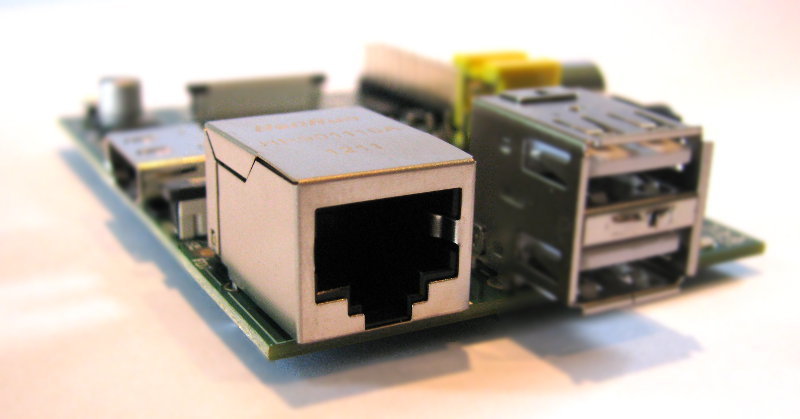
Ethernet Network Connection
There is an integrated 10/100Mb Ethernet Port for network access.
USB Power Input Jack
The board includes a 5V 2A Micro USB Power Input Jack.
MicroSD Flash Memory Card Slot
The B+ Raspberry Pi includes a push-push microSD card socket. This is on the ‘underside ‘of the board.
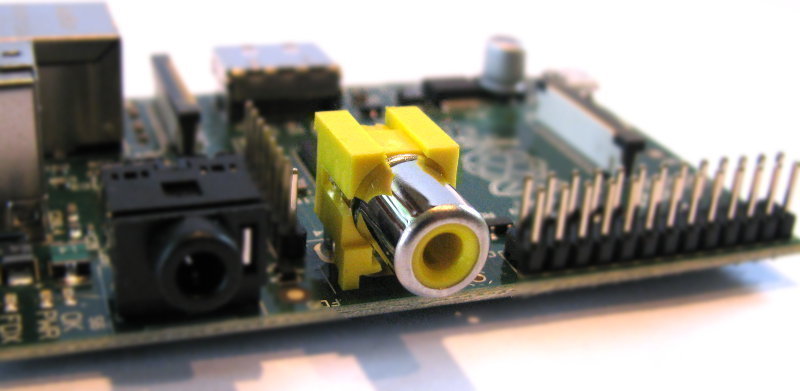
Stereo and Composite Video Output
The B+ includes a 4-pole (TRRS) type connector that can provide stereo sound if you plug in a standard headphone jack and composite video Output with stereo audio if you use a TRRS adapter.
40 Pin Header
The Raspberry Pi B+ includes a 40-pin, 2.54mm header expansion slot (Which allows for peripheral connection and expansion boards).
Raspberry Pi B
The model B of the Raspberry Pi is the precursor to the B+ variant of the Raspberry Pi line. It was replaced by the model B+ in July 2014. It is 85mm x 56mm (which does not include protruding connectors), weighs 45g and is powered by a Broadcom BCM2835 ARM11 700Mhz with 512MB RAM on variants supplied after October 2012 (Revision 2) or 256MB prior to that time (Revision 1).
USB Ports
It includes 2 x USB Ports (with a maximum output of 1.2A)
HDMI Video Out
Integrated Videocore 4 graphics GPU capable of playing full 1080p HD video via a HDMI video output connector. HDMI standards rev 1.3 & 1.4 are supported with 14 HDMI resolutions from 640×350 to 1920×1200 plus various PAL and NTSC standards.
Composite Video Out
An RCA Composite video connector capable of supplying either NTSC or PAL video.
Ethernet Network Connection
There is an integrated 10/100Mb Ethernet Port for network access.
USB Power Input Jack
The board includes a 5V 2A Micro USB Power Input Jack.
SD Flash Memory Card Slot
The B Raspberry Pi includes a full size SD/MMC/SDIO memory card slot. This is on the ‘underside ‘of the board.
When a full size SD card is fitted it protrudes some considerable distance from the edge of the board.
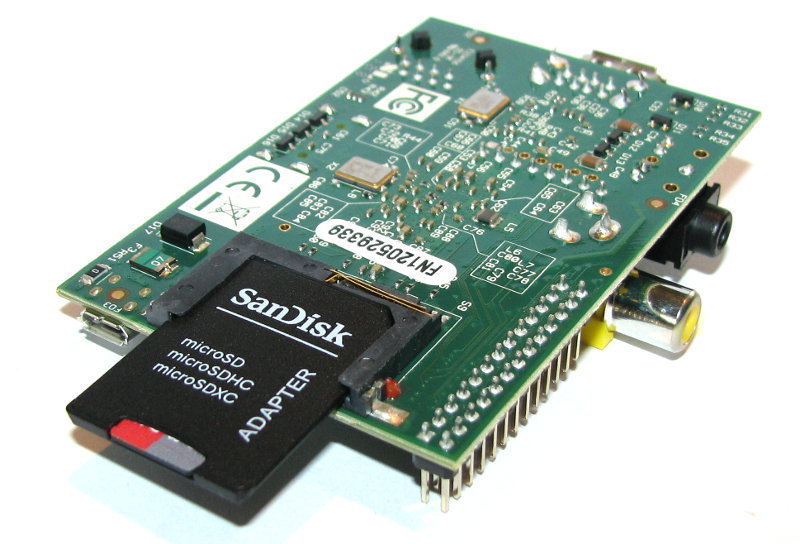
There are low profile adapters that will allow microSD cards to be used that avoid this overhang.
Audio Output
The B model includes a 3.5mm stereo jack connector for audio output.
26 Pin Header
The Raspberry Pi model B includes a 26-pin, 2.54mm header expansion slot (Which allows for peripheral connection and expansion boards).
Cases
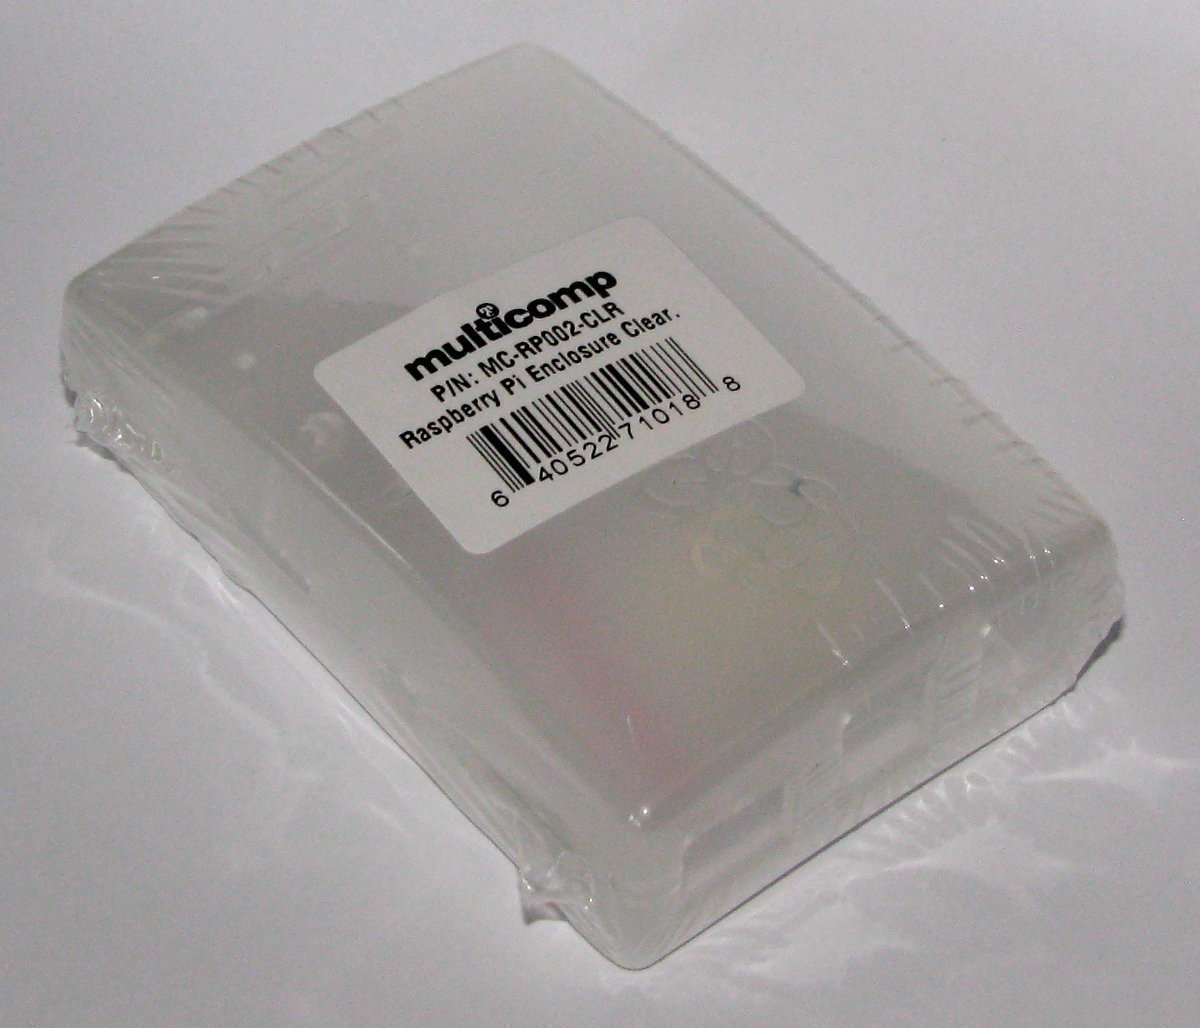
Multicomp MC-RP002-CLR
This is a popular and low priced case that comes in two main halves with separate feet and mounting screws.
It is designed for the B+ and 2B models.
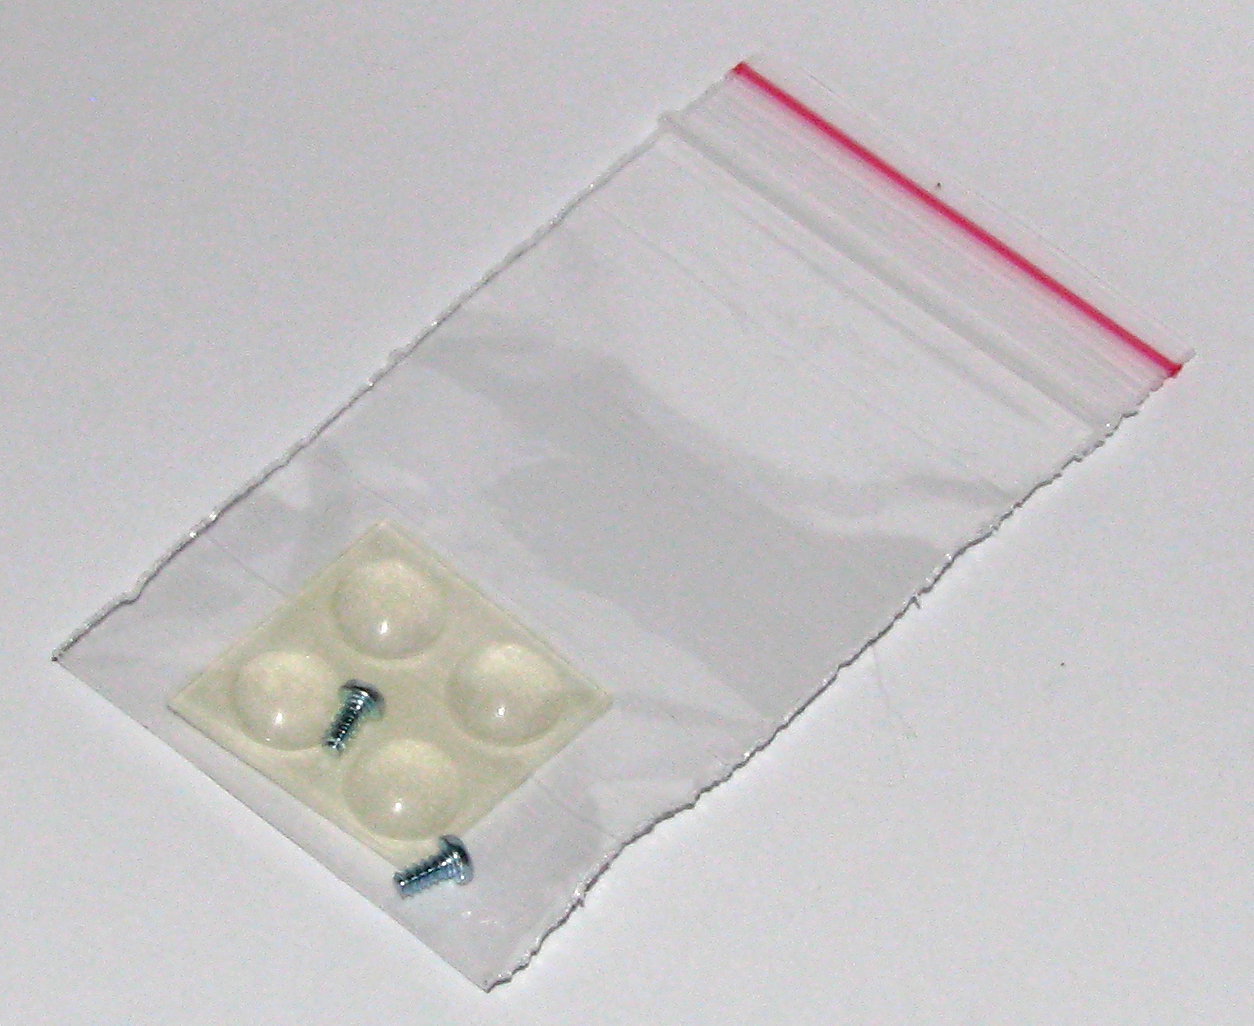
Accessories in their little baggie.
Side views.
Fitting the Raspberry Pi
The Pi is fitted to the case by sliding the board under the two small plastic catches on the side with the 40 pin header…

… then the other side of the board can be lowered into place with two plastic locating / latching pins going through the mounting holes on the micro USB / HDMI side of the board.
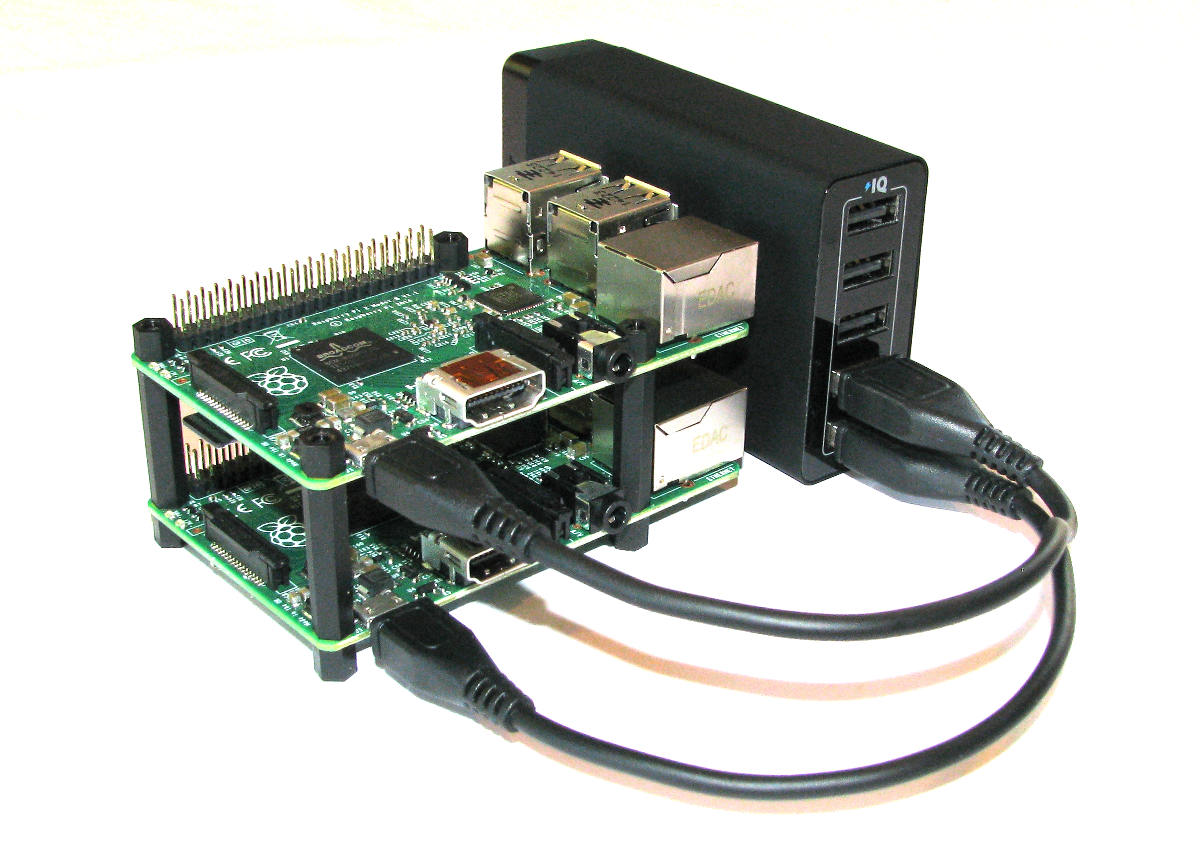
DIY Open Multi-stack Pi
It could be argued (quite successfully IMHO) that there is an aesthetic beauty to the Raspberry Pi in its natural state and therefore there seems to be little reason to hide it in a case when not required for protective reasons.
Likewise, with the Raspberry Pi being available at a very reasonable price, there seems to be little to no reason to limit ourselves to only running one device.
Without further ado I present the Open Multi-stack Raspberry Pi case.
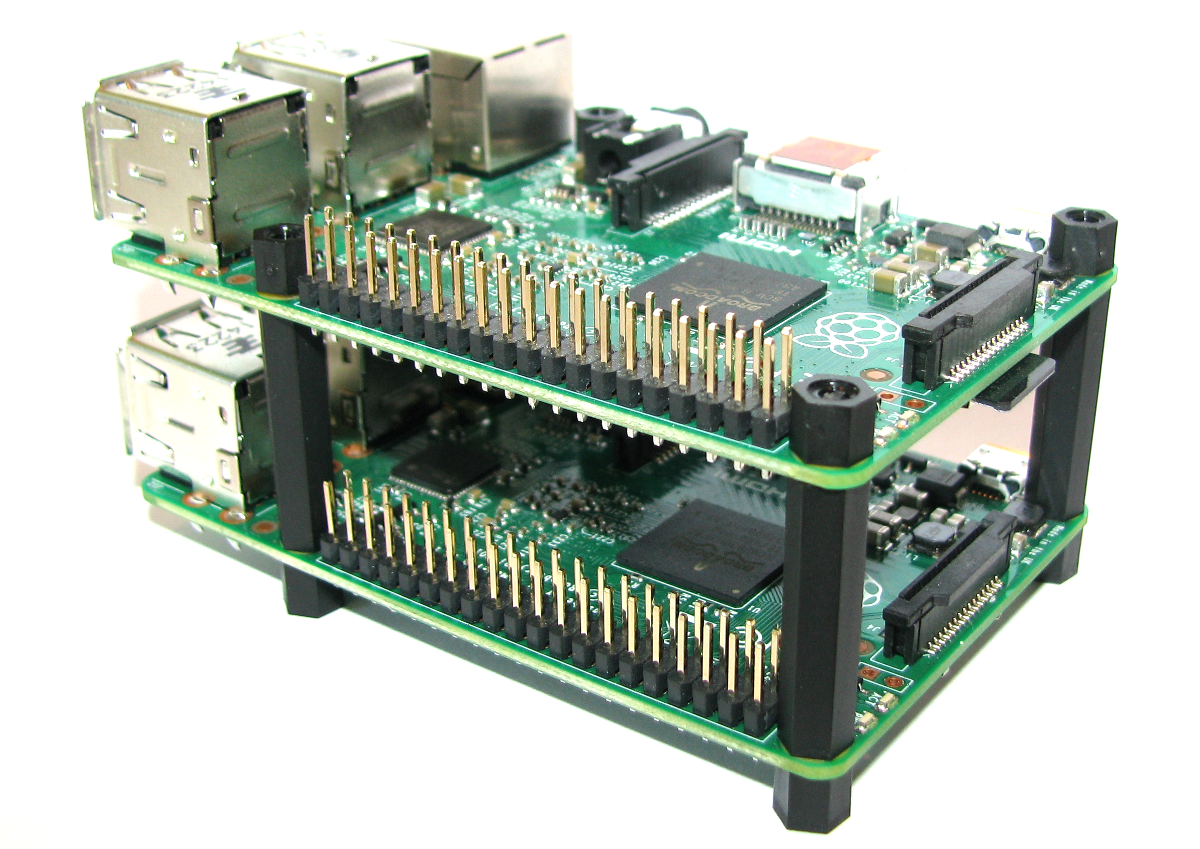
While this might look like Raspberry Pis stacked together with nylon standoffs in reality its…. OK, it is Raspberry Pis stacked together with nylon standoffs. But that doesn’t mean that its a bad idea.
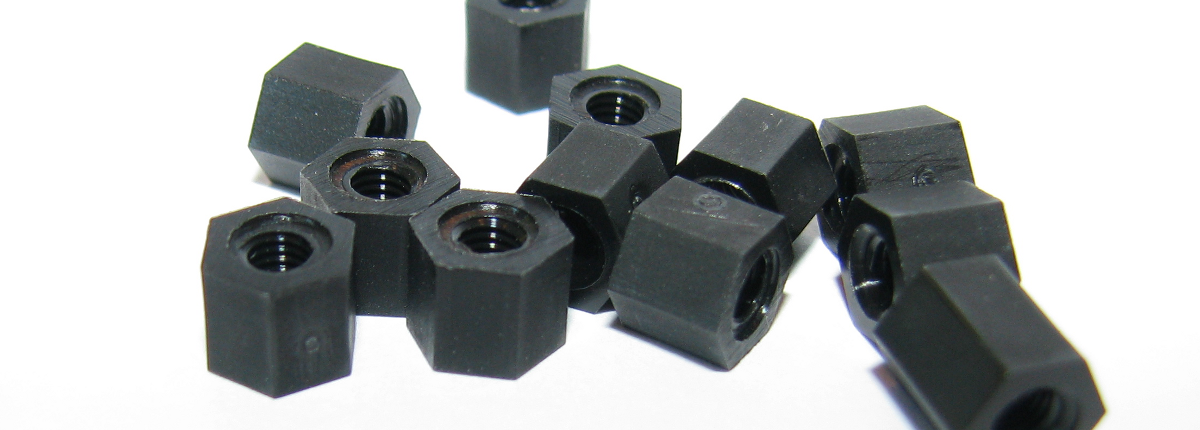
What we’re looking at here is a combination of four M3 x 6 + 6 Nylon spacer hex pillars on the bottom.
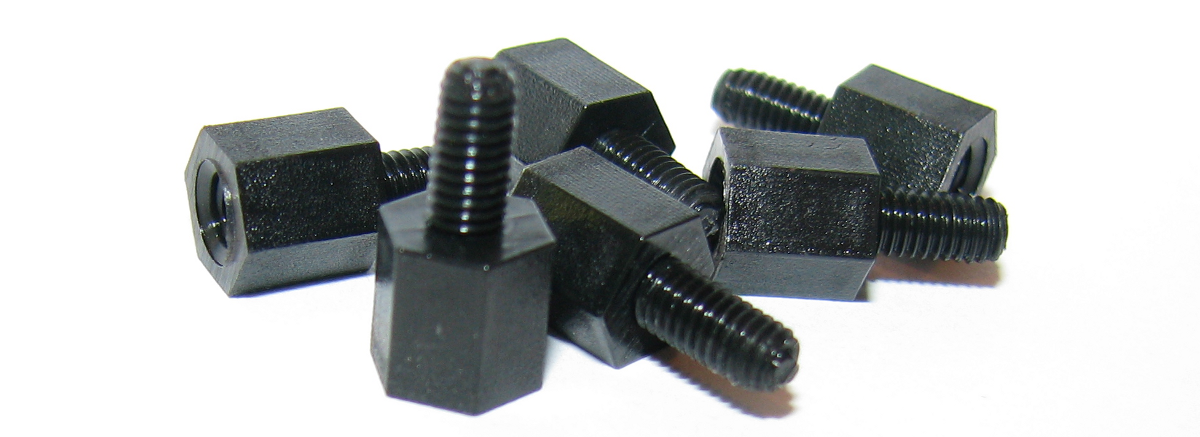
That’s a 6mm long Hex section (with an internal M3 threaded hole) with a 6mm long, M3 threaded screw extension. The screw end can be pushed through the mounting holes on the Raspberry Pi board and these can in turn be attached to four M3 x 25 + 6 Nylon spacer hex pillars.
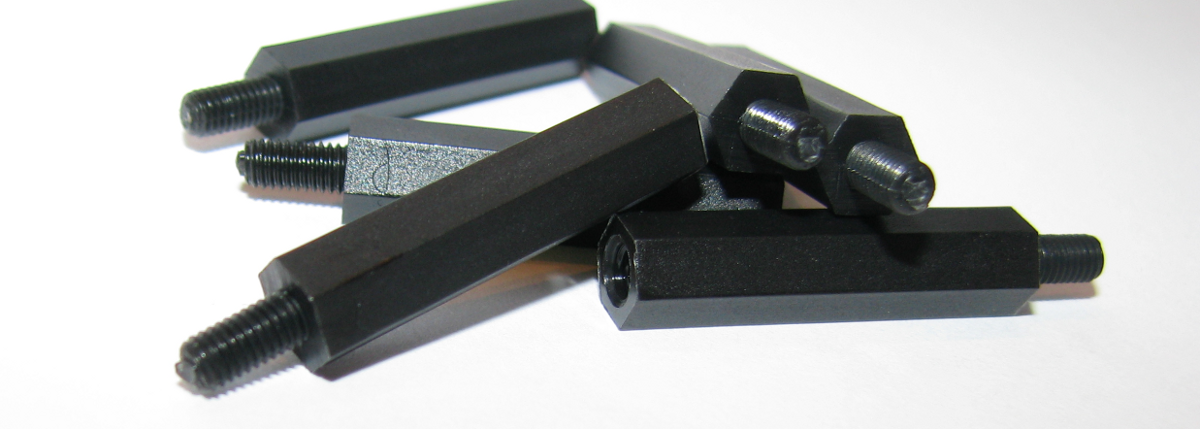
The 25mm length allows enough space to set another Raspberry Pi on top through the threaded section of the 25mm long hex units. The we can secure the top Raspberry Pi using 5mm long M3 threaded spacers.
 .
.
These Spacers are available from a range of sources. I have found success in buying them from Deal Extreme, but they are widely available from many suppliers;
- M3 x 5 Nylon Plastic Hexa Pillar Spacer Supporter Black (20 PCS)
- M3 x 6 + 6 Nylon Spacer Hex Pillars Black (20 PCS)
- M3 x 25 + 6 Nylon Spacer Hex Nylon Pillars Black (20 PCS)
Sensors
DS18B20 Programmable Resolution 1-Wire Digital Thermometer
The DS18B20 is a digital thermometer that provides Celsius temperature measurements. The DS18B20 communicates over a 1-Wire bus that by definition requires only one data line (and ground) for communication. It has an operating temperature range of -55°C to +125°C and is accurate to ±0.5°C over the range of -10°C to +85°C.
Each DS18B20 has a unique 64-bit serial code, which allows multiple DS18B20s to function on the same 1-Wire bus. Thus, it is simple to use one microprocessor to control many DS18B20s distributed over a large area.
The sensor connections are: red (VCC), blue or yellow (DATA), black (GND) (there are two variations of the sensor).
Accessories
VGA to HDMI Adapter
The Raspberry Pi comes with a modern video audio interface in the form of an HDMI connector. However, that’s not to say that everyone will have a monitor (or TV) with an HDMI input ready to use. The ubiquitous connection type that has been used for many years on computers has been the VGA (Video Graphics Array) connector. It consists of a three-row, 15-pin D-sub connector. Since it may be a simple job to find an older model monitor with a VGA connector, what is needed to connect the Raspberry Pi to a monitor with a VGA connector is a HDMI male to VGA female adapter cable (assuming that our monitor has a VGA cable attached).
I have used a simple model from DealExtreme which can be found here and at the time of writing costs around $7 (USD) which includes free shipping.
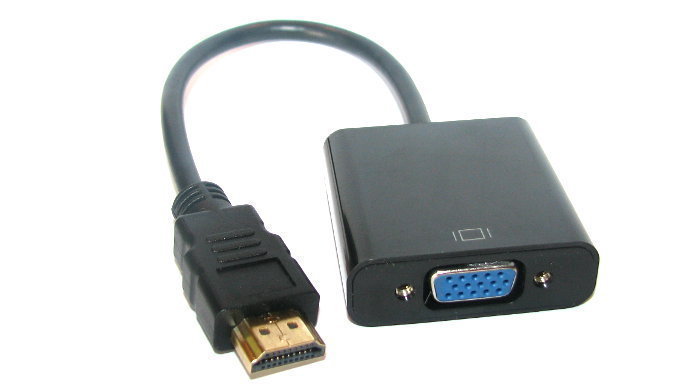
While the HDMI interface supports audio, the standard VGA connector does not. There are work-arounds to allow audio through, but they are beyond the scope of this book.
In-line switch for USB power supply
The Raspberry Pi does not have a built in off/on switch, so we are left to find our own way to switch power off and on to the unit. In most cases this can be as crude as switching our USB poser supply on or off at the wall. However, a useful solution is to use a USB cable that incorporates a switch for turning the power off or on.
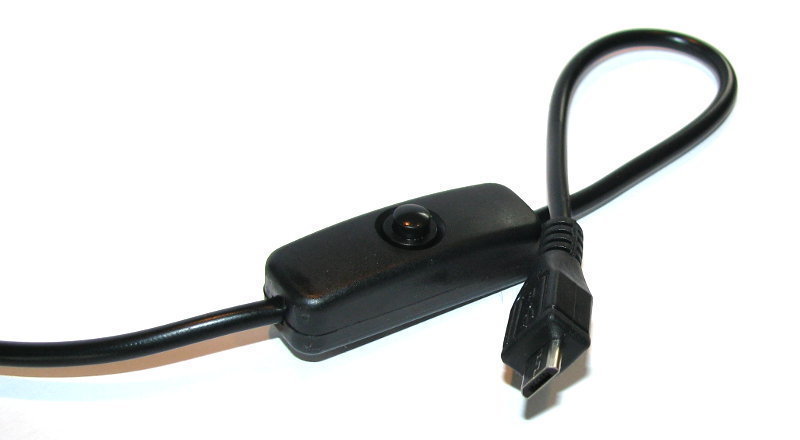
There are several variations of the same theme on the market, so let your fingers do the Googling to find one that will suit your needs.
Multiple Outlet USB Power Supply
If we find ourselves needing to provide power to multiple Raspberry Pis it is worth thinking about the convenience of utilising a device that can provide multiple supply points (cables). It is also reasonable to consider the power requirements of the devices and the capability of a supply to maintain a suitable current to our Raspberry Pis and their connected devices (WiFi dongles, etc).
With that in mind, we would ideally want to be able to supply up to 2A per device.
I have been happy using an Anker 5 port charger for supplying up to 5 devices with a theoretical total current draw of 8 amps.

This is a convenient device, which, when combined with some short USB to microUSB cables can be a effective and efficient means to supply a number of Raspberry Pis.