Raspberry Pi Peripherals
To make a start using the Raspberry Pi we will need to have some additional hardware to allow us to configure it.
SD Card
Traditionally the Raspberry Pi needs to store the Operating System and working files on a MicroSD card (actually a MicroSD card all models except the older A or B models which use a full size SD card). There is the ability to boot from a mass storage device or the network, but it is slightly ‘tricky’, so we won’t cover it.

The MicroSD card receptacle is on the rear of the board and on the Model B2 it is a ‘push-push’ type which means that you push the card in to insert it and then to remove it, give it a small push and it will spring out.

This is the equivalent of a hard drive for a regular computer, but we’re going for a minimal effect. We will want to use a minimum of an 8GB card (smaller is possible, but 8 is the realistic minimum). Also try to select a higher speed card if possible (class 10 or similar) as this will speed things up a bit.
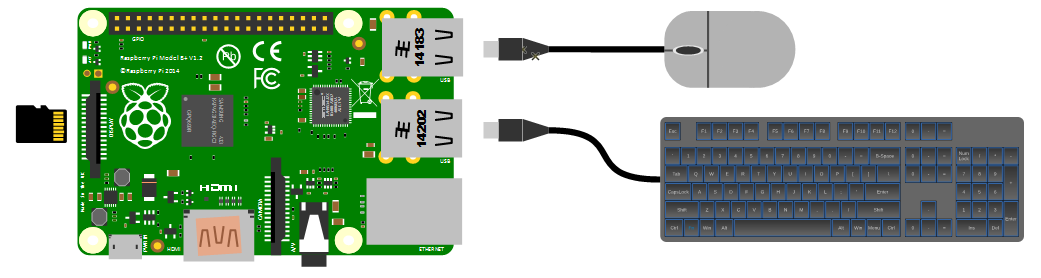
Keyboard / Mouse
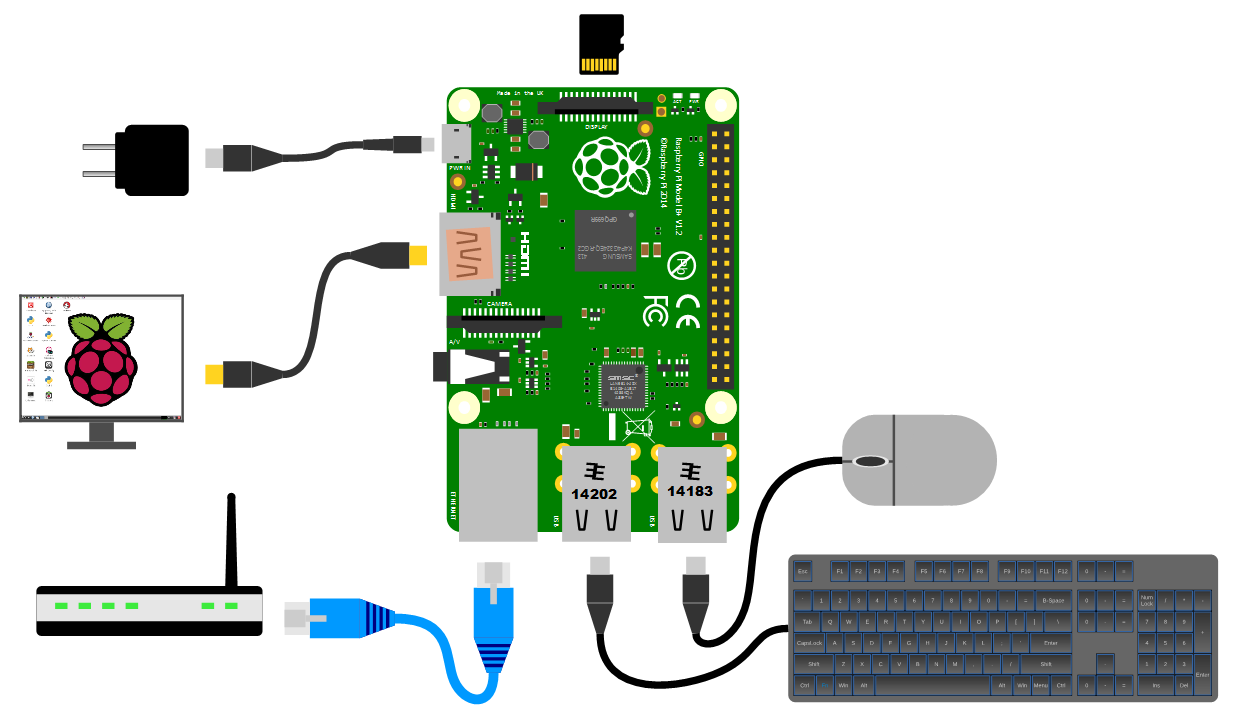
While we will be making the effort to access our system via a remote computer, we will need a keyboard and a mouse for the initial set-up. Because the B+, B2, B3, B3+ and 4 models of the Pi have 4 x USB ports, there is plenty of space for us to connect wired USB devices.
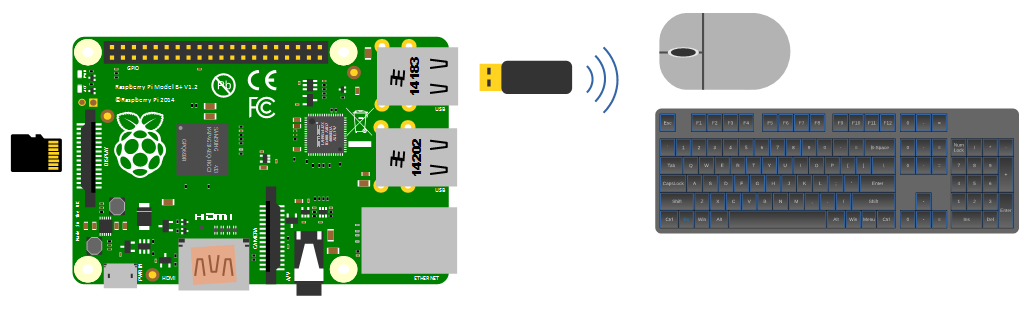
An external wireless combination would most likely be recognised without any problem and would only take up a single USB port, but if we build towards a remote capacity for using the Pi (using it headless, without a keyboard / mouse / display), the nicety of a wireless connection is not strictly required.
Video
The Raspberry Pi comes with an HDMI port ready to go which means that any monitor or TV with an HDMI connection should be able to connect easily.
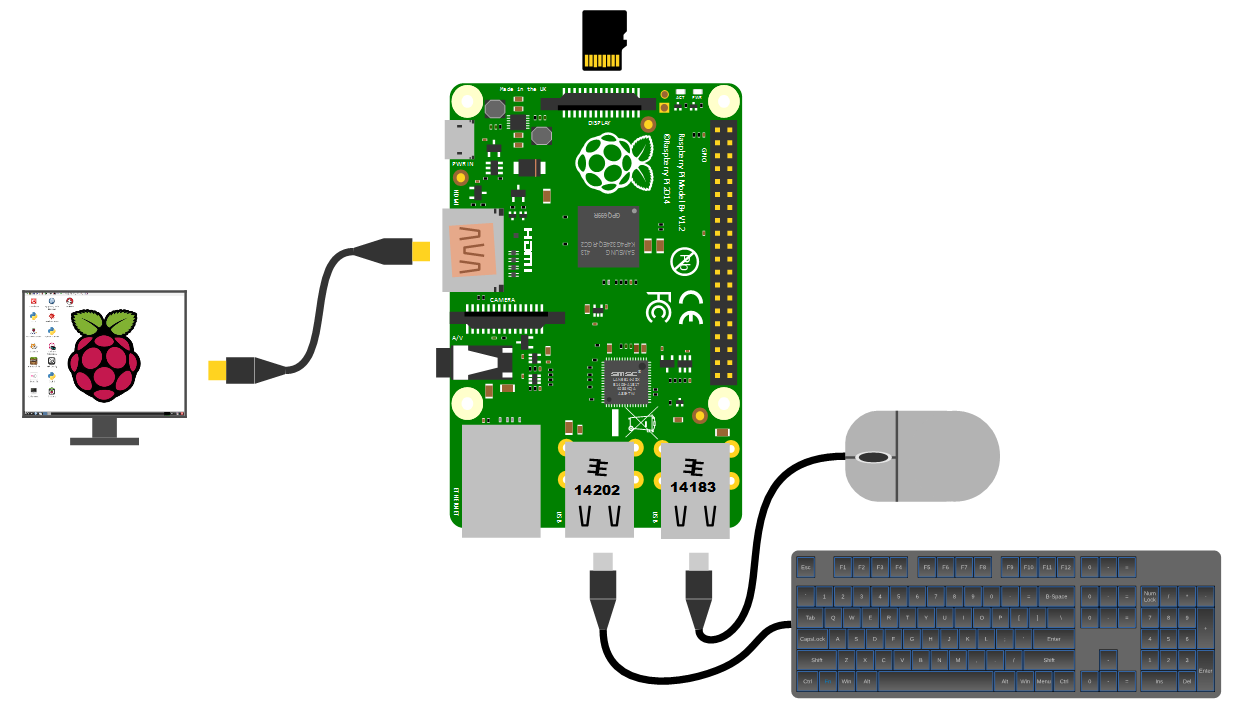
Because this is kind of a hobby thing you might want to consider utilising an older computer monitor with a DVI or 15 pin ‘D’ connector. If you want to go this way you will need an adapter to convert the connection.
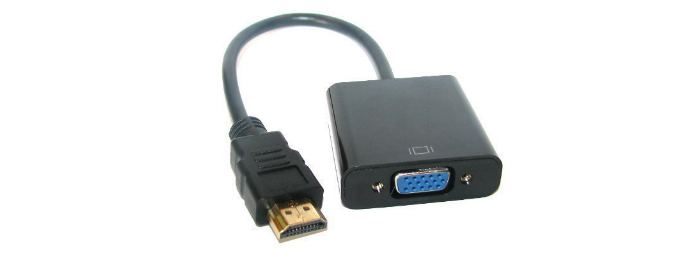
Likewise, if you are using a Pi 4 or 5, the standard connectors on the board are micro HDMI and you may therefore require an adaptor.
Network
The B+, B2, B3, B3+, 4 and 5 models of the Raspberry Pi have a standard RJ45 network connector on the board ready to go. In a domestic installation this is most likely easiest to connect into a home ADSL modem or router.
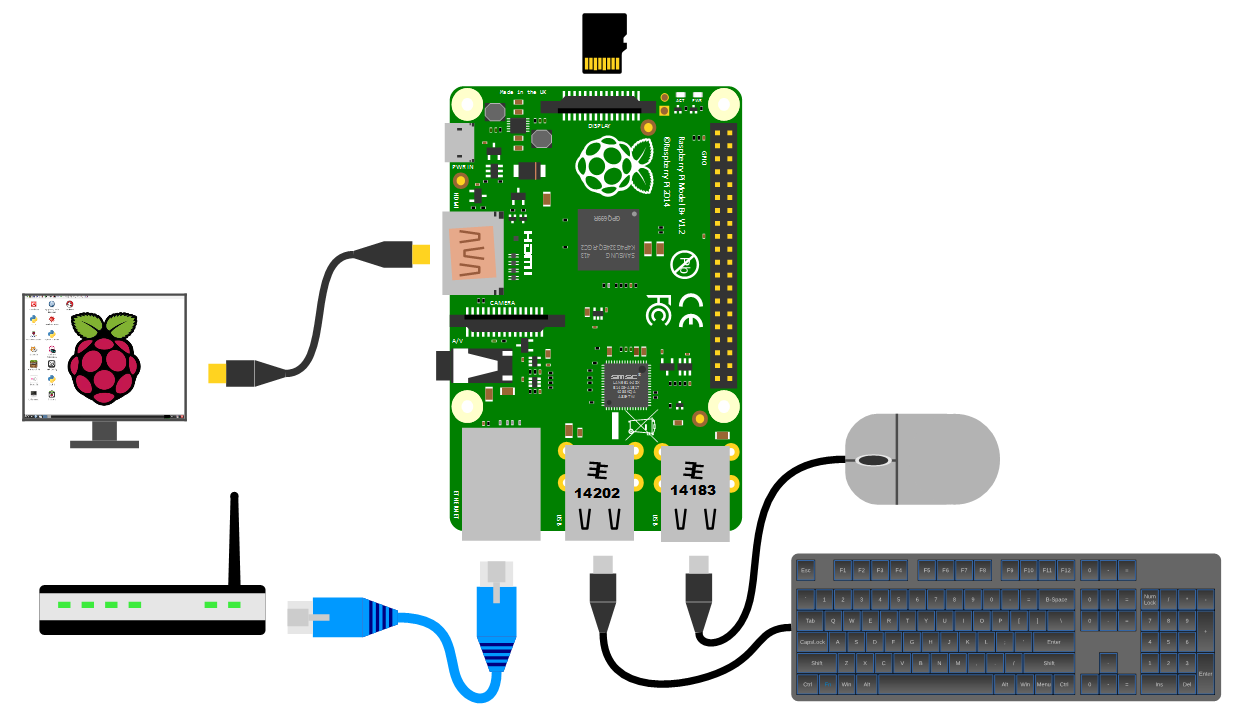
This ‘hard-wired’ connection is great for getting started, but we will work through using a wireless solution later in the book.
Power supply
The Pi can be powered up in a few ways. The simplest is to use the micro USB port to connect from a standard USB charging cable for models B+, B2, B3 and B3+. You probably have a few around the house already for phones or tablets. If you are using a Pi 4 or 5 you will need a USB C power supply or an adaptor to convert between USB A and C.
However, it’s worth thinking about the application that we use our Pi for. Depending on how much we ask of the unit, we might want to pay attention to the amount of current that our power supply can deliver. The A+, B+ and Zero models will function adequately with a 700mA supply, but the B2, B3, B3+ and 4 models will draw more current and if we want to use multiple wireless devices or supplying sensors that demand increased power, we will need to consider a supply that is capable of an output up to 2.5A. If you are thinking of including some power hungry peripherals to the Raspberry Pi 5 (because you can) you could consider a supply that could feed up to 5A.
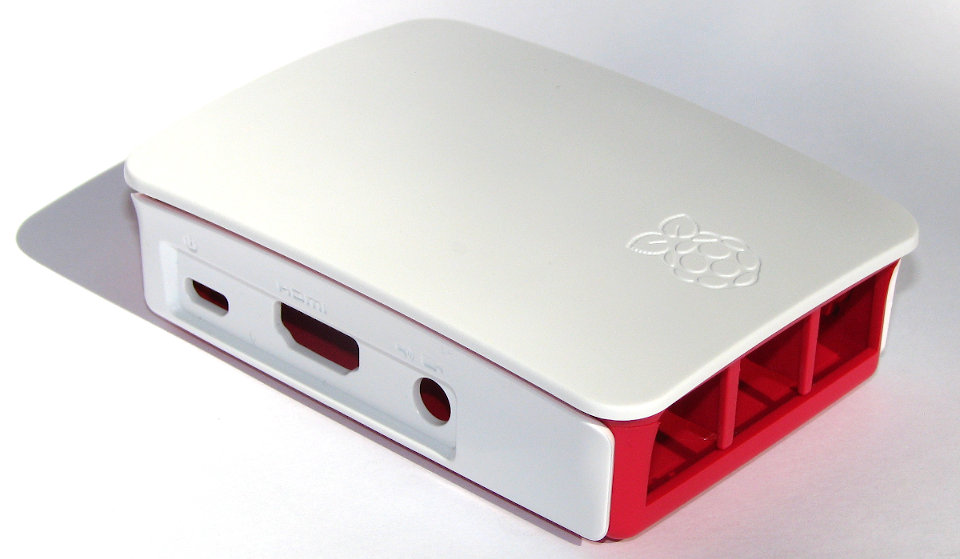
Cases
We should get ourselves a simple case to keep the Pi reasonably secure. There are a wide range of options to select from. These range from cheap but effective to more costly than the Pi itself (not hard) and looking fancy. The most important thing to consider here is to make sure you get a case appropriate to the model of Pi that you are using. Be aware that while the B+, B2, B3 and B3+ Pis share the same dimensions as the Model 4, there are differences in the port layout that means that the cases are not interchangeable
You could use a simple plastic case that can be brought for a few dollars;
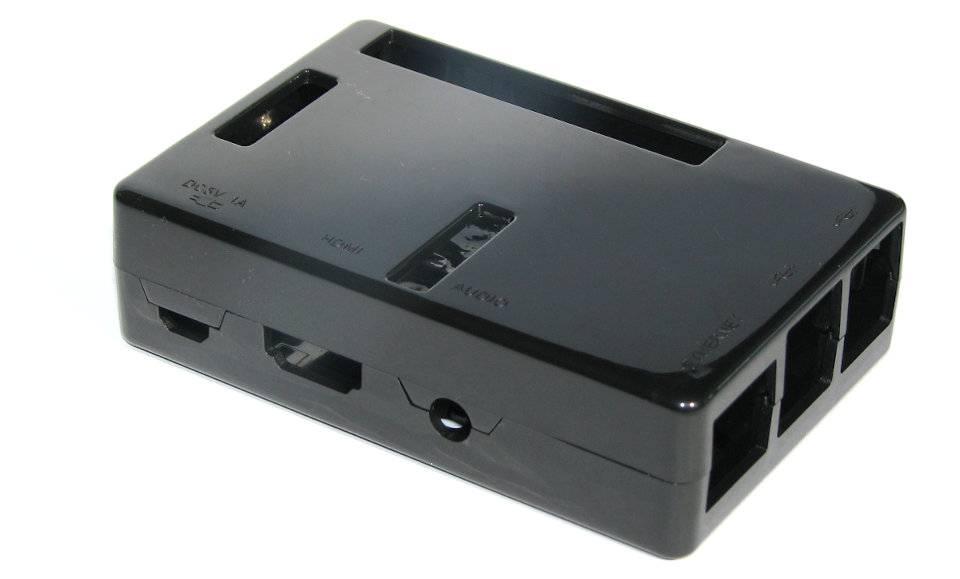
For a very practical design and a warm glow from knowing that you’re supporting a worthy cause, you could go no further than the official Raspberry Pi case that includes removable side-plates and loads of different types of access. All for the paltry sum of about $9.