Note: this workflow would had been easier if the two repos where in sync, but it happened that there was one commit made to TMContent/Lib_Vulnerabilities (which is the master repo) on the 13th of Dec (d26f385) in between a bunch of updates to the tm-sme/Lib_Vulnerabilities repo (done automatically by TeamMentor). Bottom line: at this stage the repos are not compatible, which is why the GitHub Pull Requests don’t work.
Here are the Git commands I executed locally to merge these repos successfully:
Step 5) update local master and forked repo master
13) git checkout master
14) git pull upstream master:master
15) git push origin master:master
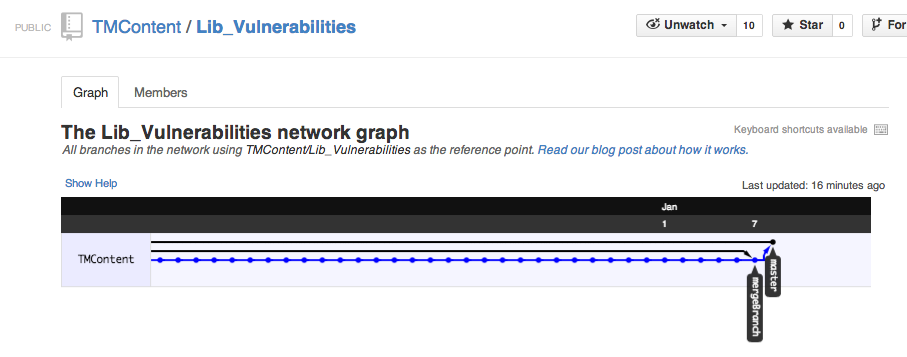
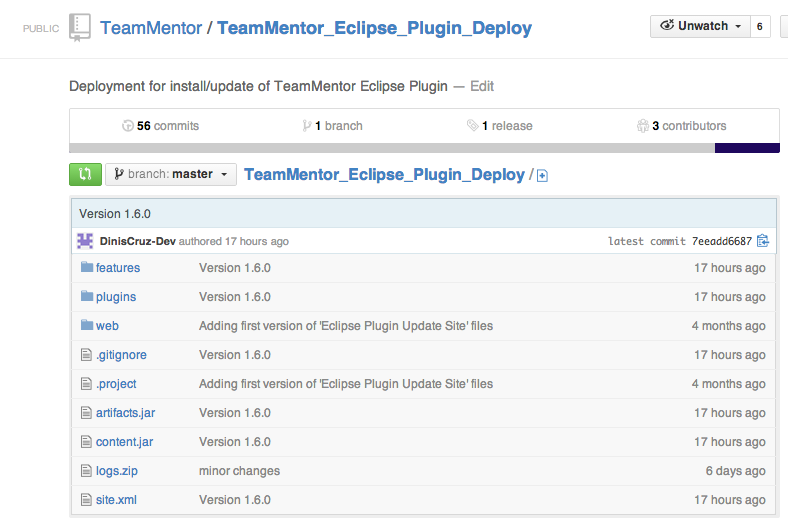
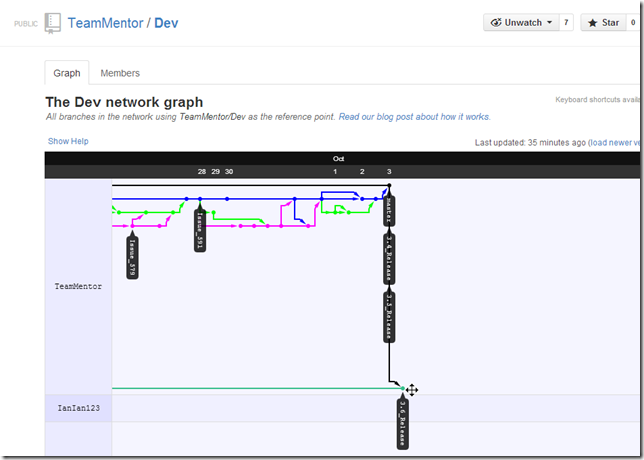
Here is what the main repo looks after the merge
Updating the GitHub repos for the 1.6.0 release of the Eclipse Fortify Plugin
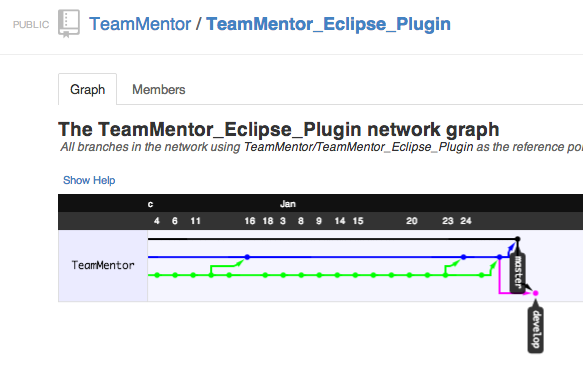
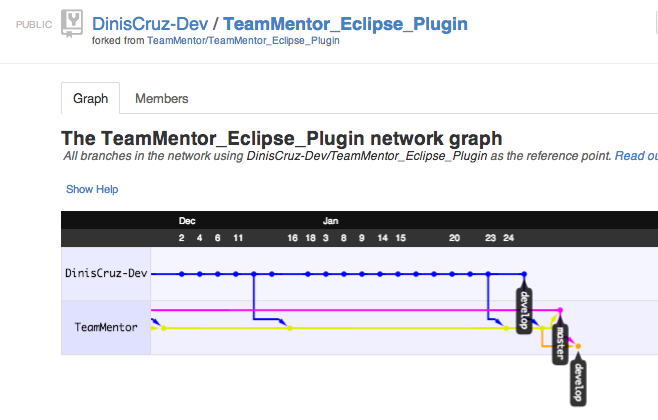
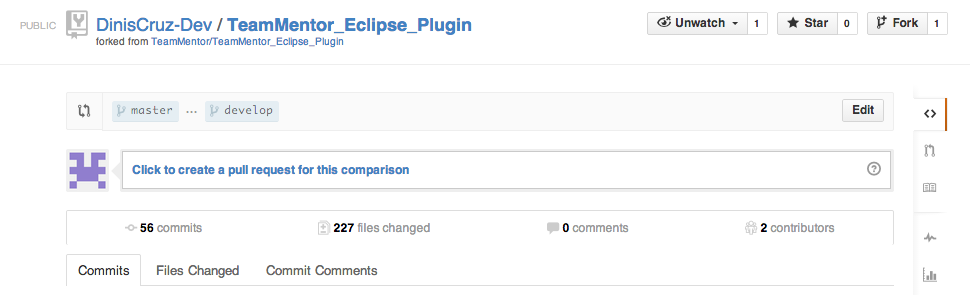
As you can see by the recent eclipse related posts, I have been working on a Plugin for Eclipse that shows TeamMentor guidance to users that have access to the Fortify Eclipse plugin (and *.fpr files). We are now in the final stages of releasing the first public version (1.6.0) which is actually made of two parts: An Eclipse Plugin builder (which is Open Source) and a small ‘Fortify Specific’ code-mapping script. Very soon these will be in separate projects, but for now they are all hosted at the TeamMentor/TeamMentor_Eclipse_Plugin.
This post is just to document the current GitHub development model and where to find the main parts of this release.
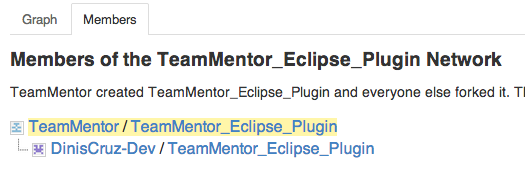
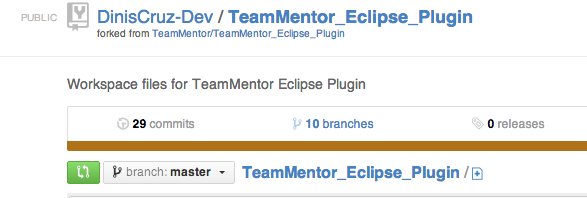
One interesting point here is that for this release I did not use my main GitHub DinisCruz account, but used instead a much less powerful GitHub DinisCruz-Dev account.
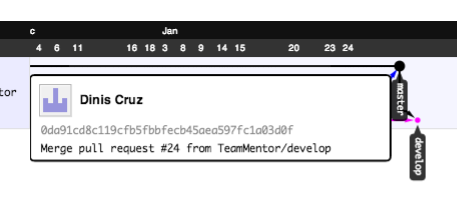
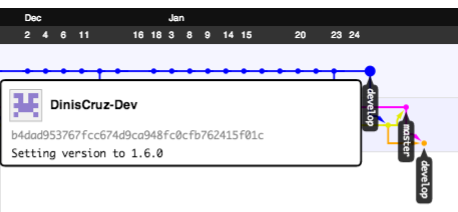
To see this in action, note how the Pull Request commits (into the master and develop branch) are made using the DinisCruz account:
… and the development commits are made using the DinisCruz-Dev account:
… which was then used during development (which in practice means that the_ DinisCruz-Dev_ account does NOT have commit privileges to the release version of the code base)
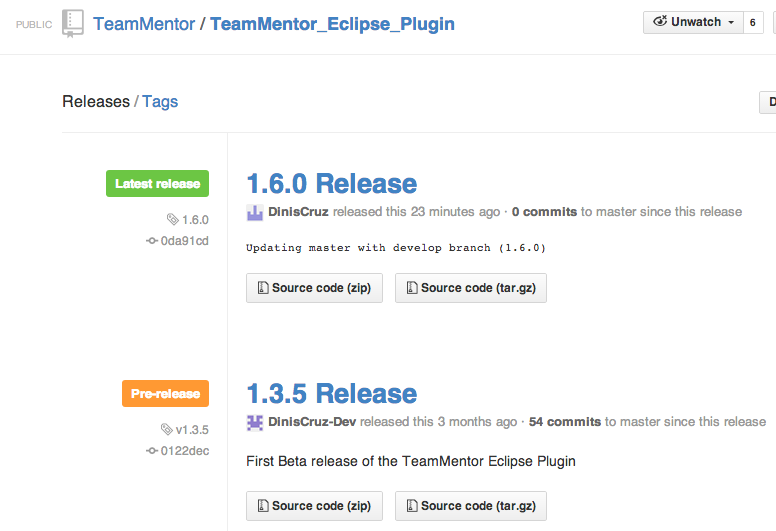
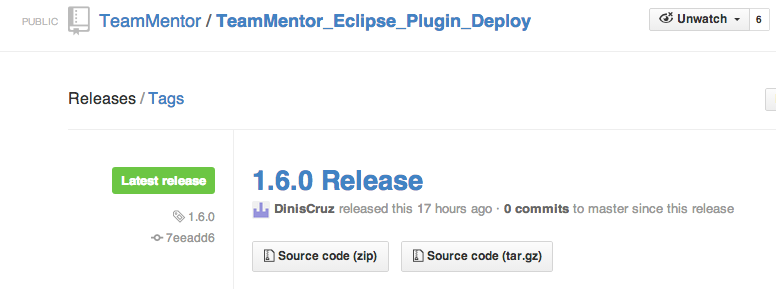
In terms of the 1.6.0 release, I also added a Git Tag to it (now possible to do via the GitHub web UI), so that this version can be easily accessed and downloaded from the repo’s Releases page:
Now that this release is out of the way, I will try to write a number of blog posts that show how it works and how powerful the Eclipse Plugin Builder is (for example to add support for more tools or easily create eclipse plugins to help developers to write better/securer code)
Updating GitHub Forks with latest commits from GitHub’s ‘parent’ repo
One of the areas that tend to case some problems with GitHub ‘Forking model’ workflow, is the need to have the Forks updated with the commits that have been added to the Parent repo (i.e. the repo that was used to create the Fork from).
To see real-word examples (and pains) of this issue, take a look at these posts:
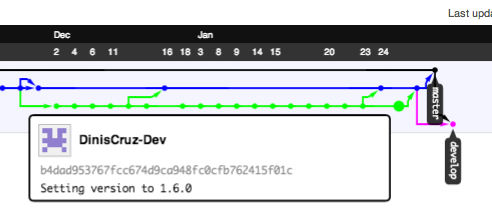
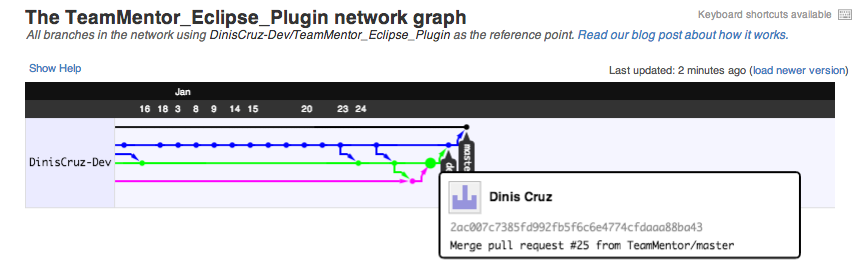
But the same commit can be seen below as the large GREEN dot in the TeamMentor/TeamMentor_Eclipse_PluginParent repo (note that it is not the last one in this repo):
The practical consequences of this situation, is that the Fork is currently in an ‘incompatible’ state with its Parent , and it will not be possible to send Pull Requests/code-fixes upstream (note that this is ‘by design’ since Git does not allow merges when there are no common parents).
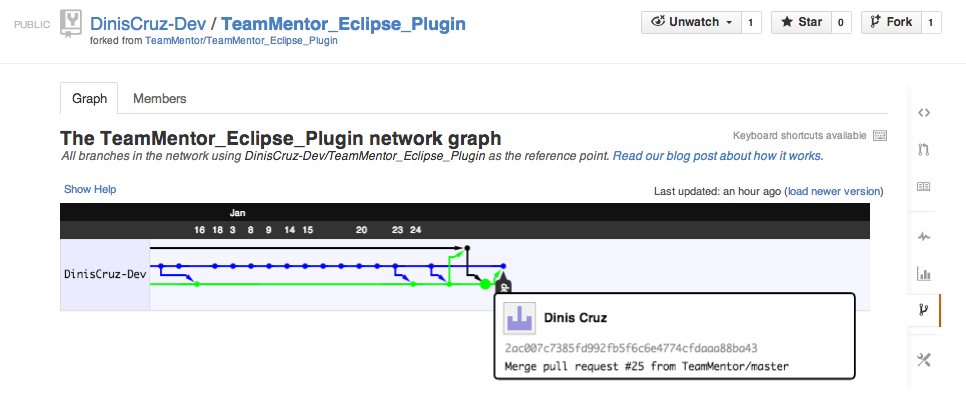
In this case, there is only one update (made directly on the Parent repo) that needs to be merged into the Forked repo, and more importantly we get the desired 2ac007c7385fd992fb5f6c6e4774cfdaaa88ba43 commit:
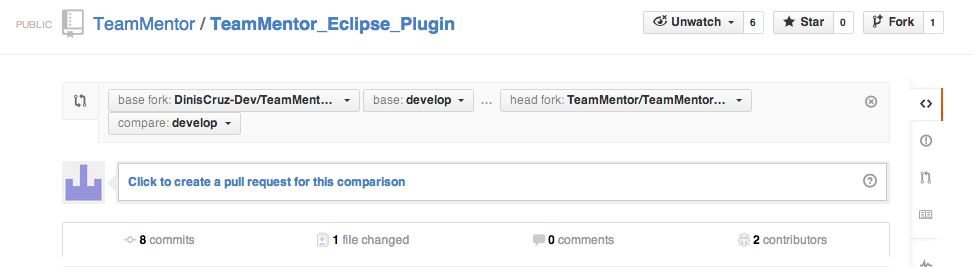
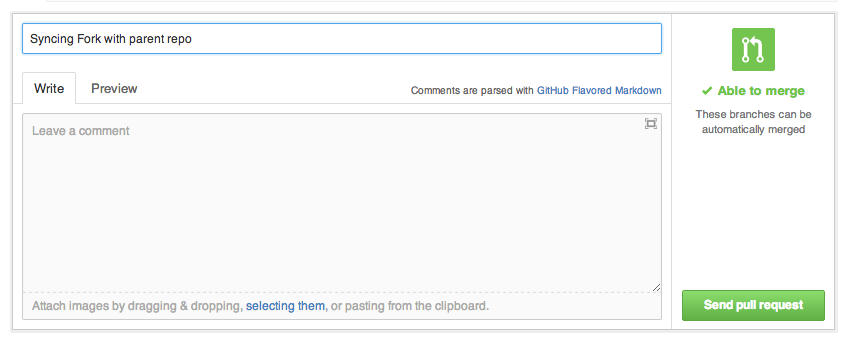
Here is how I created the Pull Request:
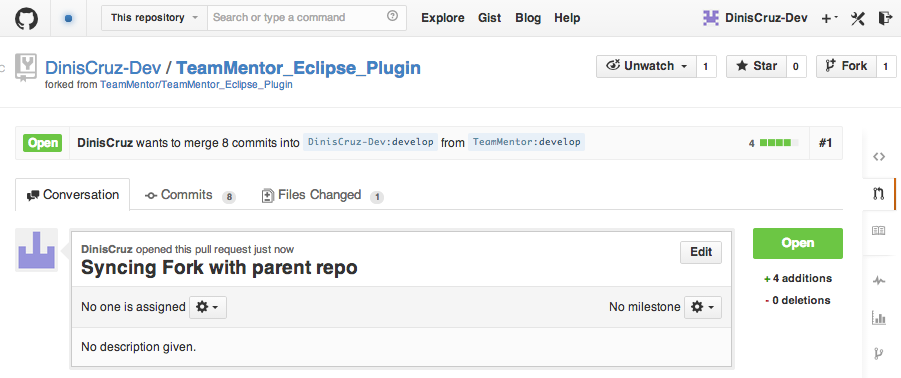
Which I then opened up in a browser logged in as DinisCruz-Dev (the DinisCruz account doesn’t have GitHub privs to make this merge)
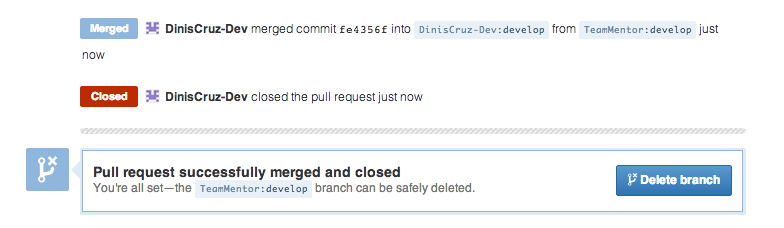
And since the commits are all compatible, I can just click on the ‘Merge pull request’ button:
A final good house cleaning step is to also update the Master branch of the Fork:
… which makes the final version of the graph look like this:
Note that all these steps could had been done using the git.exe command line, and in some cases, that is better, since we have more control over the creation of new commits on merge (for example note how every-time I merged a Pull Request in GitHub, a new commit was created! … which is something that is not needed all the time)
Using TeamMentor 3.4 TBot admin pages to load and sync a Library hosted on GitHub
Serge asked me to help making some changes to the TeamMentor’s Asp.NET 3.5 library, and since we need a test server to look at what might be changed (and run some scripts) this is a good time to show about how to use the TeamMentor’s 3.4 Tbot pages to load a Library hosted on GitHub
I will also show, how once the TM server is configured with a library using a Git url, changes can be auto committed/pushed to that Git server, every-time there is a content edition using TM’s web editors.
Step 1: Preparing the target TM server
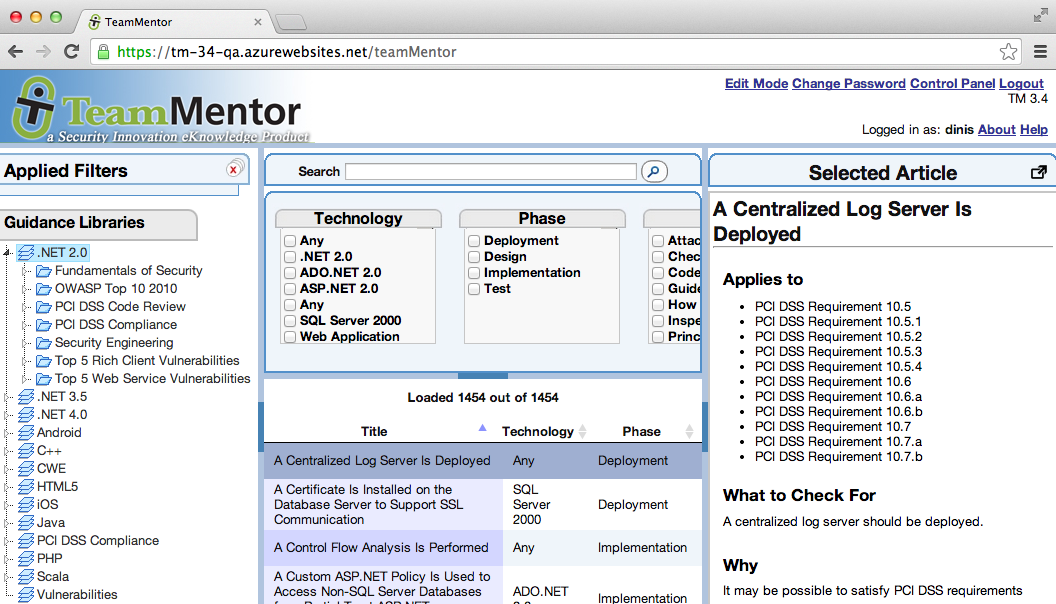
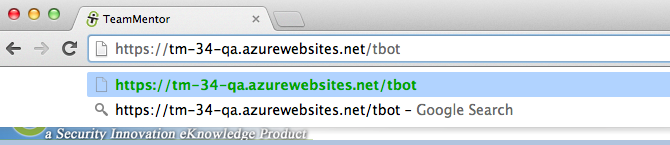
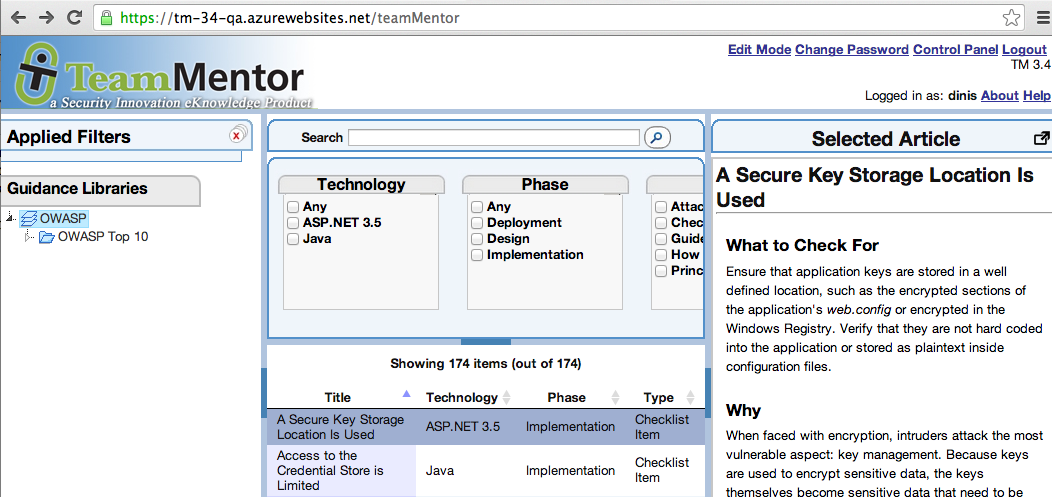
Lets start with an Azure hosted TeamMentor server, for example this one:
Since we don’t need all those libraries in there (and in fact we want to make changes to the .NET 3.5 Library), lets remove them all.
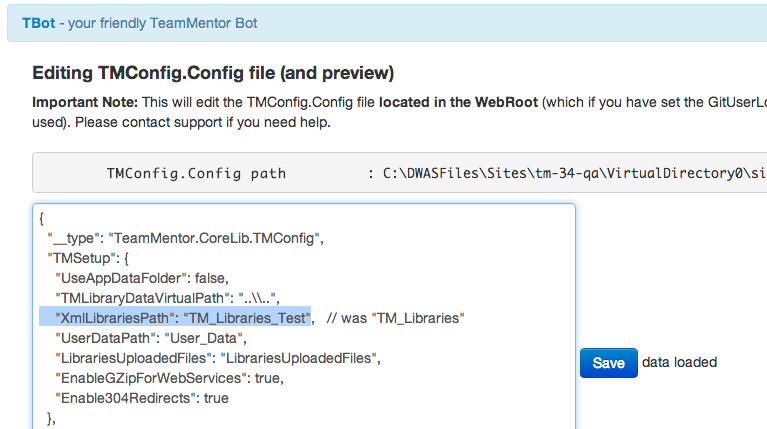
The easiest way to do it is to change the backend location of the TeamMentor XML files, which can easily be done by going into TBot:
… changing the TMConfig.config file XmlLibrariesPath value:
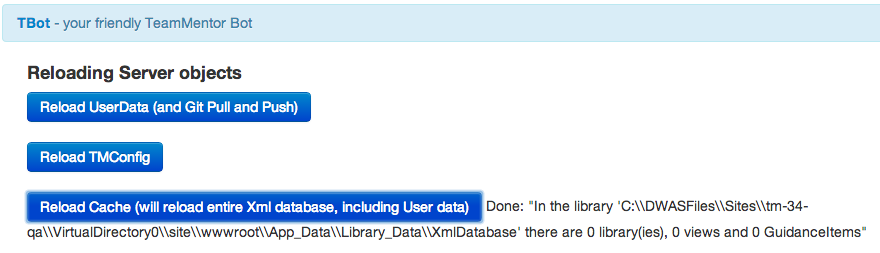
… and now, after the cache is reloaded:
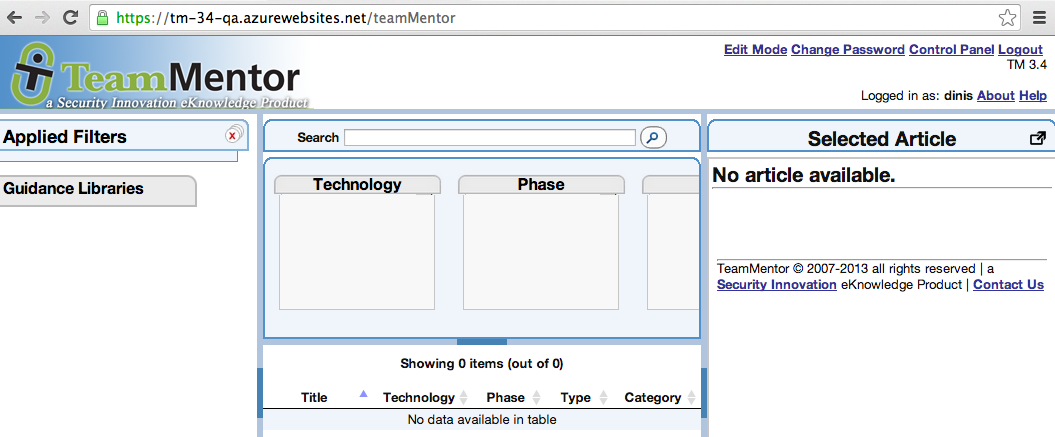
… there will be no articles on this instance of TM:
TIP: If you want to quickly add a test Library to TM, you can use the old /admin panel option to install Libraries from a link or zip. Here is how I quickly installed the OWASP Library, by clicking on the OWASP link in this page:
… which makes my test TM instance now look like this:
Step 2. Create a Fork of the Target Library
In this case the TM Library I want to make changes to is the private repo [tm-sme/Lib.NET_3.5](https://github.com/tm-sme/Lib.NET_3.5) which is the one used by SI’s SME team to make changes into the next version of TM (the idea is that I will make changes in my Fork which I will then issue a Pull Request to this version)
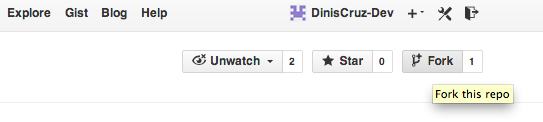
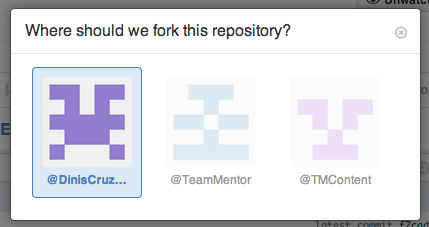
Next, logged in as DinisCruz-Dev (which is my day-to-day GitHub not-very-privileged account), I clicked on the Fork link:
… chose the DinisCruz-Dev as the Fork target:
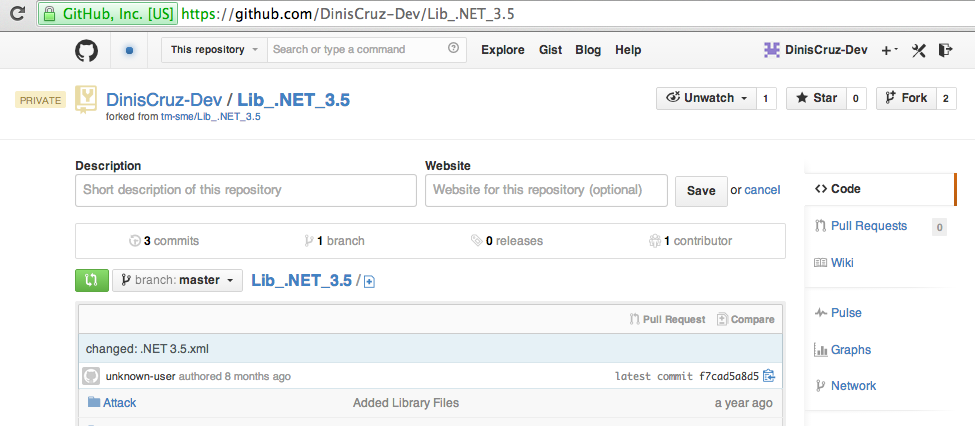
… and after a couple seconds I had a Fork of the [tm-sme/Lib.NET_3](https://github.com/tm-sme/Lib.NET_3.5) repo at [DinisCruz-Dev/Lib.NET_3.5](https://github.com/DinisCruz-Dev/Lib.NET_3.5)
Step 3: Configuring TeamMentor to load a Library from GitHub
This next step is a bit different if the IIS user account of the target server is configured to use SSH, but since Azure doesn’t seem to support it, we will need to use HTTPS and hardcoded passwords to do this.
The good news is that GitHub now provides a nice way to create temp hard passwords, so I can use that on this blog post :)
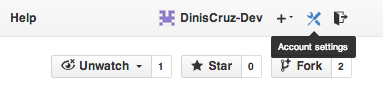
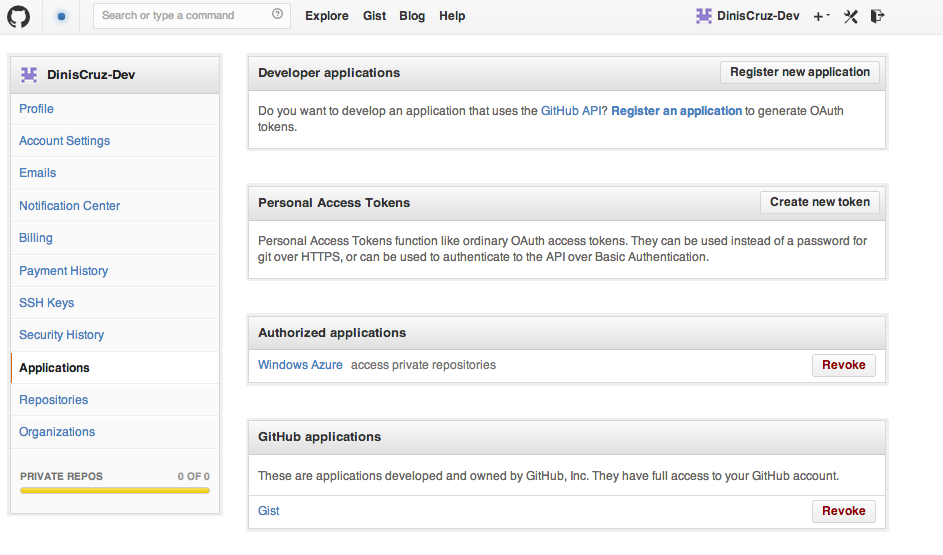
On the GitHub’s Account Settings for the DinisCruz-Dev user:
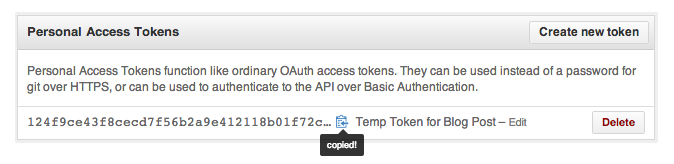
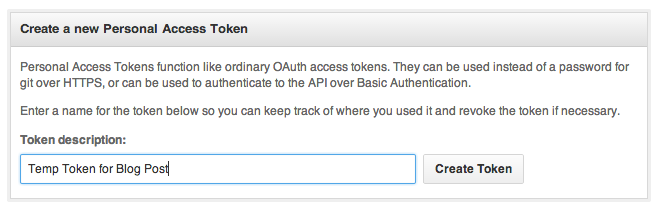
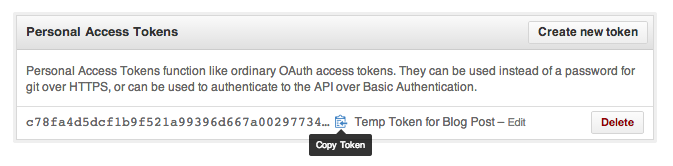
I clicked on the Create new Token button from the Personal Access Tokens section (part the Applications area)
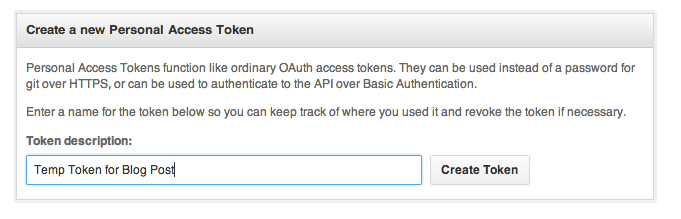
… entered a name for it (the text in this page provides a good explanation for how this token should be used)
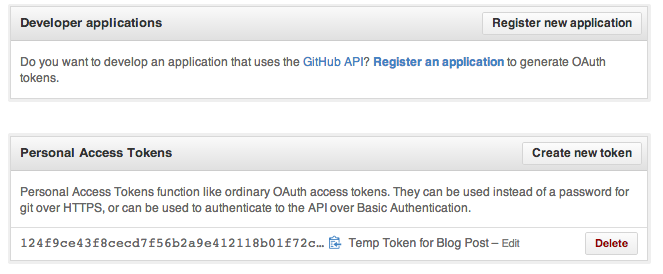
… and after it was created:
… I copied it into the clipboard:
In this case it the token is 124f9ce43f8cecd7f56b2a9e412118b01f72cef7
Back in the [DinisCruz-Dev/Lib.NET_3.5](https://github.com/DinisCruz-Dev/Lib.NET_3.5) main page I clicked on copy to clipboard button that is close to the clone URL:
… which is this case is https://github.com/DinisCruz-Dev/Lib_.NET_3.5.git
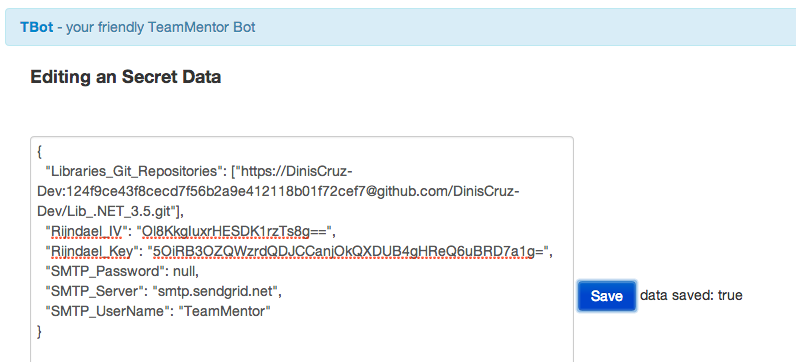
Since we need to use this from the Azure instance, we need to hard-code the username and password using the syntax https://{username}:{passwordOrToken}@github.com/DinisCruz-Dev/Lib.NET_3.5.git
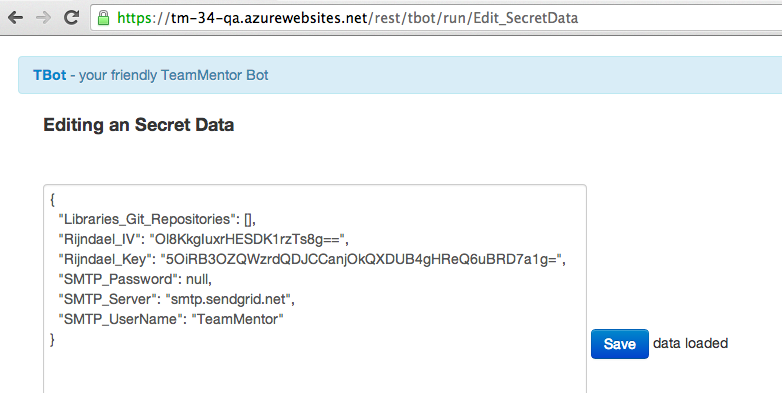
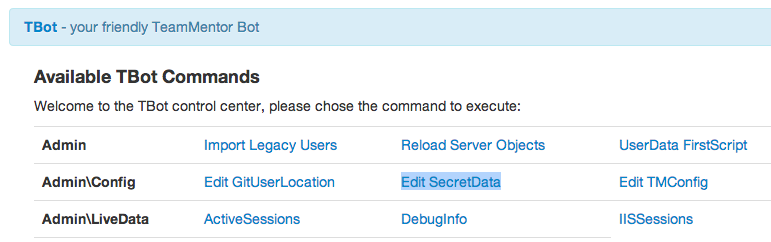
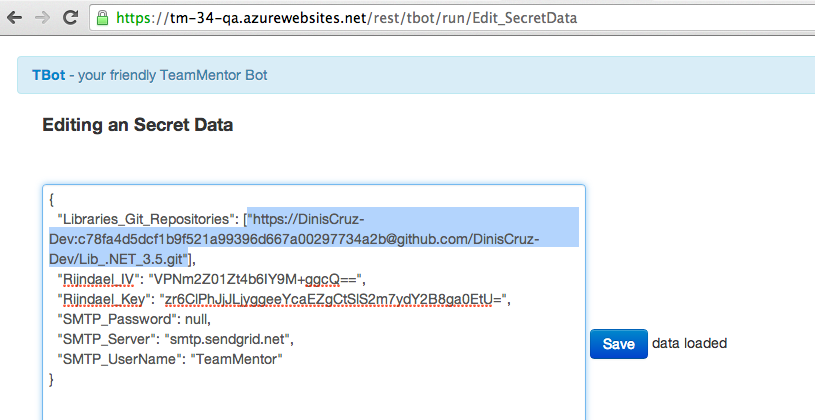
Next step is to go into TBot’s Edit SecretData page:
… enter the Git url in the Libraries_Git_Repositores field, click Save:
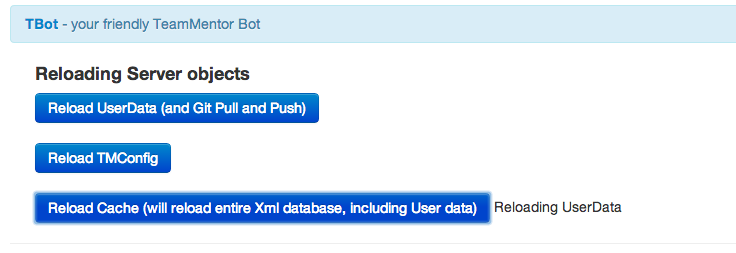
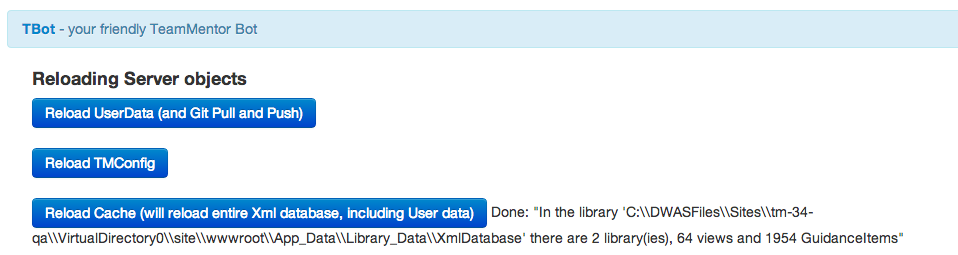
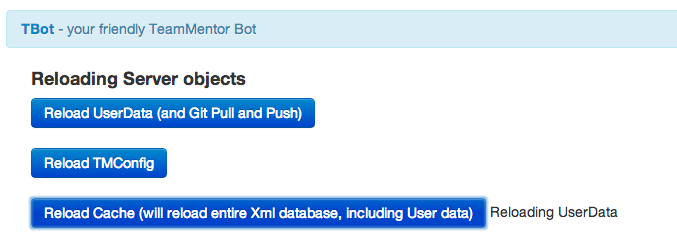
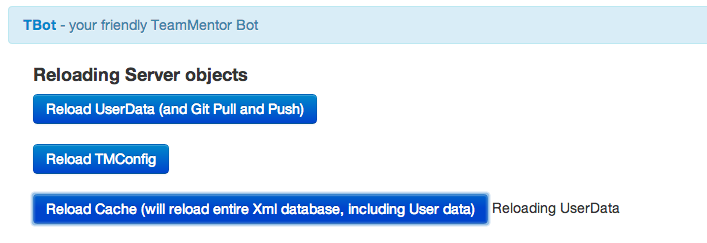
… go into the Reload Server Objects, click on the _ Reload Cache_ button
… which should take a little bit (depending on the size of the Library and server-side network connection speed)
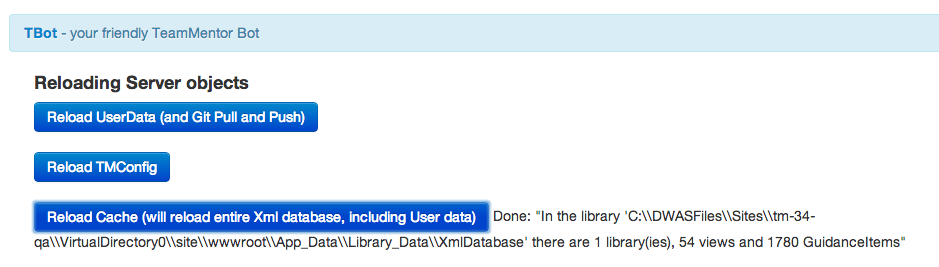
.. until a message shows up that says how many libraries and GuidanceItems/Articles exist in the current server (which means that the git clone was successful and the TM server cache was reloaded)
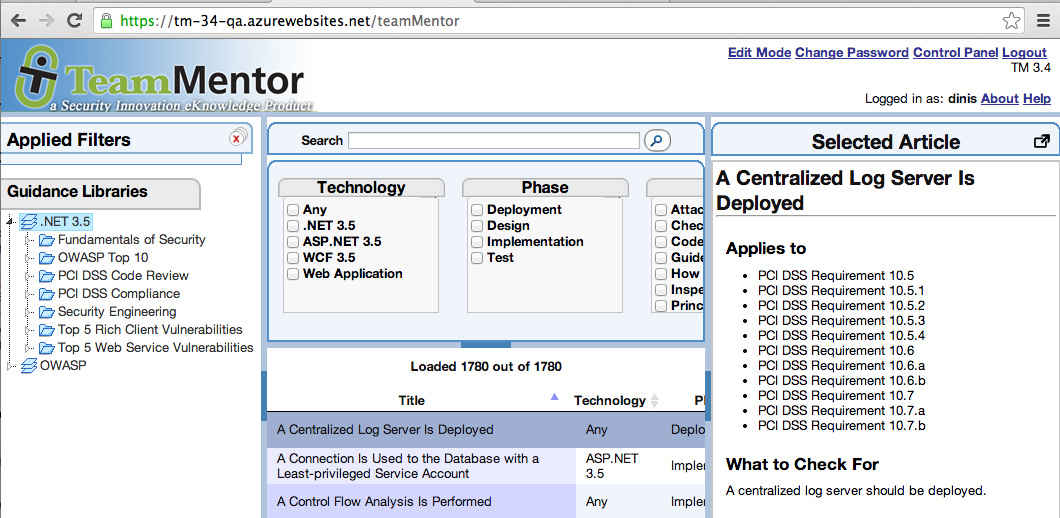
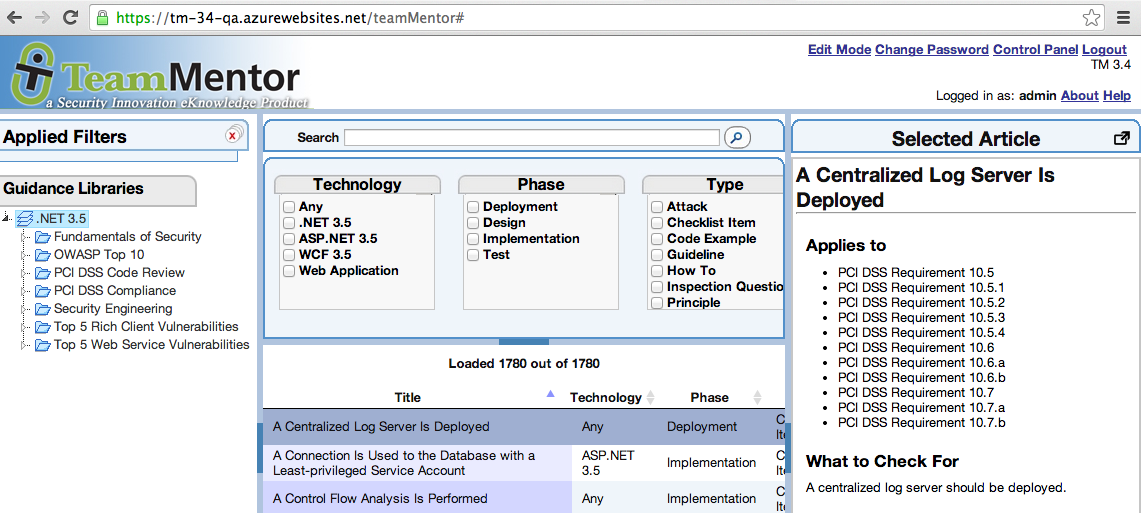
Opening up TeamMentor shows that we now have the new Library installed in this Azure server:
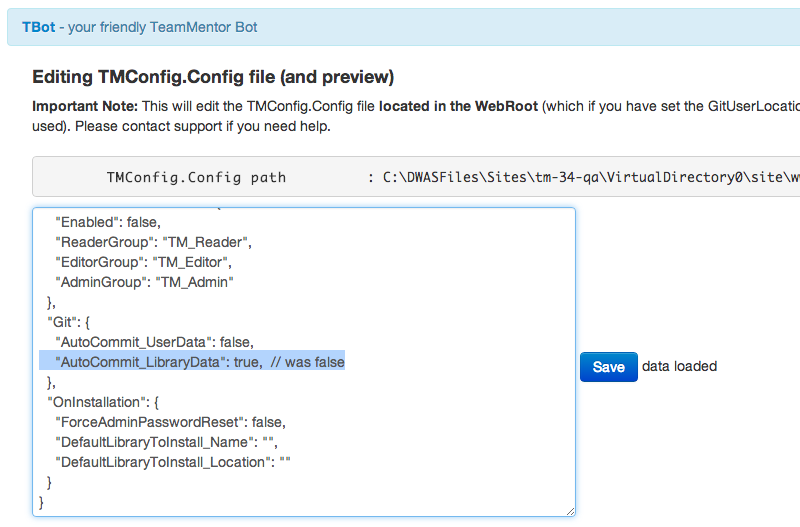
Step 4: Configuring server to auto push commit changes into GitHub
By default changes made on the server are not immediately pushed into the host server.
That behavior can be changed by setting to true the AutoCommit_LibraryData setting from the TMConfig.config file:
Once that is set (and after a server restart or TMConfig settings reload) changes made to TM articles will be auto-commited locally and pushed to GitHub as soon as possible (i.e. there is a bit of a delay in case there are multiple edits going on at the same time).
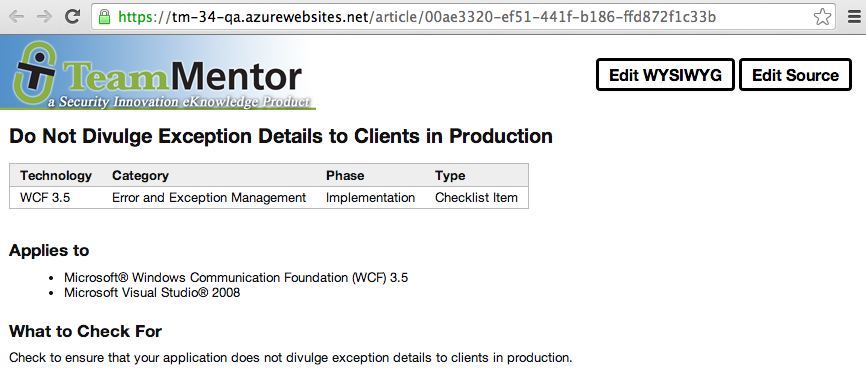
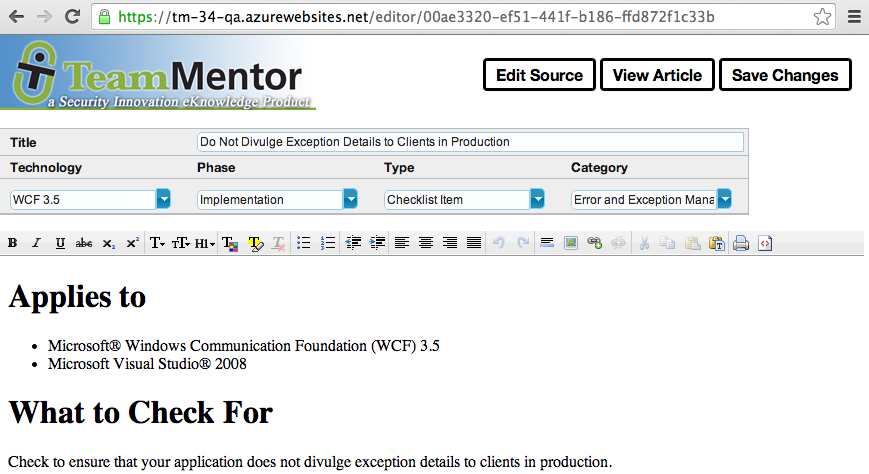
So see this in action, lets open an article:
… click on the Edit WYISWYG link:
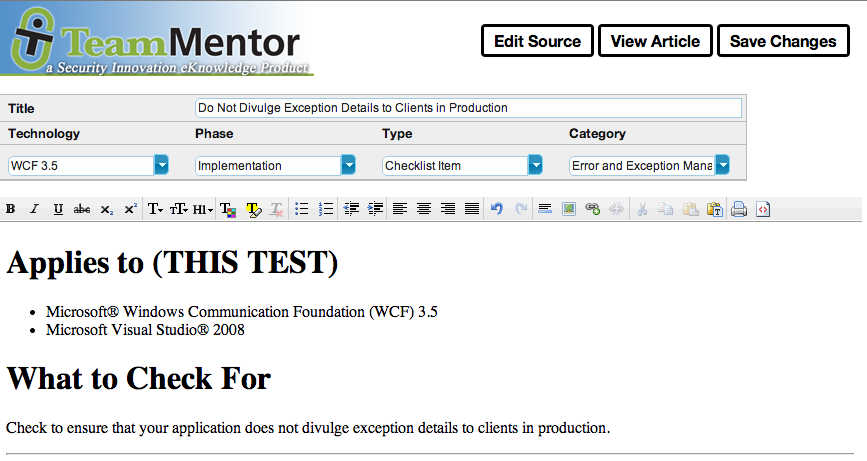
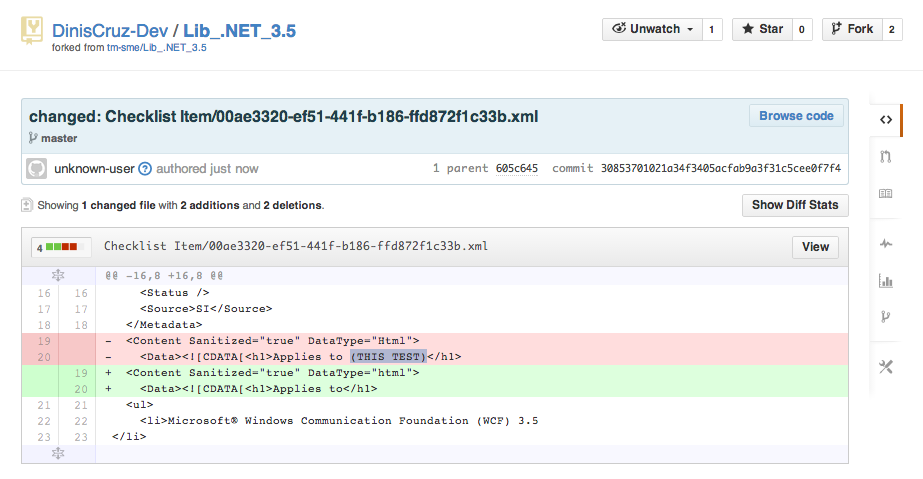
… and make a change to the article (see ‘THIS TEST’ below) and click on the Save Changes button
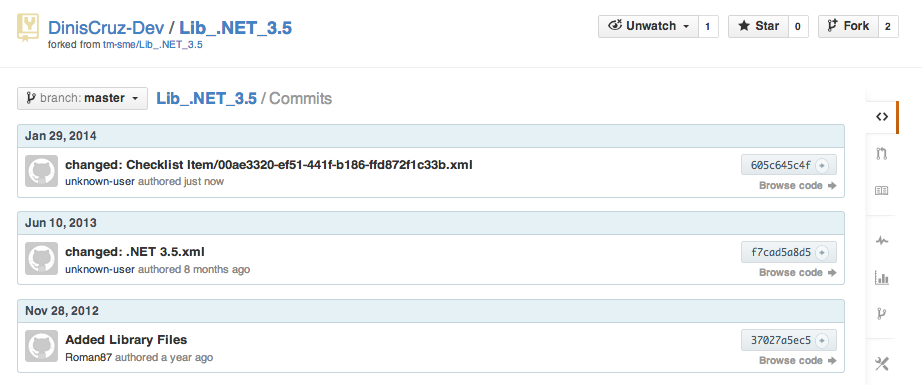
Once that is done, go back into the GitHub repo site, open the Commits page ([https://github.com/DinisCruz-Dev/Lib.NET_3.5/commits/master](https://github.com/DinisCruz-Dev/Lib.NET_3.5/commits/master)) and notice that there is an extra commit done just now (note: in TM 3.4 the commit is done under the server IIS user Git settings, which is usually not set, hence the value ‘unknown user’, in TM 3.6 there is already a fix to use the current TM Logged in user)
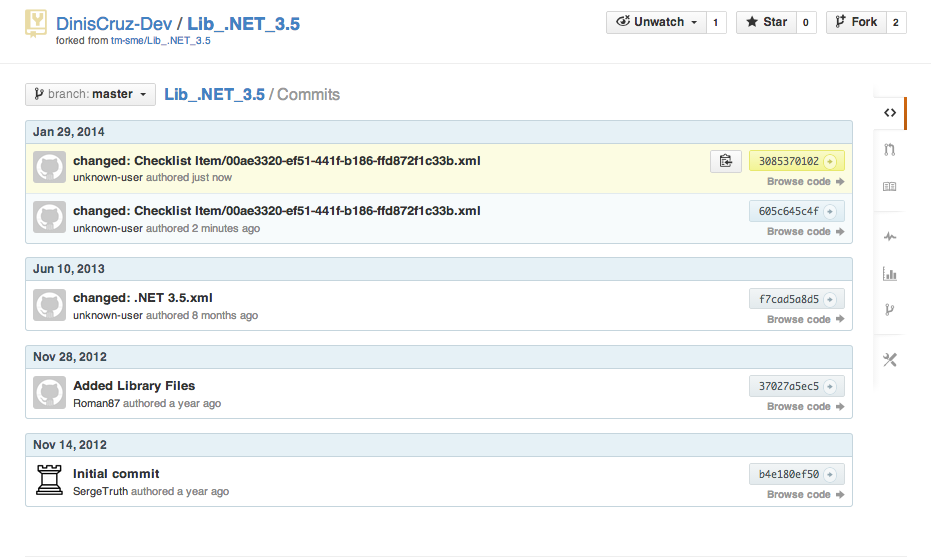
To really see the ‘real time’ commits and pushes, go back to the TM Article and make another change (this time around I’m using the ‘Notepad’ editor):
After a couple seconds from Saving the changes, another commit will exist in GitHub:
… which is made of the user changes (i.e the diff of the changes made on the TM web interface)
Bonus Feature: Quick restore of an TeamMentor website
Not sure if it obvious by now, but what we have created here is a live version of TM whose content changes are being automatically synced (i.e backed up) into an external Git repository.
The first task is to create a Private repo to hold the UserData contents.
Important: Because it will contain sensitive data about the target TeamMentor instance (like password hashes, session IDs, emails, user activity tracking, SMTP account details and encryption key/salt), don’t create a Public repo!
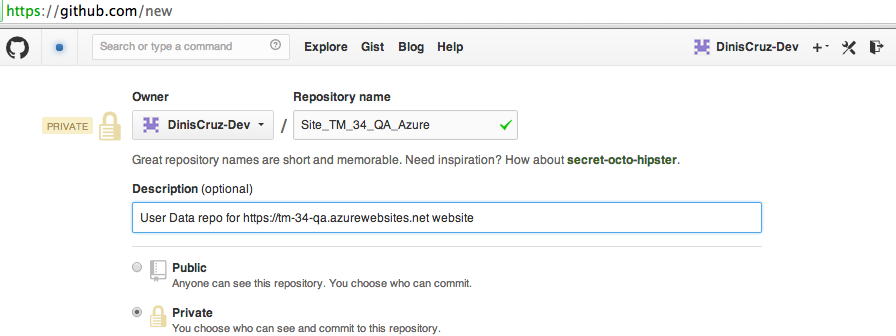
In GitHub, login into the desired account and go to the New Repository page:
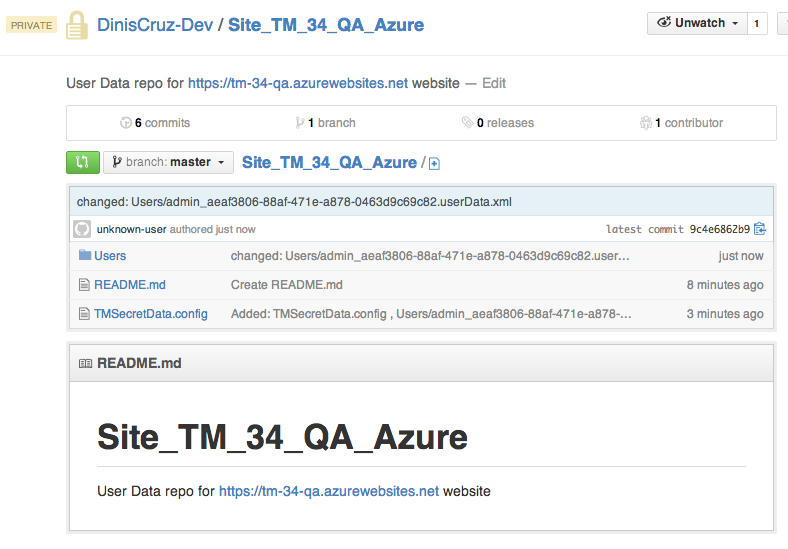
In this case I’m going to create the Site_TM_34_QA_Azure repo, where I followed a convention that we have for UserData repos nanes: Site{Url} or _Site{ServerType}_. Which in this case is Site_TM_34_QA_Azure
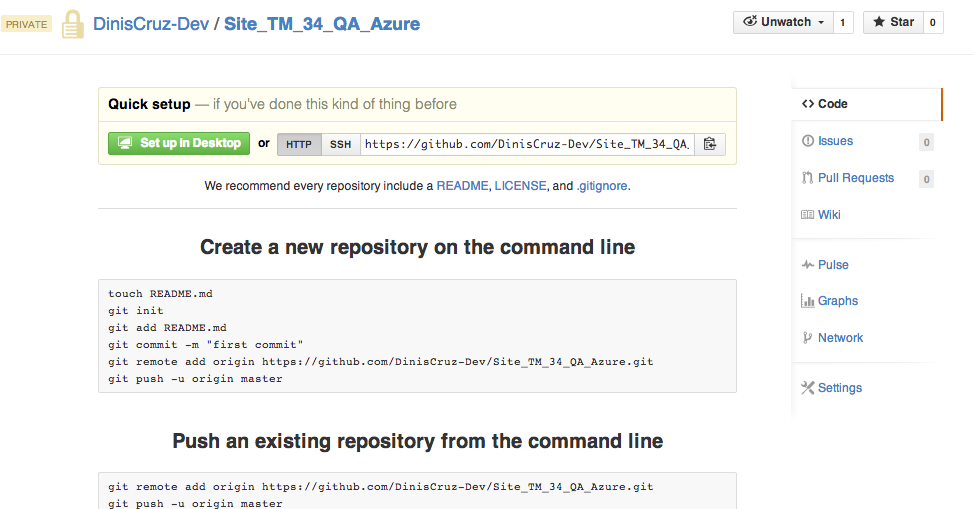
Step 2: Make sure the repo is created with at least one file
If you chose the option to add a default README file in the previous step, you can ignore this, but if you didn’t you will need to make sure that this repo has at least one branch and one file (or the Git Clone from TeamMentor will be left in a non-working state).
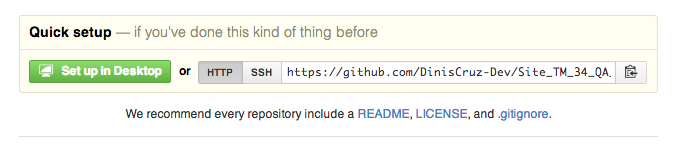
The good news is that you can easily do that from GitHub’s interface.
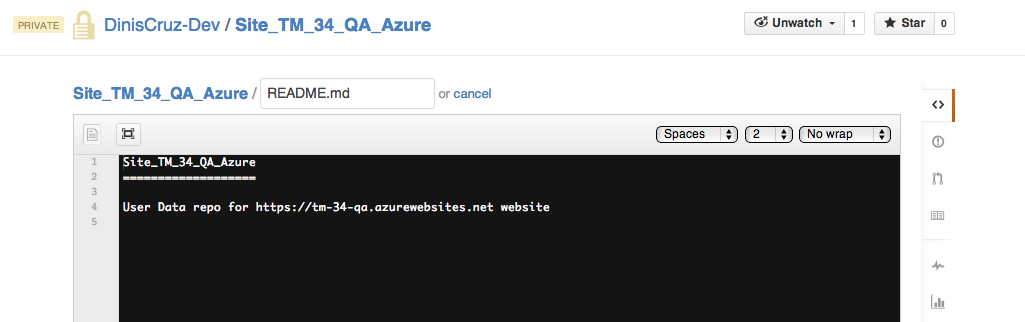
On the Quicksetup section, click on the README me link:
… which will open a web UI where the README.md file can be created:
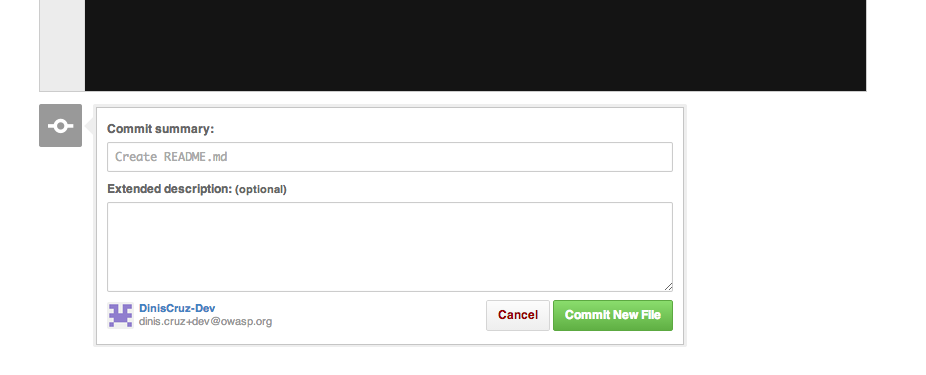
And after clicking on Commit New File
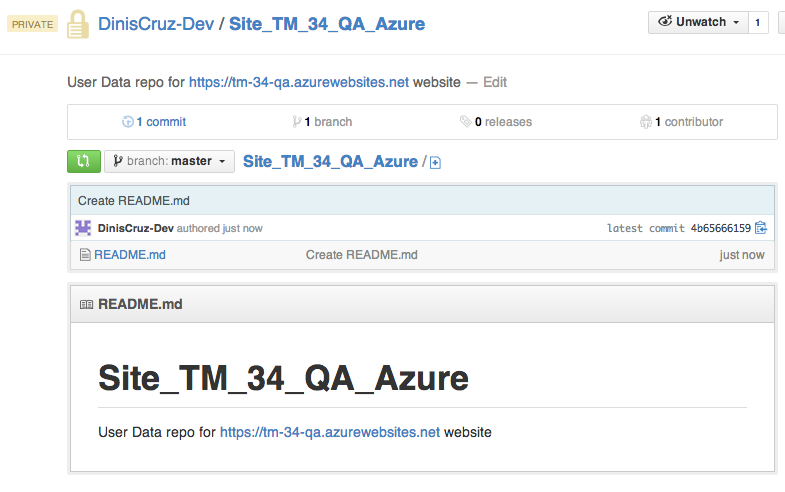
… the target repo is now in state that can be used by TeamMentor
Step 3: Create a GitHub Personal Access Token to be used to access this account from TM server
Step 4: Configure TeamMentor Server to use GitHub’s UserData repo:
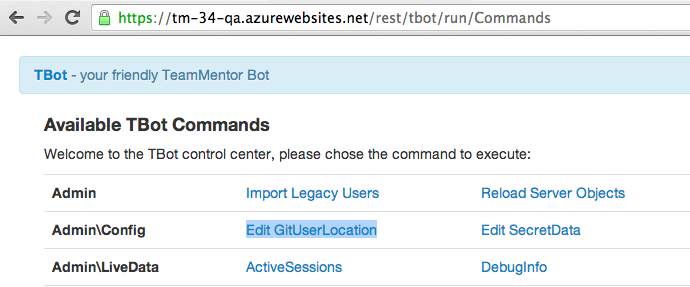
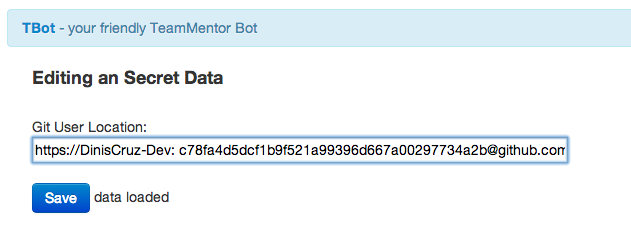
next open TBot’s Edit GitUserLocation page:
… and enter the Git Url (shown above) in the Git User Location textbox:
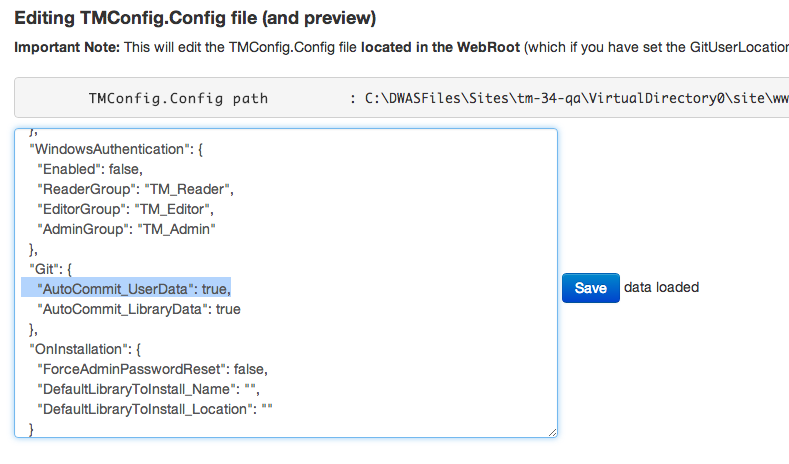
Important: In order to keep the UserData up-to-date, it is also needed to set the TmConfig.config’s AutoCommit_UserData value to true
Once that is done, reload the server cache (which will trigger the UserData setup):
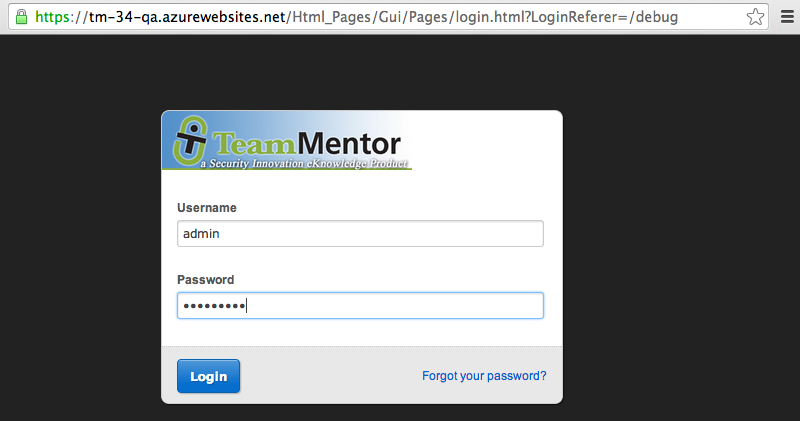
Once that is completed, you will notice that you are logged out from TM.
This happened because a new UserData user store was created which didn’t not had any accounts. In those cases TeamMentor server engine will create a default admin account using the details provided in TMConfig.config:
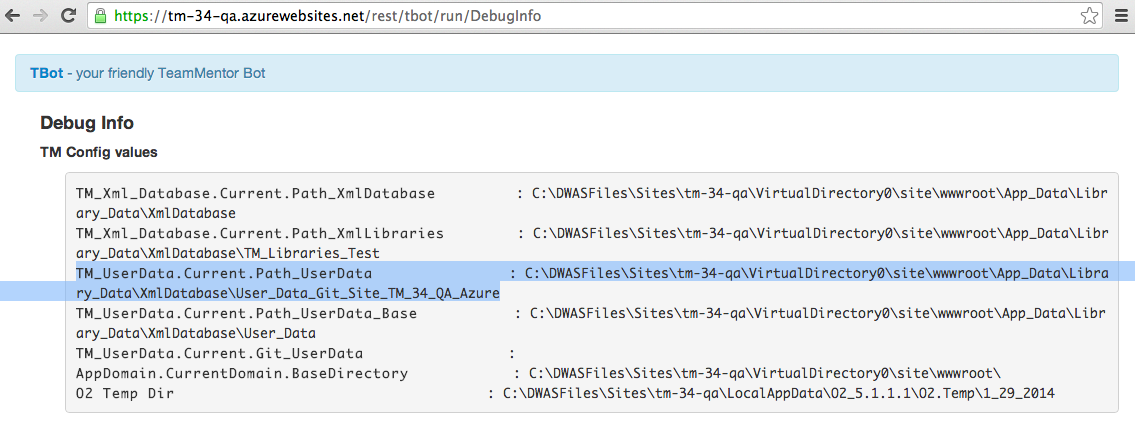
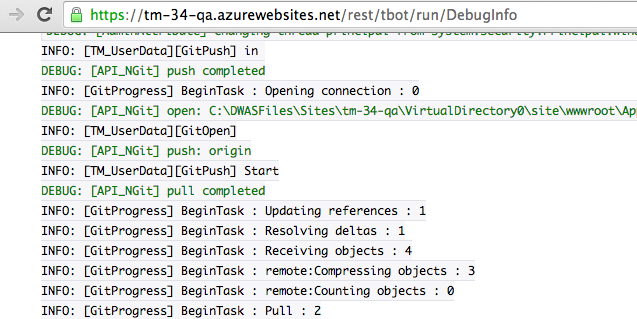
We can also double check on the TBot’sDebugInfo page that the UserData now points to a different folder (note that the folder name is based on the repo name)
We can also confirm in the DinisCruz-Dev/Site_TM_34_QA_Azure repo that the UserData default files have been created (which also confirms that the connection between TeamMentor and Git’s UserData repo is working ok)
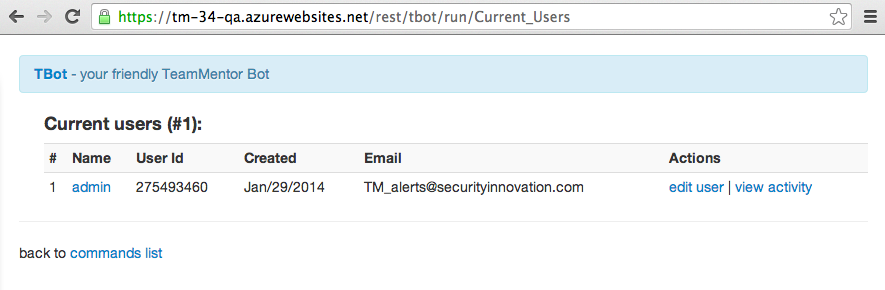
Step 5: Create a new user and confirm that it shows up in GitHub
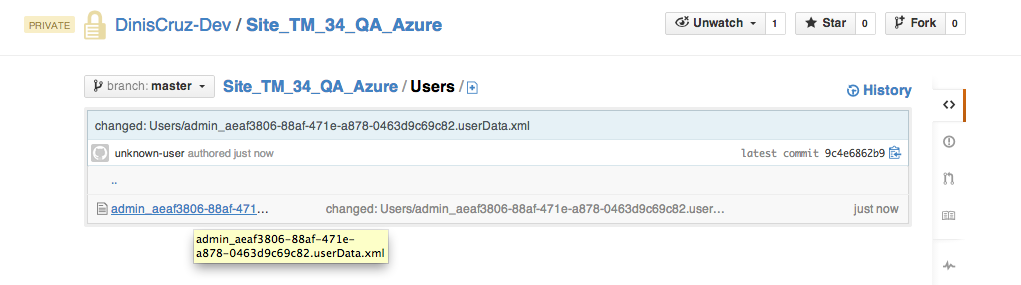
If you look at the Users folder in the GitHub repo, you should see on file in there (which represents the default admin user)
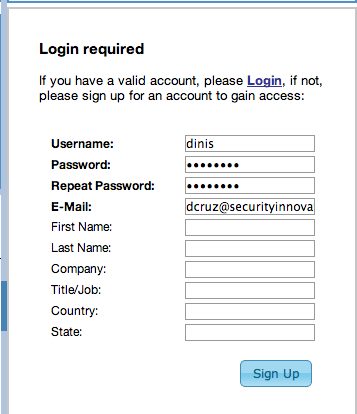
Next, create a new user (using for example the form provided in the home page of the target TeamMentor site):
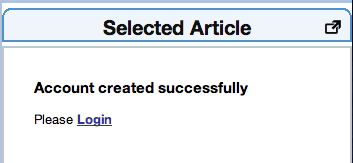
Once the account is created:
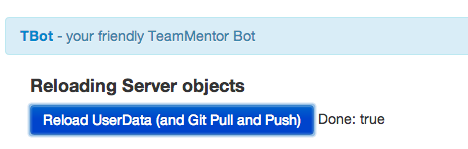
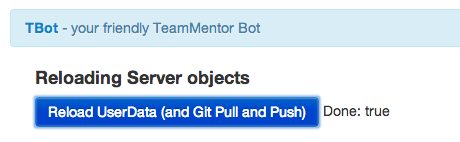
Go back to TBot and reload the UserData (which will trigger a Git Pull and Push of the UserData repo):
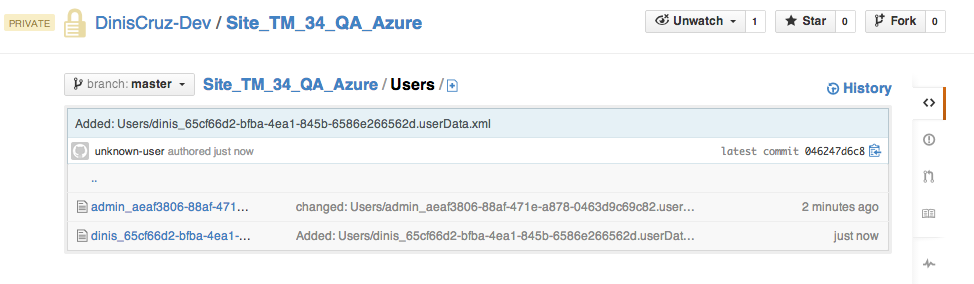
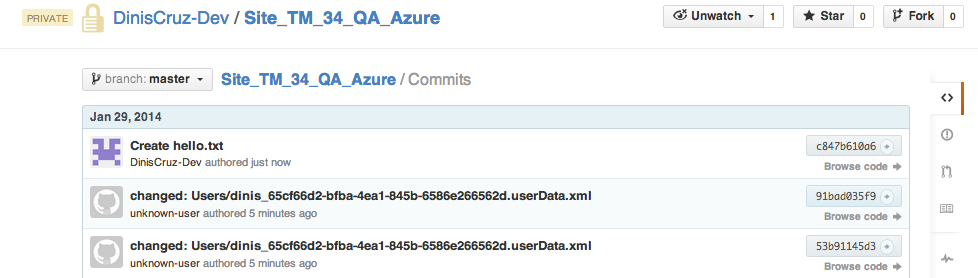
Reload the GitHub User’s folder and notice that there are two xml files in there:
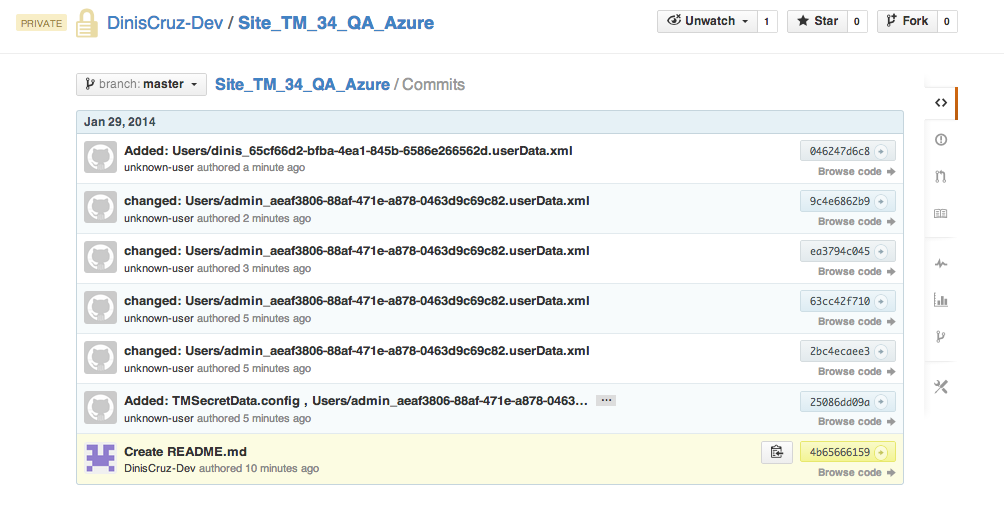
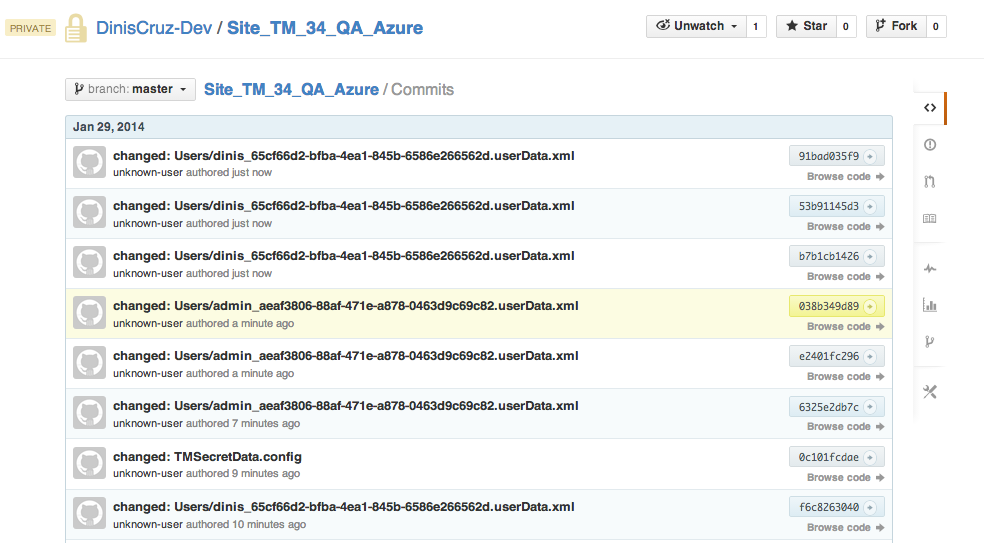
A quick look at the commits of this repo, will also show the Commits created by TeamMentor’s backend:
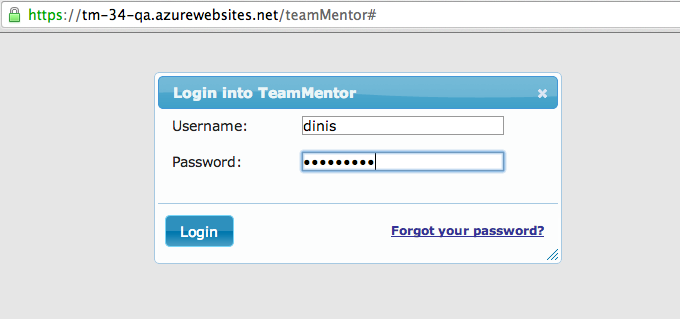
Now logout the admin user and login as the new dinis user:
… reload the UserData objects:
… and note in UserData GitHub’s repo that there are a number of new commits:
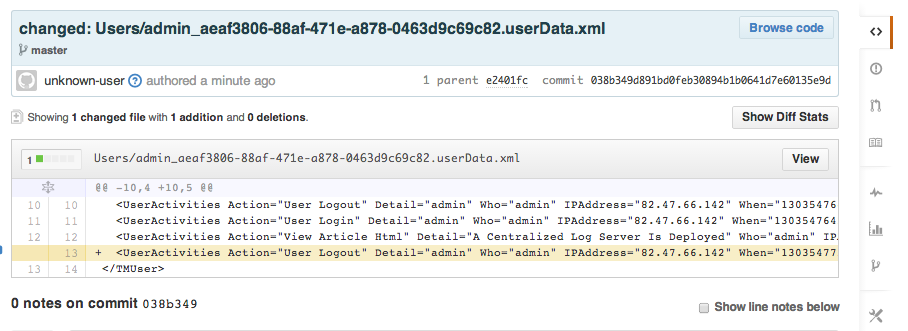
For example, here is the ‘Logout user activity log’ for the admin user:
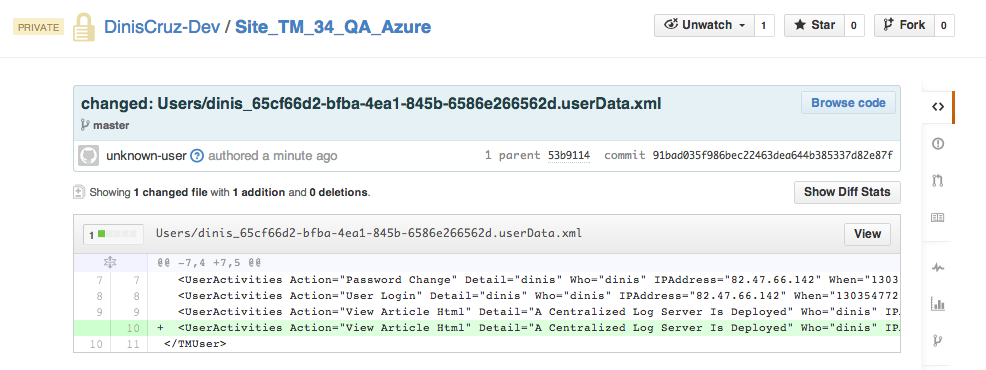
… and here is the UserActivity for the dinis user:
Step 6: Add a Library from a GitHub Repo
In order to make this a working server, we need to update the SecretData config file:
On completion you should see a message with the number of Libraries and Articles in the current server:
And reloading TeamMentor will show the imported Library fully loaded and ready to be used:
Adding files to TeamMentor’s web root via a UserData folder (synced with GitHub)
This post shows how to add custom files to the TeamMentor’s webroot using a special feature of the TeamMentor’s UserData folder.
In this demo I’m going to use the UserDatasetup in this post (currently synchronised with a GitHub repo)
Basically we are going to edit a file in GitHub, which will end up in the root of the associated TeamMentor website (which is quite a powerful PoC and bug fixing feature).
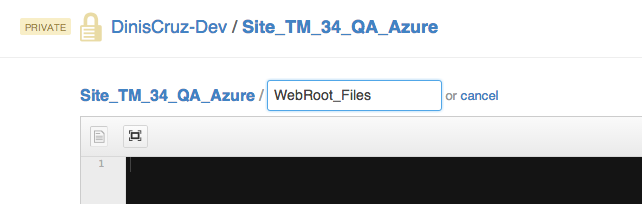
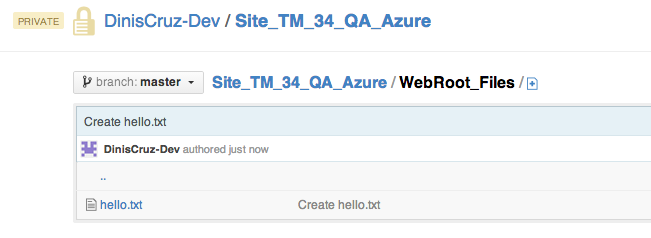
First step is to go to the synced GitHub repo (created here) and click the Create a new file here button in GitHub’s UI:
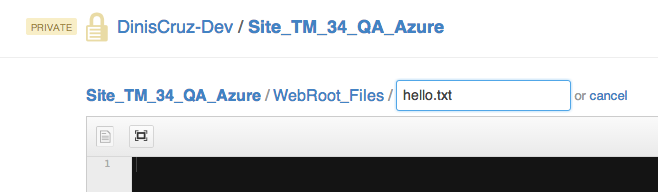
… the next page allows us to define a folder name (which needs to be WebRoot_Files if we want these files to the copied to webroot of the current TeamMentor application) :
… and a file name (which can be anything):
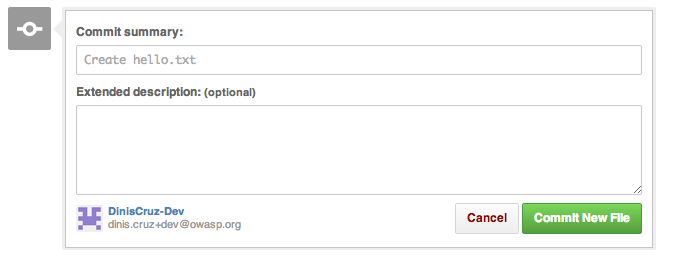
… the file contents are added using the GitHub’s text editor:
… and saved using the Commit New File button:
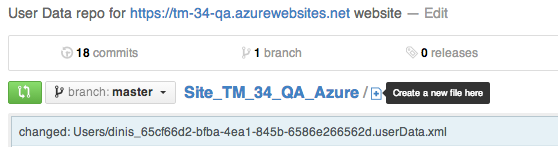
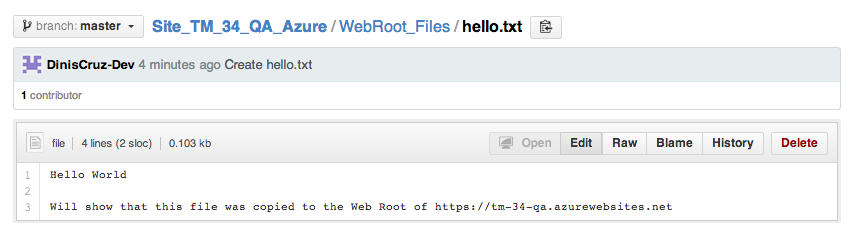
Here is the file added to the GitHub’s UserData repo:
Here is the commit (created by GitHub)
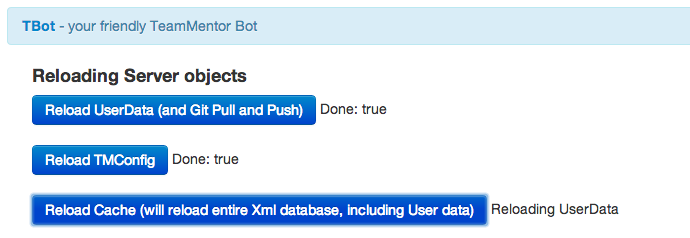
Back in TeamMentor, if we click on the Reload UserData
A server side (to TeamMentor) git pull will occur, and the file added in the GitHub’s UI is now also present in the local TeamMentor’s UserData folder:
Note: in the next version of TM, the Git messages are much better (for example they will show the names of the files affected by a pull)
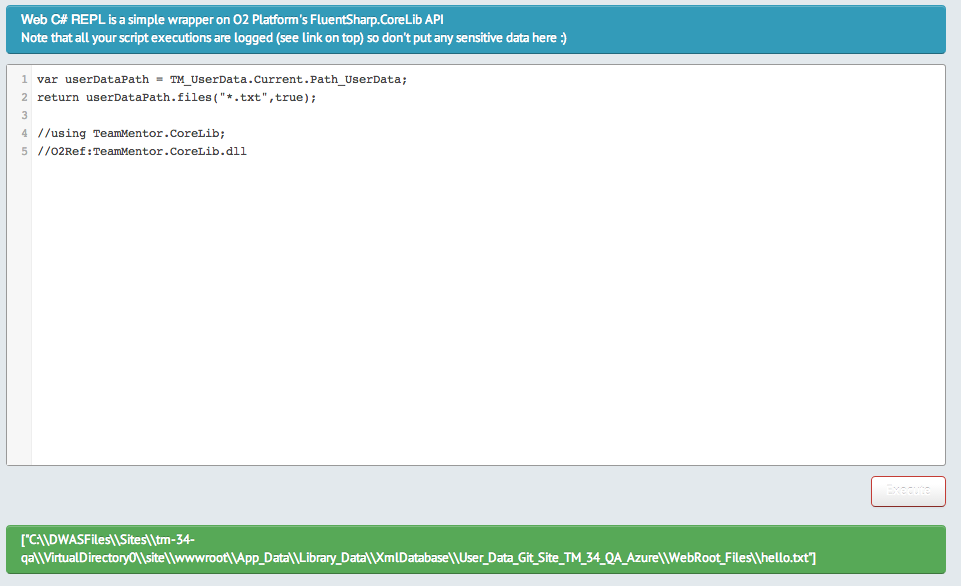
Here is a simple C# script that confirms that the file is already in the local UserData folder (this script was executed in the C# REPL that is part of TeamMentor’s admin features)
But, at this stage, if we try to open the hello.txt file in a browser, we will see that it doesn’t (yet) exist:
The reason is because the logic that checks for the existence of WebRoot_Files in the current UserData folder, is only executed on server startup or cache reload.
The best solution is to go to the TBot’sReload Server Object’s page and click on the Reload Cache button:
And once that is done, the hello.txt file will now exist in the TeamMentor’s root folder:
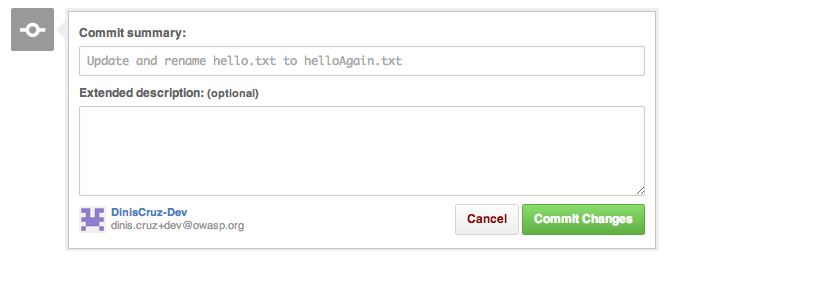
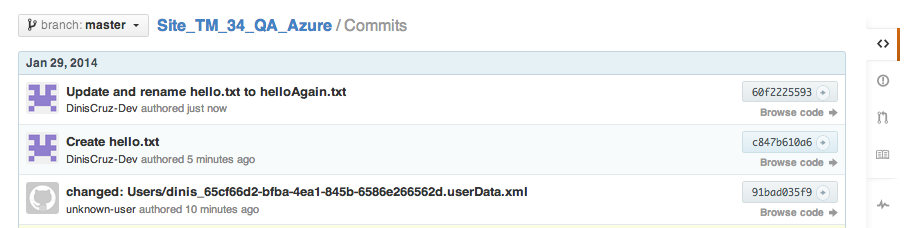
Just to confirm that all is ok, let’s try renaming that file in GitHub:
… to helloAgain.txt
… saving it:
… checking that update commit is there:
… reloading the TeamMentor’s cache:
… and finally confirming that the file has been updated in the live TM server.
Note: Doing this for *.txt file is not that interesting.
Where this technique will really show its power, is when we create *.aspx server-side pages, *.html client-side pages, *.ashx asp.net handlers or *.cshtml Razor pages (these last ones will need to be placed inside a special TBot folder).
I will show how this works in one of my next blog posts.