Table of Contents
About this Beta Book
Painless Tmux is in beta status, meaning all the chapters and sections that are going to be in the book are now in the book. Entire sections are no longer likely to be replaced with pictures of bunnies, but the text is still in a pretty rough and ready state.
The upside is that you can be an active participant in the development of Painless Tmux. Reader feedback will be taken seriously and will help me focus on what makes this book best for you.
Thank you for supporting this book, even in these early stages. You’re incredible, I hope you know that!
Preface
Why This Book?
I wasn’t going to write a tmux book. I never meant to start writing technical books in the first place. But a number of readers of Painless Vim asked if I would be writing another tech book, and if I did could I please make it about tmux?
Which felt like a weird request at first. But it makes sense. If you’re using vim you’re already (probably) in a terminal, and if you’re editing text or code with all these keyboard shortcuts why don’t we take it one step further and make it so you can do everything with awesome keyboard shortcuts?
So here we are. A book about tmux. And honestly, I’m pretty excited. Because Painless Vim was hard to write, for a couple of reasons:
- I was new to vim
- I was new to writing tech books
- Vim is a challenging topic
Painless Tmux is completely different: I’ve been using Tmux for over a year, and consider it a mainstay of my daily routine. I know exactly what I want to show you, and I’m confident that I can get you to a stable, productive and honestly amazing tmux workflow without too much hassle. So, let’s get right into it!
Introduction
What is Tmux and Why Do I Need It?
In a day and age where monitors are huge and processors are powerful it doesn’t make sense that we’re limited to a single command line interface per terminal session. Tmux is a way to fix that. When you’re using tmux you’re in charge of an endless army of terminals that you can use to monitor and command all aspects of your work from a single window. So you can monitor output from your server while you write new code, run your compilation scripts, and do it all while looking like the world’s most über häcker. If you spend more than a minute or two a day on the command line you need to be using tmux, and the best part is that it’s pretty simple to get set up and comfortable.
What This Book Is
This book aims to be:
Short
You’ve got better things to do than read books about terminal multiplexers1. Tmux isn’t that hard, once you get into it, and I’ll keep this brief so you can get on with the important stuff you’re doing.
Cheap
tmux is free. While I don’t want to sell my work for nothing, I’m coming pretty darn close. This is a beginner’s book, and my goal is to lower the bar to entry. To start with, I’ll price it low and hope that helps you along.
Easy to understand
My main goal here is to help you build confidence and get your feet under you. If you’re reading this during the beta period and you’ve got suggestions, please send them on over to me! I’m more than willing to listen and change.
Friendly!
My high horse died a while back, and I never bothered to buy myself a soapbox, so I won’t be doing any preaching. I think tmux is an awesome way to be productive and look good doing it, and I want to help you have that same level of fun and power.
Opinionated (but in a good way)
I’ll keep the tone friendly, but I got opinions people. There are things I think are good and things I think aren’t so good. But I’ll let you know why I think some things are good or not so good and let you make up your mind on your own.
Lighthearted, but serious
The tone of the book is meant to be light and approachable, but the advice is meant to be rock solid. I’m not going to have you do things to your configuration files that I wouldn’t do, even temporarily, or to prove a point. The goal is to make it easy for you to get things right 2 the first time.
What This Book Isn’t
This book definitely is not:
The end-all-be-all reference on tmux
I’m here to help you get started, not to be the only book you’ll ever read on the subject. Tmux is actively changing, and once you get your feet under you it will be easy for you to adapt to those changes on your own. I’m here to help you spread your wings and fly, free and on your own. You can do it!
A list of tips
A lot of the stuff in the later chapters won’t make a ton of sense if you haven’t been through the earlier chapters. The chapters are laid out iteratively, starting with small changes that build up to a final configuration that should work well. Then you’ll have a good jumping-off point for your further experiments.
A deep dive
The goal here is to give you enough information to be comfortable, but not all the underlying technologies and line editor commands and other such things. Again, these are available online and in many other reference guides all over the place. When you decide that you want to know more about something you’ll be able to find it. I have faith in you.
Who am I?
I’m Nate Dickson, it says so right on the cover.
I’m also the author of Painless Vim, a book that seeks to make learning vim less terrible. Beyond that I’m a professional programmer by day, author, blogger, and daddy by night. You can check out a fairly large amount of my writing on my personal blog3, my sporadically maintained tech blog4, or my less-maintained Apple blog5. You can also check me out on Twitter6, Github7 and App.net8.
References
I will refer you to a lot of other books, posters, blogs, wikis, etc. etc. over the course of this book. For the most part these are things I’ve used extensively myself, and can heartily recommend. Again, I’ll try to provide reasons for my references and let you decide if it sounds like something you’d like to investigate on your own.
The Obligatory “Conventions Used in This Book” Section
First off, regarding the actual word “tmux”. In general I will write it all lowercase, because that’s how most people think of it, like “perl” or “ruby”. That’s the command you enter to start the editor, and that’s really the name of the program.
However, when it’s in a book, chapter, or section title I will capitalize it, just as I would any other word in a title: Painless Tmux.
Occasionally I’ll put in chapters called “Interludes”. These are chapters that are less intense than the regular ol’ chapters, and more focused on taking a look back over what we’ve already covered and crystalizing what we’ve learned. Think of them as nice places to sit down and reflect on how wise you are becoming.
Other than that, I use the same conventions everyone else uses. Code appears in a monospaced font, and longer blocks of code will appear
Special keys like <shift>, <enter>, <esc> will have angle brackets around the name to make it real obvious that you shouldn’t be typing that word, you should be pressing that key. If you need to press <ctrl> and another key at the same time (and you will need to do this, quite frequently) I’ll just write them like so: <ctrl>b.
If you need to press keys in sequence I will put a space between the keys. So if you need to press g and then t I would type it like this:
This will usually happen when you start off a command made up of two keys, and then press a third key:
In this case you would press <ctrl> and b at the same time, then release them and press x.
Again, this will all make more sense in a bit. For now let’s get moving.
1. Say Hi to Tmux!
Let’s say you’re a typical developer working on a website. You’ve got one terminal window open for developing9, another window open for your live rebuild/reload script, and a third open to keep an eye on the server logs. And you’re pretty cool so you’ve got these all in tabs on your terminal app. Something like this:
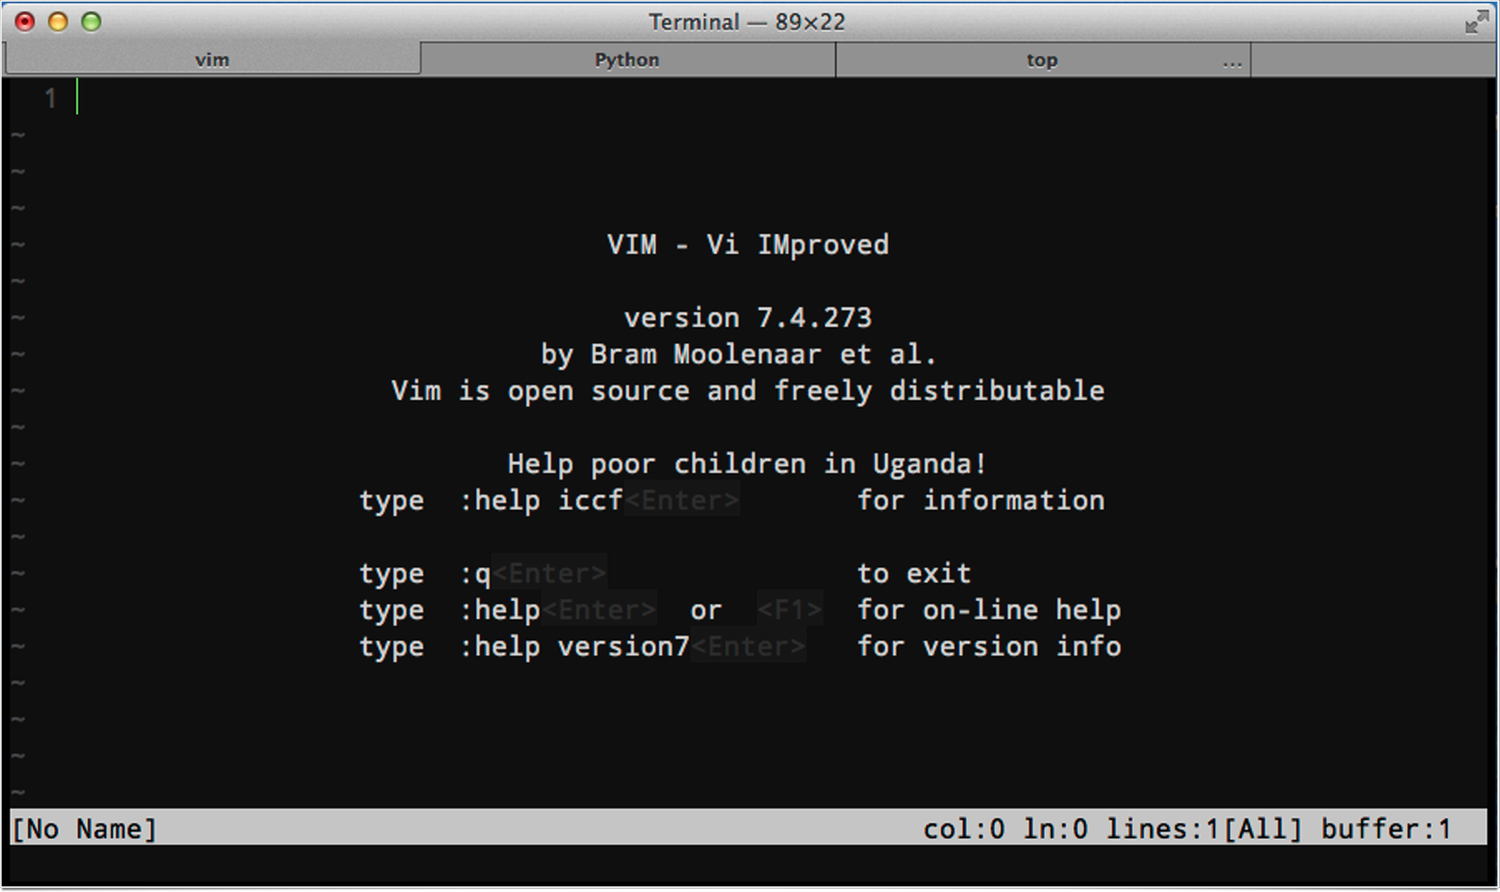
And that’s fine. But we can do so much more! Right now you’re stuck with an either/or situation: either you can have all your terminals in one window, or you can see them all at the same time. If they’re all in one window you can move and resize them easily. If they’re all in different windows you can see what’s going on in multiple processes at once, but you’ve got multiple windows to move around if you need to rearrange your workspace.
And that’s the first and most obvious problem that tmux solves. Let’s get all your windows in a single terminal session, and have them all visible at the same time:
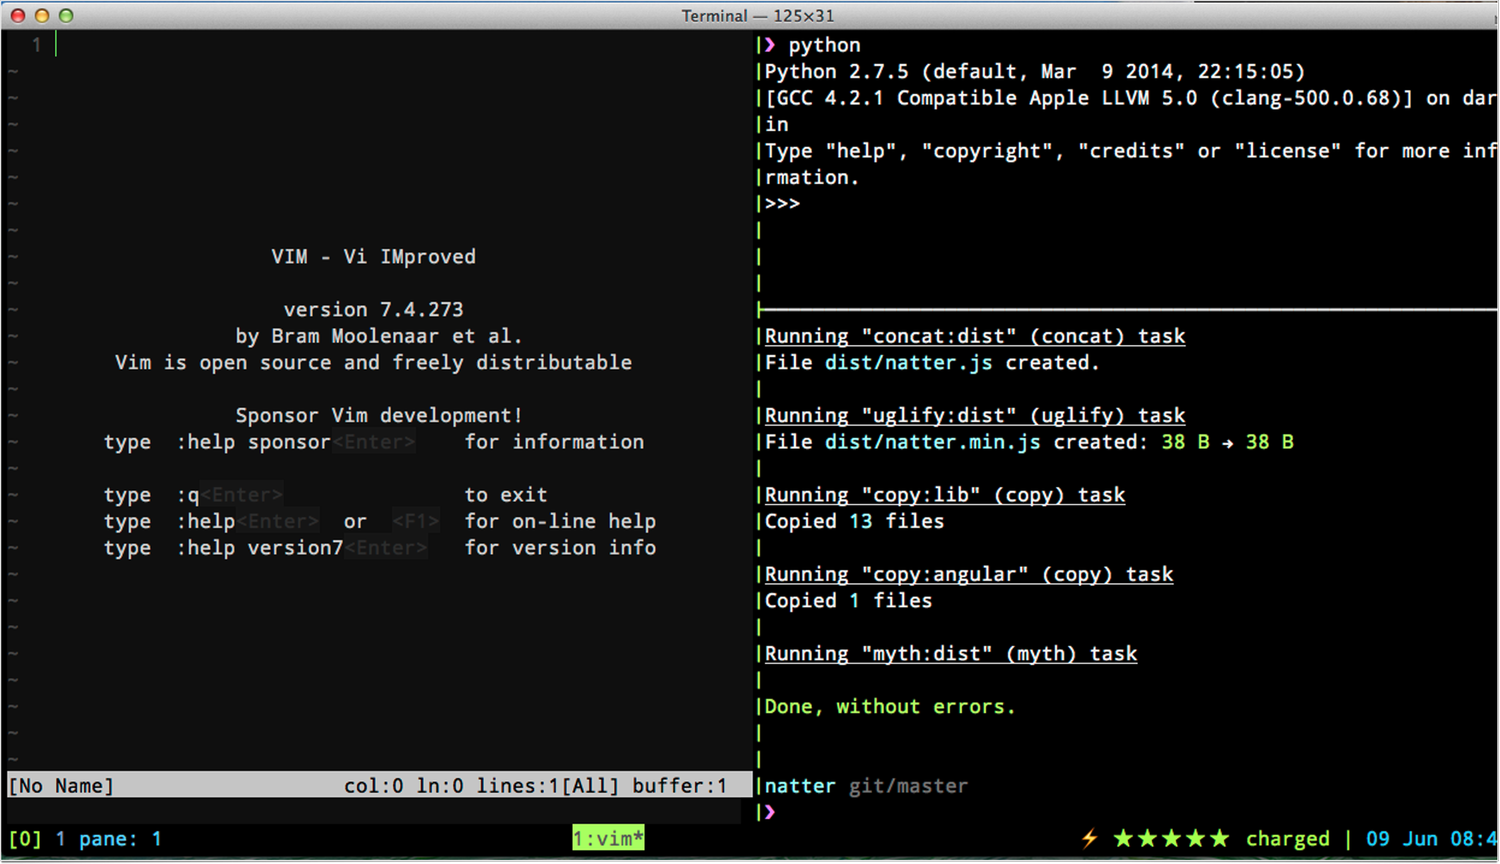
But that’s just the beginning. Tmux is all about putting your workspace into context, grouping related screens, and making it easy to switch between contexts as needed. For people who work with remote servers, tmux allows you to save your contextual setup between sessions, so when you come back to your server after a few hours (or even a few weeks) everything is where you left it. And the even better news is that all this power is stupidly simple to use.
Unfortunately, tmux doesn’t look quite that awesome out of the box. We’re going to have to do a few things to it first. A brand new install of tmux looks more like this:
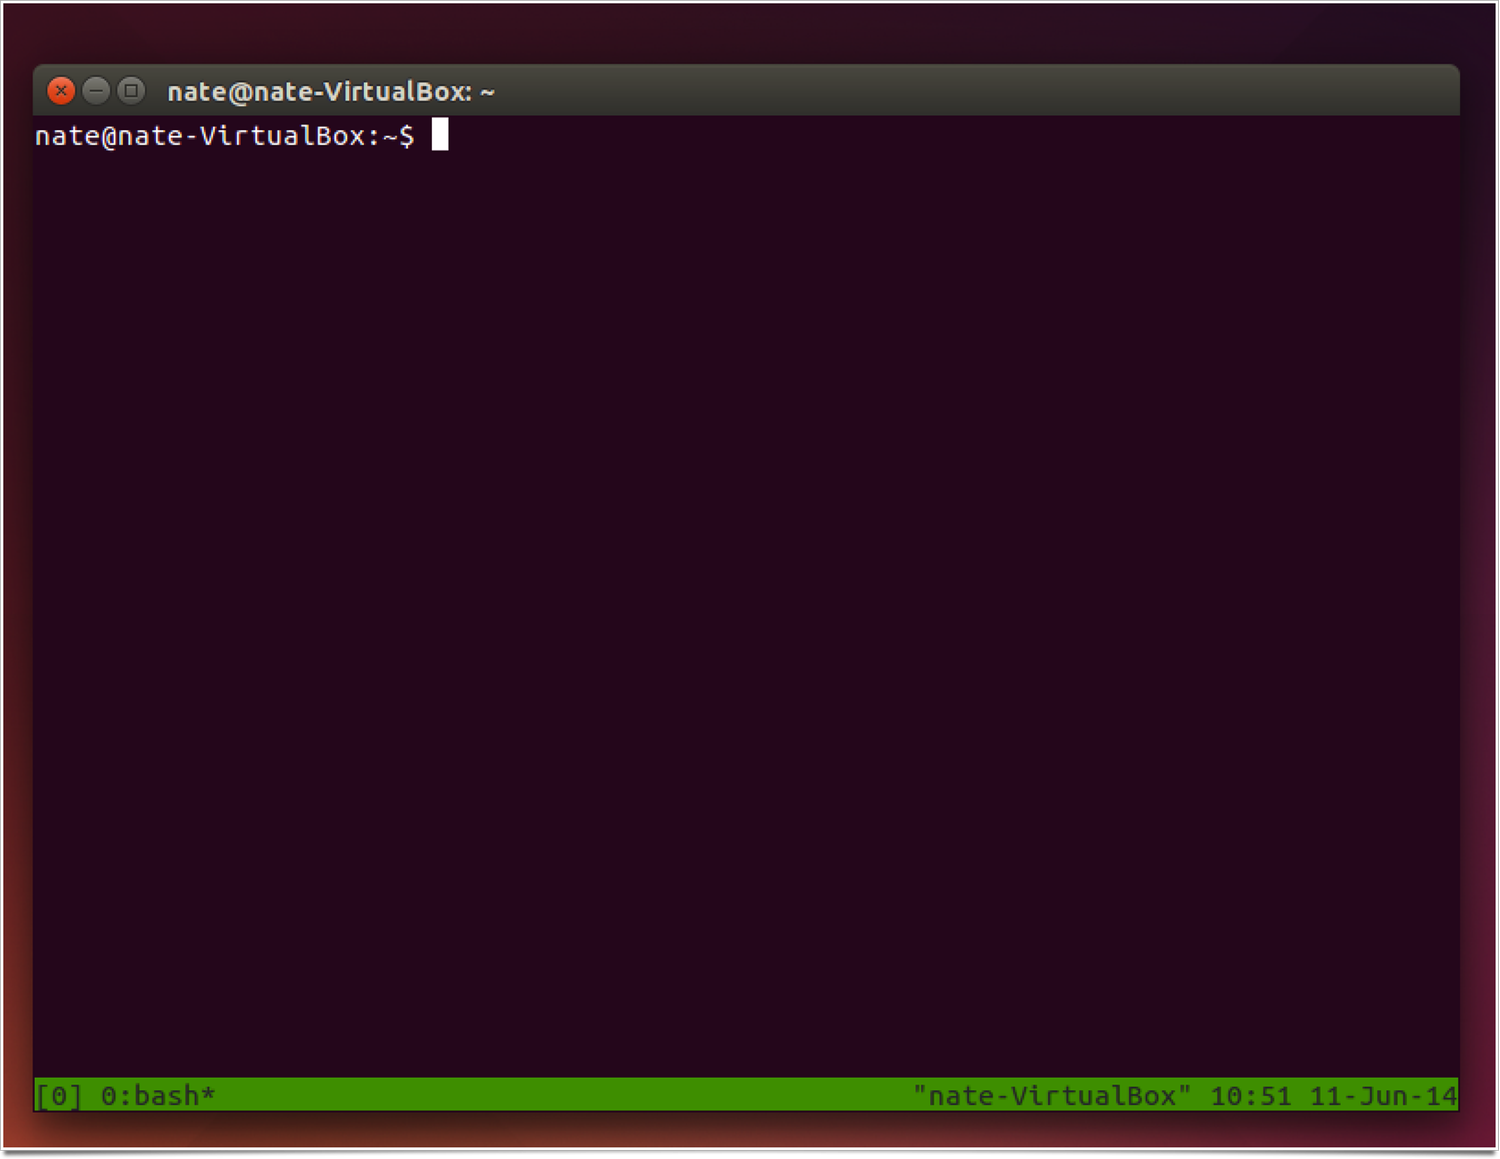
The rest of this book is dedicated to getting you from that brand new tmux to the fully customized tmux of your dreams.
2. The Prefix: For Before We Begin
Tmux is designed to let you work fast and efficiently, without getting in your way. To that end, it will ignore anything you type until you hit the <prefix> key combination, which by default is <ctrl>b.
The default <prefix> is kind of a problem. <ctrl>b is a weird key combination to hit with either hand. Even if you have already mapped <Caps Lock> to be an additional <ctrl> key10, it’s still taking your hands away from home row.
So, we’re going to jump right into setting up a tmux config file that will make your life better. We’ll be talking much more about your config file when we get to the Configuration is Fun chapter, but for now we’re going to make a couple of small changes to get you started. Tmux looks for configuration commands in a file called .tmux.conf in your user directory11. Using your favorite editor open this file, or create it if it doesn’t exist. We’re going to add two lines:
Save that, and start (or re-start) tmux. What we’ve just done is tell tmux that we want to use <ctrl>a for our prefix command, and we want to stop using <ctrl>b for anything. If you’re using <caps lock> as an extra <ctrl> key the advantages of this new prefix are obvious: the a key is right next to the <caps lock> key12
Again, we’ll get more into the syntax of config file stuff in a bit, but let’s take our new tmux config for a test drive.
A Tour of the Tmux
Let’s start with a quick dash into and out of tmux. I’m going to take it as read that you’ve already installed tmux, and you’re ready to go.
Start tmux with the tmux command in any terminal window. As we saw in the last chapter, the only visual clue that you’re in tmux is the bar across the bottom of the screen, which is nice and all, but doesn’t actually help us do anything. This is where we start using our <prefix> key. For starters, let’s split the screen in half. Enter the following command:
Your screen should now look a little something like this:
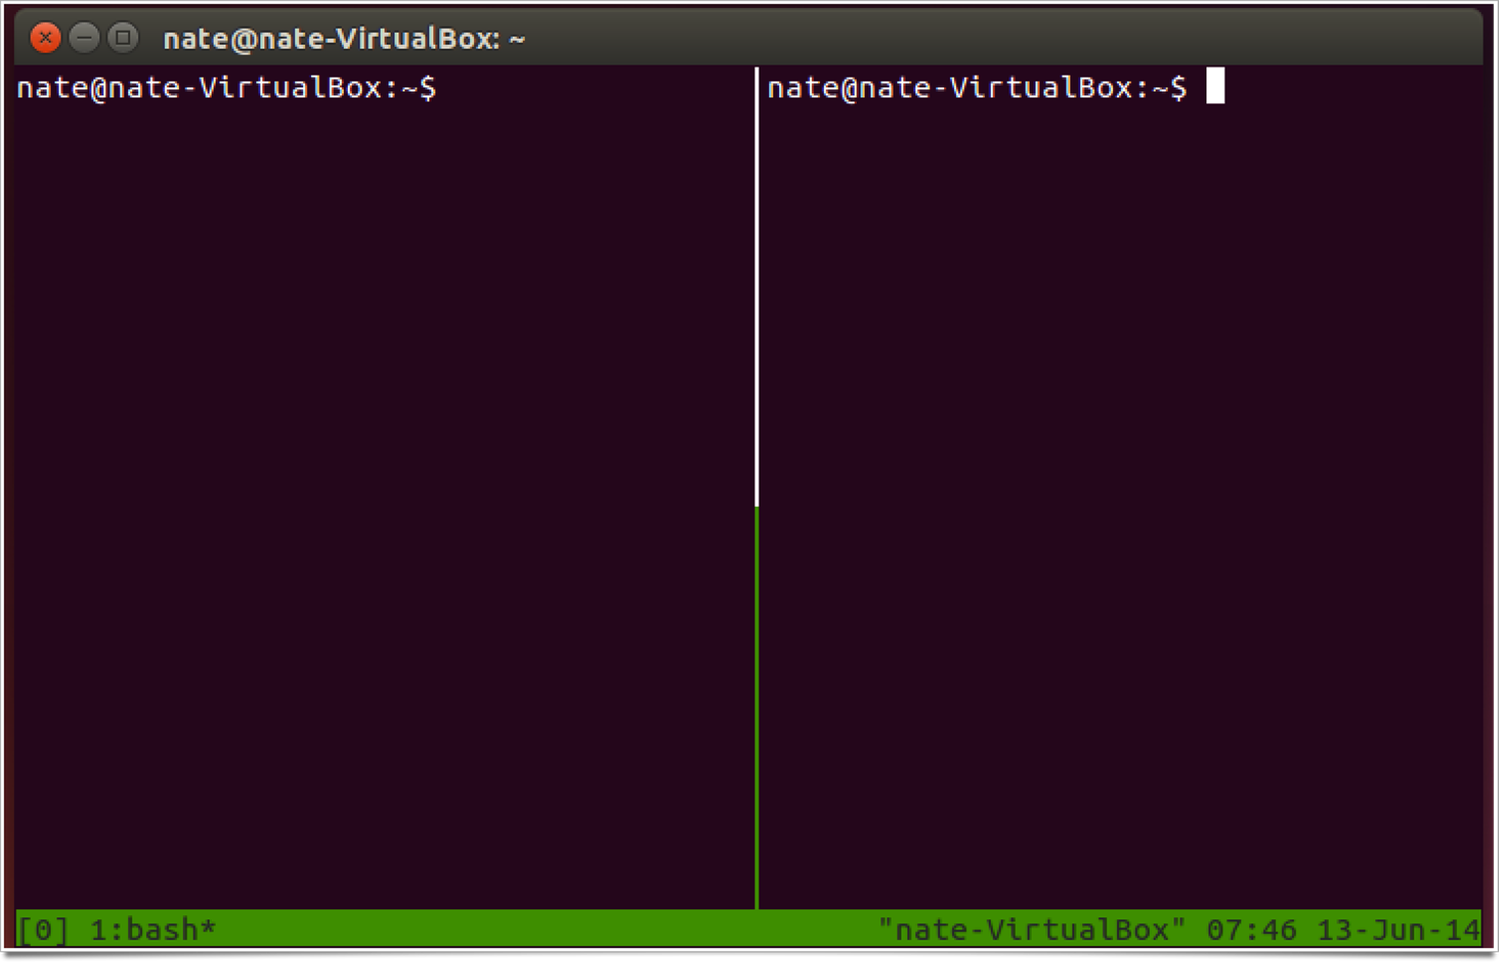
And even better, they are separate processes. Anything going on in the first pane is completely independent of anything going in the second pane. But first you need to be able to switch between the two. By default you do this by hitting <prefix> and then an arrow button. When you open a second pane your focus jumps to that pane, so press <prefix> <left arrow> to jump to the first pane. Just for fun run the top command in this window, then hit <prefix> <right arrow> to jump back to the second pane and run something there. Maybe just hit “ls”, it doesn’t matter. You’re on your way to tmux awesomeness.
But you can do more than two panes! While you’re in your second pane hit
And now you’ve got this:
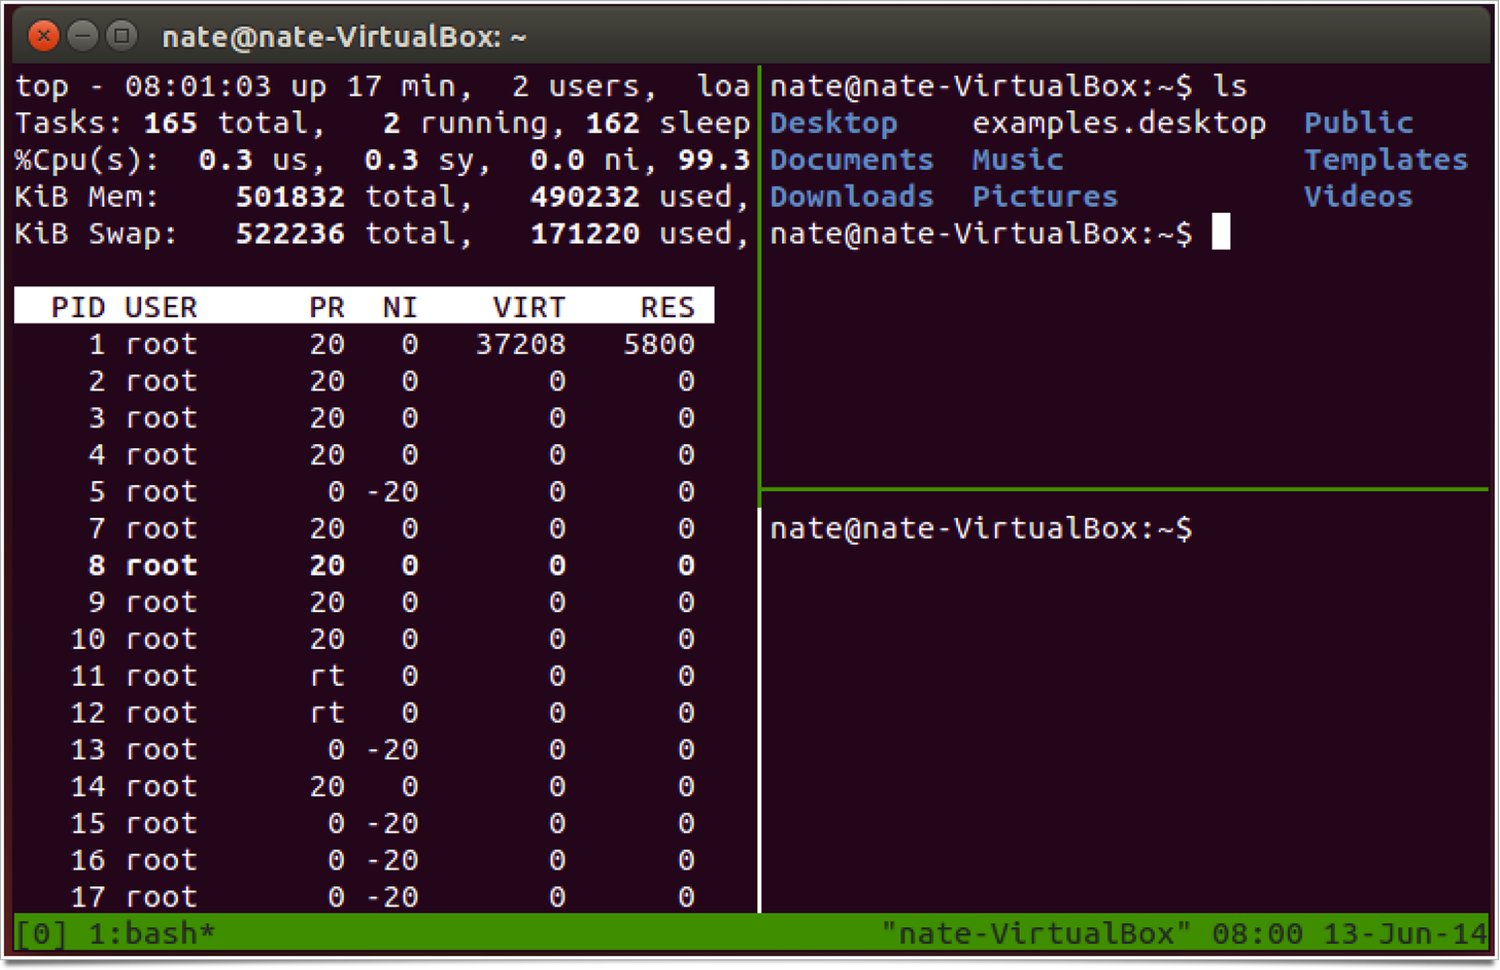
And we can keep doing this theoretically forever. But that trick is getting old, we want to move on. Let’s say you want to leave your tmux session for a while. Maybe you’re using vim to write fan fiction at work. It doesn’t matter. To exit a session simply hit
And you’re back to the regular command line. The “d” in this case stands for “detach”, because that’s what you’re doing: detaching yourself from tmux. This is a handy trick, especially if you’re using tmux on a remote computer because you can detach, close your ssh session, then reconnect to the server and reattach to that session and everything will be right where you left it. But we’ll get into that more in the chapter on Sessions. For now we can see what sessions we have running by typing
At the command line. Unless you’ve been doing some exploring without me13 you should only have one session on that list:
0: 1 windows (created Fri Jun 13 07:43:25 2014) [80x23]
I love this because it gives you all kinds of information you don’t really need,14 but it does tell you the one thing you need to know right at the beginning: the name of the session. In this case it’s named “0”. Not the most inventive name, but what do you expect from tmux? Let’s re-attach to session 0 by entering the command
Again, don’t worry too much about what that means yet, we’ll talk about all this session stuff later. For now you should just see that you’re right back in the session we created earlier.
Okay, let’s end this chapter by closing down all these panes we created. For good or ill, this is a slightly key press intensive process by default. To kill the pane that currently has focus you press
And tmux will prompt you to make sure you actually want to do this. Press y to confirm and that pane will go away. Do this three times and when you kill the last pane you also kill the entire tmux session, and get dumped back out the plain ol’ command line.
Confirm the entire session is dead by typing “tmux ls” again. You should get the message
Meaning “tmux isn’t running right now, friend.”
Okay, we’ve done some good work here. Before we dive back in let’s define some terms.
3. Caps Lock Must Die!
The QWERTY keyboard has a lot to answer for. Supposedly the keys are laid out to slow down typists15, and when the keyboard made the leap from typewriter to computer we had to tack on a bunch of special keys down around the spacebar. But somehow Caps Lock, that most useless of keys, kept its position right on home row. This, friends, is a travesty. Two travesties in fact. But we can fix them both in one fell swoop.
The first travesty is the modifier key ghetto, down around the edges of the keyboard. Look at those poor suckers. <alt>, <ctrl>, either <windows> or <command>, based on your keyboard’s default OS. Sometimes <fn> sneaks in there, sometimes it’s a <menu> key that not a single person has ever once used. But there all of them are, clear down there, far away from home row, forcing you to do some really awkward things to use them, and as power users we use them frequently. Especially <ctrl> and <alt>.
Which leads us to travesty number two: the <caps lock> key, right there, right on home row. A key that serves no purpose in a day and age where we no longer type out telegraph messages to each other:
ATTENTION FRIENDS STOP REALIZED YOU ARE STILL PUTTING CAPS LOCK KEYS ON KEYBOARDS STOP THIS IS STUPID STOP PLEASE PLEASE PLEASE STOP
At long last, steps are being taken. Google Chromebooks don’t have a <caps lock> key any more, it’s been replaced with a “search” key. Expensive custom keyboards these days include a dip switch that lets you permanently change <caps lock> into an additional <ctrl> key. And this, friends, is what you need to do.
Even without an expensive keyboard, you can remap the <caps lock> key to do something useful with it’s life. I strongly recommend mapping it to <ctrl>, as this will make tmux commands, not to mention vim commands, much easier to type, by placing all the needed keys right on home row.
So do it today. Take a moment and remap your caps lock. Do it today. Thank you.
4. The End of the Sample
Thank you for reading all the way through the Painless Tmux sample chapters. Hopefully you found a few things that will help you get on your way to using tmux in your daily workflow. Hopefully you also found a burning desire to read the rest of the book. If that’s the case, have I got a deal for you.
You can buy just Painless Tmux, and get all the wit and wisdom you’ve already seen, with included information about more advanced topics like customizing your tmux session and making tmux do stupid tricks.
For just a couple of extra dollars you can get the Painless Productivity Pack, which includes Painless Tmux and its older brother Painless Vim, for one low price.
Thanks again, and happy command-line-ing!
Notes
1at least, I hope you do. Then again, apparently I don’t have anything better to do than write books about terminal multiplexers…↩
2According to me, see the whole “Opinionated” thing up above.↩
8@poginate. Yeah, I see the pattern too.↩
9For the purposes of this illustration we’re going to take it as read that you’re using vim. But if you’re using something else I won’t judge you.↩
10If you haven’t done this already, please check out the Appendix on why Caps Lock Must Die.↩
11on MACOS this is /Users/yourUserName and on linux is probably /users/yourUserName, but in either case cd ~ will get you there. ↩
12On QWERTY, Dvorak and Colemak keyboards, at any rate. If you’re using an alternate keyboard layout you can use a different key, but you’ll want to make sure you’re not overwriting an existing command. For now, you can do that using <ctrl>b,? from inside tmux, which will give you a list of all currently setup keyboard commands. Press q to get back out of this list.↩
13I promise I’m not hurt. I’m just so happy to see you spread your wings and fly on your own. You’re a beautiful new tmux butterfly!↩
14yet. Some of it will become relevant later on.↩
15I realize that the truth of that statement is hotly contested, but stay with me. That’s not the point.↩
