Table of Contents
Building Flexbox website
This is the material I originally created for workshop “Web Layout with Flexbox” at World Internet Developer Summit 2015 in Hong Kong.
- Preparation
- Introducing Flexbox
- Row–Column grid layout
- Grid layout, powered by FlexBox
- Summary
About Makzan
I’m Thomas Mak. You’ll also find me on internet as Makzan. I teach know-how via books, screencasts and classes.

I’m now in Macao to help transferring technology knowledge to Macao’s small-medium enterprise. That’s why I’m currently working at CPTTM—Macau Productivity and Technology Transfer Center.
Have a chat
You may contact me for any kind of questions and sharing. I focus on mobile web and iOS app development. I also built multiplayer interaction with socket server and node.js. I like to learn more.
- twitter: @makzan
- website: makzan.net
- email: mak@makzan.net
Just ping me at any time for a chat.
Preparing for the workshop
You’ll need to bring your laptop with a modern browser and your favorite code editor installed. There are code demos in this book. I put both the code into the page and on Codepen is live demo. You can find those live demos in the following Codpen collection. Please fork them and play around the code yourself. You won’t learn it until you hack it.
http://codepen.io/collection/XdbWMW/
-prefix-free library
-prefix-free is the JS library made by Lea Verou. It parses the CSS properties and apply certain vendor prefixes on the rules by determining the browser version. This library allows us to skip worrying about different prefixes and the old syntaxes.
Preprocessor
The logic in CSS preprocessor provides us the DRY—Don’t repeat yourself—way to write the CSS code. We will use some Scss code when defining the grid layout. It’s loop and list feature helps reducing the lines of code a lot. If you are using other preprocessor, you may find their equivalents in CSSPre.com. If you aren’t using any preprocessor, no worry, we also provide the full CSS code.
Chapter 1—Introducing Flexbox
In this chapter, we explore basic Flexbox usages.
- Flex direction
- Center alignment
- Container and items
- Flex grow and shrink
- Inputs
Setting main axis with flex-direction
In Flexbox, we control how items are placed within the container. A container is a box with X and Y axis. The Flexbox’s property name doesn’t use X, Y, Left, Top wordings. It’s because we can set flex-direction to control the Main Axis. The other axis is called Cross Axis.
1 .container{
2   flex-direction: row; /* Align from left to right. */
3 }
4 .container{
5   flex-direction: column; /* Align from top to bottom. */
6 }
Align items and justify content
We can now better understand the align and justify after we learn the direction concept. align-items aligns items on the cross axis and justify-content aligns items on the main axis.
Think about justifying a text in word processor. Normally we write the text for left to right. Let’s assume this is as same as having a row direction for our text content. When we click the left, center, right or justify alignment buttons on the toolbar, we can move the content in the row direction. This is what justify-content means—How the content itself aligns in the main axis.
Once we know justify-content is for the main axis, we know align-items is for the other one.
Center align
Center alignment is one of the most discussed topic in CSS. Flexbox provides a easy and elegant way to solve this layout issue.
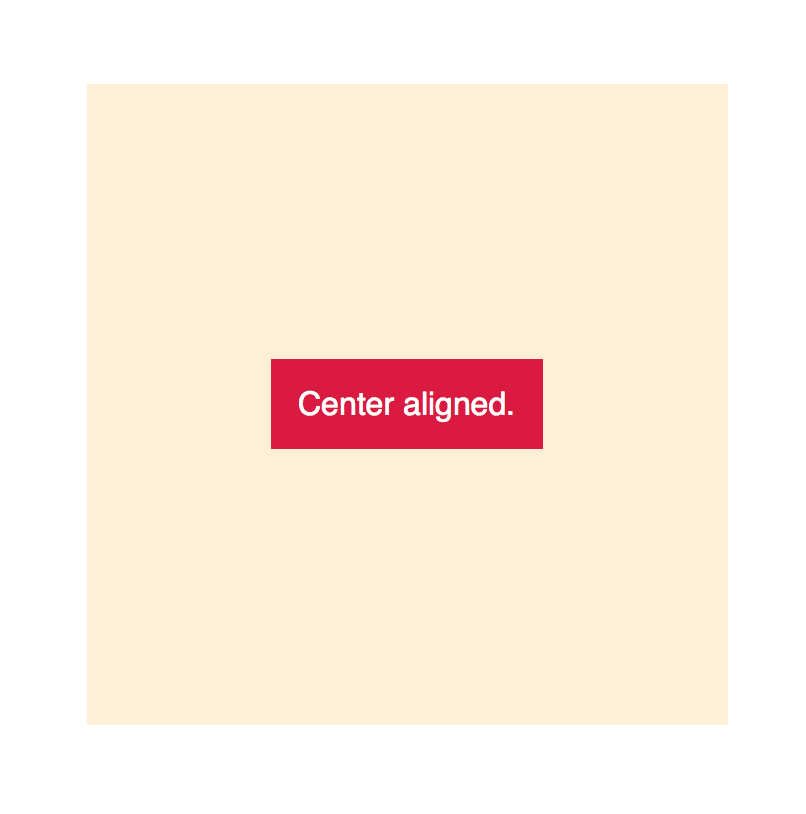
Example—Center aligning one item
HTML:
1 <div class="container">
2   <div class="item">Center aligned.</div>
3 </div>
CSS:
1 .container {
2   display: flex;
3 }
4 .item {
5   margin: auto;
6 }
The beautify of margin: auto on the child items is that it automatically spread the items across the space with equivalent margins.
Example—Distribute multiple items in container
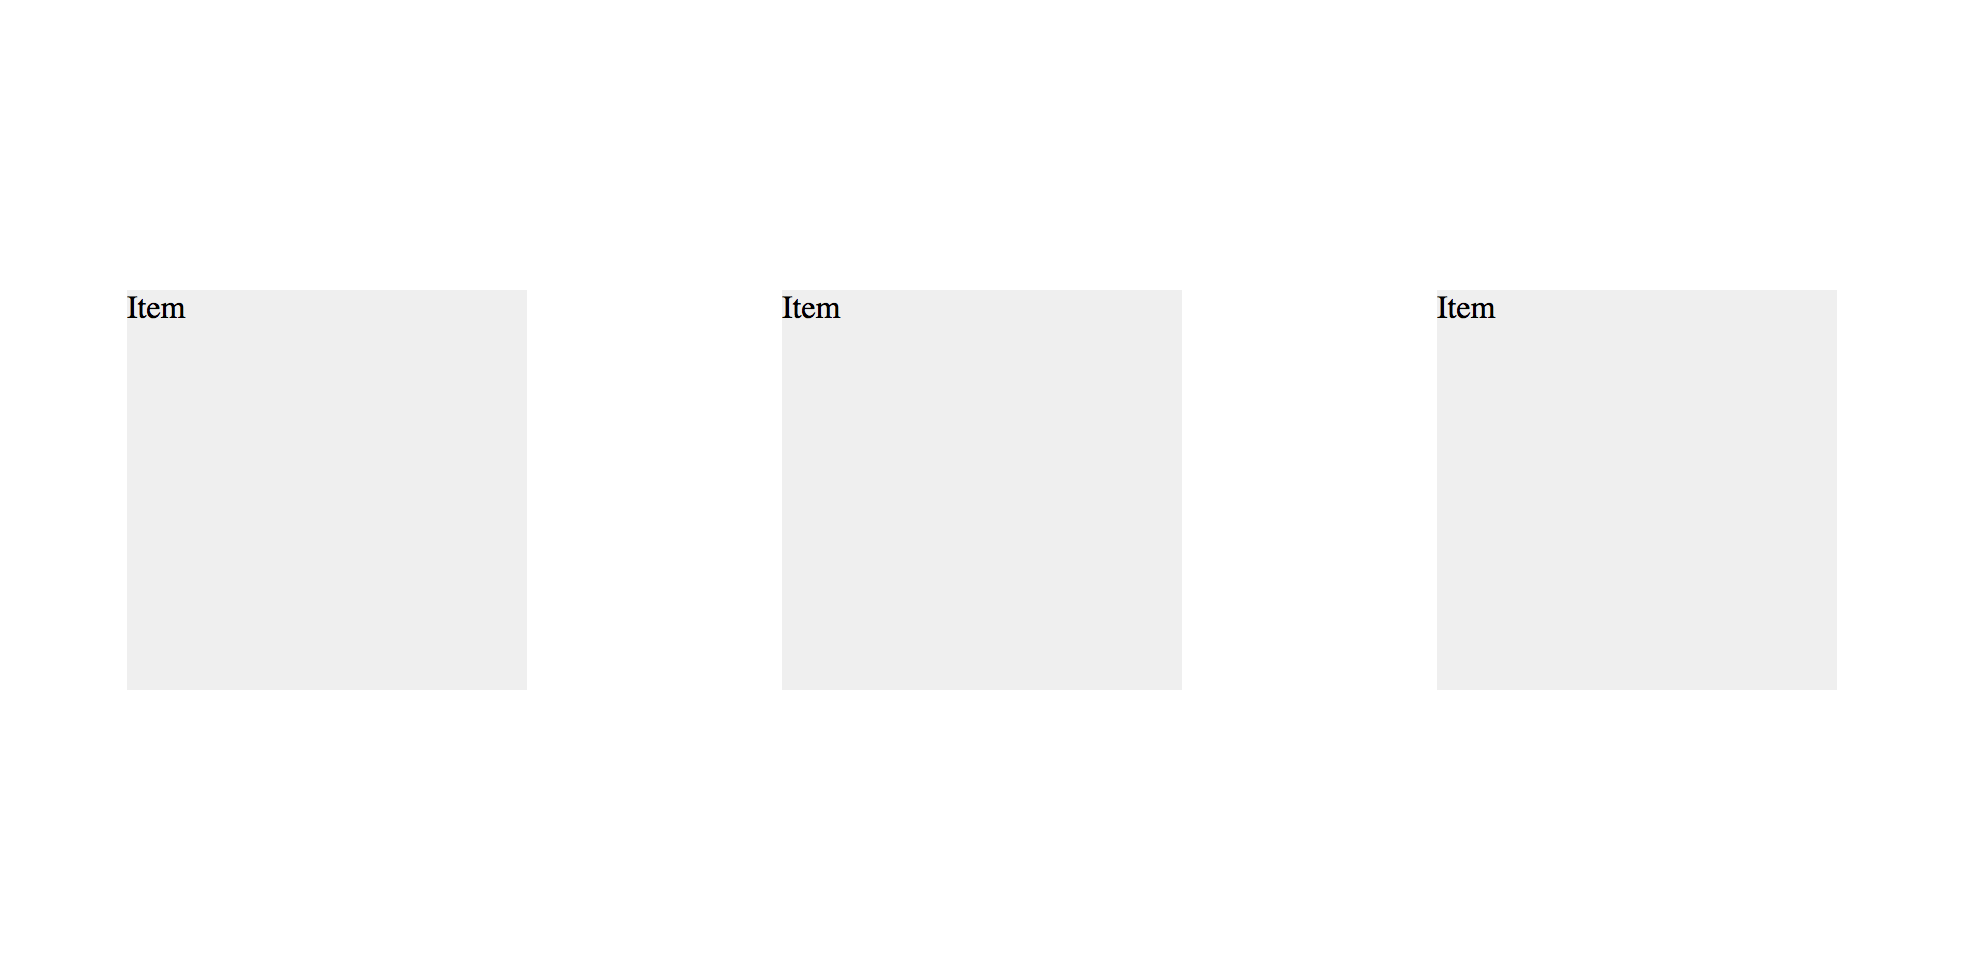
Thanks to the margin: auto, the browser automatically distribute all the items inside the flexbox container equally.
1 <div class="container">
2   <div class="item">Item.</div>
3   <div class="item">Item.</div>
4   <div class="item">Item.</div>
5 </div>
Using align-items and justify-content
Alternatively, we can configure the alignment in the container by using the align-items and justify-content properties.
1 .container {
2   display: flex;
3   align-items: center;
4   justify-content: center;
5 }
6 .item {
7   /* No need to specify the alignment in children */
8 }
Example—Center aligning multiple items

By using the container’s alignment options, we can center align multiple items together.
 1 html, body {
 2   height: 100%
 3 }
 4 .container {
 5   display: flex;
 6   height: 100%;
 7
 8   align-items: center;
 9   justify-content: center;
10
11   flex-direction: column;
12 }
13 .box {
14   height: 50px;
15   width: 300px;
16   margin: 0.2em;
17 }
You can find the live demo in the following link:
http://codepen.io/makzan/pen/dopZxX
Container and items
We only think of 1 container and it’s direct children at any given moment. We should only focus on one container and its direct child items. Flexbox is all about the container and how items inside it take the spaces. When dealing with the container-items pair, we don’t care if the item is a container of another set of elements. We just think of 1 container and it’s direct children.
Flex grow and shrink
When we’re building the grid layout, we need to master another concept of Flexbox—grow and shrink.
flex-grow
Grow defines how the items expand to takes the extra spaces. Grow affects the items when there are empty spaces in the container. Grow defines the ratio each item should expand. Given value 1 on all items mean each one of them should take equal width, or height, depends on the flex-direction.
1 flex: 1;
flex-shrink
Shrink is how each item should squeeze when the container is smaller. Having value 1 on all items means all items shrinks equally.
1 flex: 0 1 auto;
Applying grow and shrink
Given the following HTML structure:
 1 <div class="container">
 2   <header>
 3     Header goes here.
 4   </header>
 5   <main>
 6     <p>Main content.</p>
 7     <p>Main content.</p>
 8     <p>Main content.</p>
 9     <p>Main content.</p>
10     ...
11   </main>
12   <footer>
13     Footer goes here.
14   </footer>
15 </div>
We can make the header and footer shrink to its content height. Then we make the main content auto expand to take up all the spaces.
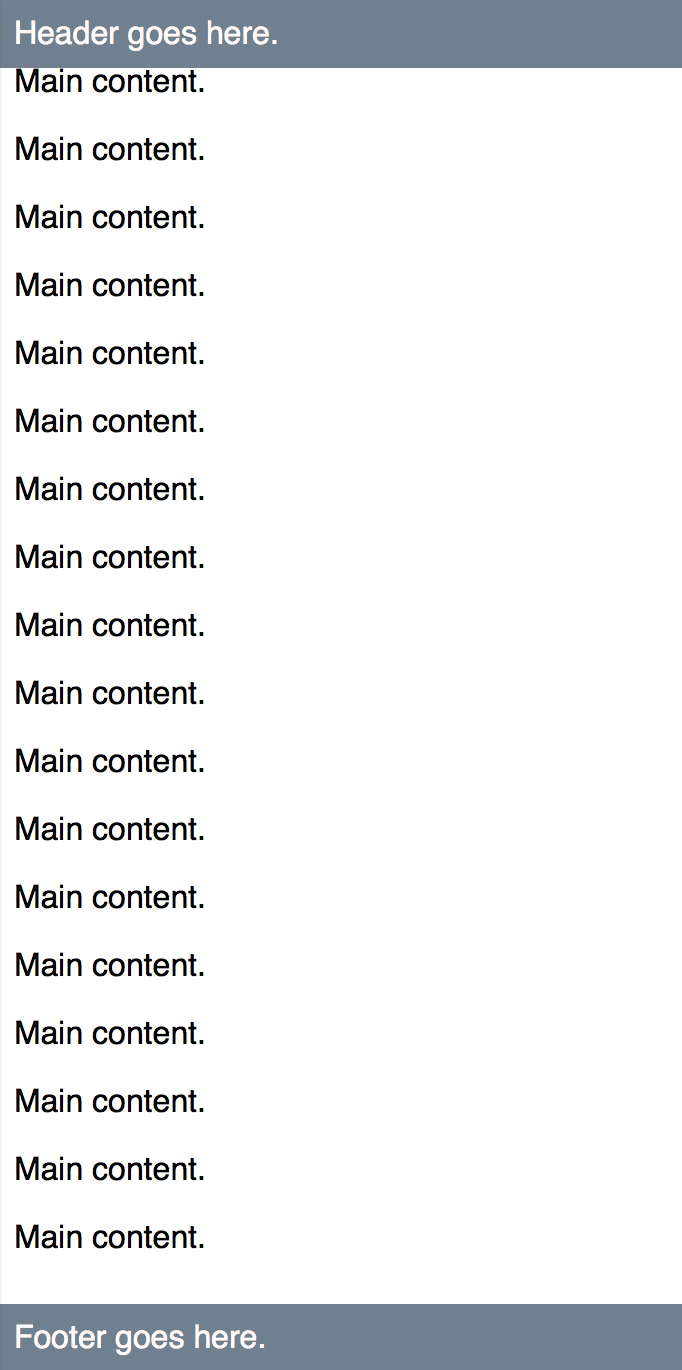
 1 html, body {
 2   height: 100%;
 3 }
 4 .container {
 5   display: flex;
 6   flex-direction: column;
 7   height: 100%;
 8 }
 9 header, footer {
10   flex: 0 1 auto;
11 }
12 main {
13   flex: 1;
14   overflow: scroll;
15   -webkit-overflow-scrolling:touch;
16 }
You may also find the live code in the following codepen demo.
http://codepen.io/makzan/pen/mJrqzO
Inputs
With the grow and shrink feature, we can define items that shrinks to its content’s width, and the main input will take all the rest of the space.
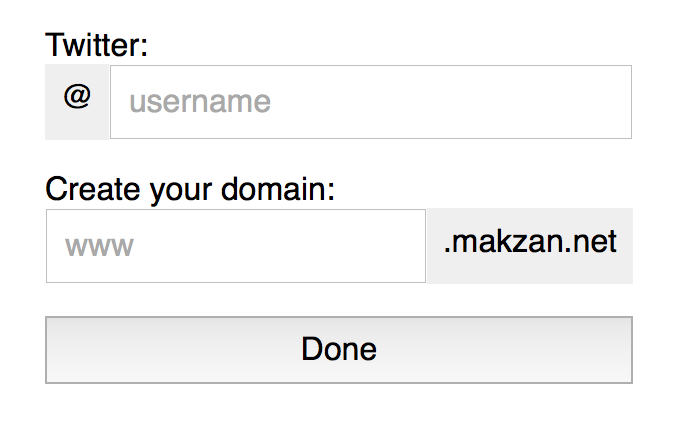
Time for Action—Creating an input form with prefix and postfix
Follow the steps to create an input form with flexbox.
- First, we create the following HTML markup.
index.html 1<divclass="container">2<form>3<fieldset>4<labelfor="twitter-handle">Twitter:</label>5<divclass="input">6<span>@</span>7<inputtype="text"id="twitter-handle"placeholder="username"autofocus>8</div>9</fieldset>10<fieldset>11<labelfor="twitter-handle">Create your domain:</label>12<divclass="input">13<inputtype="text"id="twitter-handle"placeholder="www">14<span>.makzan.net</span>15</div>16</fieldset>17<inputtype="submit"value="Done">18</form>19</div> - Then we just need few lines of flex code to make it works. Display flex, grow, shrink, and Done.
input.css 1.input{2display:flex;3}4.input>span{5flex:01auto;6}7.input>input{8flex:1;9} - Well, I actually applied more styles to make the input looks nice. I added the following code to archive the screenshot we show at the beginning. They are not our focus, but I include it so you see how we can make our inputs more easily to use by using padding.
input.css 10/* Container flexbox */11.container{12display:flex;13align-items:center;14justify-content:center;15height:100vh;16}1718/* Not our focus */19fieldset{20border:none;21padding:0;22margin:1em0;23}2425.input>span{26display:block;27background:#efefef;28padding:0.5em;29}30.input>input{31padding:0.5em;32}3334input[type="submit"]{35width:100%;36padding:0.5em;37}
Live Demo
You may find the live demo of the code in the following codepen entry.
http://codepen.io/makzan/pen/zGKPRb
Chapter 2—Row–Column grid layout
In this chapter, we explore the basic row-column grid layout by using float.
- Row–column based layout
- Floating grid system
Row-columns-based layout
Before building our Flexbox layout, we revisit the traditional float-based grid layout. One of the easiest approach to implement grid is using the row-columns approach.
Time for Action—Build our own minimal float-based grid layout
I assumed we have a basic norimalization or CSS reset applied to the page.
- At first, we define the following rules that prevents our layout broken by box-model or extra-large images.
grid.css 1/* Border box */2*{box-sizing:border-box;}34/* Prevent image breaking our layout */5img{max-width:100%;} - Then we define the basic row-column properties that construct the foundation.
grid.css 1/* Grid: row */2.row{3width:100%;4max-width:600px;5margin:0auto;6padding-top:10px;7padding-bottom:10px;8overflow:auto;9}1011/* Row within column within row */12.row.row{13width:auto;14max-width:none;15margin:0-10px;16}1718/* Grid: column */19.col{20padding:010px;21float:left;22} - Mobile first design means that we work on the smallest layout first. To make the code simpler, I’m using 4-columns in the code example. In production, we may want to use a 12 or 16 columns. Actually we will switch to 12-columns In next step when using Scss to generate our CSS code.
grid.css 1/* Dividing into columns */2@mediascreen{3.small-1{4width:25%;5}6.small-2{7width:50%;8}9.small-3{10width:75%;11}12.small-4{13width:100%;14}15} - After the small layout, we define the medium which overrides the smaller layout configure if presented in the HTML.
grid.css 1@mediascreenand(min-width:600px){2.medium-1{3width:25%;4}5.medium-2{6width:50%;7}8.medium-3{9width:75%;10}11.medium-4{12width:100%;13}14}
Mobile first design
Mobile first means that during our website planning, we plan the content and layout for the mobile first. Planning for mobile first ensures us to consider the most important thing of our website. The screen is so tiny that we have to think clearly what’s important enough to earn a place there. And what is the most important thing that we put it on top of this tiny screen.
In grid system, mobile first means we use the small-N layout modifiers by default. When we need to build a wider layout, we start using the medium-N, large-N and even xlarge-N. Each one overrides the smaller one. (N ranges from 1 to 12 in the default configuration)
Using our grid system
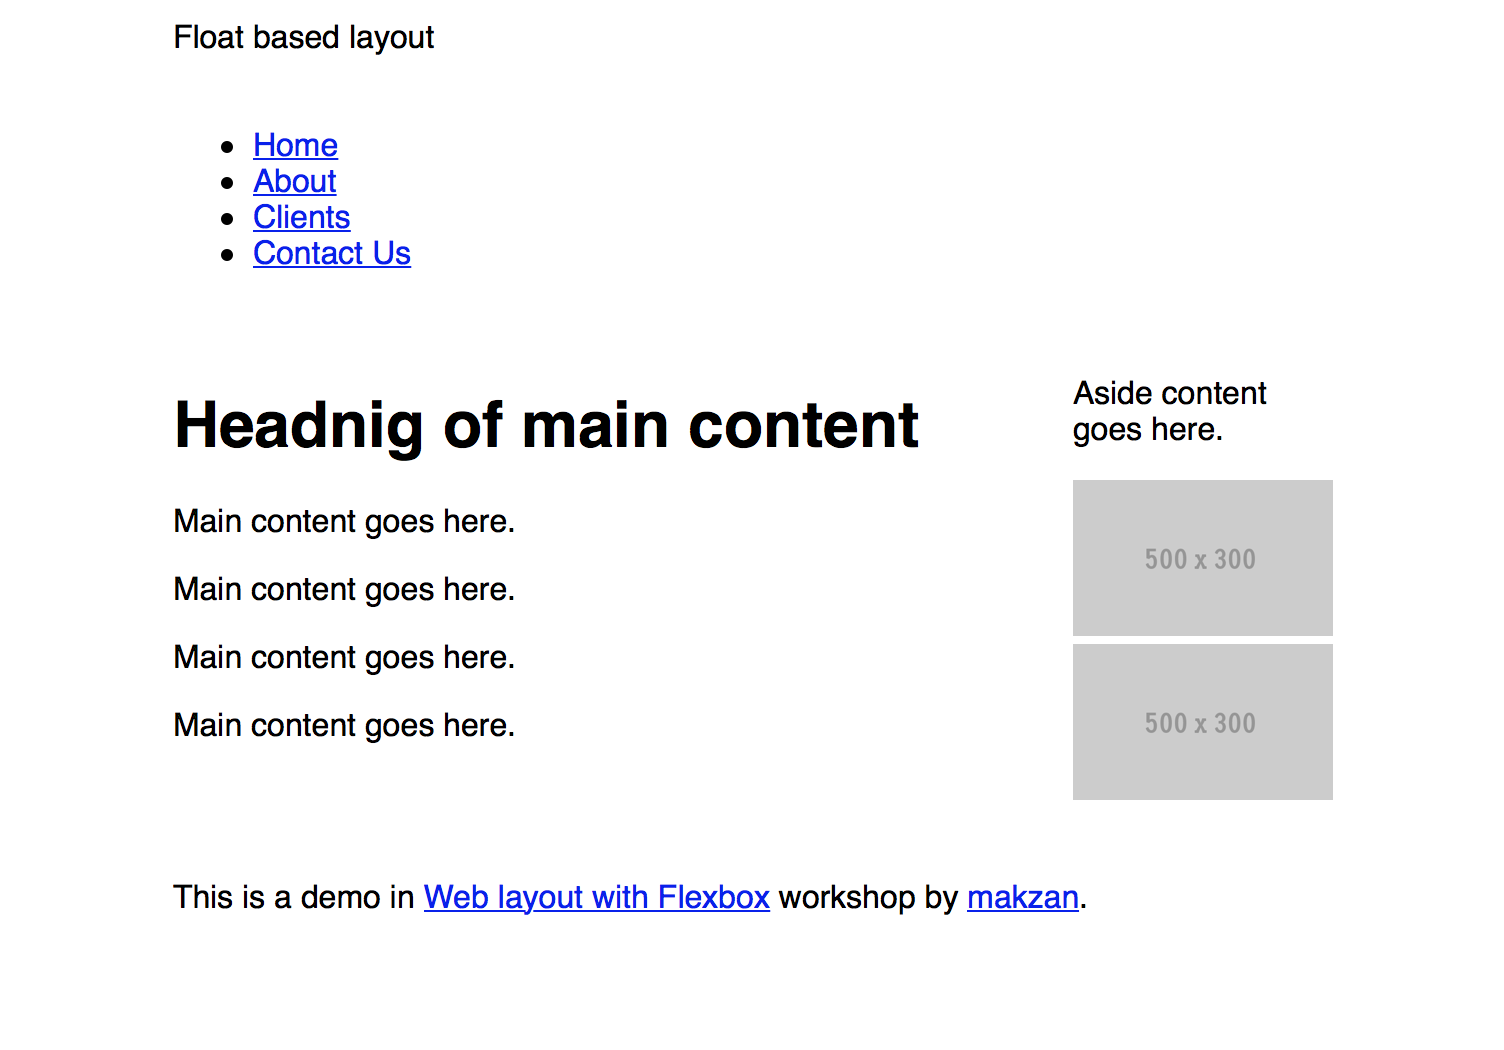
The following HTML is an example showing our grid system.
The HTML code only shows the grid structure. You may need to include the proper HTML structure with <head> and includes the CSS styles.
 1 <div class="row">
 2   <div class="small-12 col">Float based layout</div>
 3 </div>
 4 <nav class="row">
 5   <div class="small-12 col">
 6     <ul>
 7       <li><a href="#">Home</a></li>
 8       <li><a href="#">About</a></li>
 9       <li><a href="#">Clients</a></li>
10       <li><a href="#">Contact Us</a></li>
11     </ul>
12   </div>
13 </nav>
14 <div class="row">
15   <main class="small-4 medium-3 col">
16     <h1>Headnig of main content</h1>
17     <p>Main content goes here.</p>
18     <p>Main content goes here.</p>
19     <p>Main content goes here.</p>
20     <p>Main content goes here.</p>
21   </main>
22   <aside class="small-4 medium-1 col">
23     <p>Aside content goes here.</p>
24     <img src="http://placehold.it/500x300" alt="placeholder">
25     <img src="http://placehold.it/500x300" alt="placeholder">
26   </aside>
27 </div>
28 <footer>
29   <div class="row">
30     <div class="small-12 col">
31       <p>This is a demo in <a href="http://flexbox.website">Web layout with Flex\
32 box</a> workshop by <a href="http://makzan.net">makzan</a>.</p>
33     </div>
34   </div>
35 </footer>
When running the page in browser, we will see the following screens.
Floating grid with Scss
We have built a very basic grid system. There are many pattern-repeating code when defining the columns. We can use preprocessor to keep the code shorter for easier maintenance.
 1 $columns-count: 4;
 2 $breakpoint: 800px;
 3 @media screen {
 4   @for $i from 1 through $columns-count {
 5     .small-#{$i} {
 6       width: 100%/$columns-count * $i;
 7     }
 8   }
 9 }
10 @media screen and (min-width: $breakpoint) {
11   @for $i from 1 through $columns-count {
12     .medium-#{$i} {
13       width: 100%/$columns-count * $i;
14     }
15   }
16 }
Just in case you use pure-CSS, here is the CSS version of the code.
 1 @media screen {
 2   .small-1 {
 3     width: 25%;
 4   }
 5
 6   .small-2 {
 7     width: 50%;
 8   }
 9
10   .small-3 {
11     width: 75%;
12   }
13
14   .small-4 {
15     width: 100%;
16   }
17 }
18 @media screen and (min-width: 800px) {
19   .medium-1 {
20     width: 25%;
21   }
22
23   .medium-2 {
24     width: 50%;
25   }
26
27   .medium-3 {
28     width: 75%;
29   }
30
31   .medium-4 {
32     width: 100%;
33   }
34 }
Using runtime calc
Preprocessor calculate the column’s width for us. Alternatively, we can use the calc to define formula and let browser calculates the value at runtime. The following is a variant of our code that uses calc and performs the same behaviors in browser.
1 $columns-count: 4;
2 @media screen {
3   @for $i from 1 through $columns-count {
4     .small-#{$i} {
5       width: calc( 100% / #{$columns-count} * #{$i} );
6     }
7   }
8 }
The CSS version:
 1 @media screen {
 2   .small-1 {
 3     width: calc( 100% / 4 * 1 );
 4   }
 5
 6   .small-2 {
 7     width: calc( 100% / 4 * 2 );
 8   }
 9
10   .small-3 {
11     width: calc( 100% / 4 * 3 );
12   }
13
14   .small-4 {
15     width: calc( 100% / 4 * 4 );
16   }
17 }
Chapter 3—Grid layout, powered by FlexBox
At the end of this chapter, we will complete the following website with a Flexbox grid system that we can reuse in other projects. Here is the final result we get:
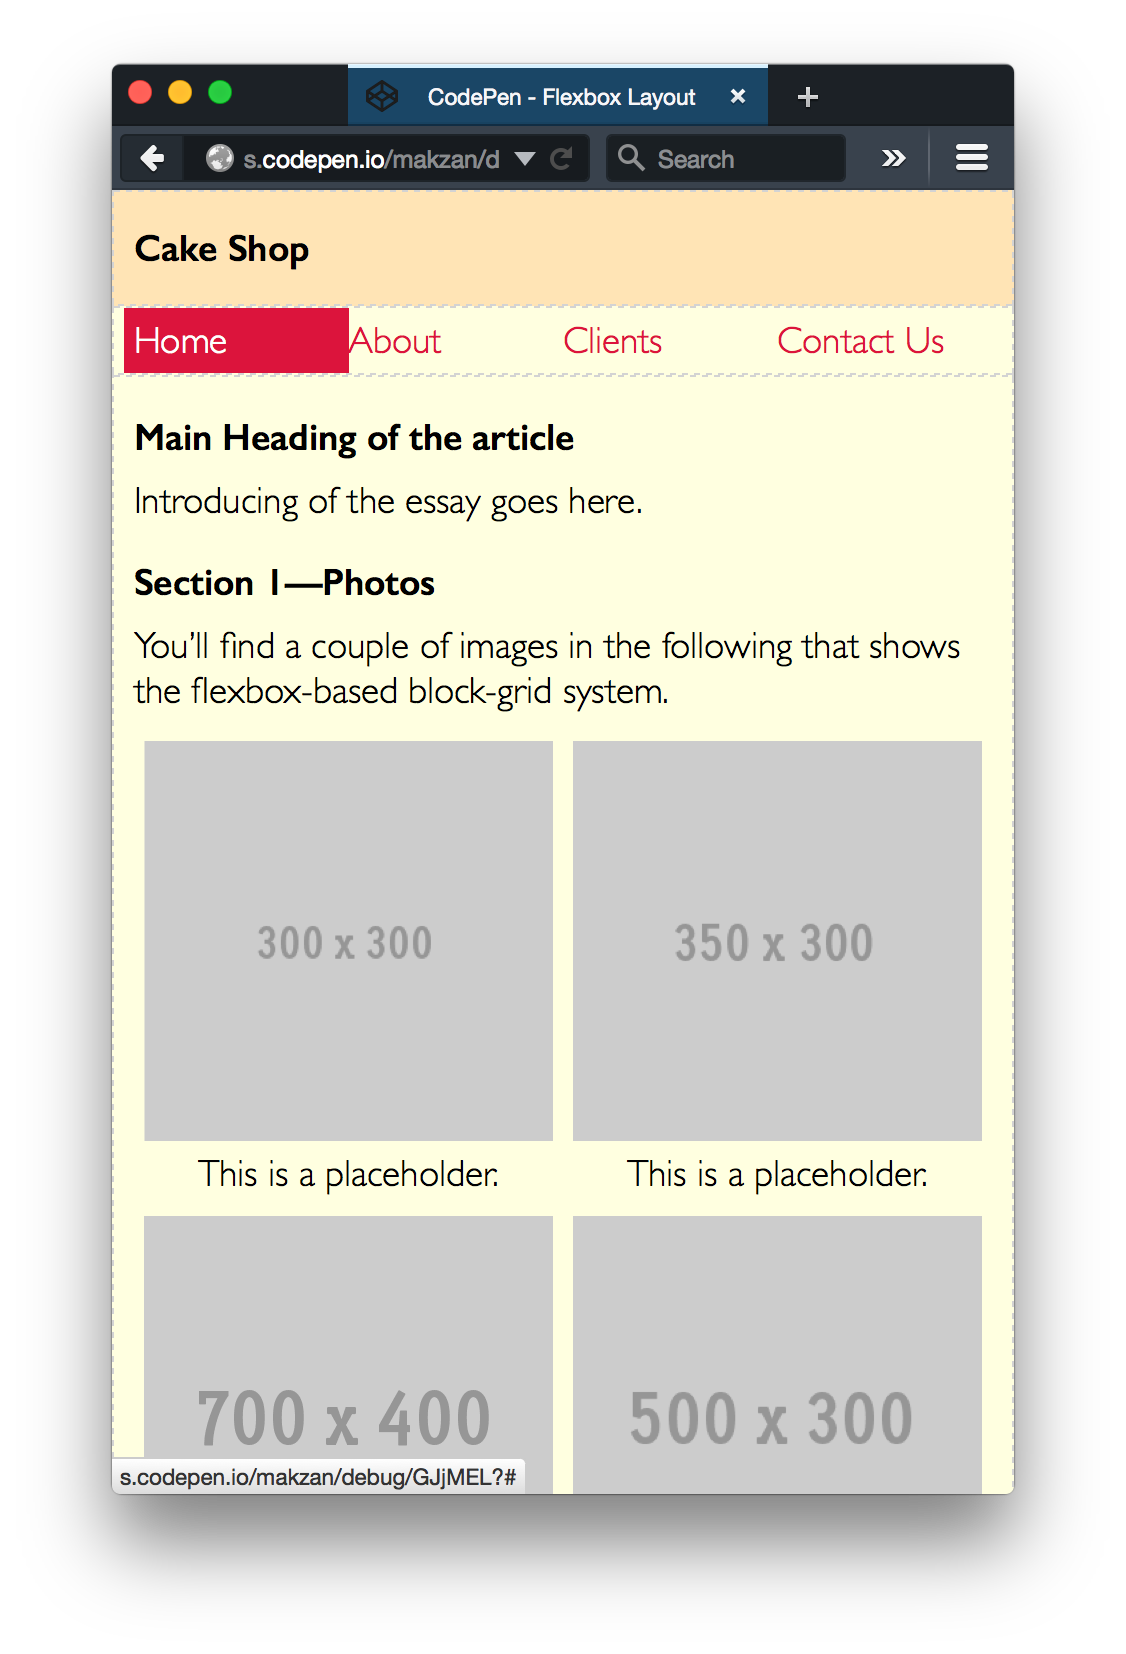
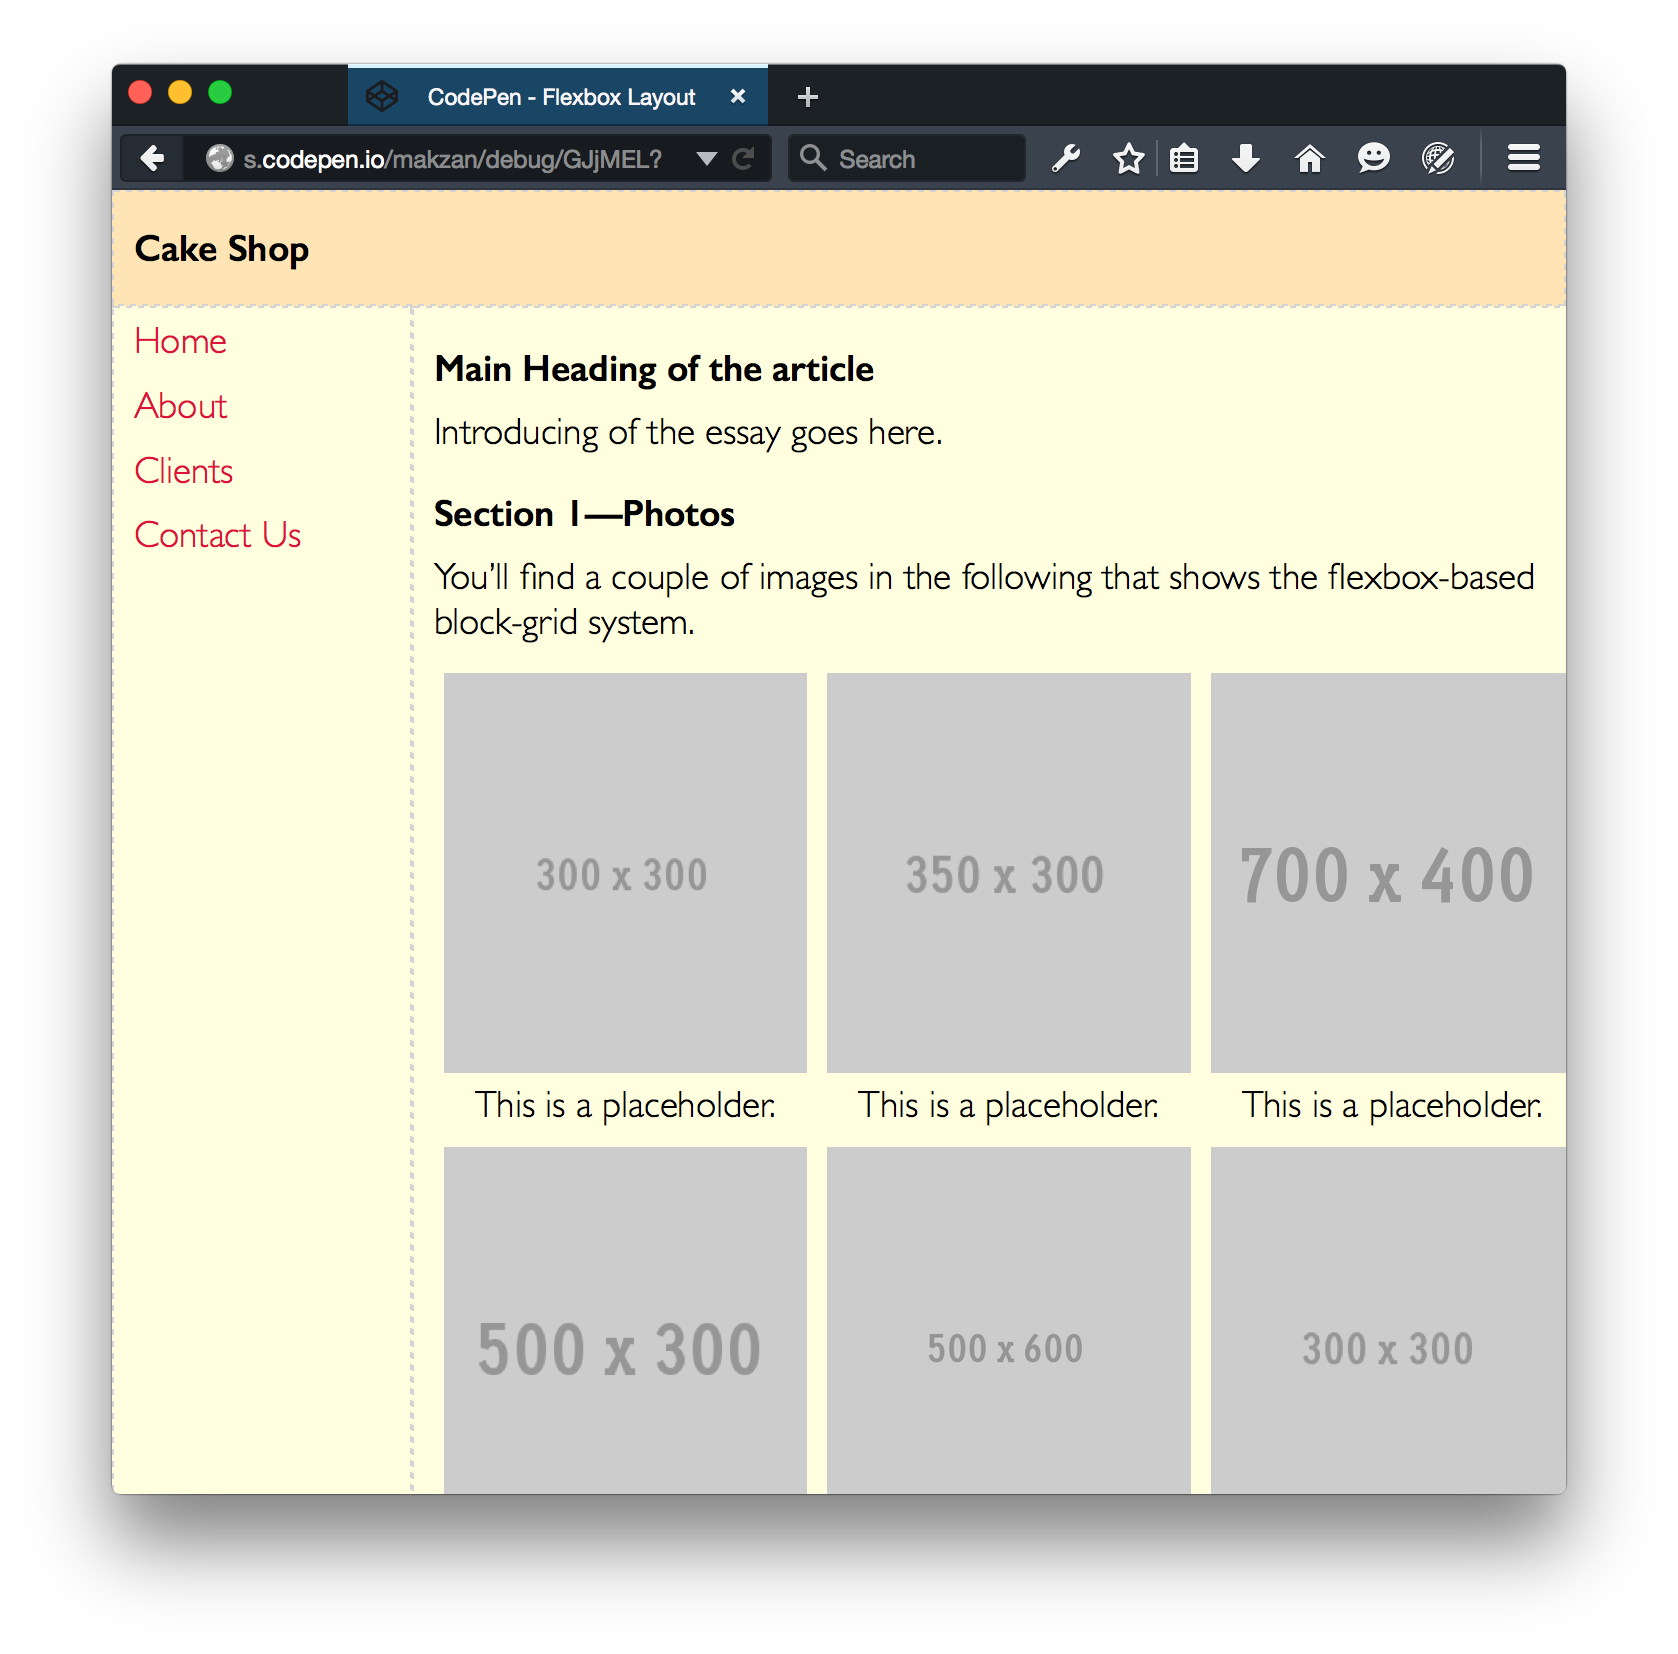
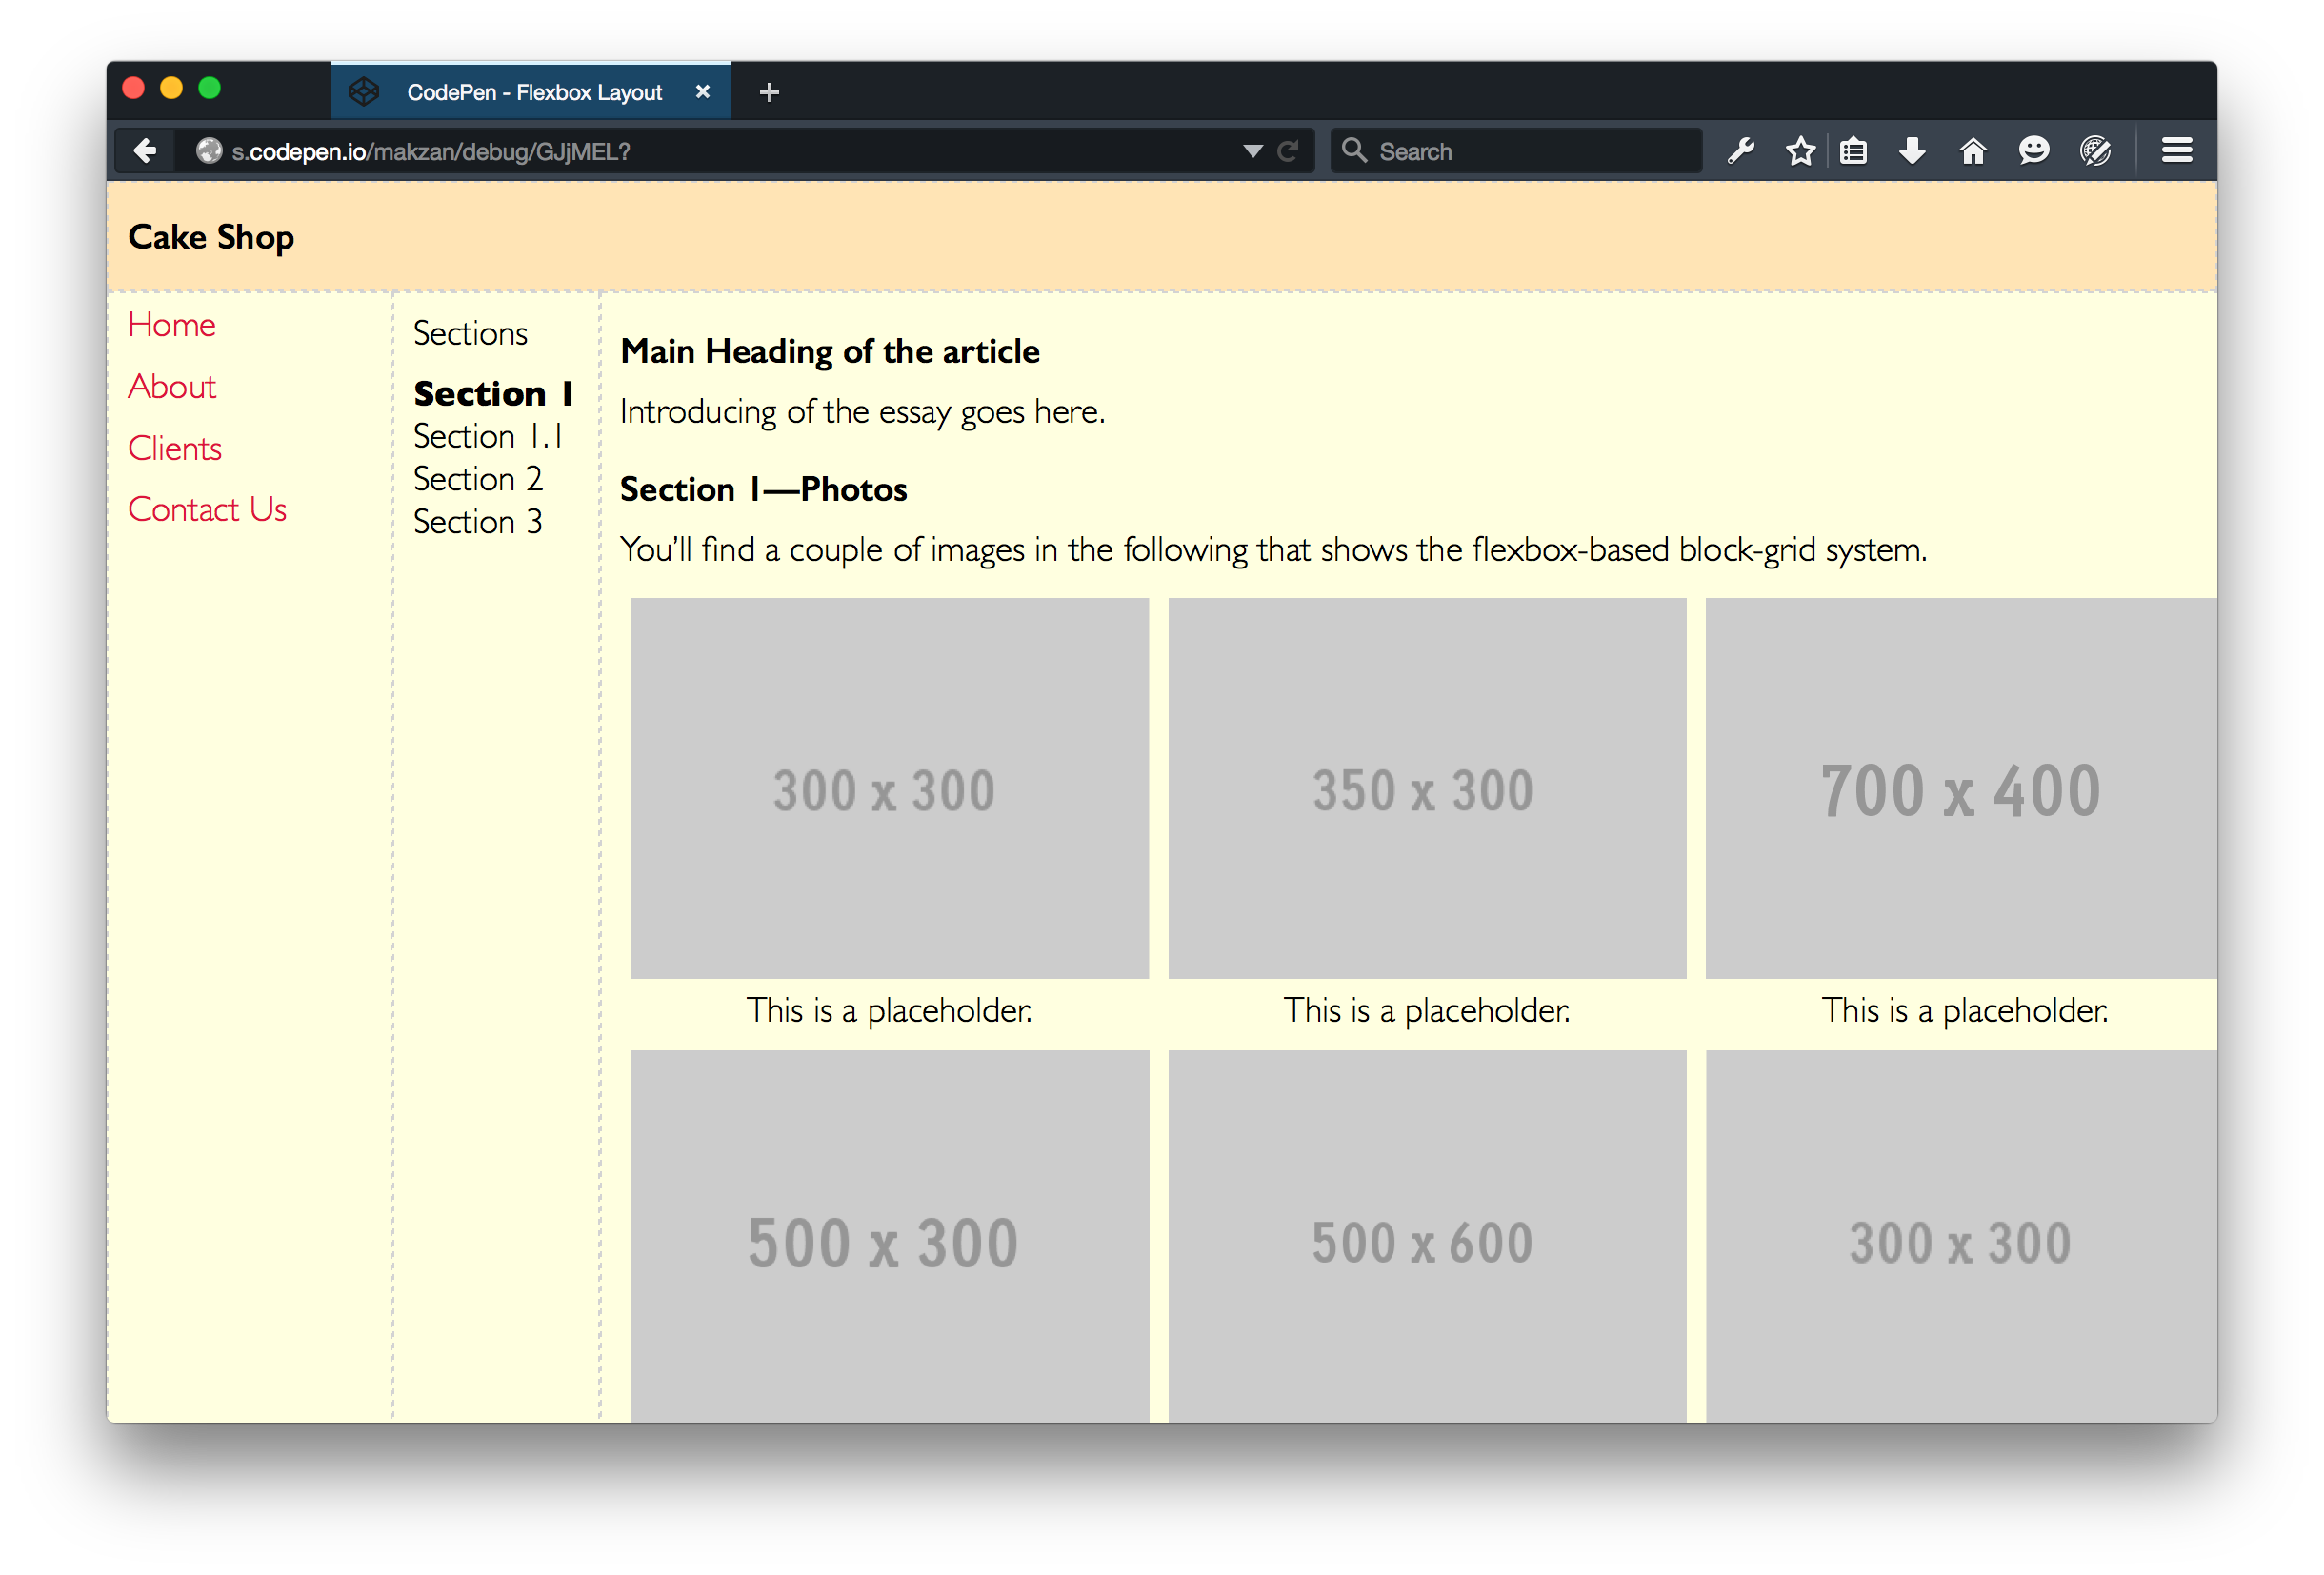
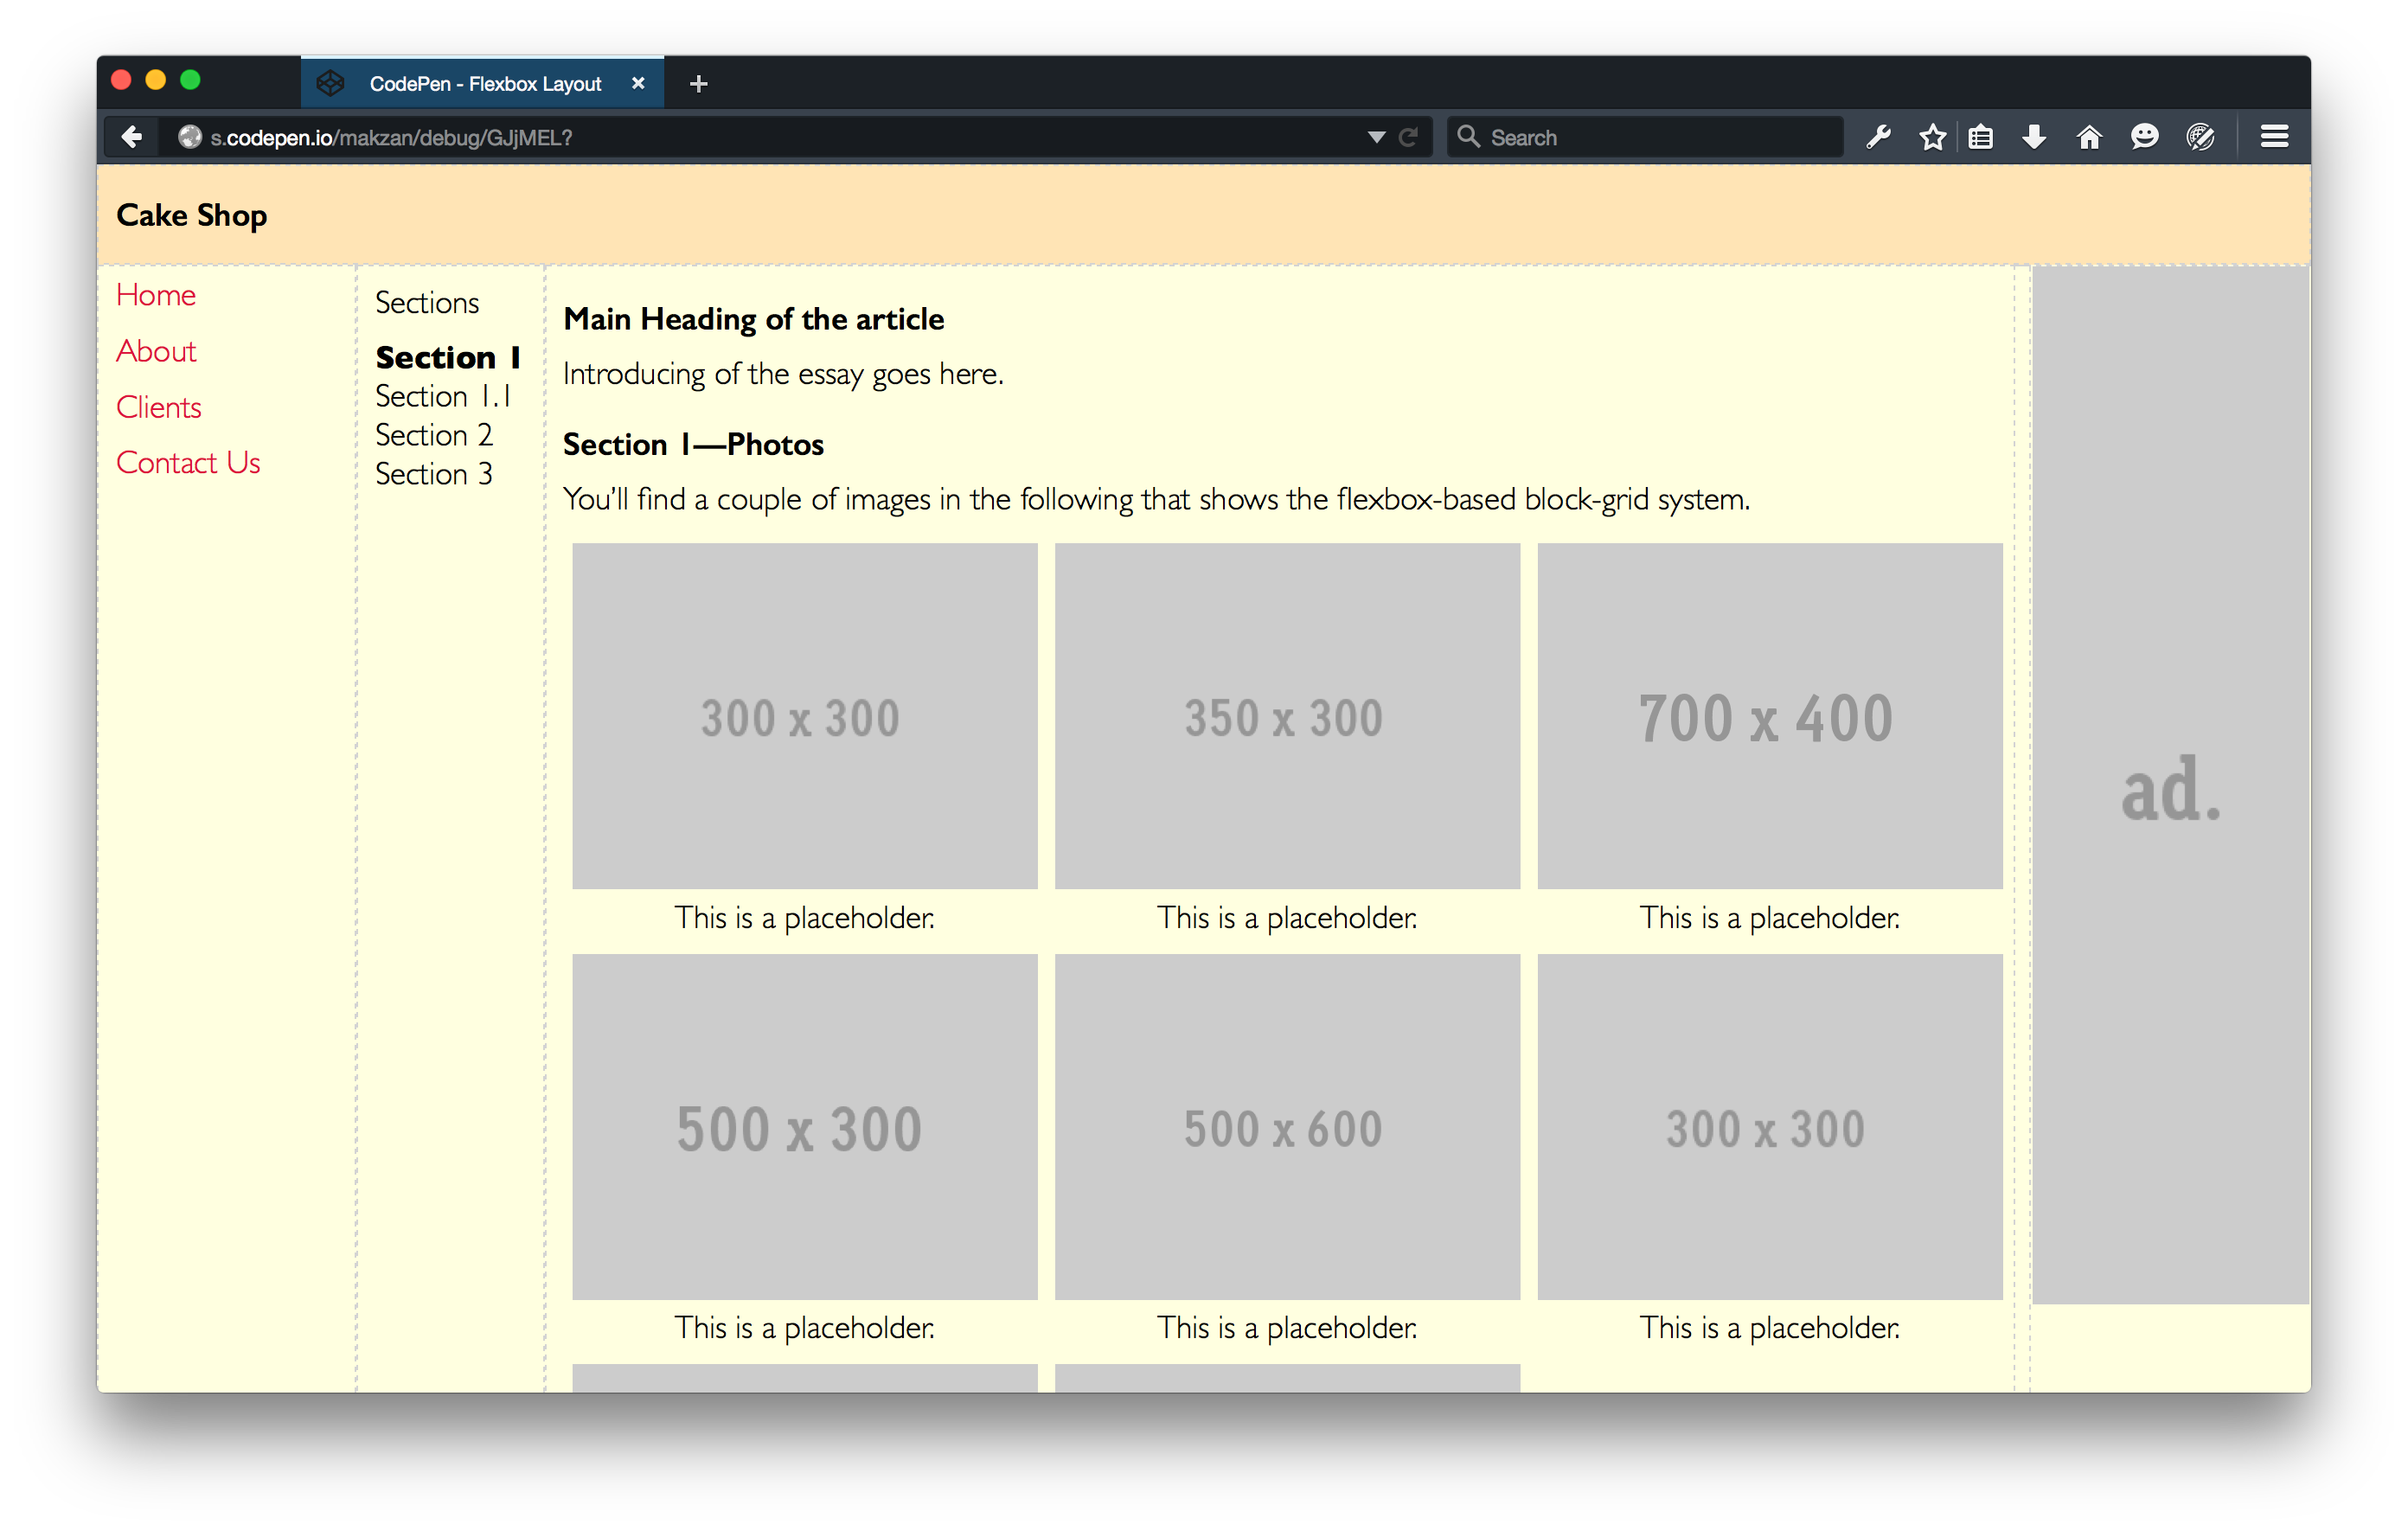
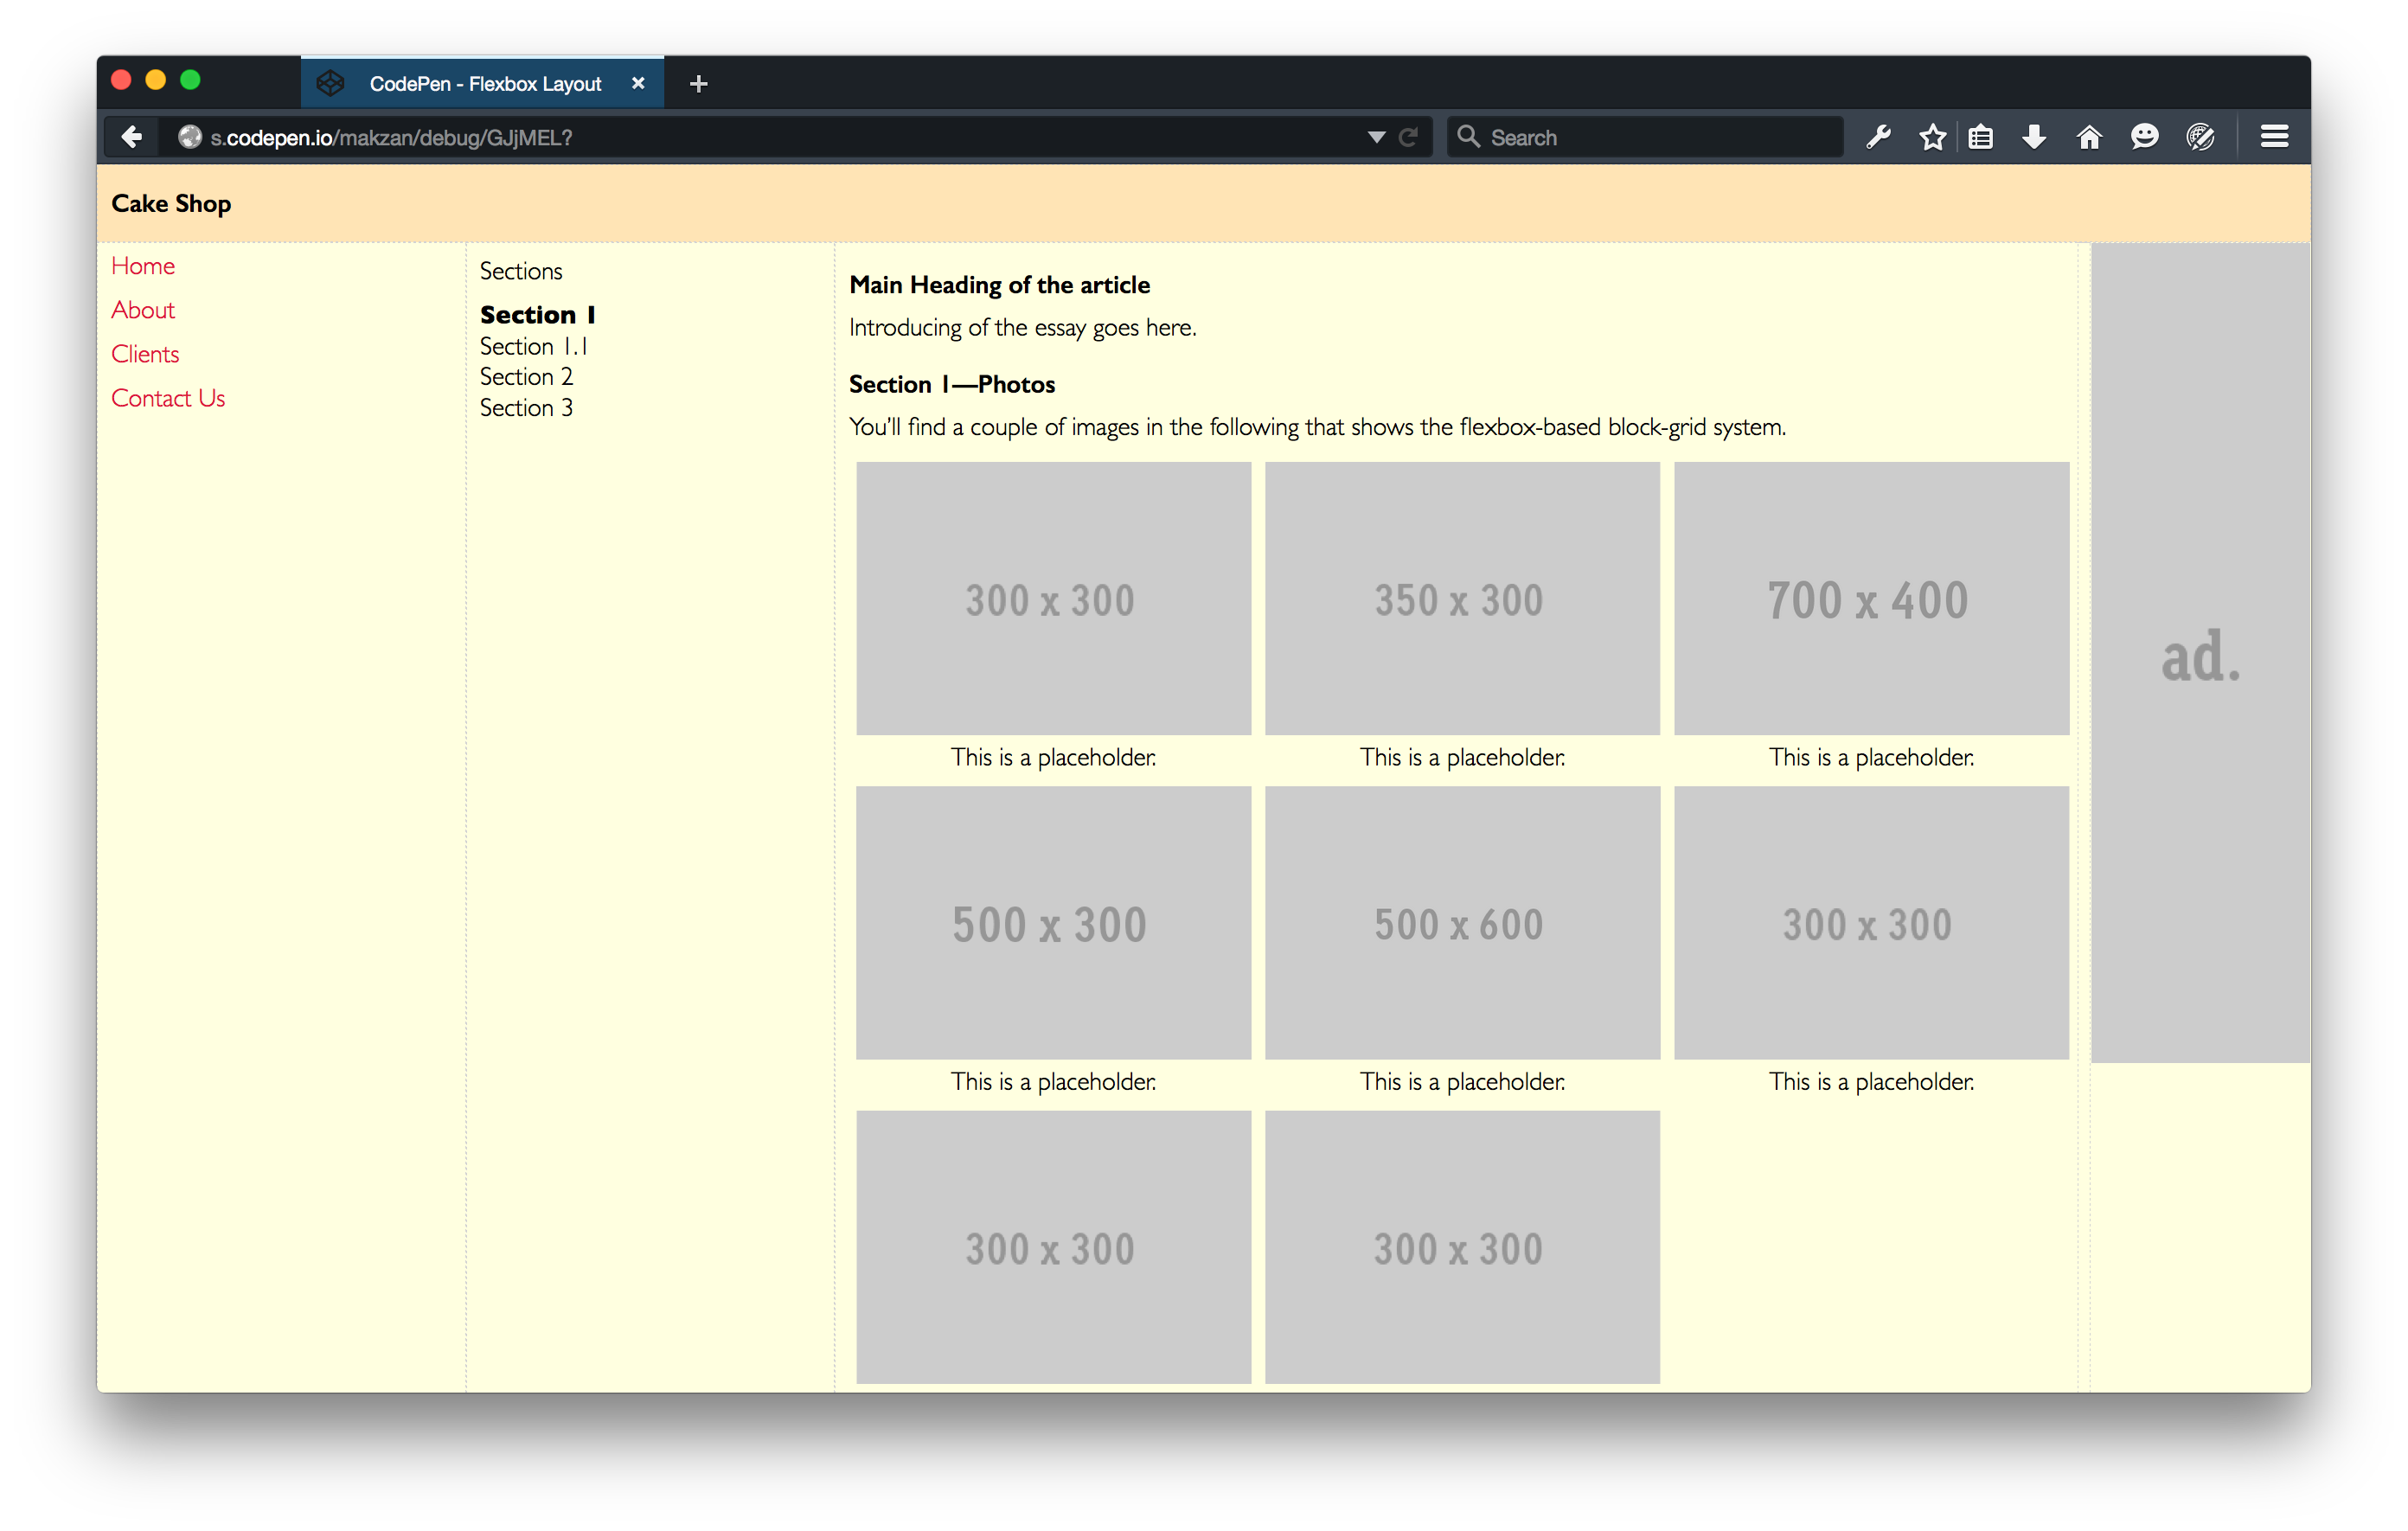
You can find the final code in the following CodePen demo.
http://codepen.io/makzan/pen/GJjMEL
Implementation of the grid
We have learned the basic functionality of using Flexbox. We also learned the traditional float-based grid layout. Now we are ready to create our own Flexbox layout based on what we learned.
Time for Action—Migrating our grid into Flexbox
- Our basic CSS hasn’t changed much. We changed the
.rowintodisplay:flexwithflex-wrap. The other parts are same as the float-based grid.flexbox-grid.css.scss 1/* Border box */2*{3box-sizing:border-box;4}56img{7max-width:100%;8}910/* Grid */11.row {12/* if you need a largest width */13width: 1920px;14max-width:100%;15margin: 0 auto;1617display:flex;18flex-wrap:wrap;19}20.row.row{21margin-left:-10px;22margin-right:-10px;23width:auto;24max-width:none;25}2627.col{28padding:010px;29min-width:0;3031border:1pxdashedLIGHTGRAY;/* for debugging */32} - Our final outcome is to replace the width in column with something like
flex: 0 1 50%;andflex: 0 1 100%;. The percentage acts as the desired width value. But we don’t define the width. We define the flex-basis which is essentially the min-width of the element. Flexbox will calculate how much space each item takes based on this value. - It’s very easy to define our mobile-first grid system by using the Scss’s list, loop and variable. In the code, we not only define the columns’ width, we also define classes for auto expand, shrink, vertical direction and horizontal direction. An extra hidden class allows us to hide element in smaller screen.
 1 $columns-count: 12;
 2 $screen-sizes: small medium large xlarge xxlarge;
 3 $breakpoints: 0 500px 1000px 1200px 1600px;
 4 @for $i from 1 through length($screen-sizes) {
 5   @media screen and (min-width: nth($breakpoints, $i)){
 6     .#{nth($screen-sizes, $i)}-vertical { flex-direction:column; }
 7     .#{nth($screen-sizes, $i)}-horizontal { flex-direction:row; }
 8     .#{nth($screen-sizes, $i)}-hidden { display: none; }
 9     .#{nth($screen-sizes, $i)}-auto   { display: block; flex: 1}
10     .#{nth($screen-sizes, $i)}-shrink { display: block; flex: 0 1 auto}
11     @for $j from 1 through $columns-count {
12       .#{nth($screen-sizes, $i)}-#{$j} {
13         display: block;
14         flex: 0 1 calc( 100% / #{$columns-count} * #{$j} );
15       }
16     }
17   }
18 }
Implementation of block grid
Block grid is a grid system that we define how many items per roles inside the container. It trys to evenly distribute the items into the container within the items-limitation per role.
/* Block grid */ .block-grid { display: flex; flex-wrap: wrap; } .block-grid > * { flex: 1; } @for $i from 1 through length($screen-sizes) { @media screen and (min-width: nth($breakpoints, $i)){ @for $j from 2 through 10 { .block-grid.#{nth($screen-sizes, $i)}-up-to-#{$j} > * { flex: 0 1 calc( 100% / #{$j} ); } } } }
HTML that uses the grid:
 1 <header>
 2   <div class="row">
 3     <div class="small-12 col">
 4       <h1>Cake Shop</h1>
 5     </div>
 6   </div>
 7 </header>
 8 <div class="row">
 9   <nav class="small-12 medium-shrink xxlarge-2 col">
10     <ul class="block-grid medium-vertical">
11       <li><a href="#">Home</a></li>
12       <li><a href="#">About</a></li>
13       <li><a href="#">Clients</a></li>
14       <li><a href="#">Contact Us</a></li>
15     </ul>
16   </nav>
17   <aside class="small-hidden large-shrink xxlarge-2 col">
18     <p>Sections</p>
19     <ol>
20       <li><strong>Section 1</strong>
21         <ol>
22           <li>Section 1.1</li>
23         </ol>
24       </li>
25       <li>Section 2</li>
26       <li>Section 3</li>
27     </ol>
28   </aside>
29   <main class="small-12 medium-auto col">
30     <article>
31       <h1>Main Heading of the article</h1>
32       <p>Introducing of the essay goes here.</p>
33       <h2>Section 1—Photos</h2>
34       <p>You’ll find a couple of images in the following that shows the flexbox-\
35 based block-grid system.</p>
36       <div class="block-grid small-up-to-2 medium-up-to-3">
37         <figure>
38           <img src="http://placehold.it/300x300" alt="placeholder image" />
39           <figcaption>This is a placeholder.</figcaption>
40         </figure>
41         <figure>
42           <img src="http://placehold.it/350x300" alt="placeholder image" />
43           <figcaption>This is a placeholder.</figcaption>
44         </figure>
45         <figure>
46           <img src="http://placehold.it/700x400" alt="placeholder image" />
47           <figcaption>This is a placeholder.</figcaption>
48         </figure>
49         <figure>
50           <img src="http://placehold.it/500x300" alt="placeholder image" />
51           <figcaption>This is a placeholder.</figcaption>
52         </figure>
53         <figure>
54           <img src="http://placehold.it/500x600" alt="placeholder image" />
55           <figcaption>This is a placeholder.</figcaption>
56         </figure>
57         <figure>
58           <img src="http://placehold.it/300x300" alt="placeholder image" />
59           <figcaption>This is a placeholder.</figcaption>
60         </figure>
61         <figure>
62           <img src="http://placehold.it/300x300" alt="placeholder image" />
63           <figcaption>This is a placeholder.</figcaption>
64         </figure>
65         <figure>
66           <img src="http://placehold.it/300x300" alt="placeholder image" />
67           <figcaption>This is a placeholder.</figcaption>
68         </figure>
69       </div>
70       <h3>1.1 Sub section</h3>
71       <p>This is a paragraph of section 1.1. It’s the sub-section that conclude \
72 the section 1.</p>
73       <h2>2. Section 2</h2>
74       <p>We create more sections. An essay usually contains more than 1 section.\
75  This is the reason we put section 2 here.</p>
76       <h2>3. Summary</h2>
77       <p>This section summerize the entire article.</p>
78     </article>
79   </main>
80   <div class="advertisement row">
81     <div class="small-hidden xlarge-shrink col">
82       <img src="http://placehold.it/160x600&text=ad." alt="Advertisement" />
83     </div>
84   </div>
85 </div>
86 <footer>
87   <div class="row">
88     <div class="small-12 col">
89       CC0 Do anything license.
90     </div>
91   </div>
92 </footer>
Result and live demo
You can find the final code in the following CodePen demo.
http://codepen.io/makzan/pen/GJjMEL
If you need the CSS edition, here it is:
http://codepen.io/makzan/pen/vOrzdY
Summary
After going through this short introduction, you should have more understandings on how we can make use of Flexbox when building website. It provides a very simple way to archive some layouts that was difficult to implement.
Useful resources
When you’re applying the flexbox in real projects, you’ll most likely encounter new issues and feel confused. The following list contains several links for you to further explore Flebox.
