3. Screen layout with Box and Block
3.1 Layout issues for the world-wide web
When a psychological experiment is conducted in the laboratory, the experimenter has full control over all hardware: type of keyboard, computer, mouse, screen, etc. On the web, things are a little different. In this chapter, we are concerned with variations in screen and window size, which will most likely vary considerably with from subject to subject unless you test them in the lab.
Nowadays, subjects online may have screen sizes ranging from very high resolution ultra-wide screen monitors to tiny screens on mobile phones and even (round-screen!) smart watches. New formats are coming out every month. Not only screen size is important because even on a large screen, your experiment may still run in a tiny window.
All of this presents a problem for psychological experiments, as it is necessary to specify with precision the position of your stimuli. How can you be certain your stimulus layout stays exactly the same? What happens when users scroll down or zoom in on your page? Or what if they are on a tablet and turn it from vertical to horizontal, which gives a quite different layout? NeuroTask has taken measures to help solve these issues.
3.2 Two standard layout choices in NeuroTask
To deal with the huge range of screen formats (and with variable window sizes), NeuroTask uses a one of two types of layouts: square and fill. Using these layouts greatly simplifies positioning of stimuli on the subject’s screen. The square layout, which we will use throughout this book, limits the area where you can show stimuli to the largest square that can be drawn in the window in which your experiment is running. This presents a constant layout, at the expense of not using all the space available. The fill layout does fill the whole window. Neither layout allows scrolling1. We will first discuss the fill and then the square layout.
The fill layout
The fill layout makes most efficient use of the screen (or window) real-estate. It is up to you when to use this format, for example, when showing instructions or when presenting survey questions. A great disadvantage is that the display (screen or window) in which the experiment is shown can vary from extremely wide to extremely high and narrow. It is nowadays, possible to design web pages that can adjust themselves to such extremes, for example, using a framework like Twitter Bootstrap. This is the styling framework we use for the NeuroTask website and we highly recommend it. For experiments, however, you almost always want to control where screen elements go, rather than leaving it up to the size and shape of the window. For best control over the screen we, therefore, strongly recommend the square layout.
The square layout
This layout automatically determines the largest square that can be drawn in a window. On a wide screen (or wide window), the square will leave areas left and right unused. If the screen (or window) changes, the square will adapt its size. Anything drawn or shown in the square layout will always keep the same relative positions and proportions, even when resizing a window or when a tablet is turned sizeways: within the square, things stay the same, relatively speaking.
Font size
Also, when the subject increases the screen or window, such that the square layout increases in size, the font should increase in size as well. With a square layout the font should increase proportionally to the size of the square. With a fill layout it, this is less straightforward. What do you want to do when a subject stretches a small square window to a wide band triple the width but with the same height? We have chosen to make the font size proportional to the diagonal of the window, a compromise.
3.3 Other cross-browser layout issues
Font types across browsers
Another problem on the web is font type. Different browsers may show the same text in slightly different implementations of a specific font. The text() function will display the text in the Arial font by default. The reason we chose this as the default font is that it is most consistenly supported across different browsers and shows the least variation.
The NeuroTask framework strives to show text and other stimuli as similarly as possible on different browsers and types of hardware. This is not as easy as you might think. For example, one browser may always show a certain font 15% larger than another browser. We strive to correct such differences, such that only on close inspection you will see any variations between different browsers rendering a given text. It is impossible to have exactly the same text layouts on different browser for the simple reason that even when using the Arial font, the shapes of some letters will vary slightly between browsers and this is impossible to compensate.
If you cannot use the Arial font for some reason, it is possible to use other fonts. In fact, you can do arbitrary styling of your text as will be explained in the chapter on style. You can adjust font type, weight, color, and many other styling aspects. But bear in mind that some of these may show considerable cross-browser variation.
Zooming and text sizing
Another problem is that, ordinarily, users can zoom in or out on web pages. On many browsers, pressing Ctrl-+ makes the whole page larger. On some browsers you can set the text size larger or smaller, while images and other elements on the page stay the same size. NeuroTask overrides the zooming and text sizing options and disables these. This is to guarantee as much as possible that the screen layout of your stimuli was as intended.
Centering text and images
In many experiments, stimuli are shown at the center of the screen (in a large font). As it turns out, on a web page it is suprisingly hard to center text (or images) both vertically and horizontally. At least, it is difficult to do so in a way that works on all browsers. It is not rocket science to center text, but it is somewhat cumbersome and yet another thing that you don’t have to worry about. The text() function already has the necessary code to achieve effective cross-browser centering.
After this fairly long introduction of the issues to be solved, you may wonder, how can you make use of the solutions we developed? The answer is: By using the our concepts of Box and Block to determine precise (relative) screen layouts. We will discuss each of these in turn.
3.4 Box
In most experiments you need only a single Box, which comprises the area where you can show your stimuli. A Box allows you to specify the color of the main stimulus area and of the surrounding unused area. You may also specify a margin around the stimulus area and border of a certain color and thickness. And you can set the display manner as ‘square’ or ‘fill’, which were discussed above.
The default Box gives you a maximally large white (transparent) square area without a border:
// (***) Remove new Box() example and add function addbox() that hides call to new
var main = new Box();
This Box will be invisible but can of course still be used to display text, as we will demonstrate below. Often you want a Box with a specific background color, such as light grey. This is done as:
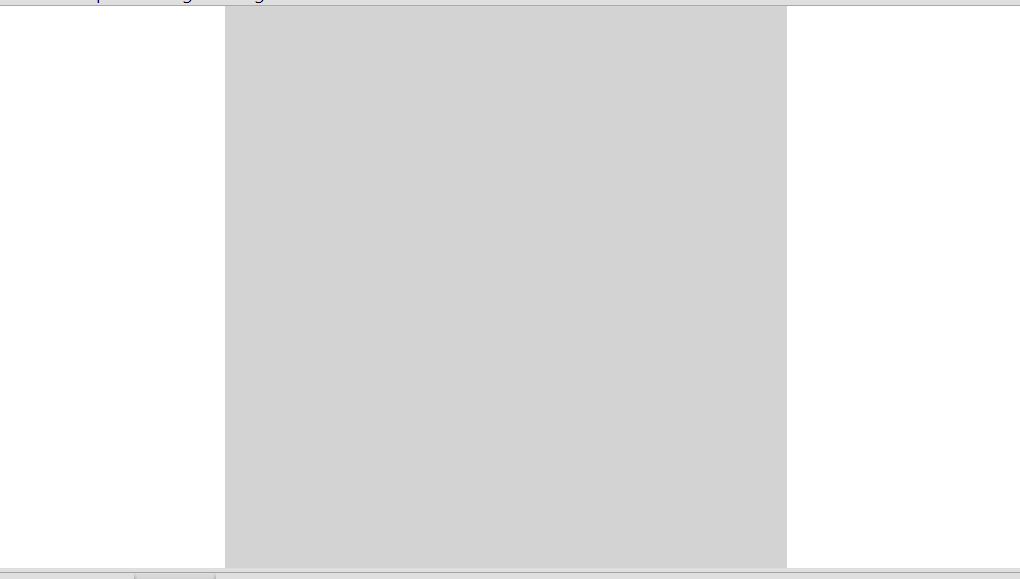
var main = new Box("lightgrey");
This Box is visible as a light grey square.
A ‘subtle’ Box can be obtained with
var main = new Box("white","#fafafa","black",
                   100,5,"#f3f3f3",5);
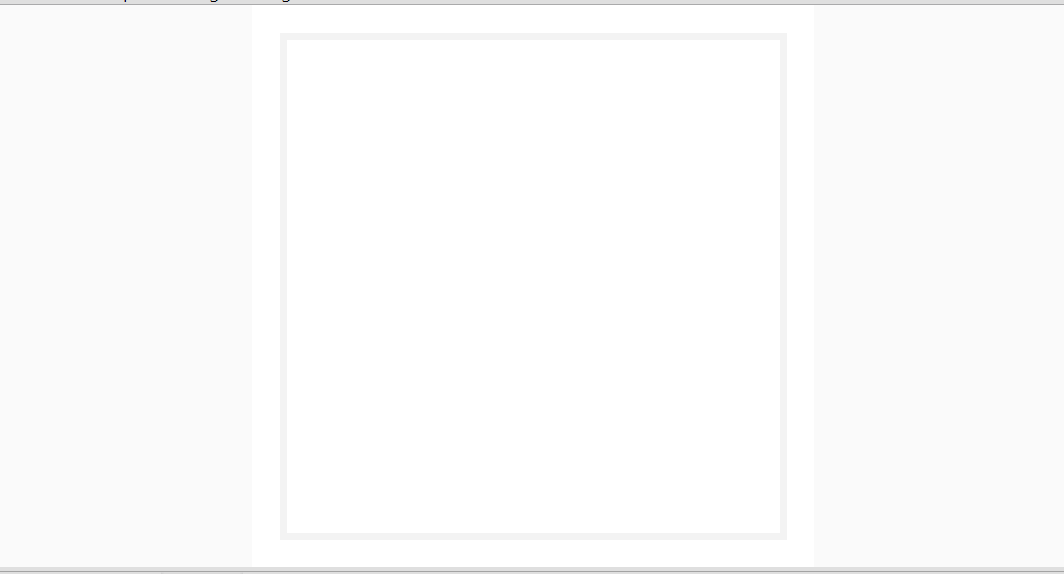
This is a white box with an light grey (#fafafa) background and a black font color. #fafafa is one way of specifying colors, which you can use if none of the predefined colors, like ‘white’ or ‘lightgrey’ are quite right for your purposes. In the chapter on style, we will discuss the various ways in which you can specify shades of color.
In the script fragment, 100 means that the font size is 100%, the 5 means there is border that is 5 pixels wide of a very light grey color, coded as #f3f3f3. Finally, there is 5% padding (internal margin) around the entire box. Such padding is convenient if you don’t want your stimuli ‘touching’ the sides of the window.
3.5 Preset Box called main
By default, there is always one box already present, called main. This is the ‘white’ box you would get with: var main = new Box(). If main’s color scheme and layout is fine for you, you can simply use that. If not, you can declare a new one. For example, if you want a black box on a black background (i.e., all is black) with a white font, you would use:
var black_box = new Box("black","black","white");
With a Box you define the layout and color scheme of your experiment display. To present your stimuli, NeuroTask uses the Block.
main is default in several Box functions
Given that by default there exists a Box main, several Box methods can be called without a Box. If so, main will be used as a default. In particular, main.addblock(...) may be simplified to addblock(...).
3.6 Block
In many experiments the subject must fixate at a cross in the middle of the screen while a letter may appear either to the left or to the right, for instance, in the Simon Task or Posner Task. Or stimuli may be presented in any of the four quadrants of the screen or in still other configuations, like circular arrangements. To manage such locations, we have created the Block: a square portion of a Box. You can put as many Blocks in a Box as you want. Adding a Block is done with the addblock() function, which is called like this:
var b = main.addblock(10,25,80,50,
                      "yellow","Display text");
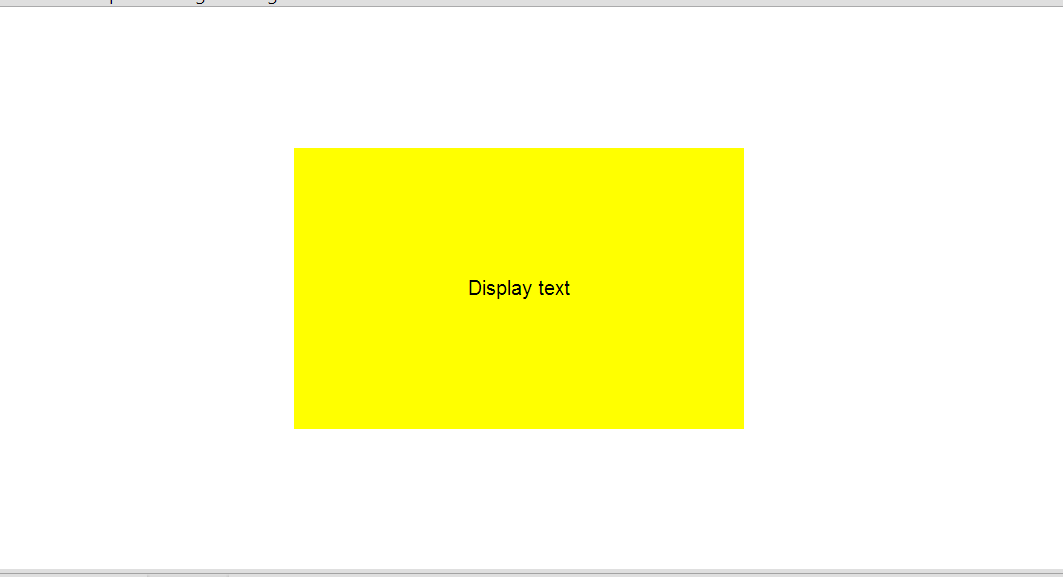
Block with textwhere main is a Box. This creates a block b, of which the left side starts at 10% of the width of Box main and the top of the block starts at 25% of main’s height. Block b itself has a width of 80% of Box main and a height of 50%. Its (optional) color is “yellow” and has the (optional) text “Display text”.
In the script fragment above, the statement addblock(10,25,80,50) specifies a 80% (width) by 50% (height) block that is centered because that is how the shape of this block is constructed. To facilitate centering, the addblock() method also allows writing “center”, as follows:
var b = main.addblock("center","center",80,50,"yellow","Display text");
Now, the NeuroTask Scripting framework will figure you the left and top properties, such that the new Block will indeed appear smack in the middle. Other short-cut arguments are “left” and “right” for the first (left) argument, and “top” or “bottom” for the second (top) argument, for example
var b = main.addblock("right","bottom",10,10);
This would create a small square block that is 10% wide and 10% high and that is positioned in the right-bottom corner of the Box main.
Example Block layouts
A handy block layout, which we may call centered is:
var centerblock = main.addblock("center","center",90,90);
This layout can be used for instructions and survey questions, shown one at a time, but also for showing images or words in the center of the screen. Making the box 90% of the width and height gives it a margin that looks nicer when you show instructions or other long texts, than when the text appears ‘glued’ to the sides.
Another useful layout is
var headerblock = main.addblock("center","top",100,25),
    centerblock = main.addblock("center","center",100,50),
    footerblock = main.addblock("center","bottom",100,25);
This would give room at the top of the screen for messages and feedback, for stimuli in the middle, and for say a button at the bottom.
As will become apparent, it is quite easy to construct a layout that suits your needs.
Showing text in blocks
Once you have the blocks in place, how do you show text in a particular block? This is most easily done with the ‘.’ construction we encountered above, using the text() method, as follows:
var t = main.addblock("center","top",80,10),
    c = main.addblock("center","center",80,80);

    t.text("This completes the experiment");
    c.text("Thank you for participating!",300);
Notice that we did not create main as this has already been done for us; it is present by default. This script will show the text “This completes the experiment” at the top of the screen, centered, and “Thank you for participating” in the center of the screen, centered and 3 times (300%) the normal size.
For the web experts among you it is important to know that you are not limited to plain text: any type of HTML2 is allowed as text. By default. everything is centered in a block, but also this can be changed by altering the display style, as will be explained in the style chapter.
Showing images in blocks
Images are shown as follows:
var b = main.addblock("center","center",80,80);
b.setimage("cow.png");
Provided you had uploaded an image called “cow.png” to the script, this script fragment would show a cow in the center of the screen. Uploading and the usage of the setimage() function will be explained in the chapter on images.
If you have several blocks, each can contain its own image and these can be changed arbitrarily. It is not possible to combine text and images in one block, at least not with the text() and setimage() function; use separate blocks if you need to do this (e.g., an image with a word below it, shown in two blocks).
3.7 Using blocks as stimuli
Whereas Block layouts can be used as locations where to show stimuli such as text and images, they can also be used as stimulus configurations themselves. We will show some examples of this usage of Block layouts, starting appropriately with the Corsi Block Tapping Task.
Corsi Block Tapping Task
The Corsi Block Tapping Task is a classic neuropsychological test. When done manually, the neuropsychologists taps a number of blocks in a certain order. The subject (or patient) must then copy this, tapping the blocks in the same order. At some point, the subject will start making errors. The longest sequence before that is taken as the ‘span’, which in most people is a sequence of about five to seven blocks.
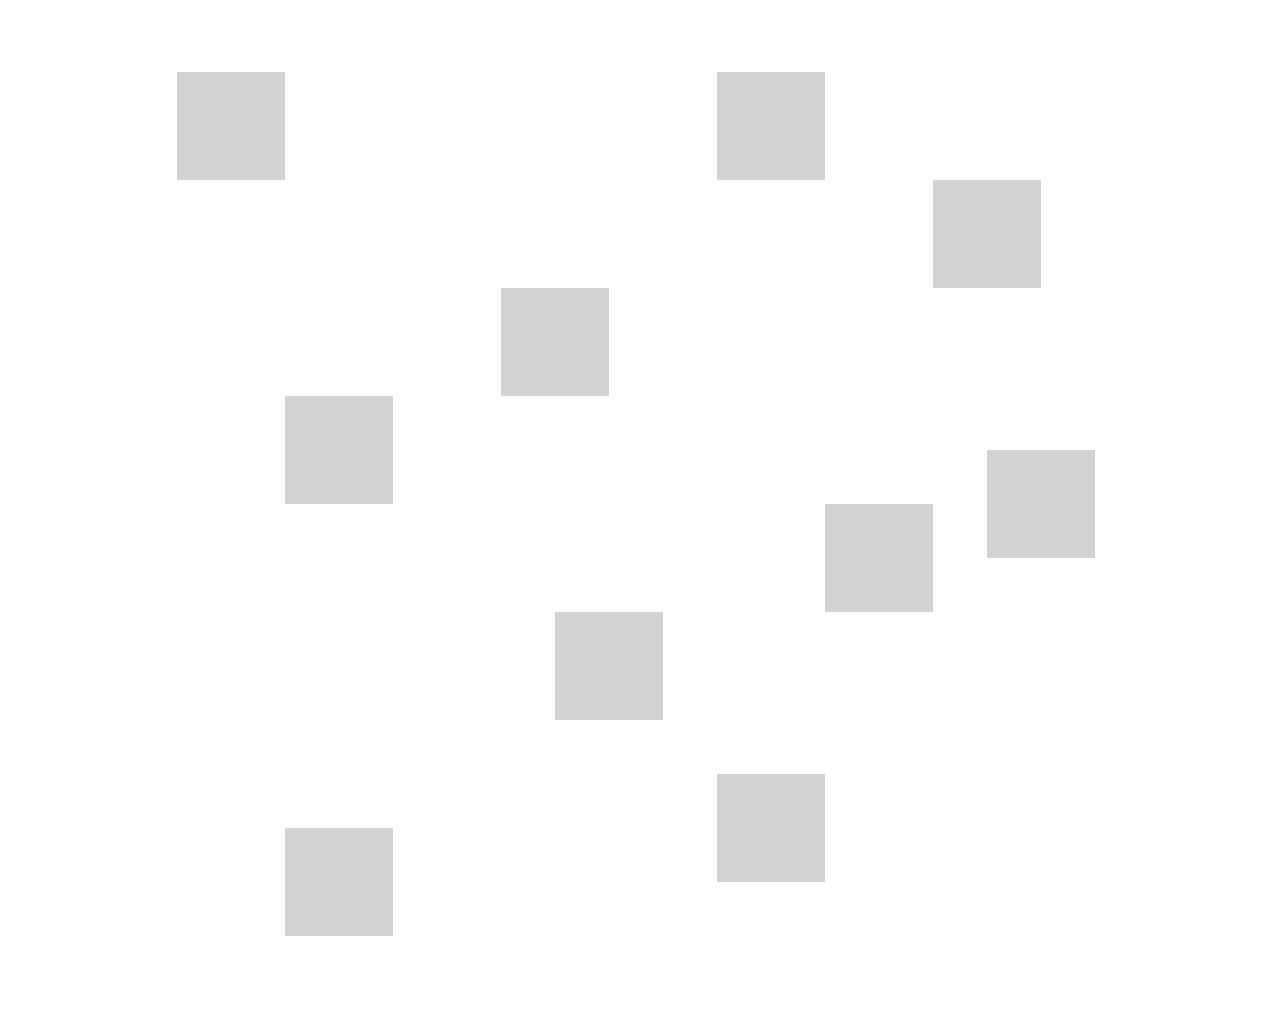
Traditionally, the blocks are made of wood and glued to a board in a more or less random arrangement. A computerized version will show blocks on the screen, which will ‘light up’ in a certain sequence. In the Appendix, we present a complete script for such a task. Here, we will only study how an arrangement of blocks can be put on the screen, for example, like this:
1 var coords = [[10,10],[20,40],[20,80],[40,30],[45,60],
2               [60,10],[60,75],[70,50],[80,20],[85,45]],
3     i;
4
5 for (i = 0; i < coords.length; i++)
6 {
7     main.addblock(coords[i][0],coords[i][1],10,10,"lightgrey");
8 }
The variable coords specifies the left and top coordinates of the ten blocks used here. We use an array of arrays here:
coords = [[10,10],[20,40],...]
In JavaScript you can put anything in a array, including other arrays. To get the values in an array of arrays, we must think in two steps: coords[0] equals [10,10]. The 0-th element of [10,10] is 10. Therefore, coords[0][0] is 10. Similarly, coords[1][0] equals 20 and coords[1][1] equals 40.
In the for-loop, when i is 0, the statement
main.addblock(coords[i][0],coords[i][1],
              10,10,"lightgrey");
puts a light grey block on the screen with left at 10% and top at 10%. The sizes of all Blocks are 10% of the width and height of the Box main. The script fragment above gives a display as shown on the right.
Random Dot Stimuli
The same approach can also be used to generate random dot displays. These have been used by many experimenters to study memory, for example, by Posner and Keele (1968). In this experiment, a prototype dot configuration P was defined and various distortions P1, P2, …, Pn, were made by randomly shifting dots around. Subjects were presented with half the distortions and encouraged to remember these. They were not told the patterns were in fact all distortions of a single prototype pattern. After some time, they then viewed all distortions with the prototype intermingled; their task was to say whether they had seen a specific distortion before. The crux of this experiment was that subjects were very likely to falsely recognize the unseen prototype P as among the patterns seen earlier.
A small change in the script fragment of the Corsi task, produces a random dot display:
var coords = [[10,10],[20,40],[20,80],[40,30],[45,60],
[60,10],[60,75],[70,50],[80,20],[85,45]],
block, i;
for (i = 0; i < coords.length; i++)
{
block = main.addblock(coords[i][0],coords[i][1],10,10);
block.text("•",200);
}
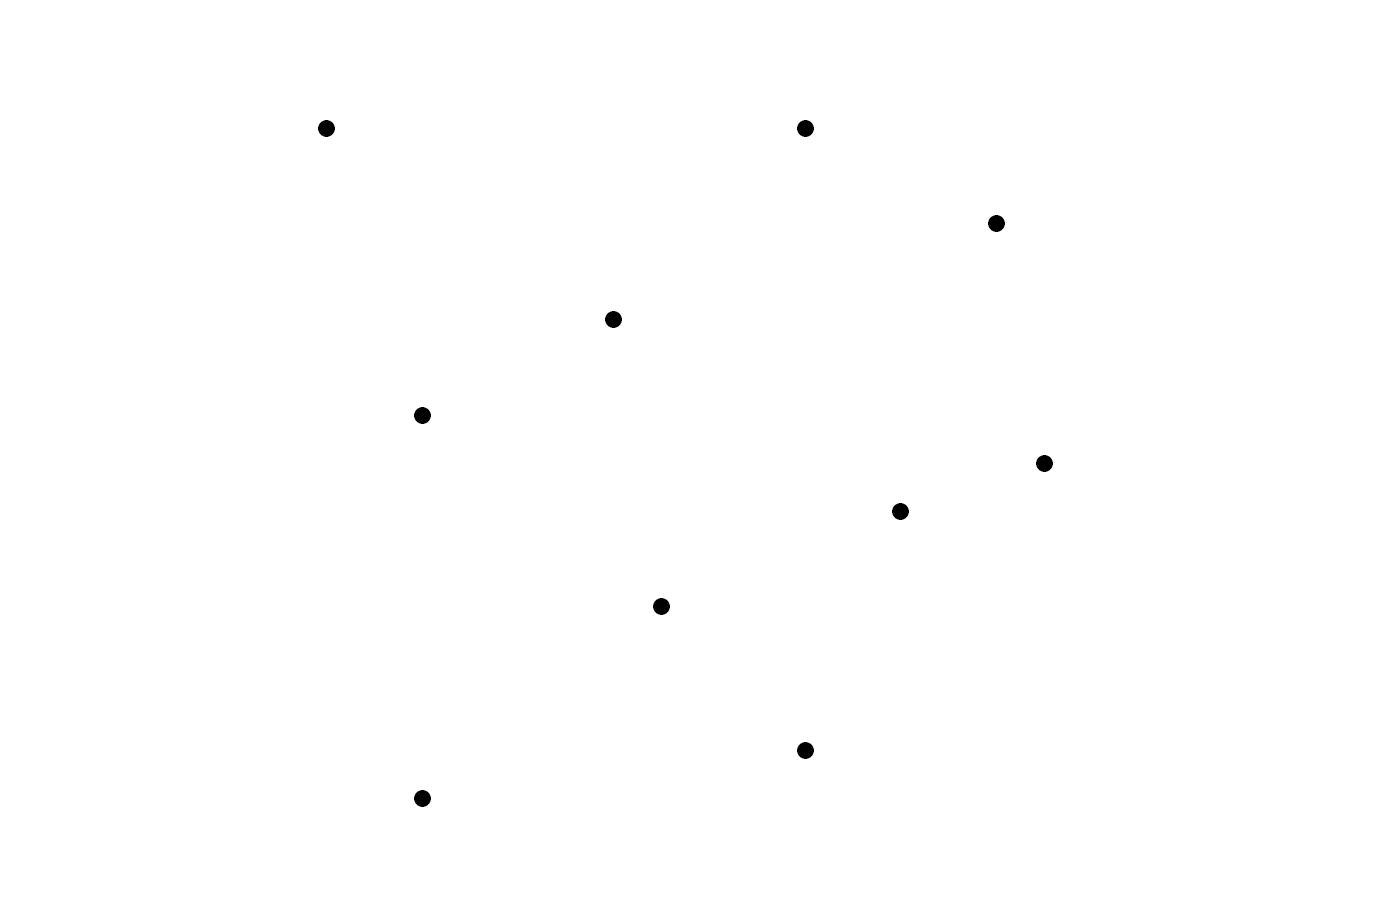
The code for the ‘bullet’, •, can be found on a w3schools web page where you can find many other symbols. You can use these so called HTML ‘entities’ (symbols) directly in your scripts by copying either the entity name or the entity number. We could also have used an ordinary dot in this script, “.”, but this appears as little a square in the Arial font, which we found less appropriate than a nice round bullet.
In order to make the whole experiment work, we would need to write additional code to distort the patterns, add a presentation phase and a recognition phase. This is shown in the Appendix, where we combine everything and present a number of complete experiment scripts.
3.8 The makebox() convenience function
NeuroTask includes the makebox() ‘convenience’ function for specifying often used Box layouts and color schemes. The first argument determines the number and layout of the Blocks. Right now, makebox() supports a ‘centered’ or ‘threerows’ blocks layout, where ‘centered’ is default. With ‘centered’ there is a single, centered block of 90% width and height. This is the layout used in the preset main Box.
For more complicated cases, the ‘threerows’ layout may be handy.
main = makebox("threerows")
is equal to:
main.headerblock = main.addblock("center","top",100,25);
main.centerblock = main.addblock("center","center",100,50);
main.footerblock = main.addblock("center","bottom",100,25);
Here, the centerblock is only 50% with a header block above and footer block below. All blocks extend the entire width of the Box (i.e., 100%).
The second argument of makebox() is a color scheme, which also allows a choice of a ‘wide’ box that fills the entire window:
- ‘white’
new Box(); // This is the default- ‘black’
new Box('black','black','white');- ‘light’
new Box('white','#fafafa','black',100,5,'#f3f3f3',5,"square");
The same color schemes can be made ‘wide’ by writing ‘white-wide’, ‘black-wide’, or ‘light-wide’. In that case, the box is no longer a square but fills the entire window.
So, if you want to show text or images at the center of the screen but with a completely black background (and white text), you can use:
box = makebox("centered","black");
This code has the same effect as writing:
box = new Box('black','black','white');
We may support additional layout and color schemes in the future.
3.9 Deleting the contents of a Box object
When you no longer want the contents of a Box object (i.e., in terms of blocks), you can call:
1 box.clearall();
This removes and destroys all Block objects and other contents, if any. The box can now be re-used and filled with new blocks using addblock().
- We may add a format that allows scrolling in the future, but at the moment we see no good application for it in experiments. ↩
- HTML is the language in which the structure and markup of webpages is specified. At the HTML Dog web site (http://htmldog.com/guides/html/beginner/) you can find a good beginner’s guide. For most experiments, you do not need to know HTML, though it may be handy to know a few basics, like how to show a word in bold face or italics.↩