4. Images
Many psychological experiments use images as stimuli. NeuroTask Scripting allows you to upload your own image stimuli and present these in experiments. In this chapter, we will show you in some detail how to do this. Showing an image on the Internet is simple, but showing them for exact time periods, like 300 ms, requires some extra precautions. Fortunately, the NeuroTask Scripting framework gives you a solid base from which to work taking care of many details that could compromise your presentation times if not handled properly.
Suppose you have an image called ‘cow.png’ (png is a popular image format on the Internet; others are jpg and gif). To show it for 1 s and then hide it, you can use the following script fragment:
setimage("cow.png");
await(1000);
hideimage();
This will show the image for 1000 ms in a square that fills the entire center middle of the screen. If you want to show the image at a smaller size, say 50% smaller, write setimage("cow.png",50).
It is also possible to show images by providing an web address (URL) of an image somewhere else on the web, for example,
setimage("http://lorempixel.com/400/200/animals/");
await(1000);
hideimage();
This will show a random image of an animal, which is provided (for free) by lorempixel.com. If you would run this code for the first time, you might see a visible delay during which the image is loading and not yet visible. Such a delay can be considerable, such that the image is not shown for the intended 1000 ms but for far less, for example, only 326 ms. This all depends on the speed of the Internet connection and how busy the server is of the remote website from which you require the image. Strangely enough, it may also depend on when the browser deems it time to show the image; it may hold an image for hundreds of milliseconds before showing it, for reasons unknown.
To make sure all images are ready to be presented without unnecessary delays, we will introduce preloading of images. This ensures that an image is shown (almost) immediately, and not after a varying delay period. But first we will go over the basics of showing images, which we will discuss while developing a new experiment script.
4.1 Visual recognition task
As a case-study, we describe a complete visual memory task, where we first show a number of images, called targets, for a certain duration (here 1 s). Then, the targets are mixed with a number of new, unseen images, called foils. The combined images are then shown to the subject in random order and the task is for each image to determine whether it was seen before or not.
In the example script below, there are only three targets and three foils. In a real experiment, you would want more of both of course. As responses, we collect the total number of target images correctly identified as ‘old’ (or ‘seen’); these are called hits. We also collect the total number of foils that were incorrectly identified as ‘old’; these are called false alarms. You might normally also collect reaction times and other data, but we want to keep this script as short as possible. In the Appendix, we will present a similar script that has been extended with some extra features. But even this simple script can be used to collect useful data, provided you have suitable images.
The hits and false alarms measures are important in psychology, because with only these, it is possible to derive an unbiased estimate of the subject’s recognition memory. This estimate is called d’ (say ‘d-prime’) and the theory behind it is called Signal Detection Theory. A useful alternative to d’ is the measure simply called A.
A minimal visual recognition memory script is as follows:
 1 var targets = ['car1.png','car2.png','car3.png'],
 2     foils = ['car4.png','car5.png','car6.png'],
 3     all = [],
 4     hits = 0, false_alarms = 0,
 5     i, e;
 6
 7 // Here we should put preloading code, see below in this chapter
 8
 9 instruction("Study the following images");
10
11 for (i = 0; i < targets.length; i++)
12 {
13     setimage(targets[i]);
14     await(1000);
15     hideimage();
16     await(1000);
17 }
18
19 instruction("For each of the following images, <br />"
20    + "press 's' for 'seen' or 'old'<br />"
21    + "or 'l' for 'unseen' or 'new'");
22
23 all = all.concat(targets,foils);    // Add all image names to array 'all'
24 shuffle(all);                       // Randomize image order
25
26 for (i = 0; i < all.length; i++)
27 {
28     setimage(all[i]);
29     e = await("s,l");         // 's' is 'old', 'l' is 'new'
30
31     if (contains(targets,all[i]) && e.key === 's')
32     {
33         ++hits;
34     }
35
36     if (contains(foils,all[i]) && e.key === 's')
37     {
38         ++false_alarms;
39     }
40
41     await(1000);
42 }
43
44 log(hits,"hits");                      // Log data into your account
45 log(false_alarms,"false_alarms");
46
47 text("Thank you for participating!");  // 'debriefing'
48 await(3000);
For this particular script to work, you would first have to upload six images of cars, called ‘car1.png’ to ‘car6.png’. Uploading is explained in the next section.
There are a few new functions used in this script, concat(), contains(), and log(), which we will explain in turn.
concat(array1,array2)
We already encountered this function in the previous chapter. Each array (even an empty one) has this function, which takes as arguments one or more arrays, of which the elements are added (copied) in order. So
var a = [0], b = [1,2,3], c = [4,5,6];

a = a.concat(b,c);
would change a from [0] into [0,1,2,3,4,5,6].
In the script above, we use concat() to merge the targets and foils into a single array, which is then randomized with shuffle(). It is important to know that a.concat() does not change array a but only returns the changed array. Here, we reassign the return value to a, replacing its original content, which was [0].
contains(array,element)
This is a handy function specific to NeuroTask (borrowed from StratifiedJS). The first argument is an array and the second an item that may or may not be in the array. For example,
contains([1,2,3],1);    // Returns true
contains([1,2,3],7);    // Returns false
In the script, we use contains() to check whether the current stimulus is a target or a foil.
log(variable,label)
NeuroTask-specific function that stores data to your NeuroTask account (and which can then be viewed and downloaded in the Data section of your account). The first argument is the variable in the script which value you want to log (the name of the variable itself is not logged). The second argument must be a string: the name or label you want to give the variable in the Data section of your account.
log(false_alarms,"FA");
will log the value of the variable false_alarms into your account with the label ‘FA’.
Logged data is marked with ID of the Invite used (if any, else 0) and the ID Subject (if known, else 0). Each data item is also given a timestamp, so you know exactly (data/time, with seconds precision) when each piece of data was stored. For more information, see the chapter on data storage.
If you log values with the same label repeatedly, as in log(34,"FA") and then later log(17,"FA"), both values will be retained in your Data section, with the same label “FA”. It is up to you to make sure you understand what this means.
It is assumed in this script that you will do the further analyses (e.g., of d’) later, though it would have been possible to add this step to the script as well. In most cases, it is preferable to have all the raw data, and we would for instance want to store the misses and correct rejections as well. It is generally better to store too much data than too little.
4.2 Image linking and uploading
As illustrated at the start of this chapter, in NeuroTask you can either show your own images, uploaded to your NeuroTask account, or display images from elsewhere on the web, using web addresses (known as URLs). Bear in mind that displaying images on other web sites may not be legal and NeuroTask assumes no resonsibility for it whatsoever. There are, however, many websites that provide free images that you may use in this manner.
Uploading images
Uploading images to your NeuroTask account is done in the script management part of your account that is called Upload and Manage Files. Just check the script menu item that has a cloud icon with a little up arrow like this: <i> </i>. On the Upload webpage, you can click the ‘Upload Files’ button and then select image files stored on your computer.
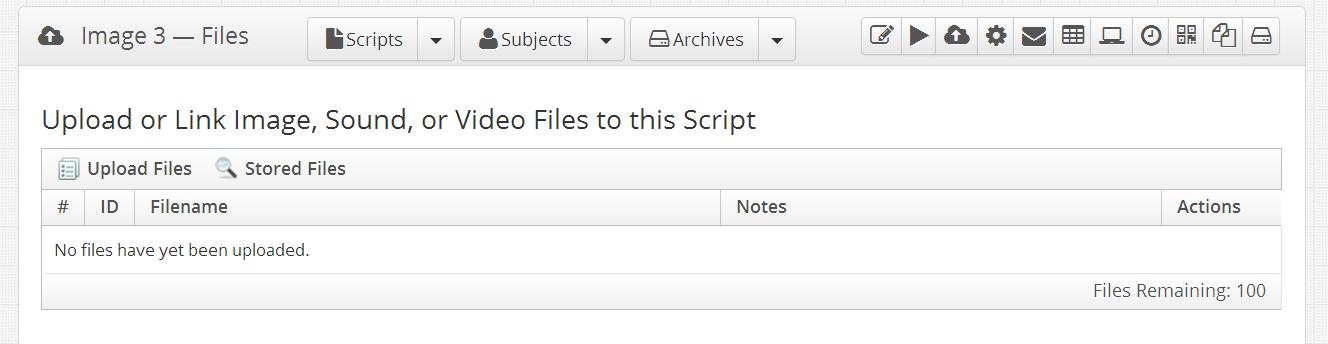
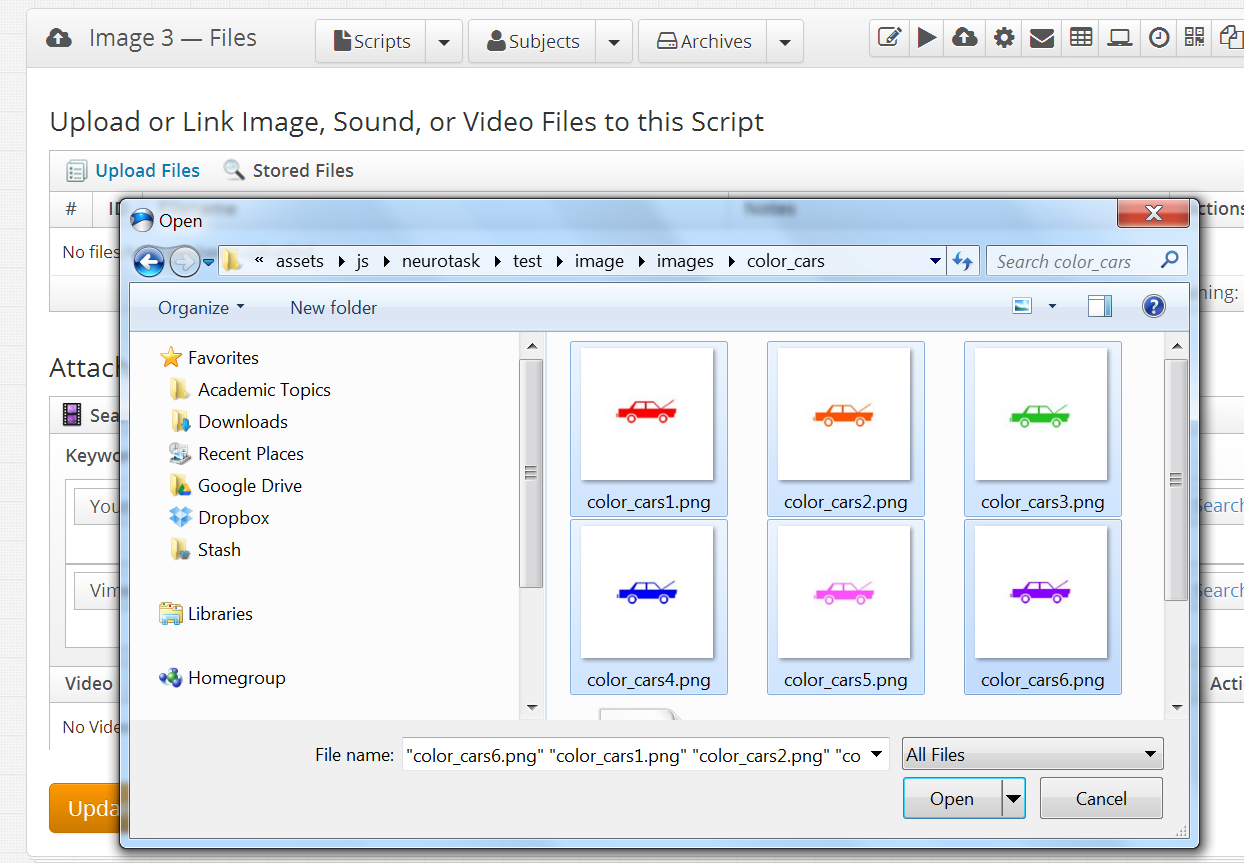
On most modern browsers you can also simply drag the selected files on the area below and around the Upload button. Or you can select files with the Open dialog:
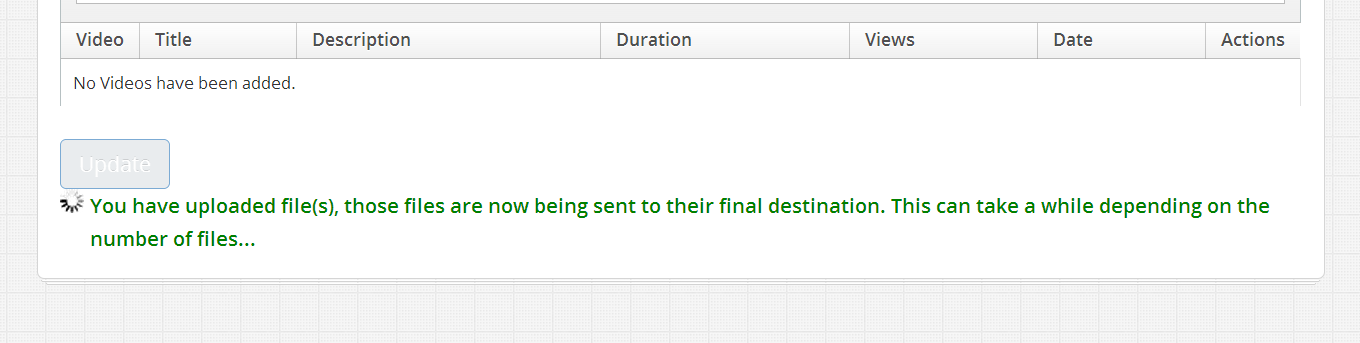
When all files you want to upload are listed correctly, you are not done yet: You must click the large orange Upload button to actually transfer the files! If you forget this, the uploaded files are simply ignored and nothing happens.

After you click ‘Upload’, there may be short wait during which you will see a message in green:
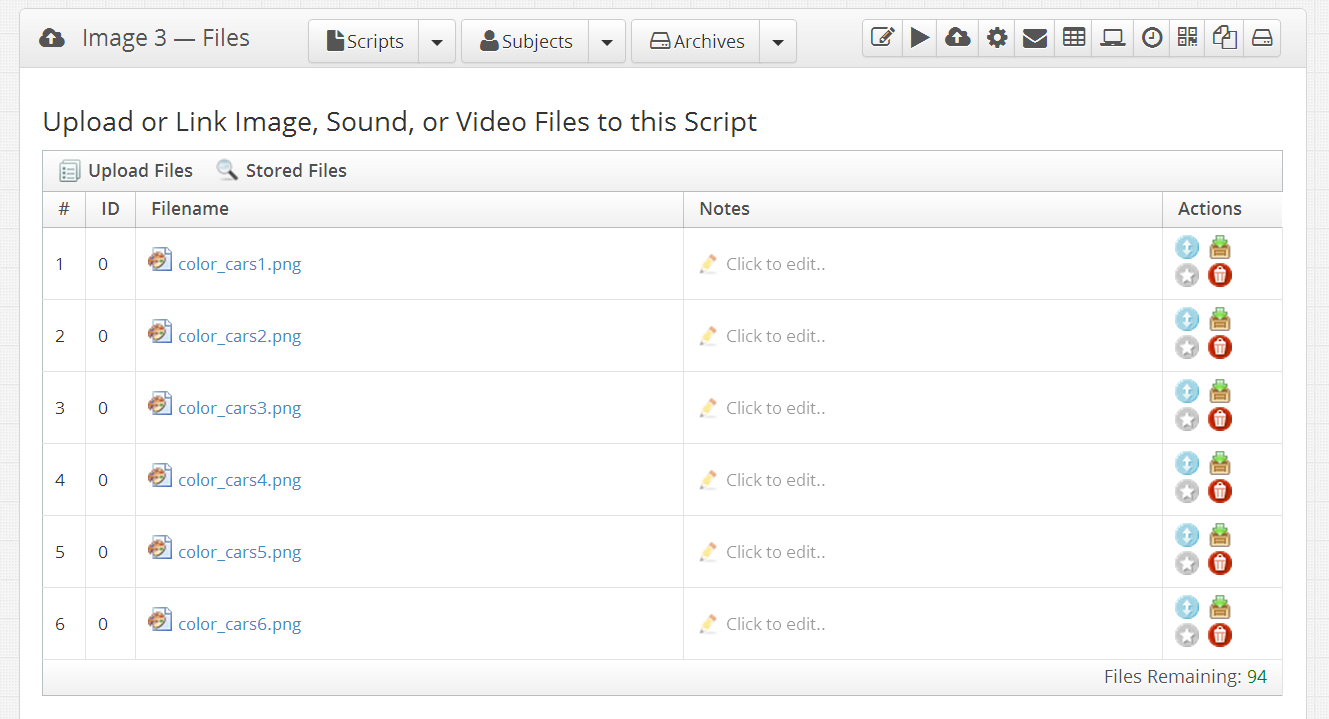
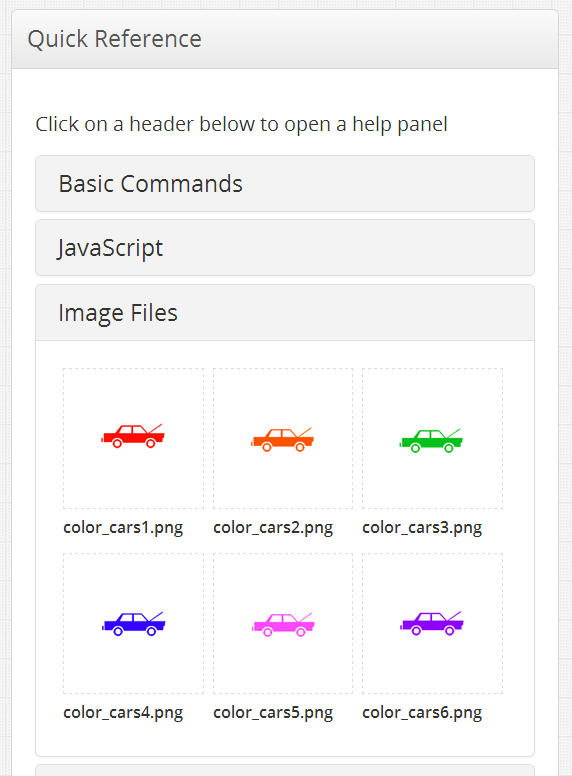
When transfer is completed, the uploaded images are stored in your account and tied to your script. You can verify this by going to the script edit page of your script and clicking on the Image Files header in the Quick Reference - Files and Stimuli section. This should reveal all images in your script, showing both the images and the file names you gave them (these can currently not be edited in NeuroTask, so pick good names before you upload your images).
Linking images
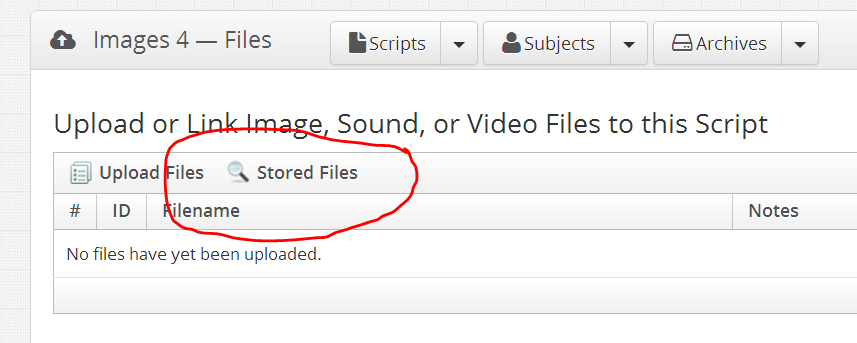
Suppose, you have a second script and want to re-use images already uploaded to the first script. When you click on the Image Files header of your second script, you will not be able to see any images. Existing, already uploaded image files (and other files) first need to be linked to a new script. This linking is also done in the Upload and Manage Files section. This time click on Stored Files, which should reveal a list of all files uploaded and stored (not just image files are shown).
When you hover over an image (or other file) in this list, a green +-button appears. If you click it, the file file will be linked to your script. When finished, you must click the large orange Upload button to complete linking of the files! Now, you should be able to see the linked files underneath the Image Files header in the side panel.
Uploading versus linking images
You can mix uploading and linking files, as the difference is not essential for how your experiments appear to your subjects. If, however, you delete a script, all uploaded files that have been uploaded to the script will be deleted as well. That means that other scripts that use such a deleted image (i.e., link to it), can no longer access it; it is removed from your account. If an image file is merely linked to a certain script, it will not be removed when you delete that script.
In NeuroTask, deleting scripts is discouraged and we recommend merely archiving a script. This means it is removed from the main script listing and moved to the script archive. From the archive it can easily be unarchived if desired (just set its Status back top Open in the Script Settings panel, the one that has the ‘cog’ symbol). Archiving a script in this manner does not cause deletion of files uploaded to it. In fact, archiving instead of deleting scripts reduces the risk of malfunctioning scripts due to inadvertedly deleted stimuli.
Once a script has been archived, if you really want to, it is possible to remove it permanently by clicking on the red delete cross. This will lead to loss of all files that were uploaded to that script, but not the ones that were merely linked to it (and hence had been uploaded to a different script).
4.3 Where your images are stored
Your images are stored in the cloud. We are currently using Amazon’s S3 storage service for this. This means that when subjects participate in your experiment, the images they see on the screen must first be retrieved from Amazon. Amazon’s storage is a very large and very fast. But even so, it may take some time for your image to be available at a subject’s computer, as it would from any other other location on the web. In the next section, we’ll discuss how to deal with this.
NeuroTask does not allow other websites to link directly to your images (so called ‘deep linking’). To prevent this, each image file to be retrieved from Amazon is given a temporary, very long, more or less random file name, which is valid for only a short period of time (about one hour). This means it is useless to refer to your image with this file name on some other web page (or FaceBook!), because the link will soon go ‘stale’ and stop working.
So, NeuroTask Scripting takes some serious steps towards protecting your images from deep linking, while you do not have to worry about this. In scripts, you can simply use your own image names and forget that these are converted automatically to long Amazon names. In fact, if we had never told you about this, you would not have noticed it!
4.4 Preloading images
When a subject sees an image on the screen in one of your experiments, the image file has first been retrieved from the computers (called servers) at Amazon. This retrieval process takes time, more so if you use many, large images, if the Internet connection is slow, and if the subject’s computer is not very fast. In order, to guarantee that images are ready to be displayed when needed, they must all have been retrieved to the subject’s computer before they are used. This is called preloading of images.
The preload() function
NeuroTask experimenters are shielded from all the complexities of image retrieval sketched above through the preload() function, which retrieves image files ‘behind the scenes’ and makes sure they are ready-to-go with a very small latency. This greatly increases the reliability of your experiments.
Unless you really don’t care about image presentation time, you should therefore always use preloading. So how does this work? For the script introduced above we would add preload() statements, as follows:
preload("cars1.png");
preload("cars2.png");
preload("cars3.png");
preload("cars4.png");
preload("cars5.png");
preload("cars6.png");

image.await("preloading_completed");
This should be placed where it says in the script: “Here we should put preloading code”.
The image.await("preloading_completed") statement will wait until all six car images have been loaded and are ready-to-go. Note that if any of the images cannot be loaded, for example because you made a mistake in spelling their name, the script will not run past the image.await("preloading_completed") statement.
You may wonder why you have to say image.await() here, rather than just await(). The reason is that there is also a sound.await() function, which waits for completion of preloaded sound files. Video files cannot be preloaded.
It is often useful in scripts to preload a whole range of numbered image stimuli, as we have done here for car images 1 to 6. Because this is so common, NeuroTask includes a special function for preloading image ranges. The script fragment above would be shortened to:
preload_range("cars{0}.png",1,7);
image.await("preloading_completed");
Where it says {0} in the file name the numbers 1 to (but not including) 7 are substituted. It may be clearer to have the range of numbers extended to include 7 here, but we have chosen not to do this, so that this function has the same usage as the range() function, which is already in common use outside NeuroTask. For example, range(1,7) produces an array [1,2,3,4,5,6]. This mimics the behavior of similar functions found in other computer languages, notably Python, which popularized a similar range() function.
Use of preload_range() is entirely optional but can make your scripts shorter and easier to maintain.
Preloading is Block-specific
If you preload an image, it is not just retrieved so that it is available to show in the subject’s browser. In fact, it is actually already shown invisibly. This may sound strange but there is a reason for this. By telling the browsers “Show image ‘cow.png’” it would normally start finding space to hold the image, record its position etc. This takes some time, occasionally a lot of time if the browser decides to do this later. All of this may lead to long, unwanted latencies, even if the image file itself is already present.
By showing an image during the preloading stage in browser but with an invisible ‘style’ ensures that the browser has taken all measures to display the image. You can then make it visible with showimage('cow.png'), at which point the browser only has to change the ‘style’ from invisible to visible. Many invisible images can be present on top of each other; they will not interfere.
Because of all this, preloading is specific to a block: you will have to preload an image for each block where you want to show it.
The scripts above do not show the block, but this is only because the NeuroTask Scripting system adds main.centerblock, like it does with the text() and setimage() command (also see previous chapter):
preload_range("cars{0}.png",1,7);
is identical to
main.centerblock.preload_range("cars{0}.png",1,7);
This means that if you create your own blocks with addblock(), you need to preload images within those blocks. E.g., if you have a block b, you must write:
b.preload("cow.png");
b.preload_range("cars{0}.png",1,7);
If you want to show a cow simultaneously in two blocks b and c, you can write:
b.preload("cow.png");
c.preload("cow.png");
image.await("preloading_completed");

await(2500); // Wait a little bit

b.showimage("cow.png");
c.showimage("cow.png");
The image.await("preloading_completed") is not block-specific; it will wait until all images have been preloaded, no matter which blocks are involved. The last lines show the cow image first in block b and then in block c. In practice, they will be shown nearly simultaneously because the scripts themselves are executed very fast and because of the preloading the browser will show them rapidly as well. In tests we usually find latencies in the order of less then 0.3 ms.
4.5 Resizing images
Once an image has been added to a block with setimage(), it can be resized by calling the block’s resize() function. This will resize the block and as a result all images within the block will be resized as well. If you want to control sizes of a set of individual images, it is easiest to put them into different blocks. Or you can resize a block to a desired size before showing the intended image.
An example of how to implement resizing can be seen the following simple animation script, which will show a fairly smooth animation of a cow getting larger:
 1 var b = addblock("center","center",25,25),
 2     m = addblock("center","bottom",100,25).text("Press Esc to finish");
 3
 4 b.preload("cow.png",100);
 5 image.await("preloading_completed");
 6
 7 b.showimage("cow.png");
 8 for (var i = 0; i < 50; i++)
 9 {
10     await(16);
11     b.resize(25+i,25+i);
12 }
13
14 awaitkey("ESCAPE");
A difference with earlier scripts is that we are now using showimage() instead of setimage(). You may (only) use showimage() if you are absolutely certain the image has been preloaded with the preload() function. An advantage is that showimage() has less overhead than setimage(), causing a shorter latency, which may be important with very brief image presentation times, say 16 or 32 ms. This is why we recommend using showimage() as much as possible.