Afternoon 0: Overview of the Starting Code
By now you should have finished setting up your development environment, with your web server up and your editor open to the folder containing the base code for the tutorial. If not, please refer again to the Development Environment Setup in previous chapter.
Before we proceed to the actual tutorial, let’s take a tour of the starter template:
This template is based on the Basic Game Template found in the resources/Project Templates folder of the Phaser Git repository. We’re using this because it follows a more modular approach compared to most of the Phaser Examples and therefore much closer to real-life apps.
Let’s do a quick run-through of the files:
-
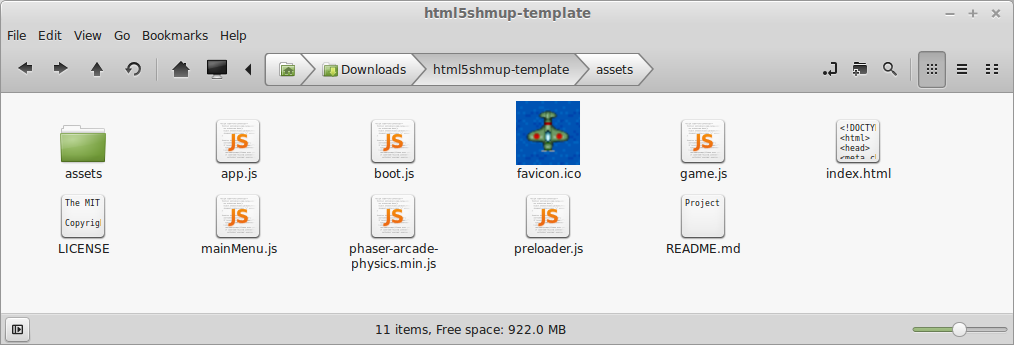
index.html- our main HTML5 page that links all our files together. There’s not much to say about this except for the<div id="gameContainer"></div>which Phaser will use to draw the Canvas on to. -
phaser-arcade-physics.min.js- Phaser stripped of 2 other physics engines (retaining only “Arcade” physics) and minified. You can replace this later on with the full version if you plan to use the other physics engines or if you want to the refer to the original code while developing. -
app.js- the code that kicks off the app. Creates thePhaser.Gameobject and adds theStates. -
boot.js,preloader.js,mainMenu.js,game.js- the different states of our game, combined together byapp.jsto form the flow of our app:- Boot - The initial state. Sets up additional settings for the game. Also pre-loads the image for the pre-loader progress bar before passing the game to Preloader.
- Preloader - Loads all assets before the actual game. Once that’s done, the game proceeds to MainMenu.
- MainMenu - The title screen and main menu before the actual game.
- Game - The actual game.
Reading through the JS files and the comments within will give you a peek of what to expect from Phaser.
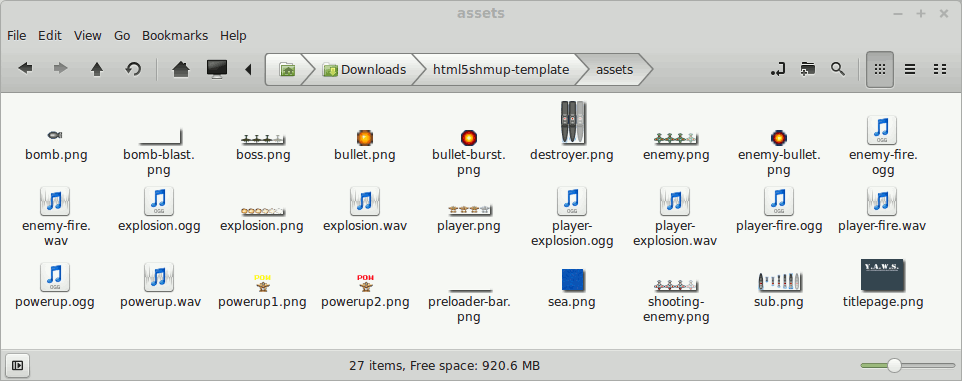
The template also includes all the necessary sprites and sounds for the basic game, saving you hours of looking for or making your own game assets. The sprites were taken from Ari Feldman’s open-sourced sprite compilation SpriteLib while the sounds were from Devin Watson’s OpenGameArt.org portfolio.
With the code tour out of the way, we can now move on to the tutorial.