Appendix A: Environment Setup Tutorials
This section is divided into 3 sections. The Basic section which provides the most basic ways of setting up your development environment for Phaser, the Advanced section which are for experienced developers who want a more comfortable environment at the price of complexity, and the Cloud section where we have tutorials on how to develop without requiring anything other than a browser and a stable internet connection.
Basic Setup
Here’s a basic step-by-step tutorial on preparing your system for the workshop:
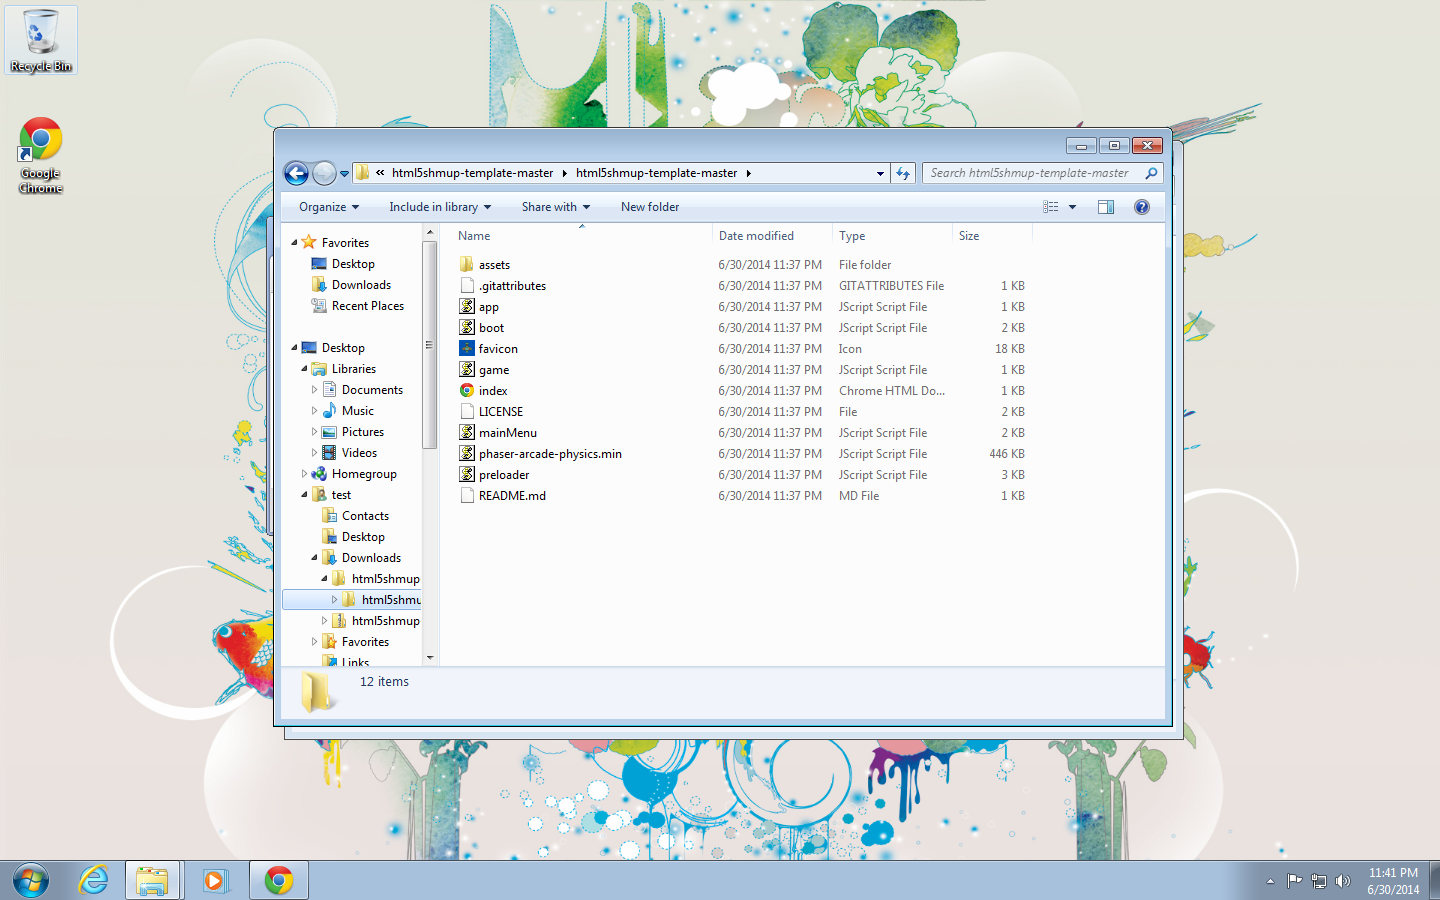
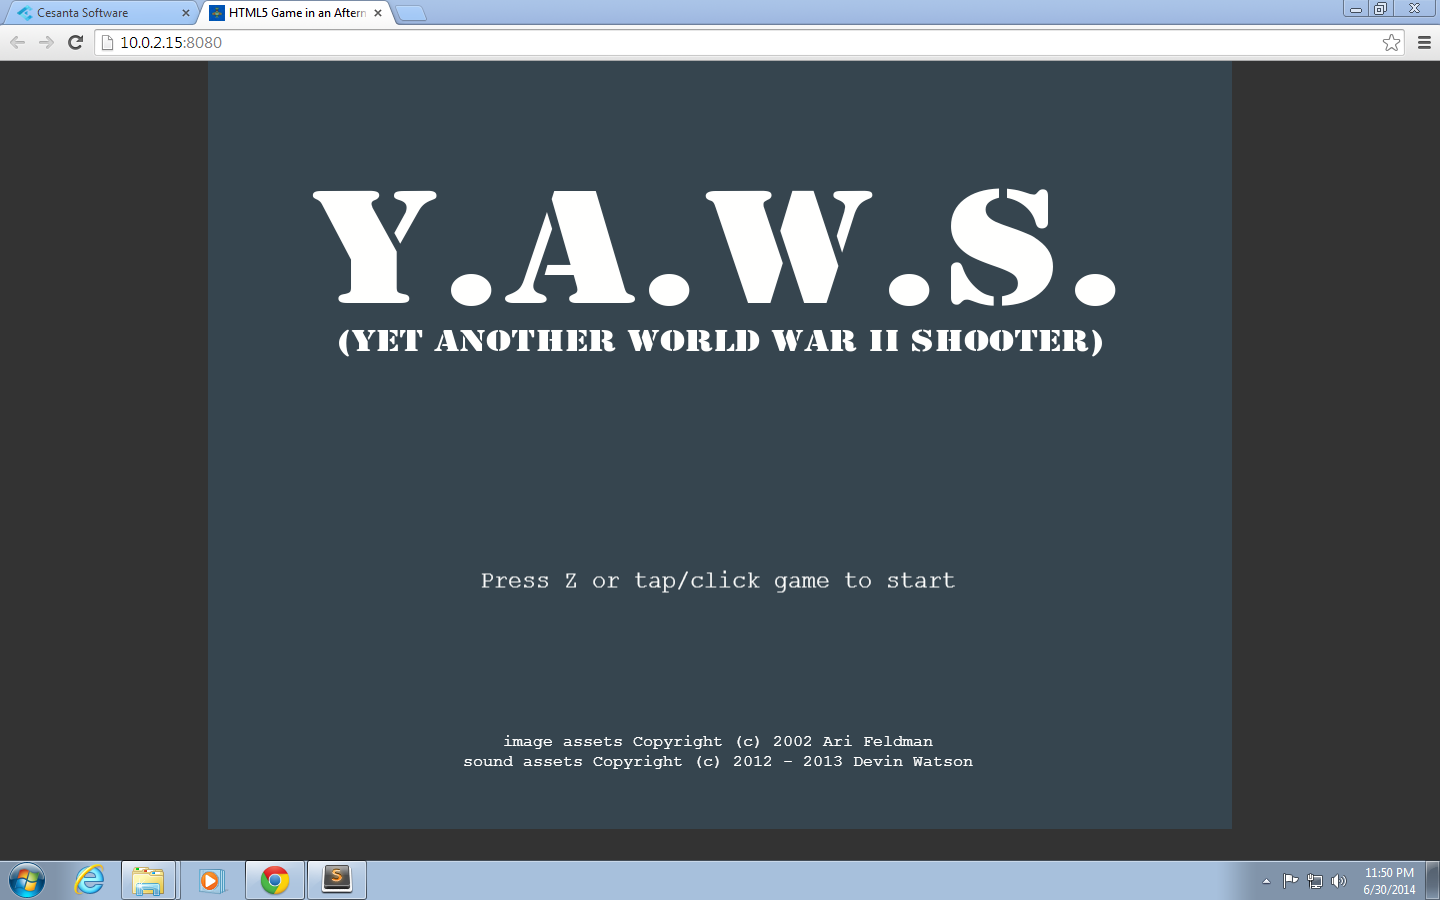
- Download the basic game template from Github and extract it into a folder.
- Download either version 2 or beta version 3 of Sublime Text and install it in your computer.
- In Sublime Text, add the folder you extracted to the current project by using
Project->Add Folder to Project...
- This last step, setting up a web server, will depend on your operating system:
If you’re using Windows, the smallest and easiest web server to setup is Mongoose.
If you’re using a Mac or a Linux / Unix machine, the easiest is Python’s
SimpleHTTPServersince pretty much all of these OSs have Python pre-installed.
Mongoose Setup
Repeating Mongoose’s tutorial:
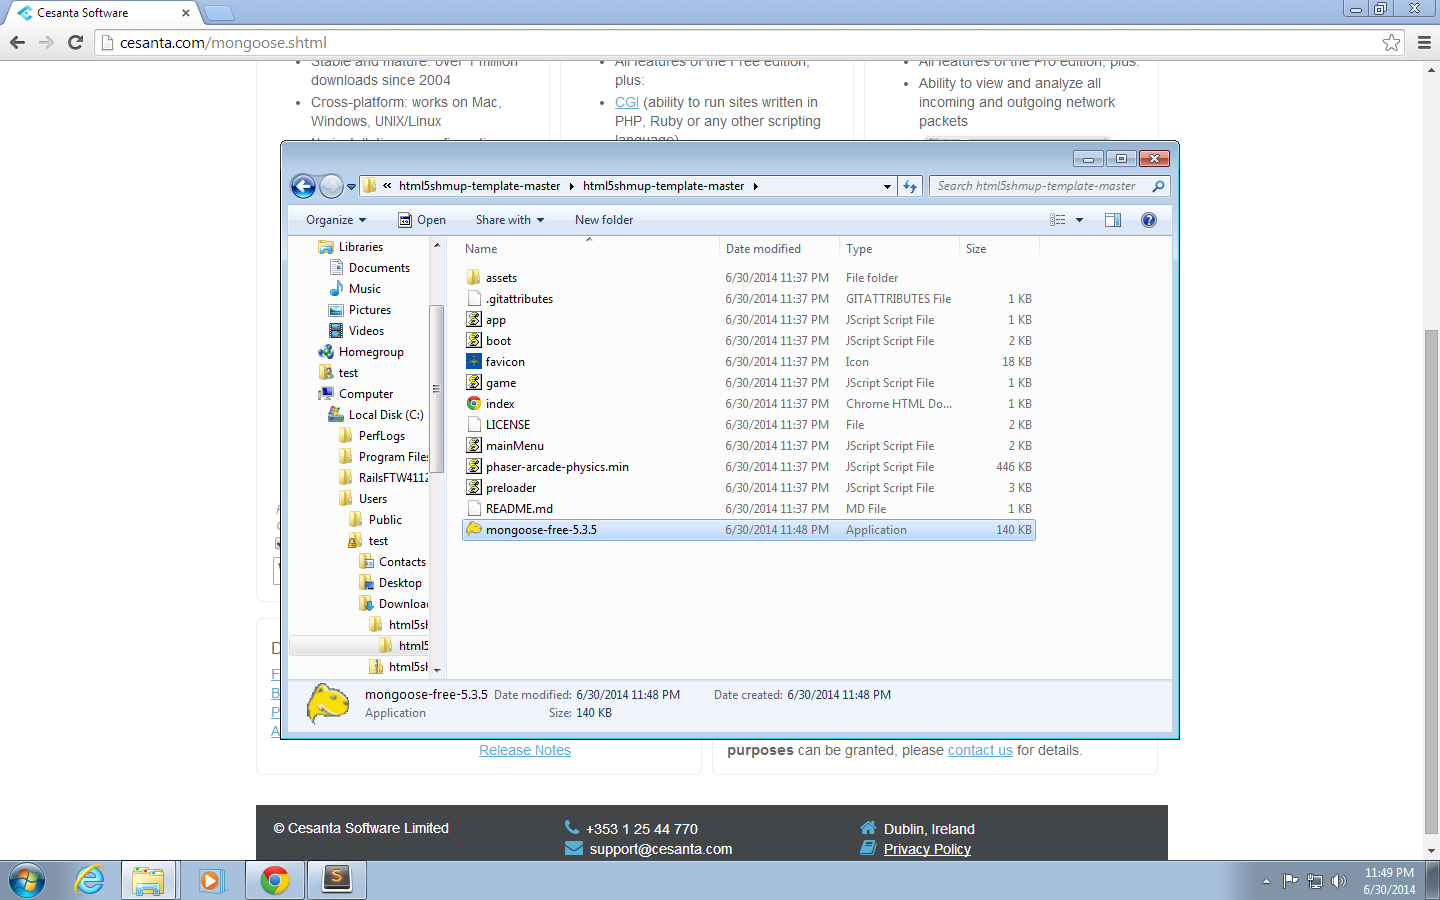
- Download Mongoose Free Edition and copy it into the working folder.
- Run Mongoose. Unblock the firewall for Mongoose by clicking
Allow access.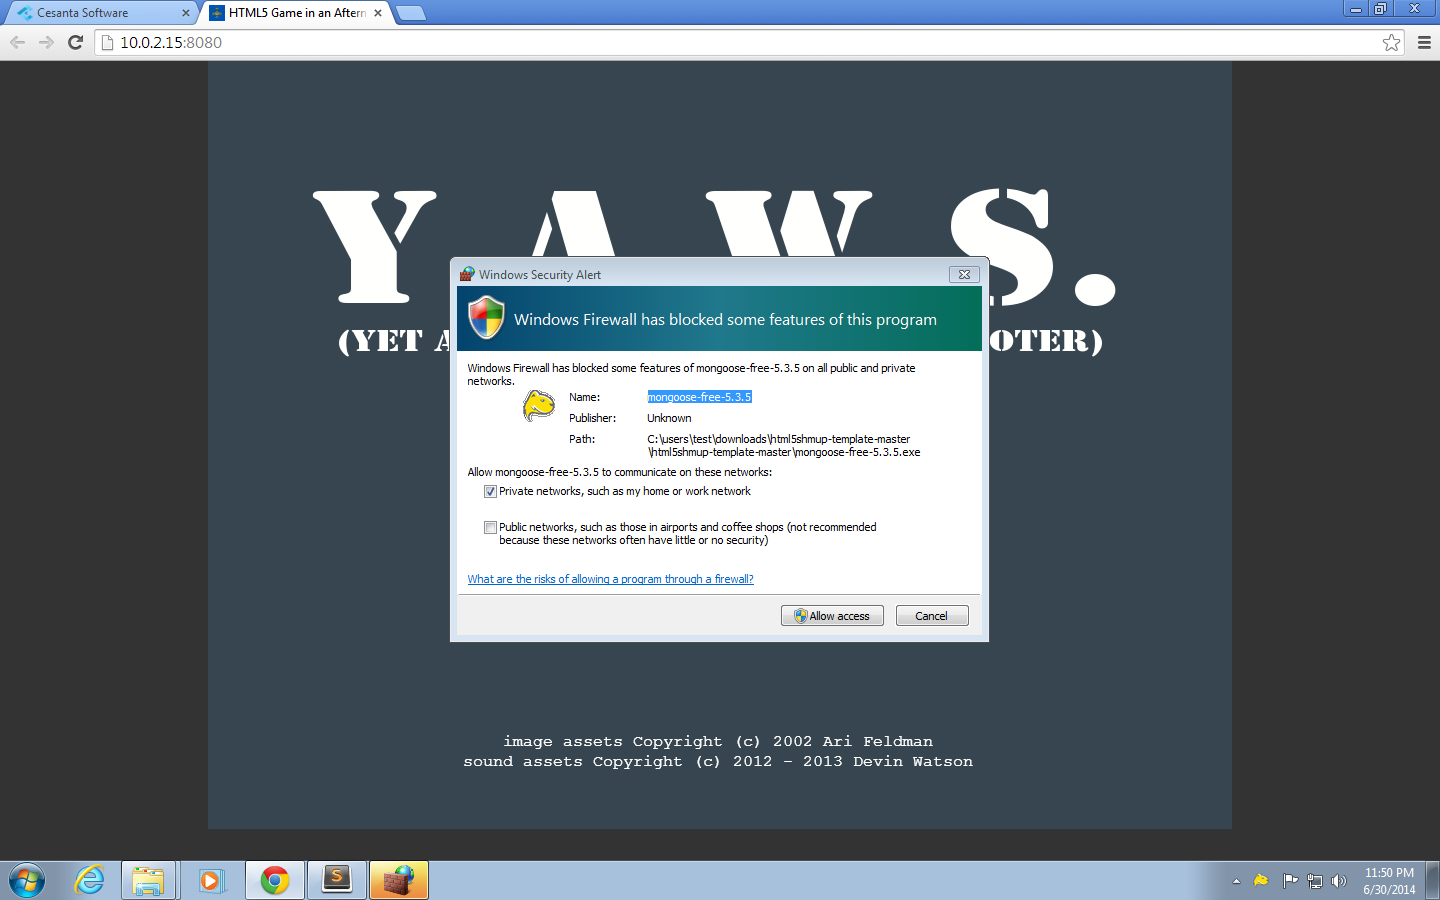
- Your browser should now be open at the game template.
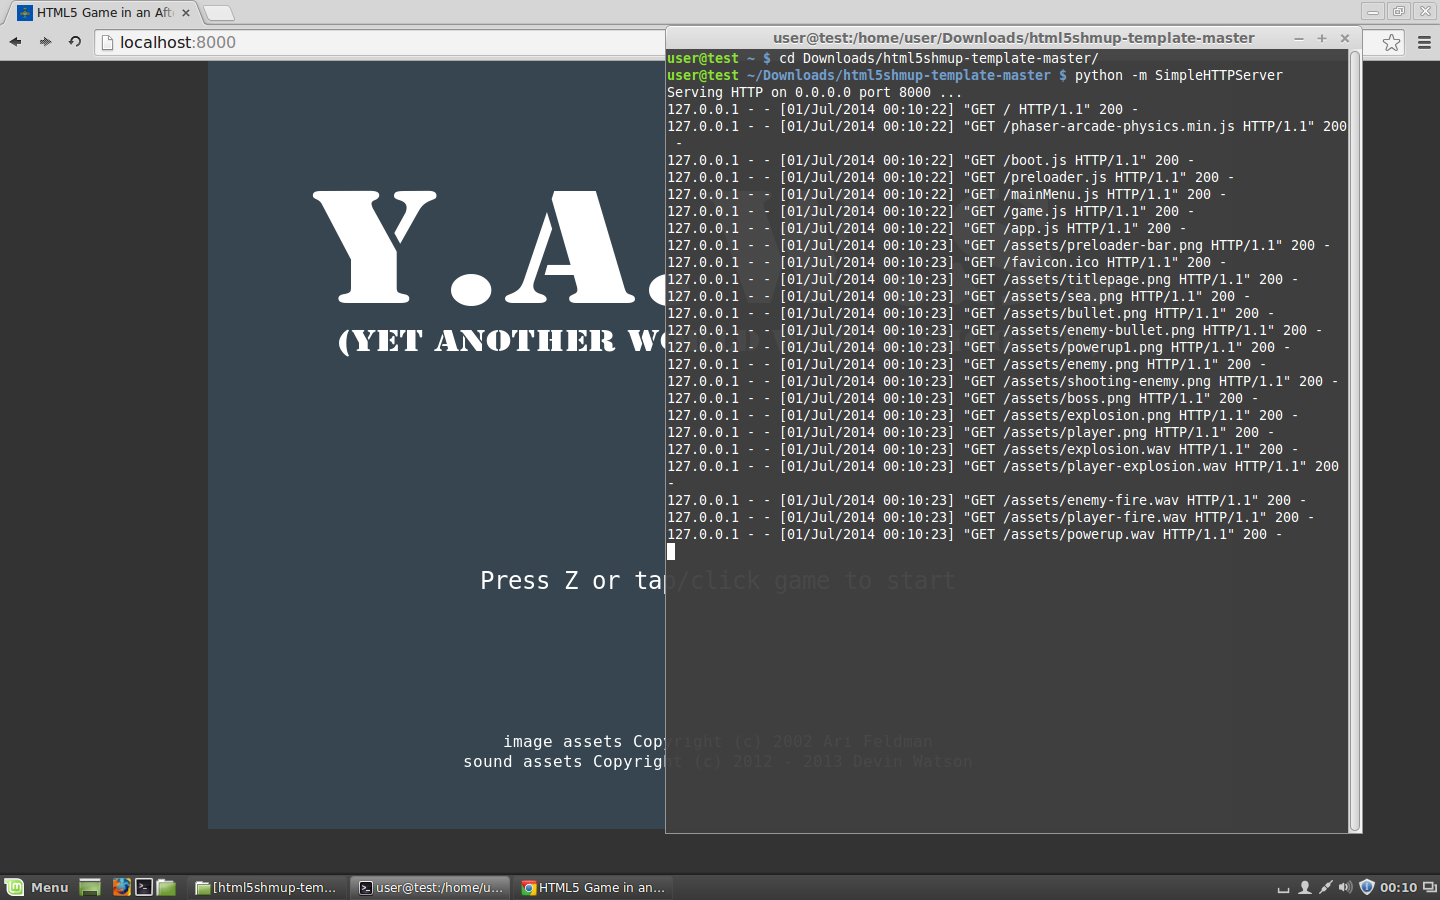
Starting a Simple Python HTTP Server
- Open your terminal and go to your working folder.
- Run
python -m SimpleHTTPServer. - Open your browser to http://localhost:8000/ to access your game.
Advanced Setup
Some experienced web developers might open the basic template and be disappointed at how plain it looks compared to the code they use in their day to day work. To answer this problem, I’ve made a couple of alternative templates that have the 2 features that I can’t live without when developing front-ends: LiveReload and a means for concatenating/minifying/preprocessing JS and CSS.
JavaScript / NodeJS Template
You can find a starting template for NodeJS at the javascript branch of the base template.
This template is a slightly modified version of Luke Wilde’s phaser-js-boilerplate which uses Browserify, Jade, Stylus, Lodash, JsHint, Uglify.js, Google Analytics, Image optimisation tools, LiveReload, Zip compression, and partial cache busting for assets.
To setup:
$ git clone https://github.com/bryanbibat/html5shmup-template.git
$ cd html5shmup-template
$ git checkout javascript
$ npm install
Run grunt (which you might have to install via npm install -g grunt-cli) to start server and open the default browser to http://localhost:3017. You can change the port settings in src/js/game/properties.js.
Run grunt build to compile everything (pre-process, concatenate, minify, etc.) to the build folder for production release.
Refer to the original boilerplate’s Github Read Me for other details.
Ruby Template
You can find a starting template for Ruby at the ruby branch of the base template.
This template uses Middleman for features like LiveReload and Asset Pipeline. Compared to the NodeJS template, this template’s set of libraries are more oriented towards the Ruby ecosystem: ERb and Haml instead of Jade, Sass instead of Stylus, and so on.
To setup:
$ git clone https://github.com/bryanbibat/html5shmup-template.git
$ cd html5shmup-template
$ git checkout ruby
$ bundle install
To start server:
$ bundle exec middleman server
Your game will be available at http://localhost:4567. Note that LiveReload is set up to work only for localhost, if you want to make it work on a different machine in the network, you must specify the host in config.rb e.g.
activate :livereload, host: 192.168.1.111
To compile everything to the build folder:
$ bundle exec middleman build
Refer to the Middleman docs for other details.
Note that Middleman’s Sprockets interface doesn’t support audio so audio_path won’t work. Check out _preloader.js.erb for my workaround.
Cloud IDE Setup
Online IDEs like Codio and Cloud9 serve as alternative to desktop/laptop-based development. They take away the hassle of having to install additional software on your computer and replace it with the hassle of finding a venue that has reliable internet - this can be a big problem for workshops.
We’ll run through the steps of setting up two types development environment: one using Codio on the basic template, and another using Nitrous.IO on the advanced Ruby template.
Codio + Basic Template
- Sign-up for Codio by filling out the form at https://codio.com/p/signup.
- At the dashboard, click “New Project”. Click the more options link (“Click here”), choose Import and enter the Git URL https://github.com/bryanbibat/html5shmup-template.git. Fill out the project name and description then click the “Create” button.

- Wait until Codio finishes creating your project. You should be able to start editing your files once that is done.
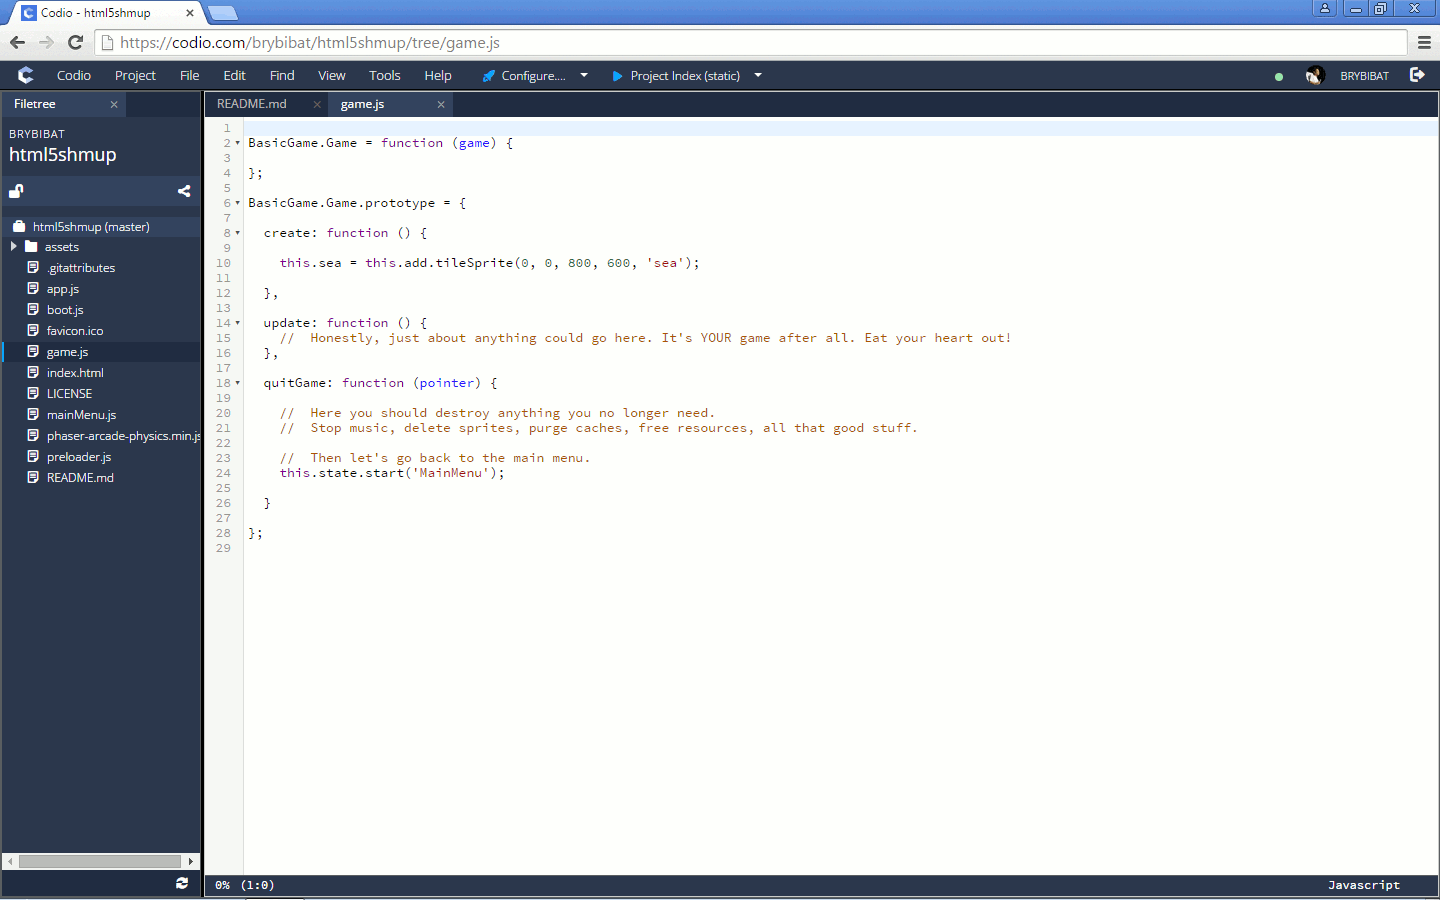
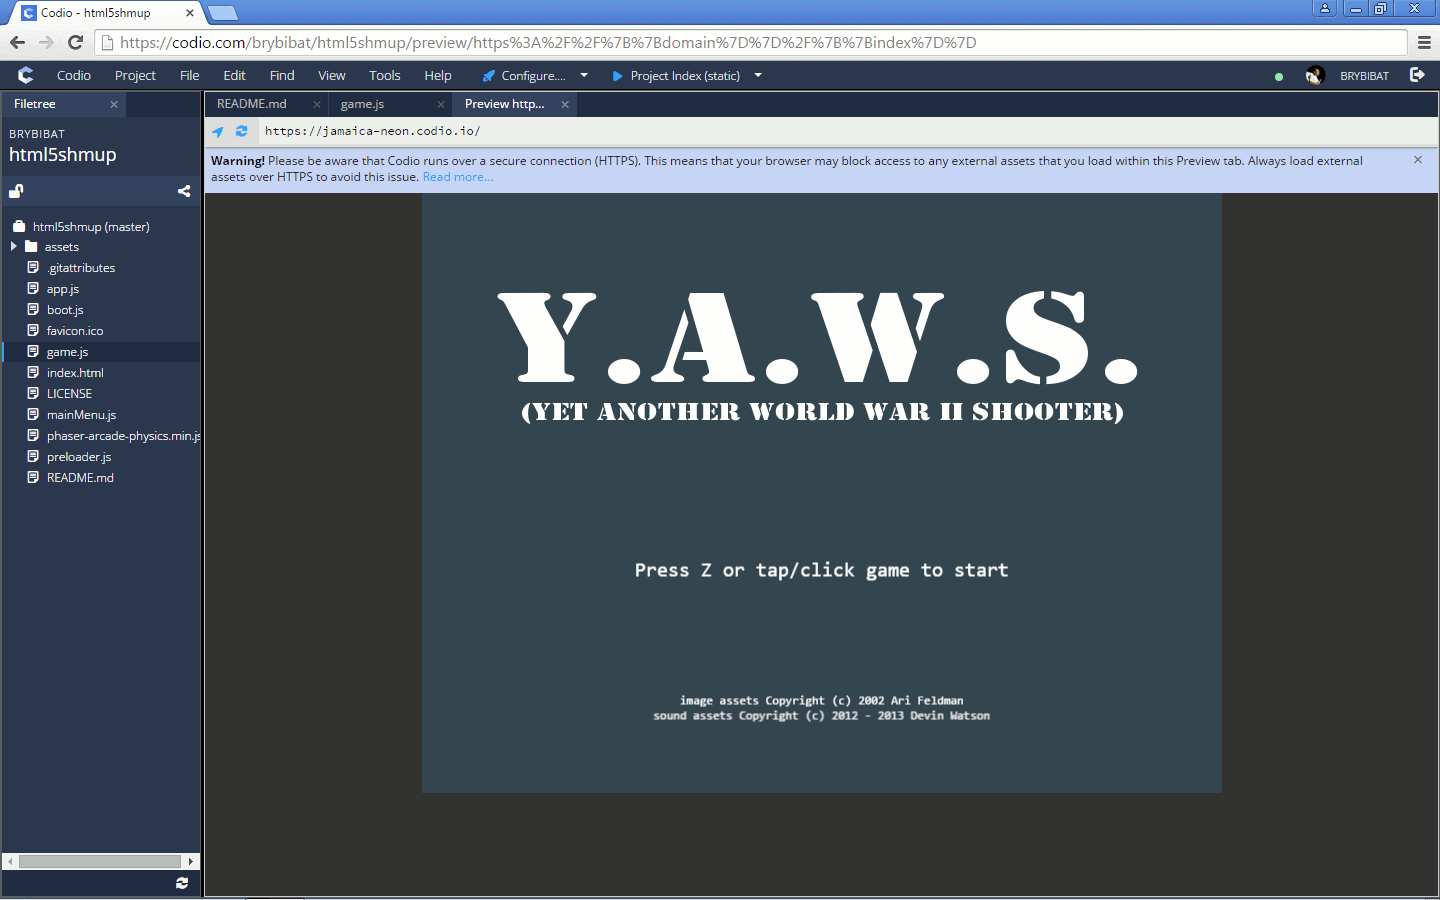
- Click the “Project Index (static)” button/link at the header to open your game in a new tab. You can also access your game by opening the URL shown in another browser tab or window.
Cloud9 + NodeJS Template
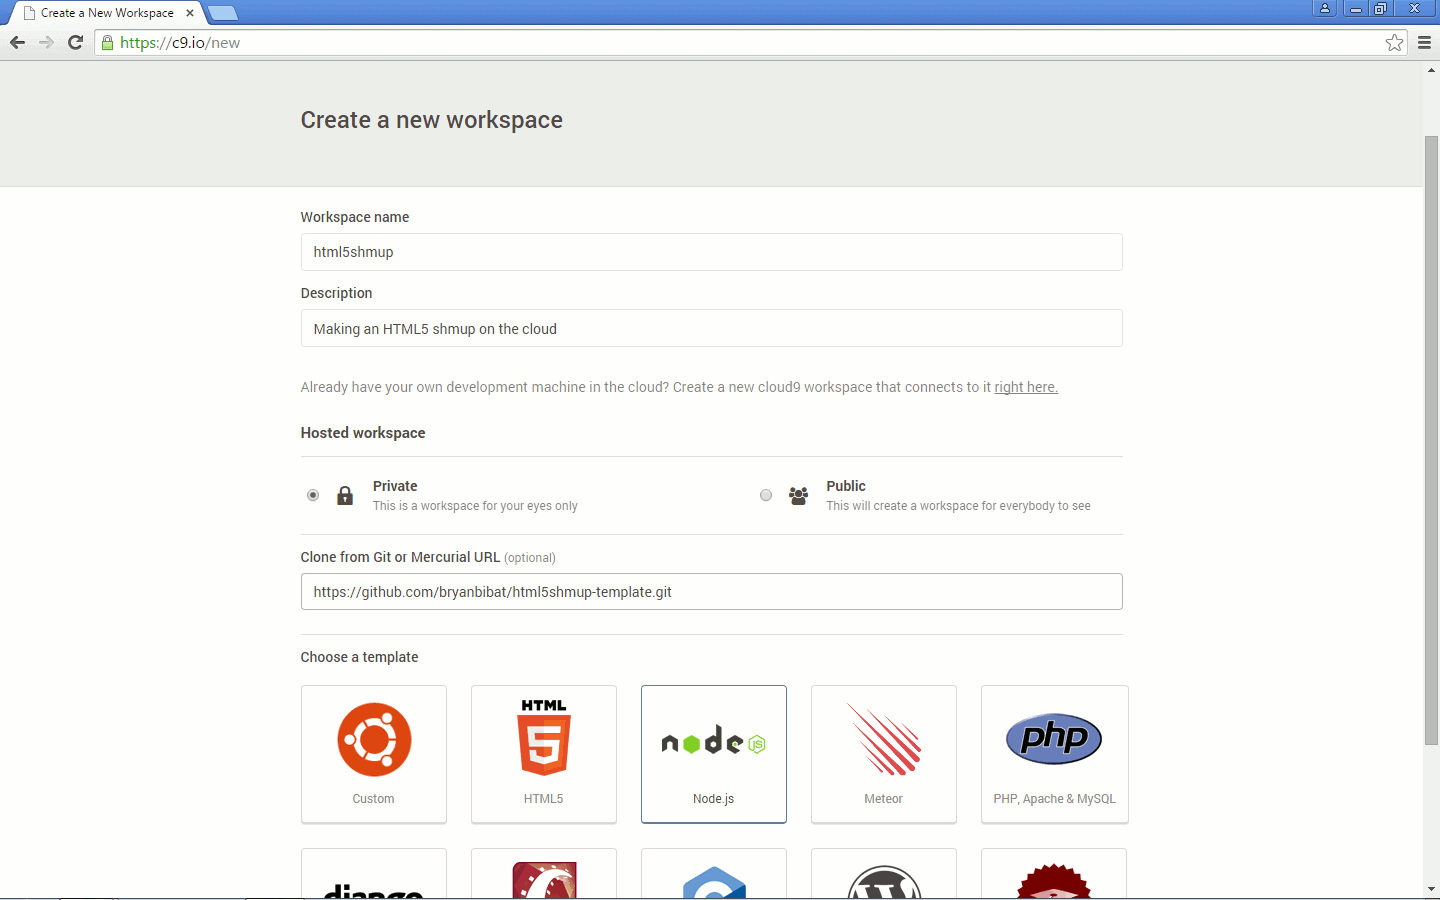
- Sign-up for Cloud9 by filling out the form at https://c9.io/web/sign-up/free.
- At the dashboard, click “Create a new workspace”. Fill out the details and the Git URL, choose the “Node.js” template, and click the “Create Box” button. Leave the Github repository blank.
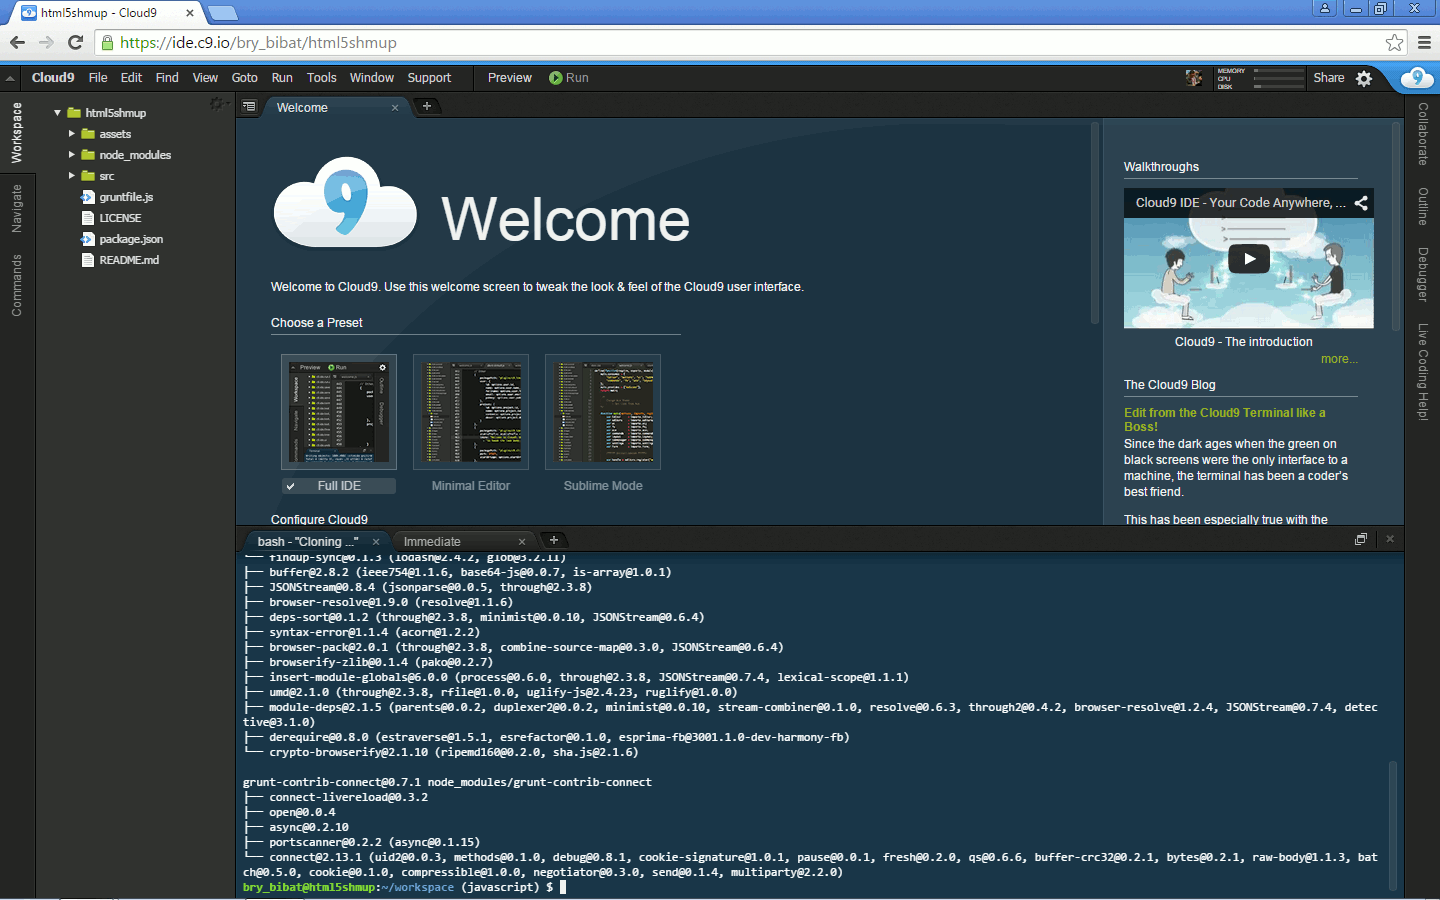
- Wait until Cloud9 finishes creating your project. Once that is done, go to the bash console at the bottom and checkout the
javascriptbranch then install the required modules:$ git checkout javascript $ npm install -g grunt-cli $ npm install
You can also choose your preferences at the Welcome screen while the installation is in progress.
- To view our app, Cloud9 directs traffic to one port and IP address defined by the
PORTandIPenv variables respectively. Opengruntfile.js, modify theconnectoptions accordingly:connect:{dev:{options:{port:'<%= project.port %>',port:process.env.PORT,hostname:process.env.IP,base:'./build'}}},Run
grunt --forceto start the app and ignore thegrunt-openerror: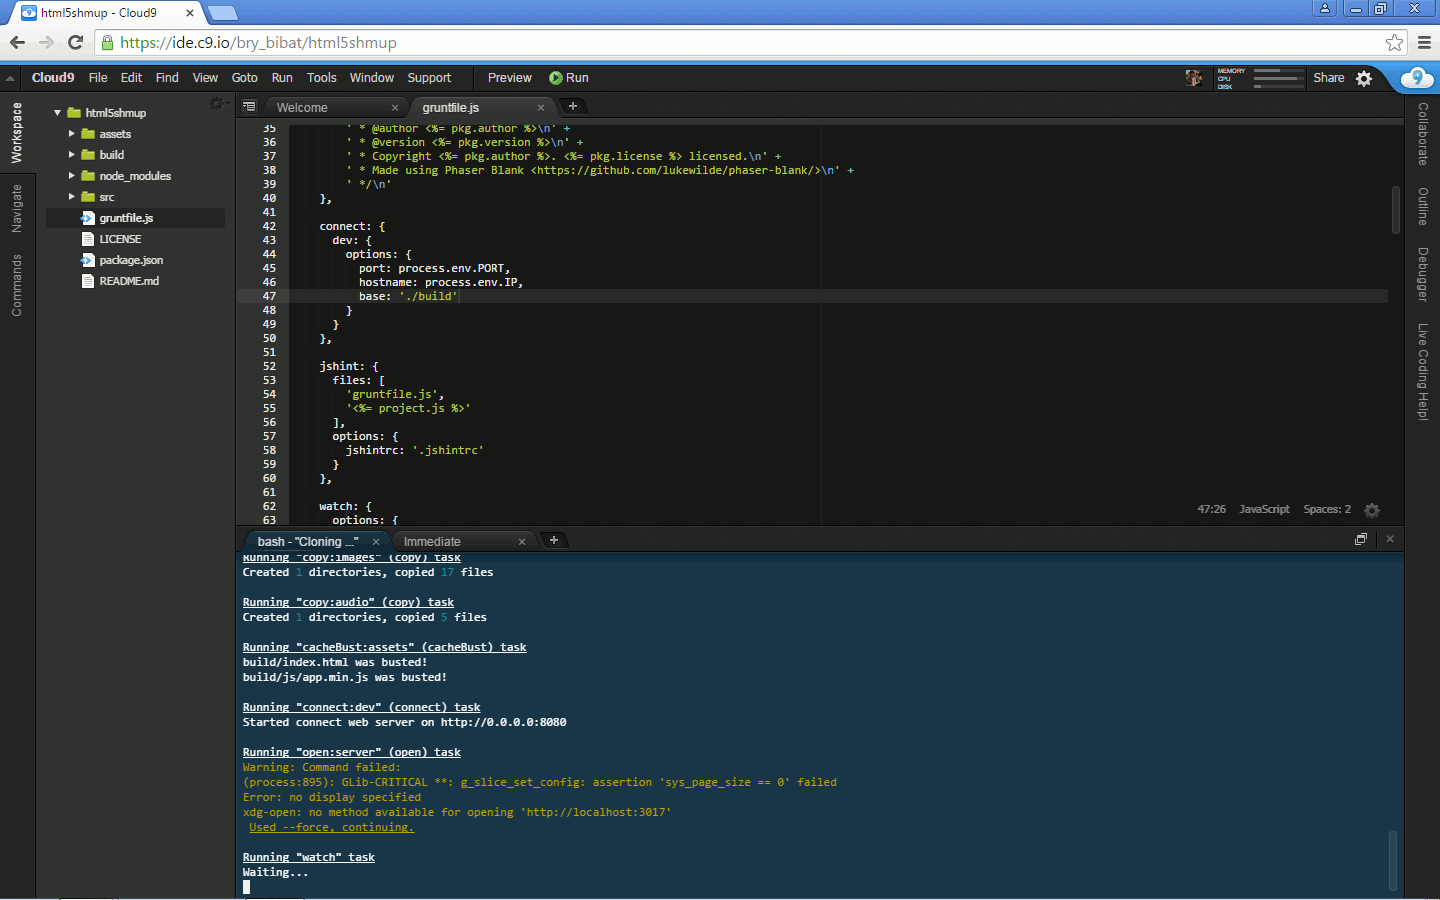
- Open “Preview -> Preview Running Application” to open your game in a new window.
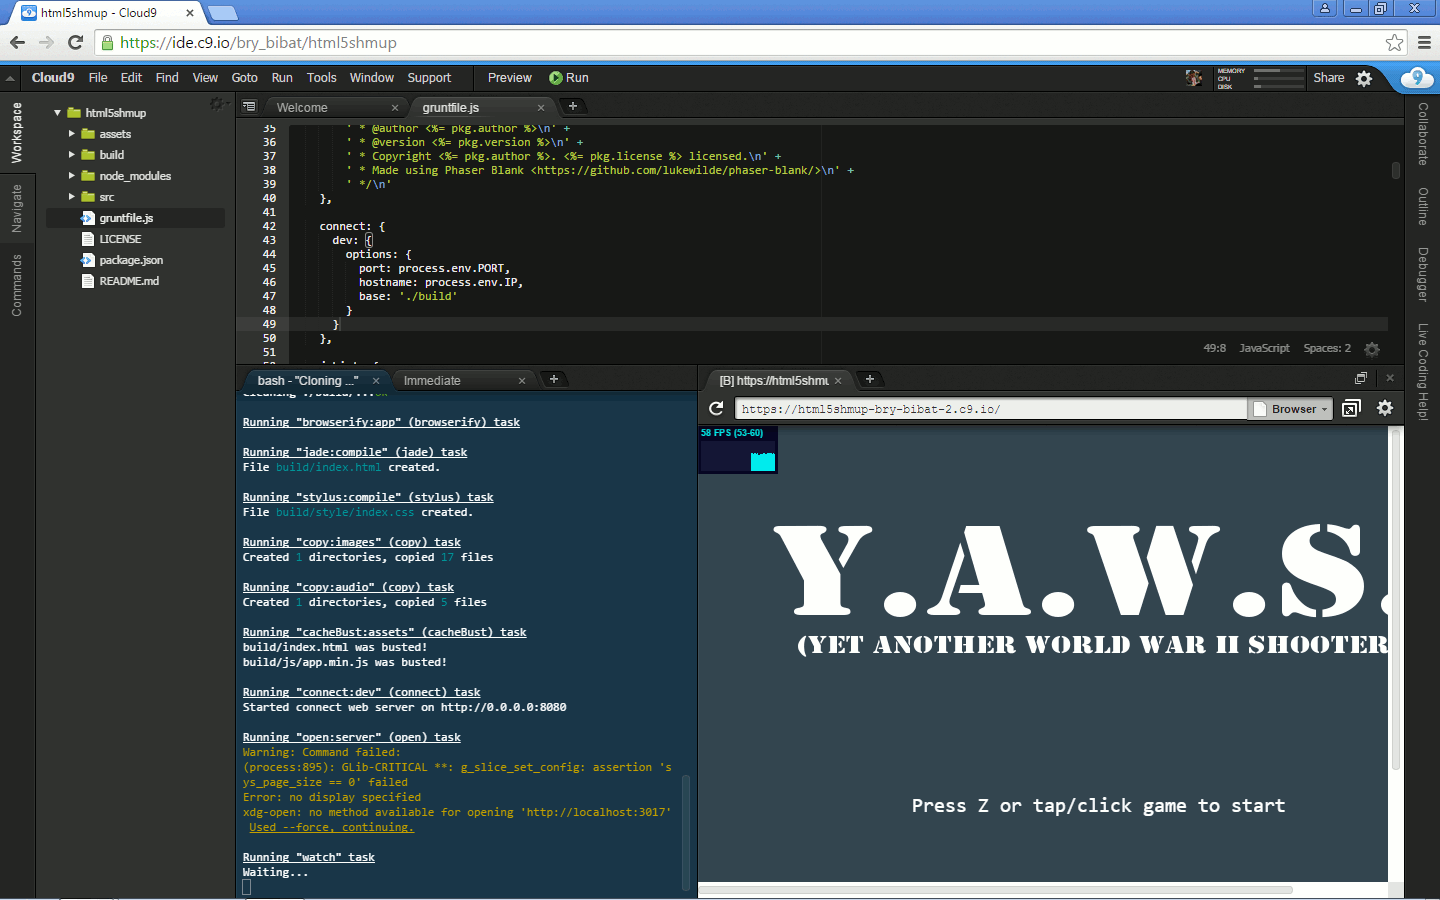
You can also press the “Pop Out Into New Window” button to open the preview in a new tab.
You can now edit your files and make your game. Unfortunately since Cloud9 only opens one port, LiveReload will not refresh the game automatically upon saving.