Redeploying Rails Apps on Passenger
We’ve discussed how redeploying Sinatra apps only need a touch tmp/restart.txt. As you might expect, redeploying Rails apps can be a lot more complicated than that.
Let’s look at a few examples of manually updating and restarting a Rails application. We’ll see how we can simplify this process later.
Modifying the Rails App
The basic workflow for changing apps in production would be to push the changes to your repo then you would pull the changes on your server. Problem is, trying to simulate git pull in our practice app will require us to do slightly complicated git reset commands.
Instead of going through all that, we’ll just use branches to simulate pulling changes from the origin repository:
deploy@server:~/sample_app$ git checkout bootstrap
M       config/secrets.yml
Branch bootstrap set up to track remote branch bootstrap from origin.
Switched to a new branch 'bootstrap'
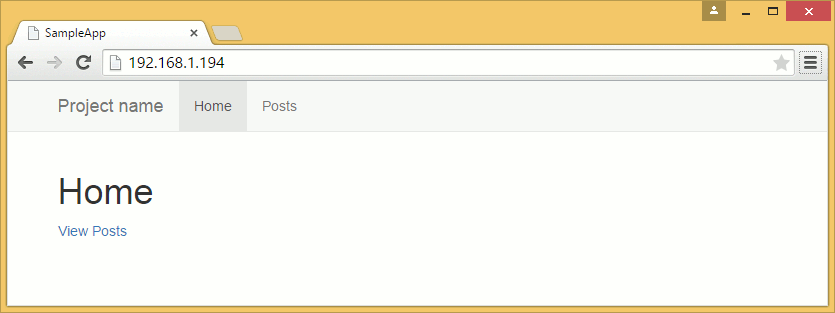
This bootstrap branch changes the UI from the basic scaffold CSS to Bootstrap. This relatively large change means that we need to do a couple of things before we can restart the server.
First is to install the gems that provides the Bootstrap assets:
deploy@server:~/sample_app$ bundle install
Note that we didn’t need to use the full command for bundle install. Those options were already saved under the .bundle/config file:
deploy@server:~/sample_app$ cat .bundle/config
---
BUNDLE_FROZEN: '1'
BUNDLE_PATH: vendor/bundle
BUNDLE_WITHOUT: development:test
BUNDLE_DISABLE_SHARED_GEMS: '1'
After installing all of the news gems, the next step is to precompile the new assets:
deploy@server:~/sample_app$ RAILS_ENV=production bin/rake assets:precompile
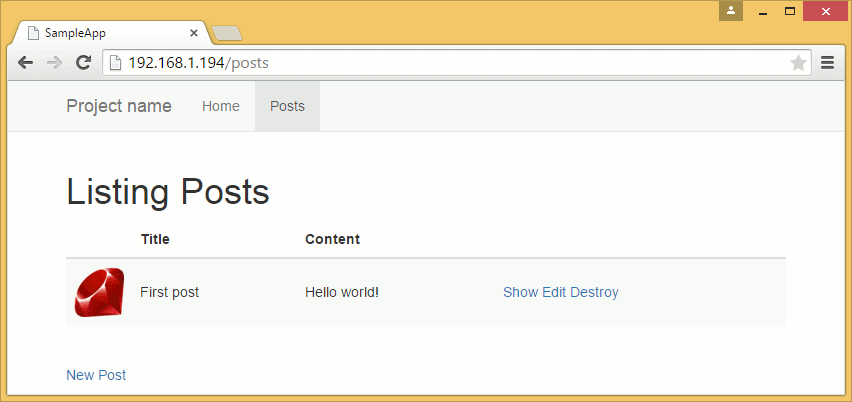
We can now restart our app and see its new UI.
deploy@server:~/sample_app$ touch tmp/restart.txt
Adding File Upload with Carrierwave
Sometimes we have to deploy new builds that require more than just a Bundler update. Let’s try one such example:
deploy@server:~/sample_app$ git checkout carrierwave
In this new build, we added file uploading through Carrierwave with thumbnail generation via the RMagick gem. These require both ImageMagick and libMagick so we switch back to root and install them before we continue with the deploy.
root@server:~# apt-get install imagemagick libmagickwand-dev -y
After the 150MB+ download and installation, we go back to our deploy user and run the commands for updating gems, migrating the database, precompiling assets, and restarting the application.
deploy@server:~/sample_app$ bundle

...

deploy@server:~/sample_app$ RAILS_ENV=production bin/rake db:migrate

...

deploy@server:~/sample_app$ RAILS_ENV=production bin/rake assets:precompile

...

deploy@server:~/sample_app$ touch tmp/restart.txt
Simplifying Deployment with Mina
As you can see, most of the process in deploying new builds are just repetitive tasks. There’s no reason we can’t make scripts to automate the process.
Thankfully, there are existing tools that already do this. Capistrano is arguably the more popular deployment tool for Ruby, but we’ll be covering Mina first. It has less features than the former, but for single machine deploys, it’s much simpler (and sometimes even faster).
We’ll be using a different project to explore Mina. Fork this repository to the online repository host of your choice then check out the fork on your local machine.
$ git clone git@github.com:[username]/sample_mina_app.git
You might notice in the project’s Gemfile that this application uses SQLite as its development and test database and PostgreSQL in production. This is intentional: we expect that some of you will try to deploy your own apps that were started off using SQLite and doing the same in the sample app will demonstrate that the deployment process will work just fine even when using the said scheme.
We strongly suggest that you use the same database for your development and production environments for your future projects, though.
Initial Setup
Let’s install the gem and generate the default deploy.rb settings file.
$ cd sample_mina_app
$ bundle install
$ mina init
-----> Created ./config/deploy.rb
       Edit this file, then run `mina setup` after.
We will be deploying to /home/deploy/sample_mina_app. Open config/deploy.rb and change the following lines to your practice server settings:
set :domain, 'foobar.com'
set :deploy_to, '/var/www/foobar.com'
set :repository, 'git://...'
set :branch, 'master'
set :domain, '[ip address]'
set :deploy_to, '/home/deploy/sample_mina_app'
set :repository, 'https://github.com/[username]/sample_mina_app.git'
set :branch, 'master'
set :user, 'deploy'
Settings for NAT networked servers are slightly different:
set :domain, 'localhost'
set :deploy_to, '/home/deploy/sample_mina_app'
set :repository, 'https://github.com/[username]/sample_mina_app.git'
set :branch, 'master'
set :user, 'deploy'
set :port, '2222'
The repository setting above uses HTTPS instead of SSH to pulling of code without having credentials. We’ll discuss later how to use deploy keys to allow checking out of code via SSH.
Mina Directory Structure
Mina creates the following directory structure for projects:
/home/deploy/sample_mina_app/   # The deploy_to path
 |-  releases/                  # Holds releases, one subdir per release
 |   |- 1/
 |   |- 2/
 |   |- 3/
 |   '- ...
 |-  shared/                    # Holds files shared between releases
 |   |- logs/                   # Log files are usually stored here
 |   `- ...
 '-  current/                   # A symlink to the current release in releases/
Everytime a new build is deployed, Mina checks it out to a new folder under releases. It then symlinks files and folders from the shared folder before running the other tasks (e.g. bundle install). If the deploy is successful, the current folder is symlinked to the current release.
Clean builds are checked out to the release folder so our previous strategy for secrets.yml (simply overwiting it) will not work. Instead, we will have to put the secrets.yml and database.yml under the shared folder and let Mina symlink them at the symlinking step.
Modify the set :shared_paths line to add the secrets.yml:
set :shared_paths, ['config/database.yml', 'log']
set :shared_paths, ['config/database.yml', 'config/secrets.yml', 'log']
We also need to modify the Mina setup script to give us empty files to configure later.
task :setup => :environment do
  queue! %[mkdir -p "#{deploy_to}/#{shared_path}/log"]
  queue! %[chmod g+rx,u+rwx "#{deploy_to}/#{shared_path}/log"]

  queue! %[mkdir -p "#{deploy_to}/#{shared_path}/config"]
  queue! %[chmod g+rx,u+rwx "#{deploy_to}/#{shared_path}/config"]

  queue! %[touch "#{deploy_to}/#{shared_path}/config/database.yml"]
  queue  %[echo "-----> Be sure to edit '#{deploy_to}/#{shared_path}/config/database.yml'."]

  queue! %[touch "#{deploy_to}/#{shared_path}/config/secrets.yml"]
  queue  %[echo "-----> Be sure to edit '#{deploy_to}/#{shared_path}/config/secrets.yml'."]
end
Note that the log folder is also symlinked and shared between releases. Otherwise, the production logs will be lost everytime you deploy a new build.
Other folders like vendor/bundle and public/assets are also shared between builds but they are handled by different tasks and don’t need to be set in :shared_paths.
Server Setup
We should now be ready to deploy with Mina. But first we need to let Mina create the directoy structure as well as the files we configured in the setup task.
(Windows users, please see the note at the end of this chapter before continuing.)
$ mina setup
...
-----> Be sure to edit '/home/deploy/sample_mina_app/shared/config/database.yml'.
-----> Be sure to edit '/home/deploy/sample_mina_app/shared/config/secrets.yml'.
Switch over to the deploy SSH session and edit the database config file.
deploy@server:~$ nano sample_mina_app/shared/config/database.yml
1 production:
2   adapter: postgresql
3   database: sample_mina_app
4   username: deploy
5   encoding: unicode
6   pool: 5
Then the session secret (generate one locally by running rake secret):
deploy@server:~$ nano sample_mina_app/shared/config/secrets.yml
1 production:
2   secret_key_base: [rake secret output]
Then create the database:
deploy@server:~$ createdb sample_mina_app
Configuring a new nginx server entry and restarting nginx to apply the changes are left as exercises to the reader. (Hint: the root should be “current/public”.)
Deploying
Now that everything is ready, we can now deploy the latest build through Mina:
$ mina deploy
-----> Creating a temporary build path
-----> Cloning the Git repository
       Cloning into bare repository '/home/deploy/sample_mina_app/scm'...
-----> Using git branch 'master'
       Cloning into '.'...
       done.
-----> Using this git commit
...
Mina will automatically perform all of the manual deployment steps that we did in the previous section. The “deploy” task in config/deploy.rb lists down all of those steps.
desc "Deploys the current version to the server."
task :deploy => :environment do
  to :before_hook do
    # Put things to run locally before ssh
  end
  deploy do
    # Put things that will set up an empty directory into a fully set-up
    # instance of your project.
    invoke :'git:clone'
    invoke :'deploy:link_shared_paths'
    invoke :'bundle:install'
    invoke :'rails:db_migrate'
    invoke :'rails:assets_precompile'
    invoke :'deploy:cleanup'

    to :launch do
      queue "mkdir -p #{deploy_to}/#{current_path}/tmp/"
      queue "touch #{deploy_to}/#{current_path}/tmp/restart.txt"
    end
  end
end
It pulls a new build, links the shared files, runs bundle install, etc. It even assumes that we are using Passenger and includes touch tmp/restart.txt by default to restart the application.
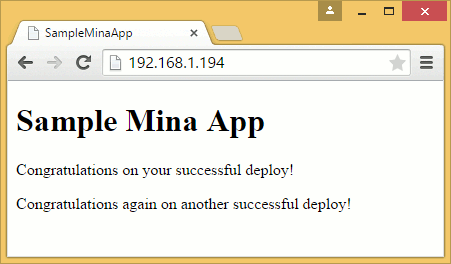
Try to redeploy a new build: modify a file in the project (/app/views/pages/home.html.erb is a good candidate), commit and push it to your repository, then run “mina deploy” again. Refresh the browser to see the changes.
As you can see, having a deployment tool like Mina significantly reduces the amount of effort needed to deploy new builds.