Chapter 10 | Reacting to What We’ve Learned

The Scope of This Chapter

To wrap up this book, I want to discuss a few different things.
First, I want to provide a plan for being able to take these core skills of React that we have learned and how to build off of them to progress.
Second, I will be describing the process of using GitHub for a React application as this will be helpful when using React in the real world. It also will give you an opportunity to showcase your work to others.
Lastly, I want to reflect on how this project went from the perspective of the being the author.
Map for Going Forward

The top highlight in this book so far has been the following quote:
The best thing about modern development is that there is a tremendous amount of available resources. The worst thing about modern development is that there is a tremendous amount of available resources.
I feel like this point needs to be re-emphasized at the end of this book as well.
Reason being, I have been able to walk you through the process of learning React as an absolute beginner. We’ve learned the core skills, but there’s a lot more to learn and a lot more cool things that people are doing nowadays with React.
It’s tempting to want to explore Medium at this point and try to do some crazy thing with React because you’ve been taught the basics in this book.
It’s not easy…I get that.
I struggle with not jumping around on things to learn too. However, at the end of the day, practice makes perfect. Shortly, I will be providing a map for ways to get better with React that may be at a slower pace than you want to go. Nevertheless, I think the wise saying fits well here: “Slow and steady wins the race.”
Step 1: Craft Beautiful Components
Although we have a nice template at this point for making our own user interface. I suggest that you start off by just making individual components that make up a user interface.
Take a look around Codepen for user interface components that grab your attention. Try to bring up sharp design skills and a hefty dose of CSS.
If design or CSS is not your thing, I highly recommend taking my Daily CSS Images challenge.
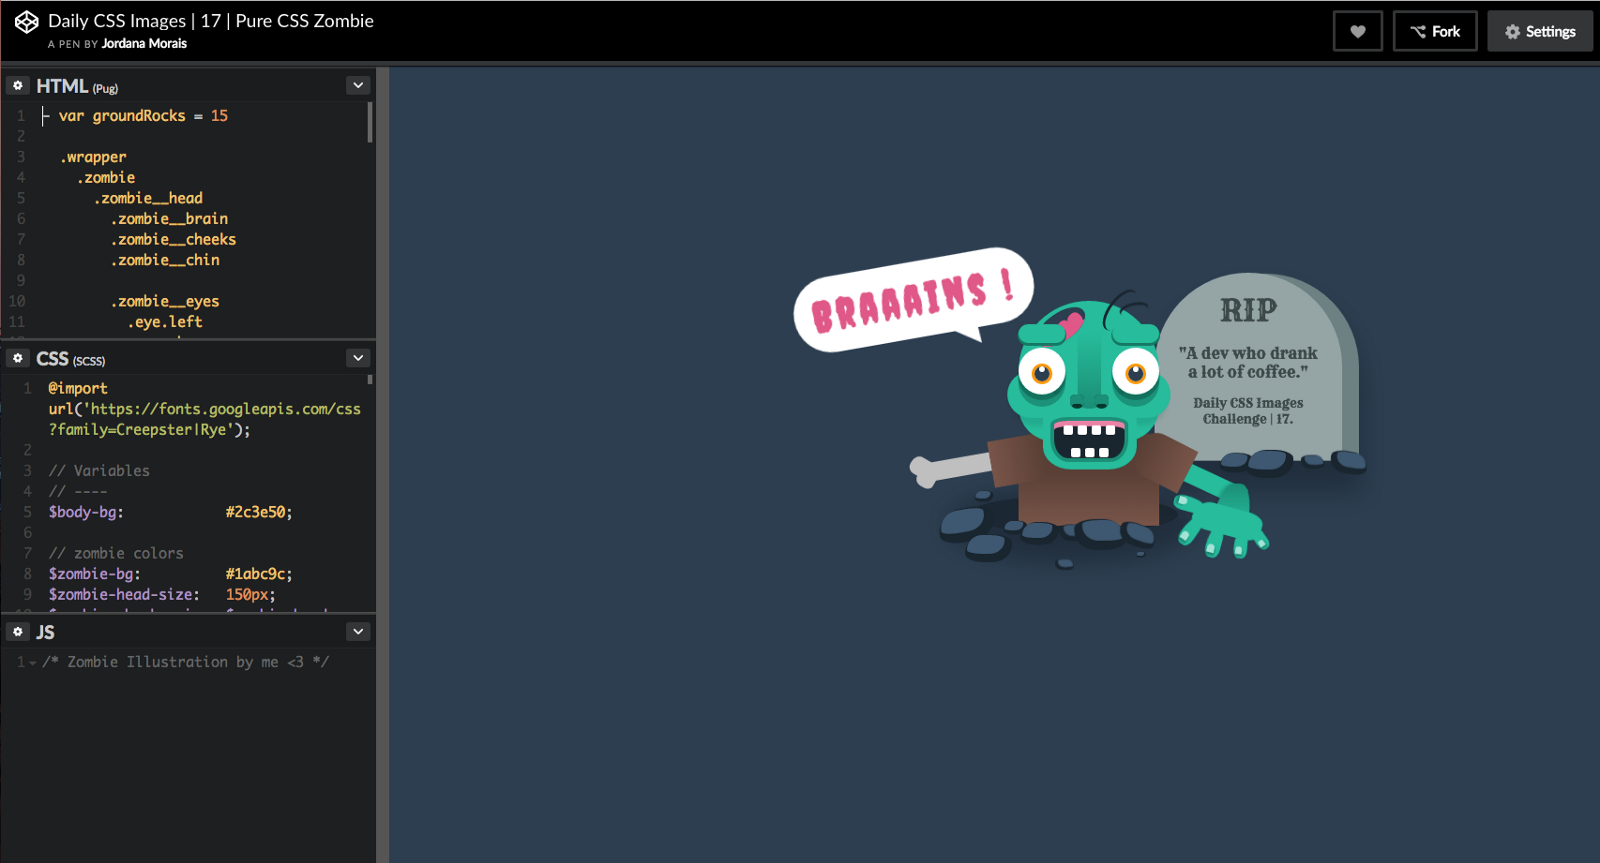
In this challenge, you will get prompts to create pure CSS images over a period of 50 days. This is a great way to stretch your creative, learn design principles, and pick up on core CSS skills. It’s already proven to help hundreds of developers in this area.
Once you have created all the major components of a user interface with React in Codepen, you’ll be ready to move to the next step.
Step 2: Create Static User Interfaces
In this step, you can take the skills from making simple components and the nice template from the project in this book to create static user interfaces.
You’ll need to learn how to not only style good individual components but how to style when all of it is put together.
Remember to think of everything in terms of village design and check out CSS Tricks for all your CSS question.
Step 3: Add Data, Event Handlers, Conditional Rendering, & Lifecycle Hooks
This step is what we did to conclude our book. We made use of props, state, event handling, conditional rendering, and lifecycle hooks.
I recommend practicing different types of events, making data more complex, and using all your creative juices to figure out how to improve your user interface.
If you need help getting ideas for what to practice, look around at websites on Product Hunt and try to emulate things that they are doing to make the user interface a dynamic experience.
Step 4: Working With APIs
API is probably the biggest buzz word you hear in web development. It’s treated like something that you are supposed to know like the back of your hand. However, there’s often a lack of clarity in teaching this concept.
API stands for Application Programming Interface.
You can think of it as the portion of the server that receives and requests and sends responses.
Practically speaking, APIs are often used by developers to tap into big web services like Google Maps, Facebook, Twitter, etc. Developers can mix and match existing web services to create their own web application.
For example, Yelp uses the Google Maps API to tap in and get data so they can plot maps for businesses on Google Maps instead of creating their own mapping service. In short, it’s a way to get data from other web services without reinventing the wheel and losing all your time and money.
There are two good resources that I recommend for practicing with APIs (and understand what in the world they are):
Step 5: Learn How to Deploy Your Application
Deploying a React application that is using Webpack is not as straightforward as you might hope. I don’t think this is worth attempting until you’ve learned a lot about React and won’t become overwhelmed with fatigue figuring it out.
Here’s a recommended resource for learning how to deploy a React app that uses Webpack.
Step 6: Studying Best Practice
Before you dive into the next step, creating a dynamic web application, it’s best to learn the best practices for React development.
What do I mean by studying best practices?
Understanding different ways to organize your application
Looking into modular approaches (being able to break down your code into manageable pieces and avoiding repetition)
Exploring all of ES6’s features
Consistent coding style/conventions
There’s a lot to cover here but here are several recommendations to get started:
Step 7: Learning Redux
Redux is another key component in the React ecosystem. It allows for an improved approach to handling state management in a React application. There’s a very good chance that larger React applications will be using this method. Therefore, it’s a good skill to learn for your career.
Here’s a good course of Redux via Egghead.io.
Step 8: Create a Dynamic Web App using Firebase
We only dabbled slightly into Firebase. There’s a lot more that can be done with Firebase to create a complete, dynamic web application. This type of web application should have user authentication (sign up and sign in) as well as well-structured data.
A good way to practice would be to create a movie web application. I user can sign up to be able to search through a database of movies, add to a wishlist, and leave ratings and reviews.

Here are a few existing projects to get you started.
Step 9: Creating Your Own Backend
In this step, you can replace Firebase with your own Node.js backend code if you prefer.
Here’s a good video course that teaches these concepts by Wes Bos.
Alternative Routes
There’s a ton of things that you can do with React and a lot of alternative skills that you can focus on.
Here are some examples:
React Native: Learn once, write anywhere: Build mobile apps with React
React VR: Build VR websites and interactive 360 experiences with React
Electron: Build React desktop applications
Conclusion
First off, this is a long list that takes a lot of time and experience. You don’t need to master all of these things to call yourself a real developer. You don’t need to cram all of this in a month or two before you can start applying for jobs.
Build off the core skills we learned in this course, see if any particular scope in React development peaks your interest, and get better piece by piece.
You have learned React. You are a developer. You can do this. Now, it’s time to learn more and have fun!
Creating a Repository on Github
Now that we’ve covered a map for going forward with React, I wanted to demonstrate how to quickly deploy an application.
The first step to that process is to create a GitHub repository.
Most people have heard of Github and I’m sure that this section might be trivial for more experienced developers.
With that being said, I thought it would be useful to actually walk through creating a GitHub repository and uploading our code to it.
First things first, you’ll need to configure Git and Github. The official documentation should be straightforward enough to complete the installation and configuration step.
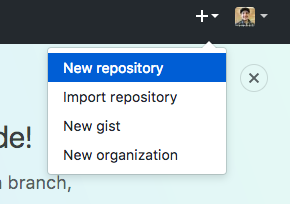
Once that is complete, we will login to GitHub and create a new repository.
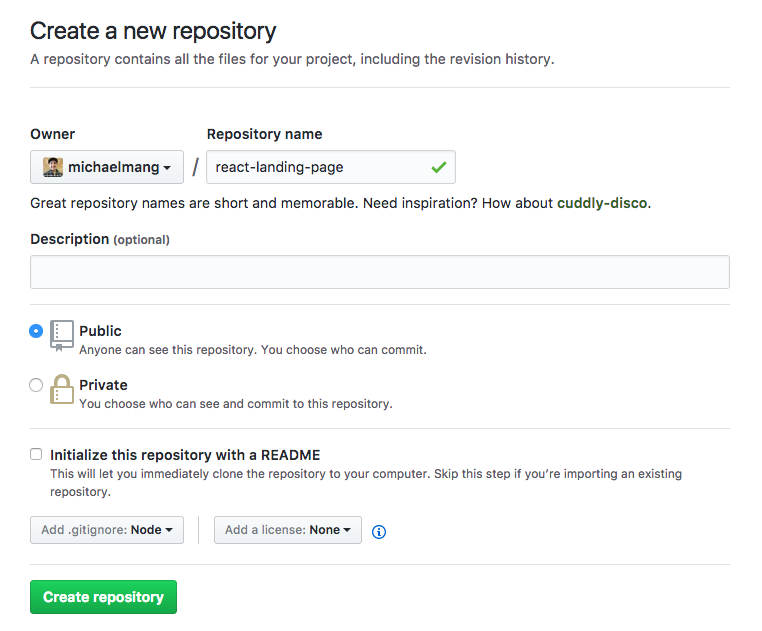
Create the repository with the following settings (don’t forget the .gitignore option):
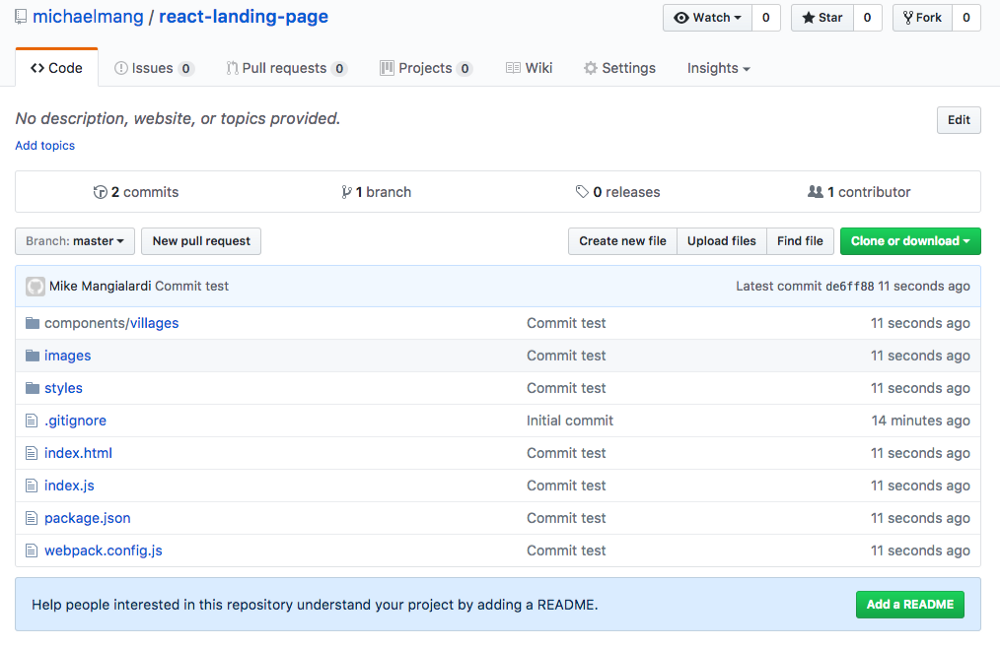
Our project will look like this:
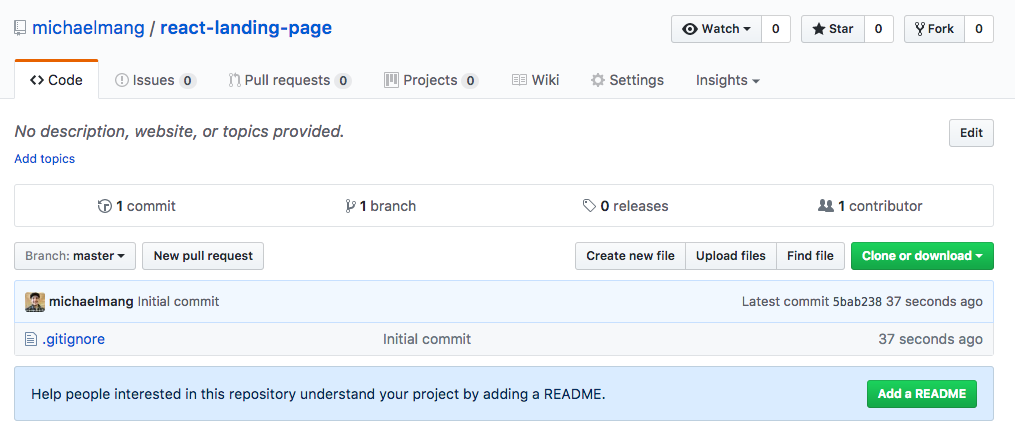
The only file is the .gitignore which was populated for us. This file just tells GitHub not to upload unnecessary files such as our big node_modules folder.
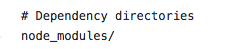
As long as someone had our package.json file, they could run npm install to create their own node_modules folder locally.
Alright. Now, let’s click Clone or download.
We want to clone with ssh. Go ahead and click the copy icon:
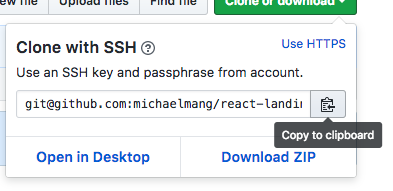
Next, open up command line and cd wherever you want to clone (download) the code from this repo.
Once you have done that, we can do:
git clone *paste what we just copied here*This will clone the repository to the location where our command line was open:

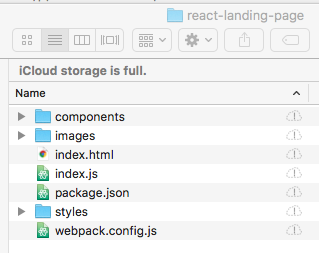
Go to your file explorer where command line was open.
You’ll see the project folder for the GitHub repo.

In this folder, copy the code from the react-landing-page project we have been working in like so:
Going forward, you would make edits from within this folder when using Atom. For future reference, you want to create the repository in GitHub before you started development.
…
From command line, let’s run the following command:
git add .This prepares to add any changes to our code from the current repo on GitHub.
Next, we can run
git statusto see the result of the previous command:
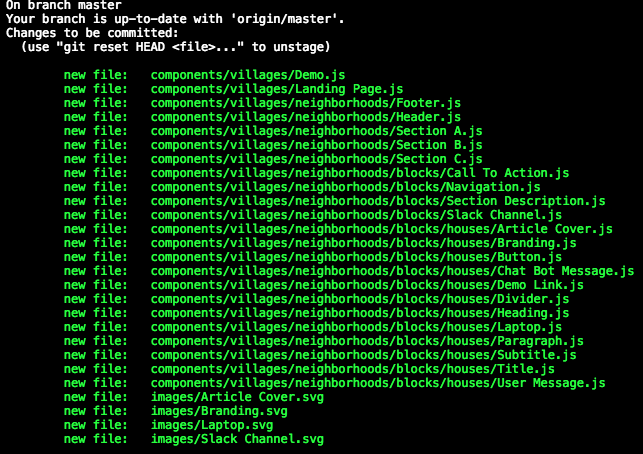
Then, we can commit our code which will record changes to our repo:
git commit -m "Insert a message saying what you changed"Finally, we need to push (upload) or code so it appears on the official GitHub repo:
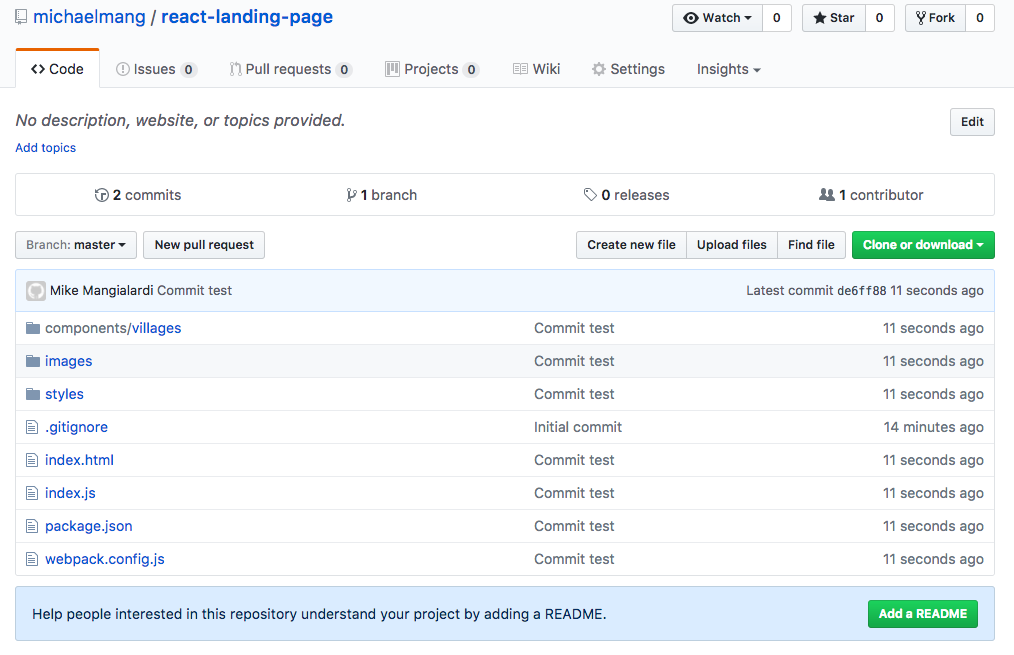
git push origin masterWe can now see our code on GitHub:
Awesome! Now you can show off what you make with other people. You can also easily work with multiple computers and look back at the history of your changes in case you want to revert pieces of your code.
Editing Code From a Repository
Let’s say I wanted to edit code from a repo in GitHub. How do I do that?
cd into the root folder of the cloned project.
Run the following command:
git pull origin masterThis will pull the code on GitHub so we know that are editing the latest version of our code.
You would then open the project folder in Atom to make some changes.
If there’s no node_modules folder in the project, then you run:
npm installThis will create the node_modules folder containing all the packages as specified in the package.json file.
After making changes, you want to update the repo with the new changes.
Again, we do the following commands in order:
git add .
git status
git commit -m “build for production”
git push origin master
You can then go to GitHub and check your changes:
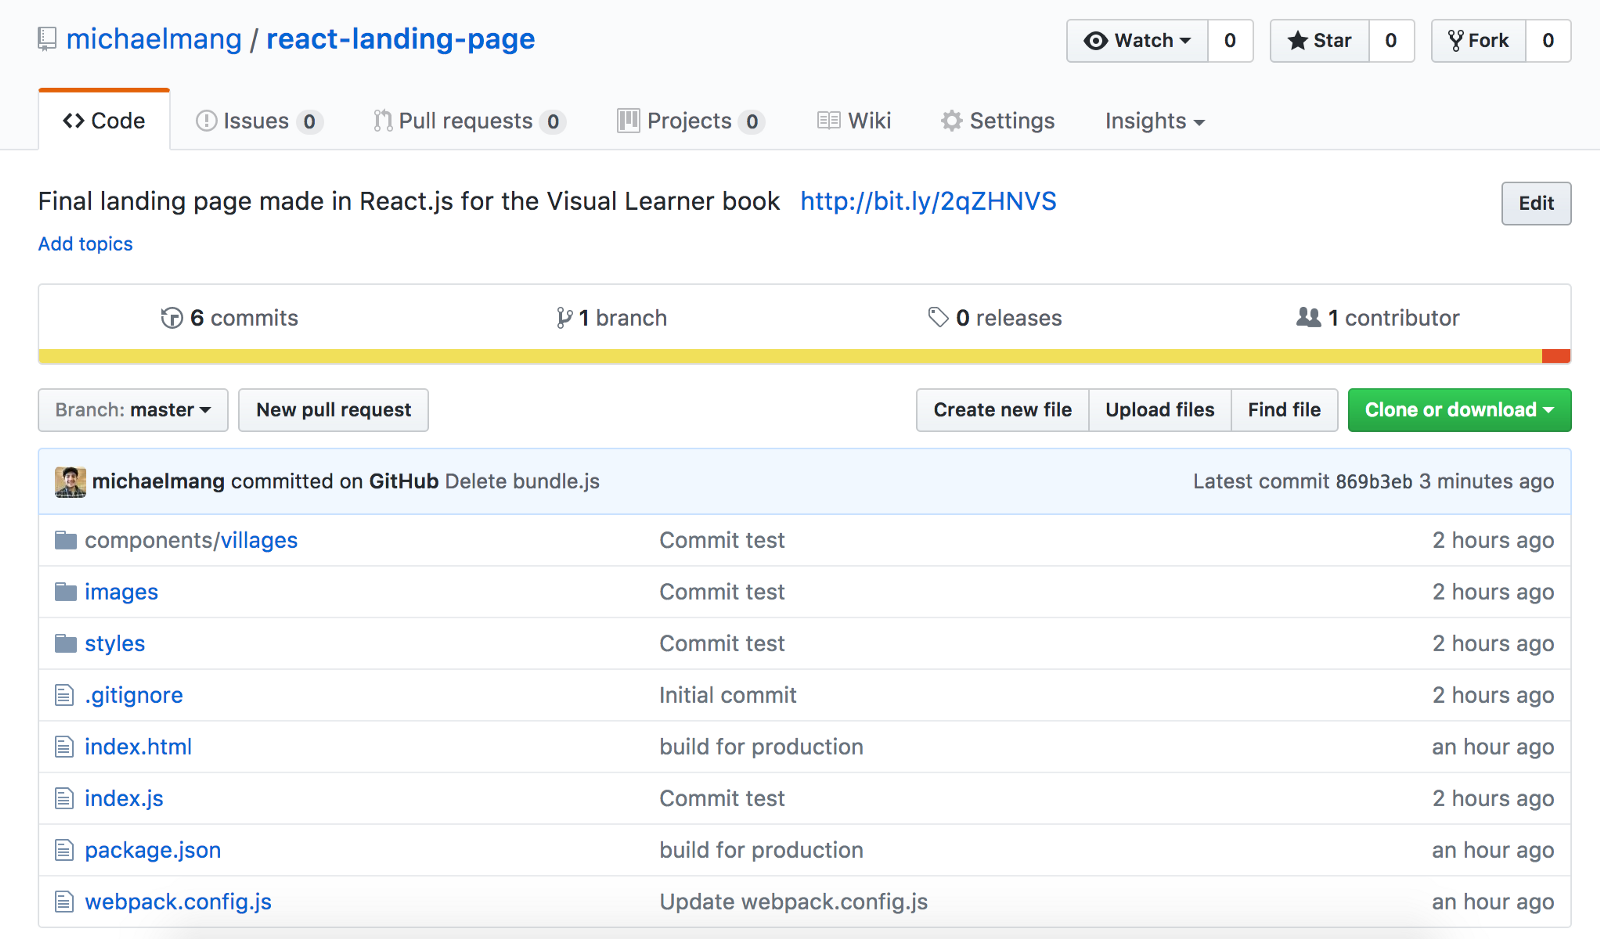
Sweet! We now we know how to work with GitHub.
Reacting to What I’ve Taught
At this point, I think I’ve written enough to achieve what I had aimed to do. That is, to create a book teaching the absolute basics of React to an absolute beginner. A means of that ultimate goal was to try to be visual-friendly when possible. While I think I could have been a bit more organized with emphasizing the visual-friendly part, I’m pleased with the outcome.
One of the cool parts about this book was being able to learn as I was writing the book. I had previously never been able to successfully make my own React project with Webpack and Babel from scratch, never touched Firebase, and never organized my components according to the village design. That might explain some quirks in the flow of this book, however, I think it brings a sense of transparency which is refreshing when it comes to technical guides.
I hope this book was a breath of fresh air from existing material by being practical, engaging, and didactic. Have fun on your React journey.