Getting Started with Git and Bitbucket Writing Mode
You can write a Leanpub book using Git and Bitbucket. In this chapter we’ll show you how to create a book and generate your first preview.
Once you have successfully generated your first preview, you’ll know everything you know to get started writing in the Bitbucket writing mode.
You’ll find more information and detailed instructions on the “Getting Started” page for your book, which you’ll go to automatically when you create your book.
Creating Your Book’s Bitbucket Repository
The first thing you need to is create a repository for your book on Bitbucket.
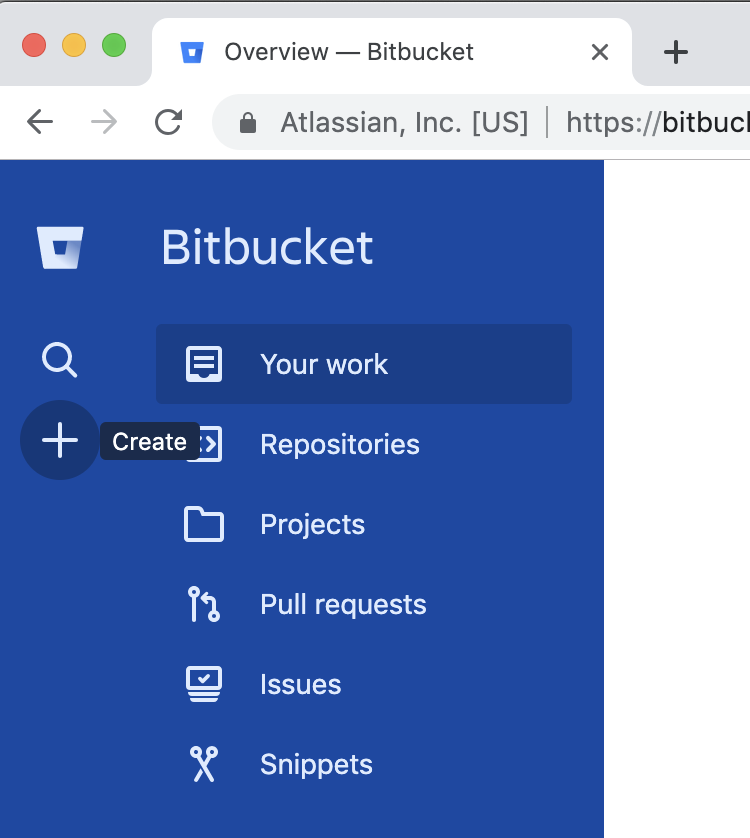
To do this, go to https://bitbucket.org and sign in.
Click the + plus sign to the left in the menu at the top of the page.
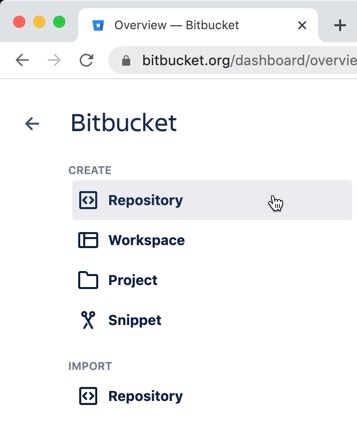
Under “CREATE”, select “Repository.”
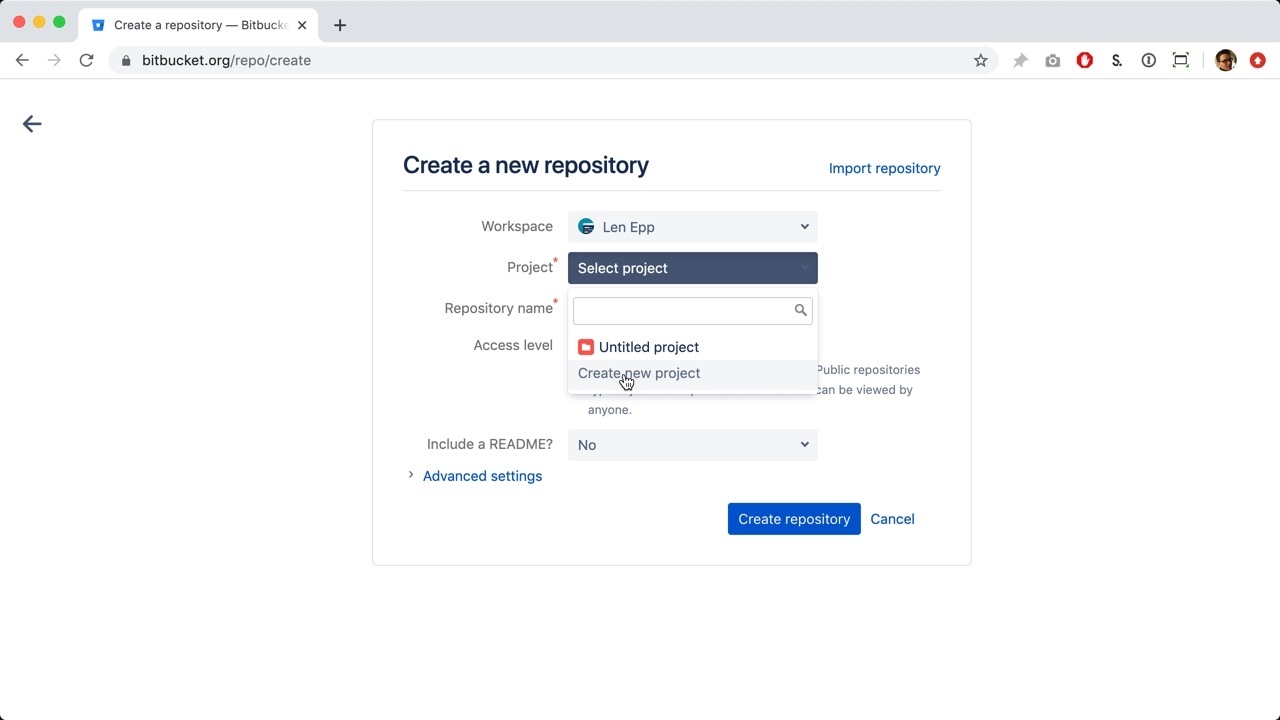
This will take you to a page where you can set up a new repository for your Leanpub book.
By default, “Private repository” will be selected. Leave this set to “Private repository” if you don’t want anyone to be able to see your repository.
Next, you’ll have to associate the repository with a Project:

Select an existing project, or click on “Create new project”:
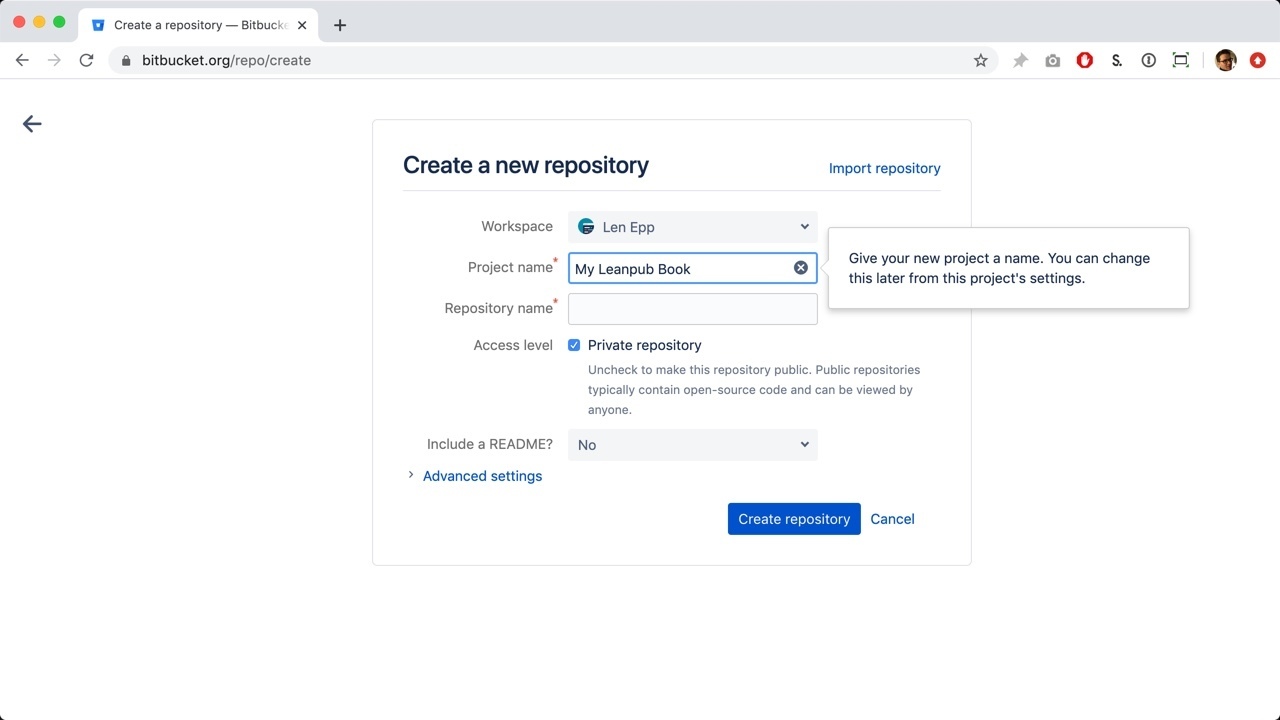
You will now have an option to create a name for your new project:
For this tutorial, we’re going to name the project “My Leanpub Book”:
Next, type a name for your repository.
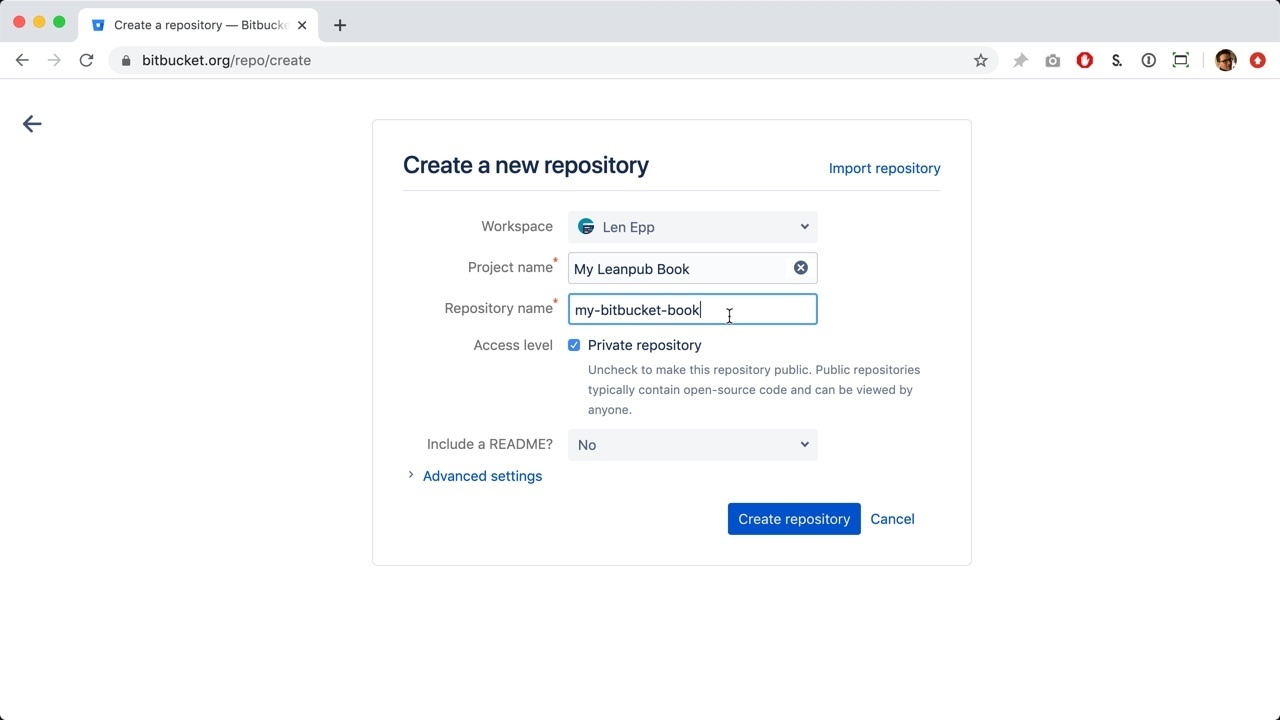
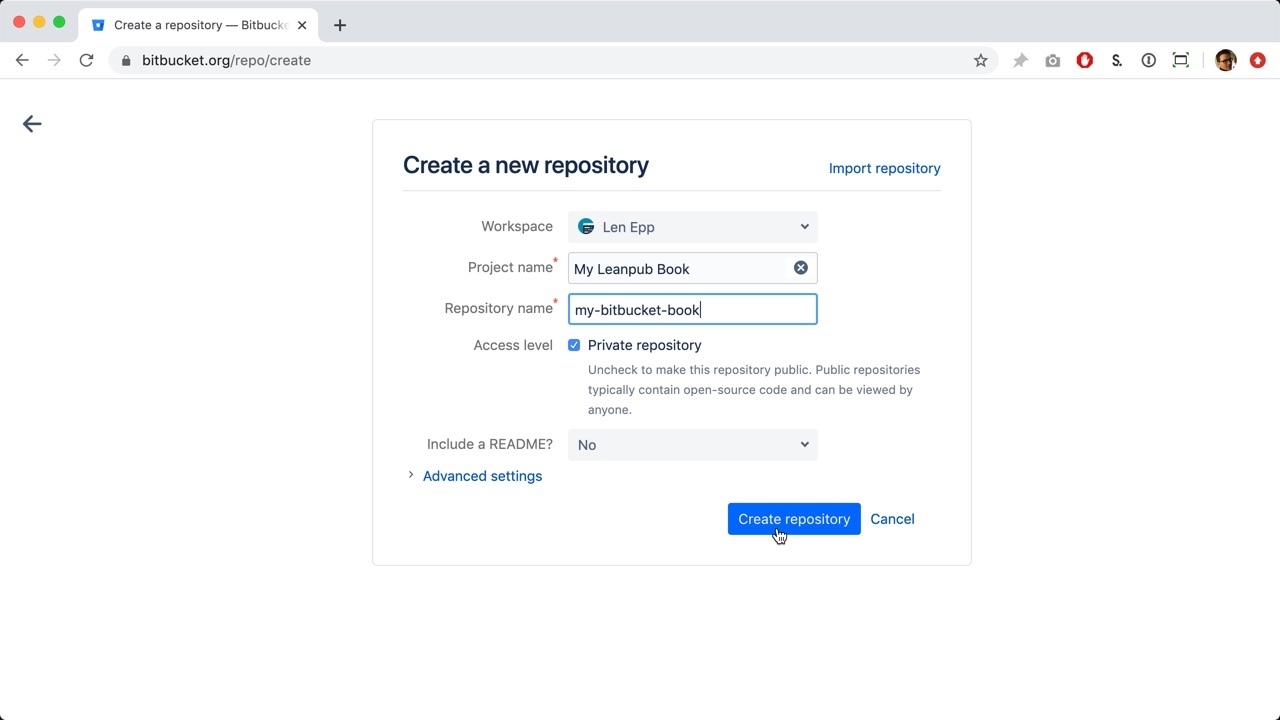
Click the blue “Create repository” button.
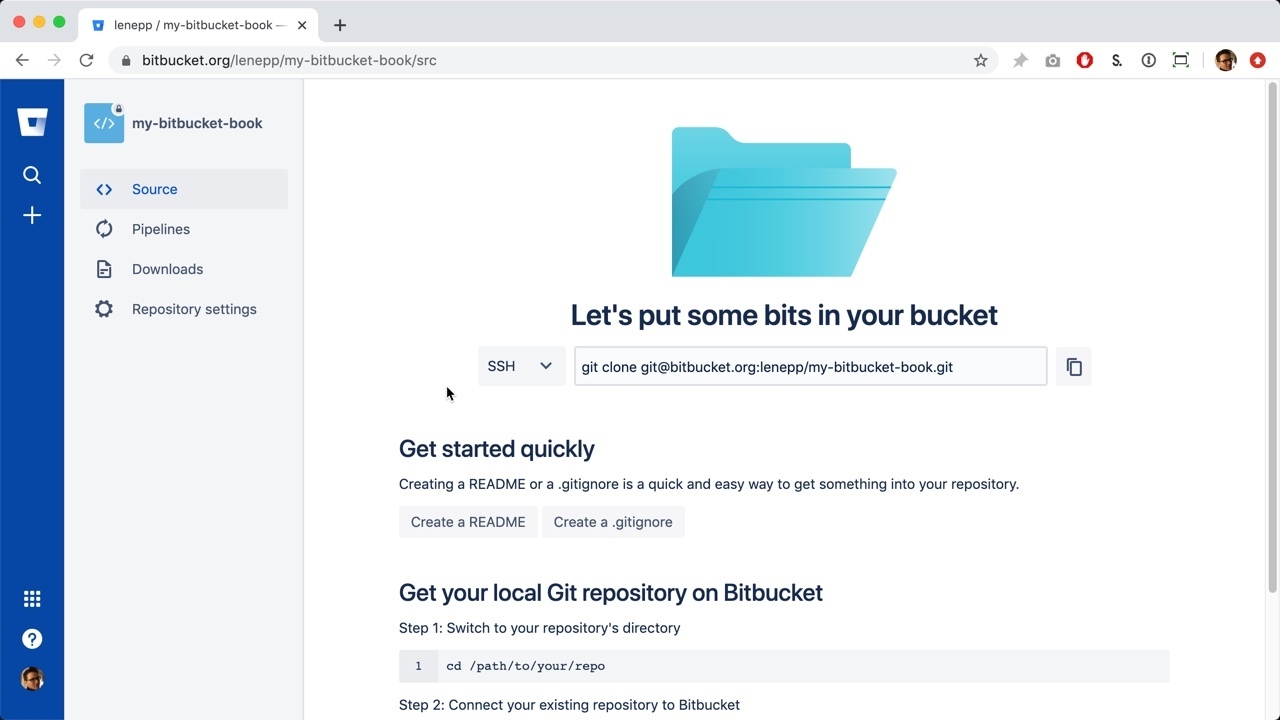
This will take you to a “Get started quickly” page:
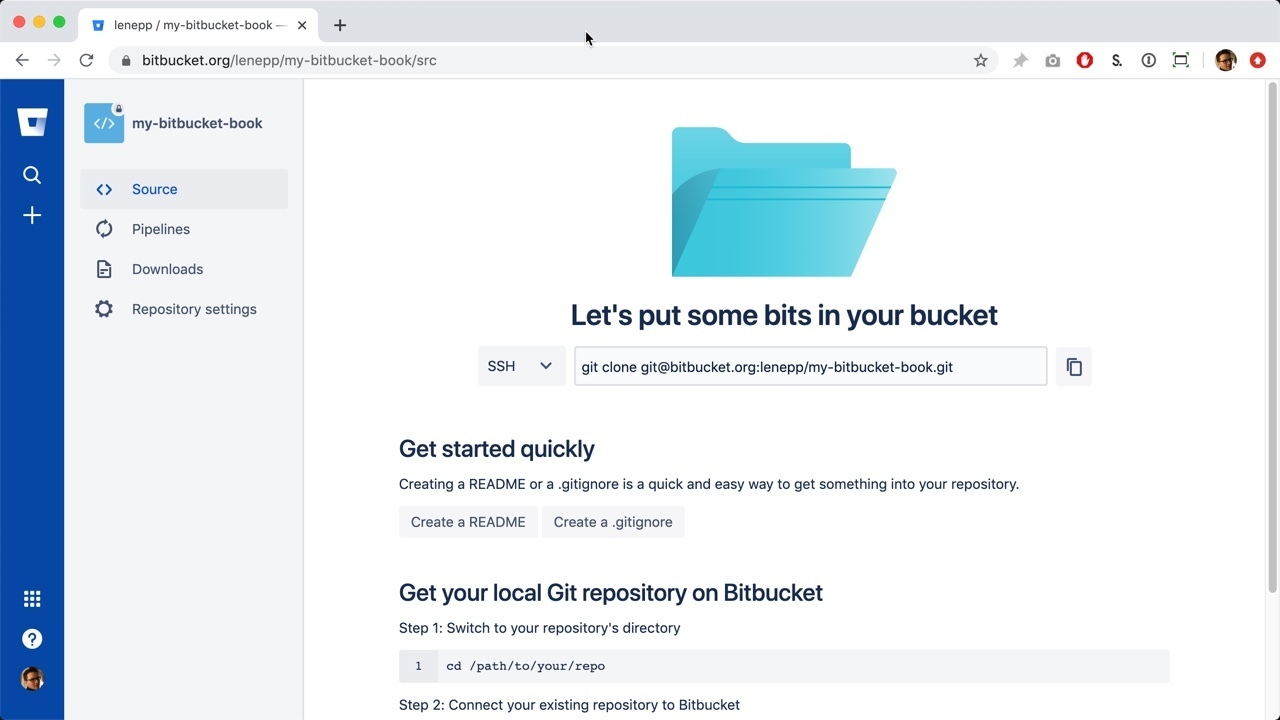
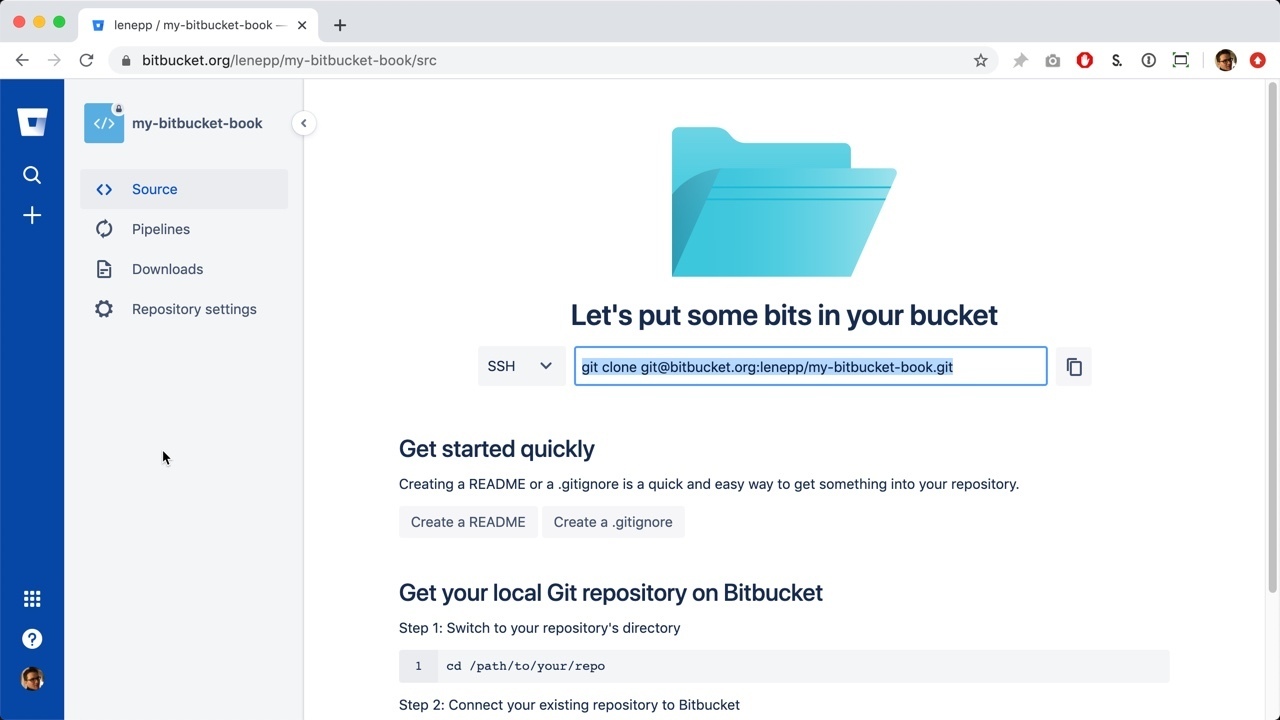
Select the repository information and copy it.
Go to the command line on your computer. In this tutorial we’re using a Mac, so we use Terminal.

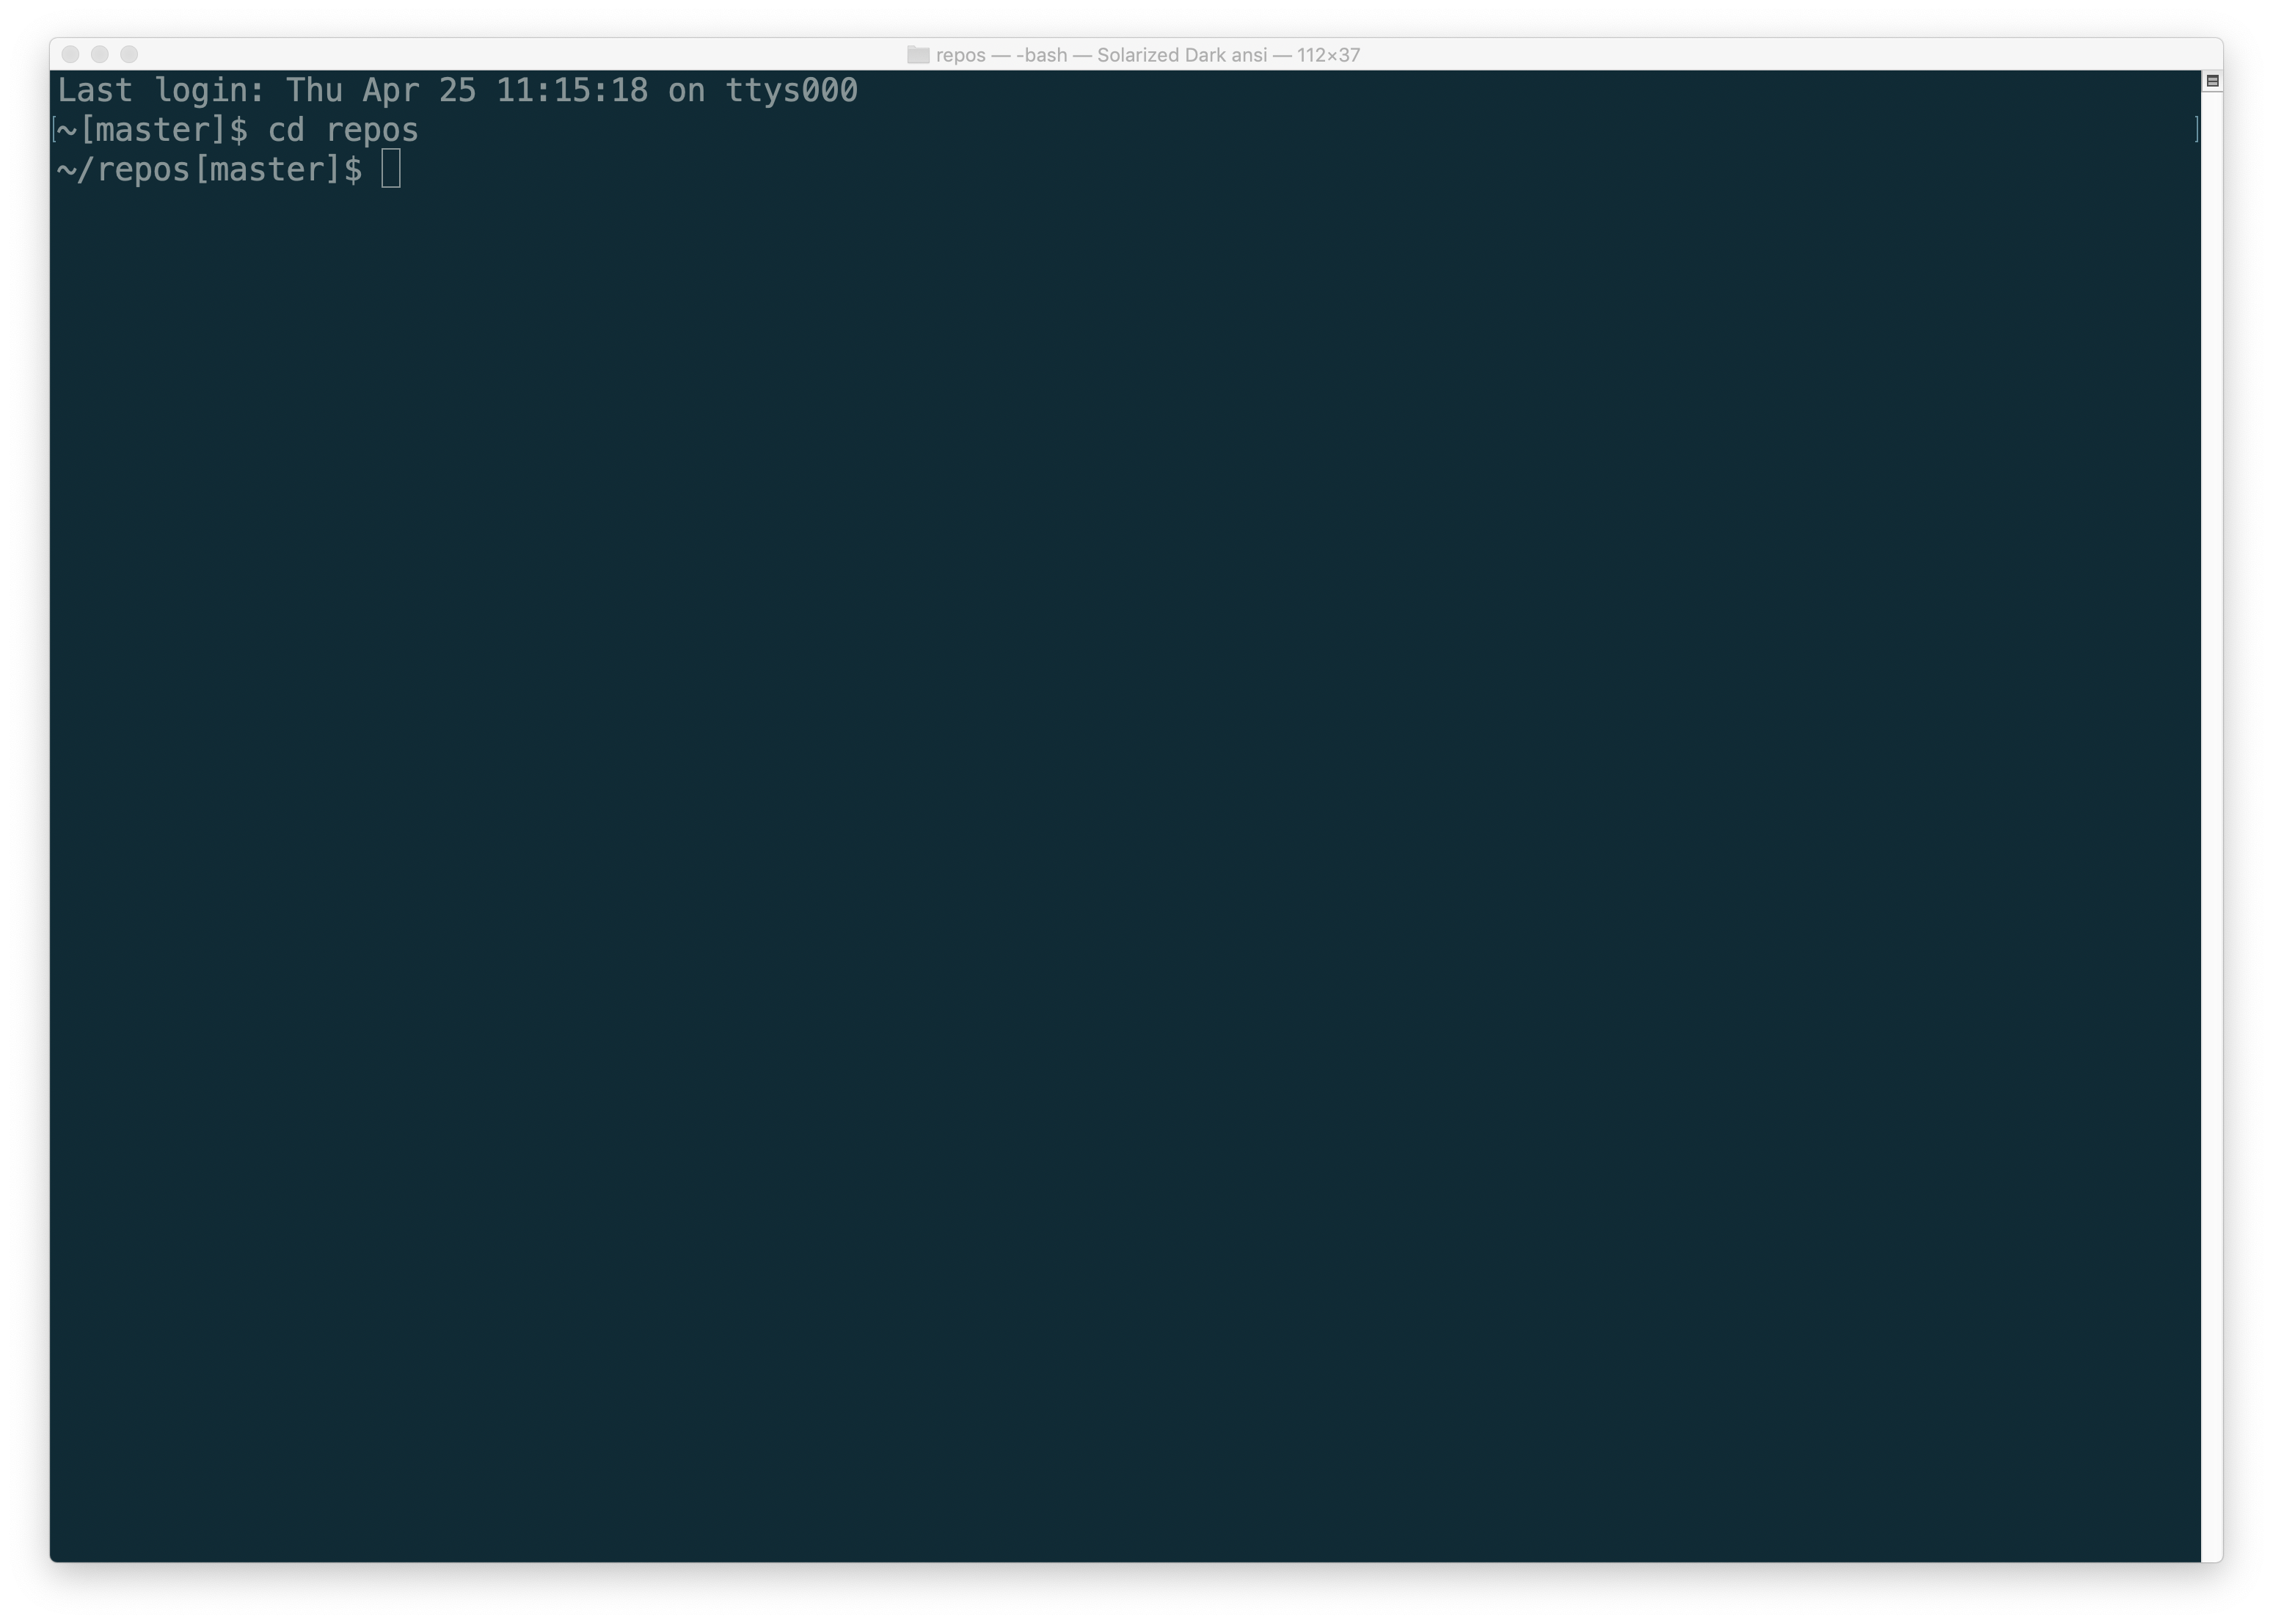
Go to the folder on your computer where you want to clone your Bitbucket repository. In this tutorial, that is a folder called repos.
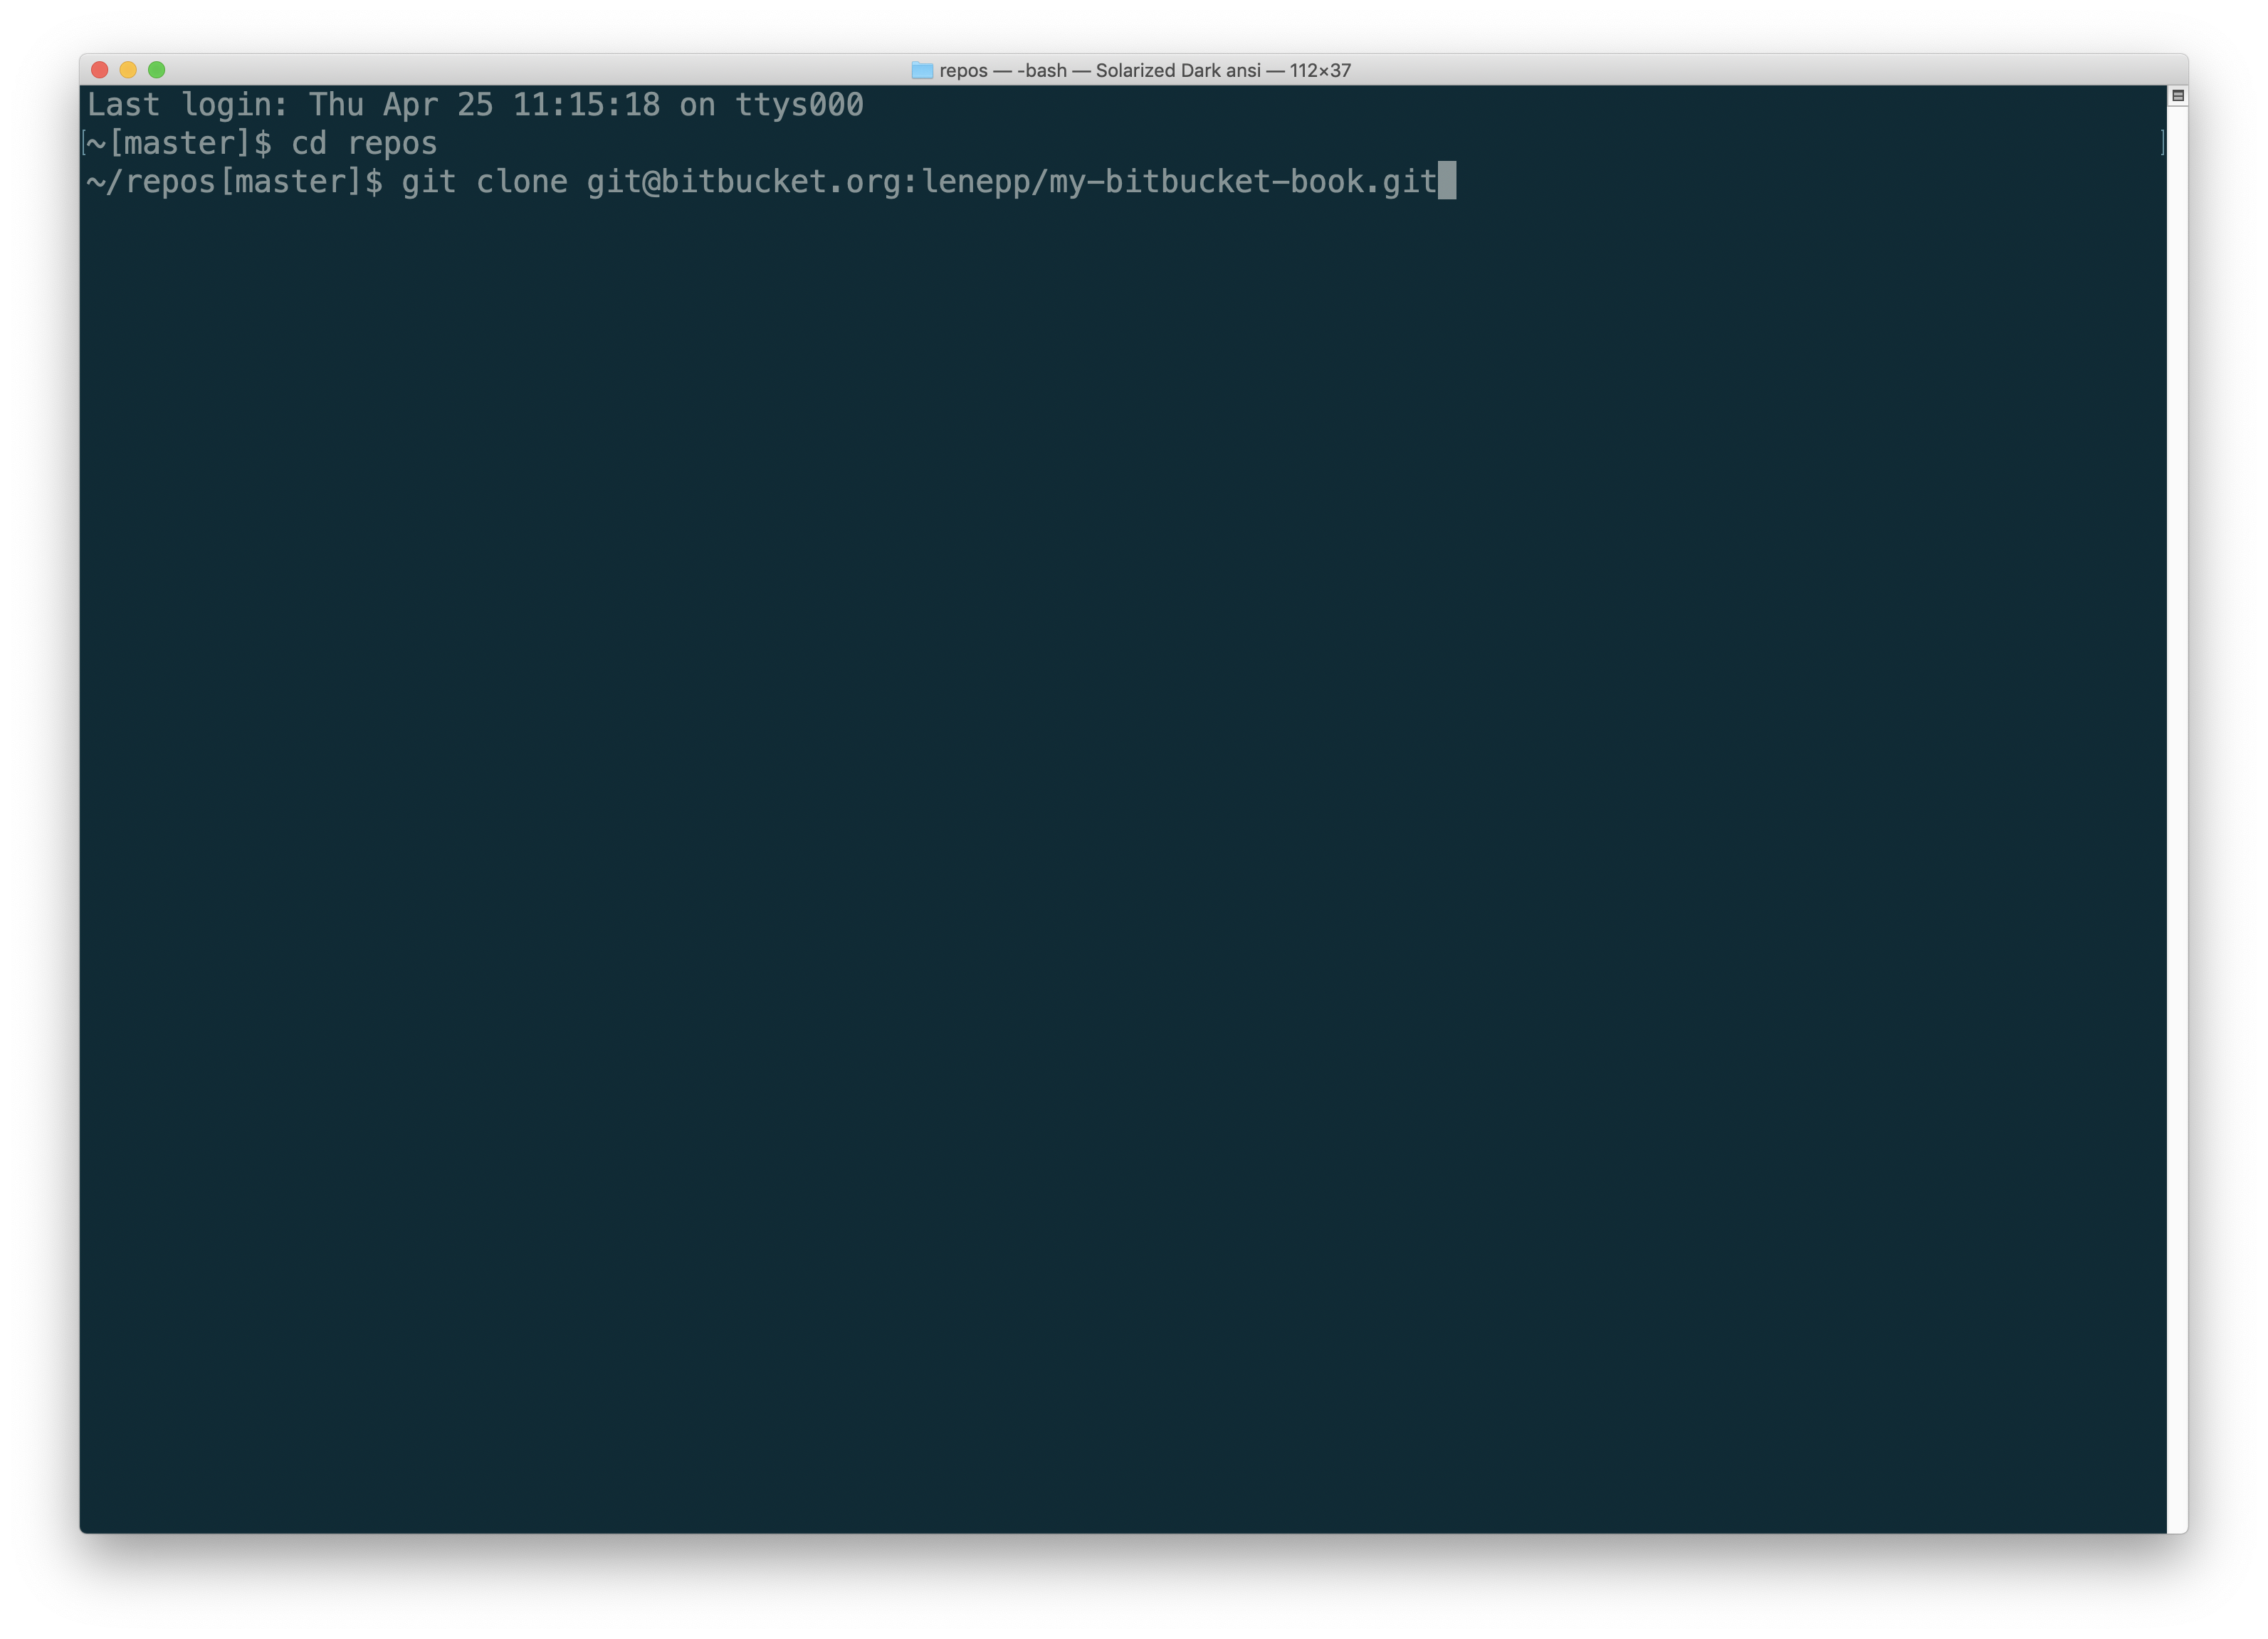
Paste in the repository information you copied on Bitbucket, and hit Enter.
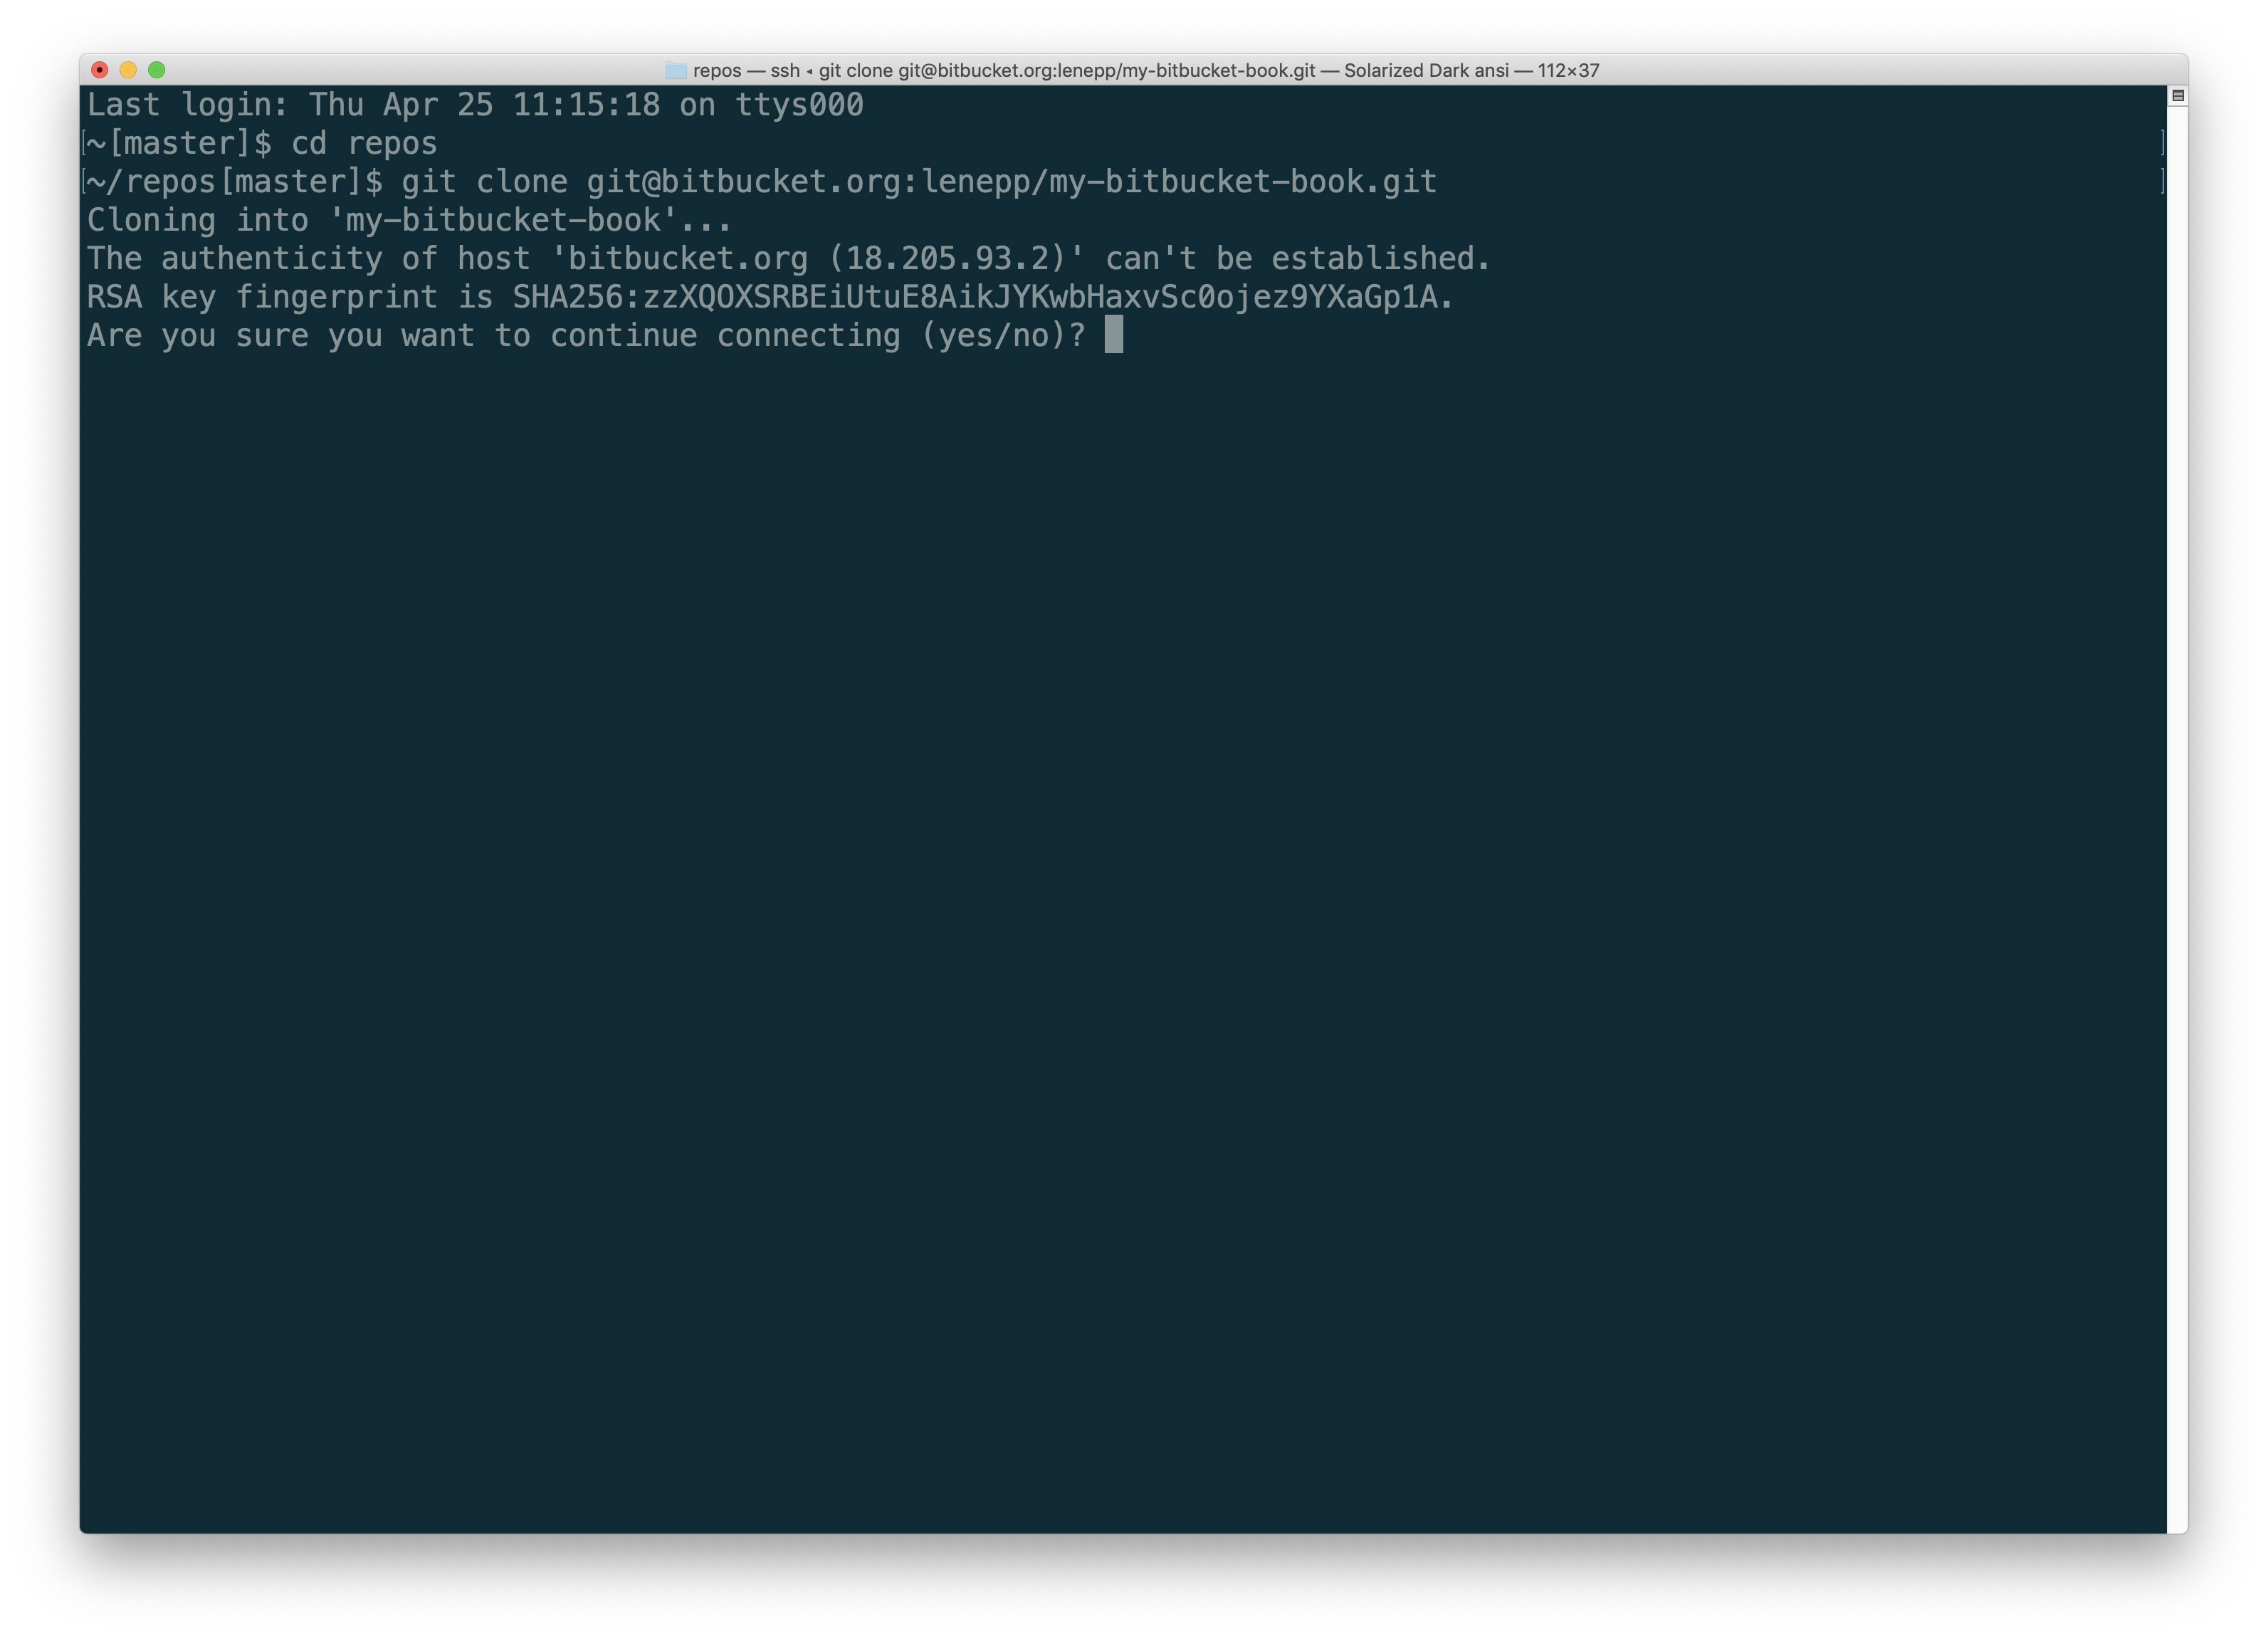
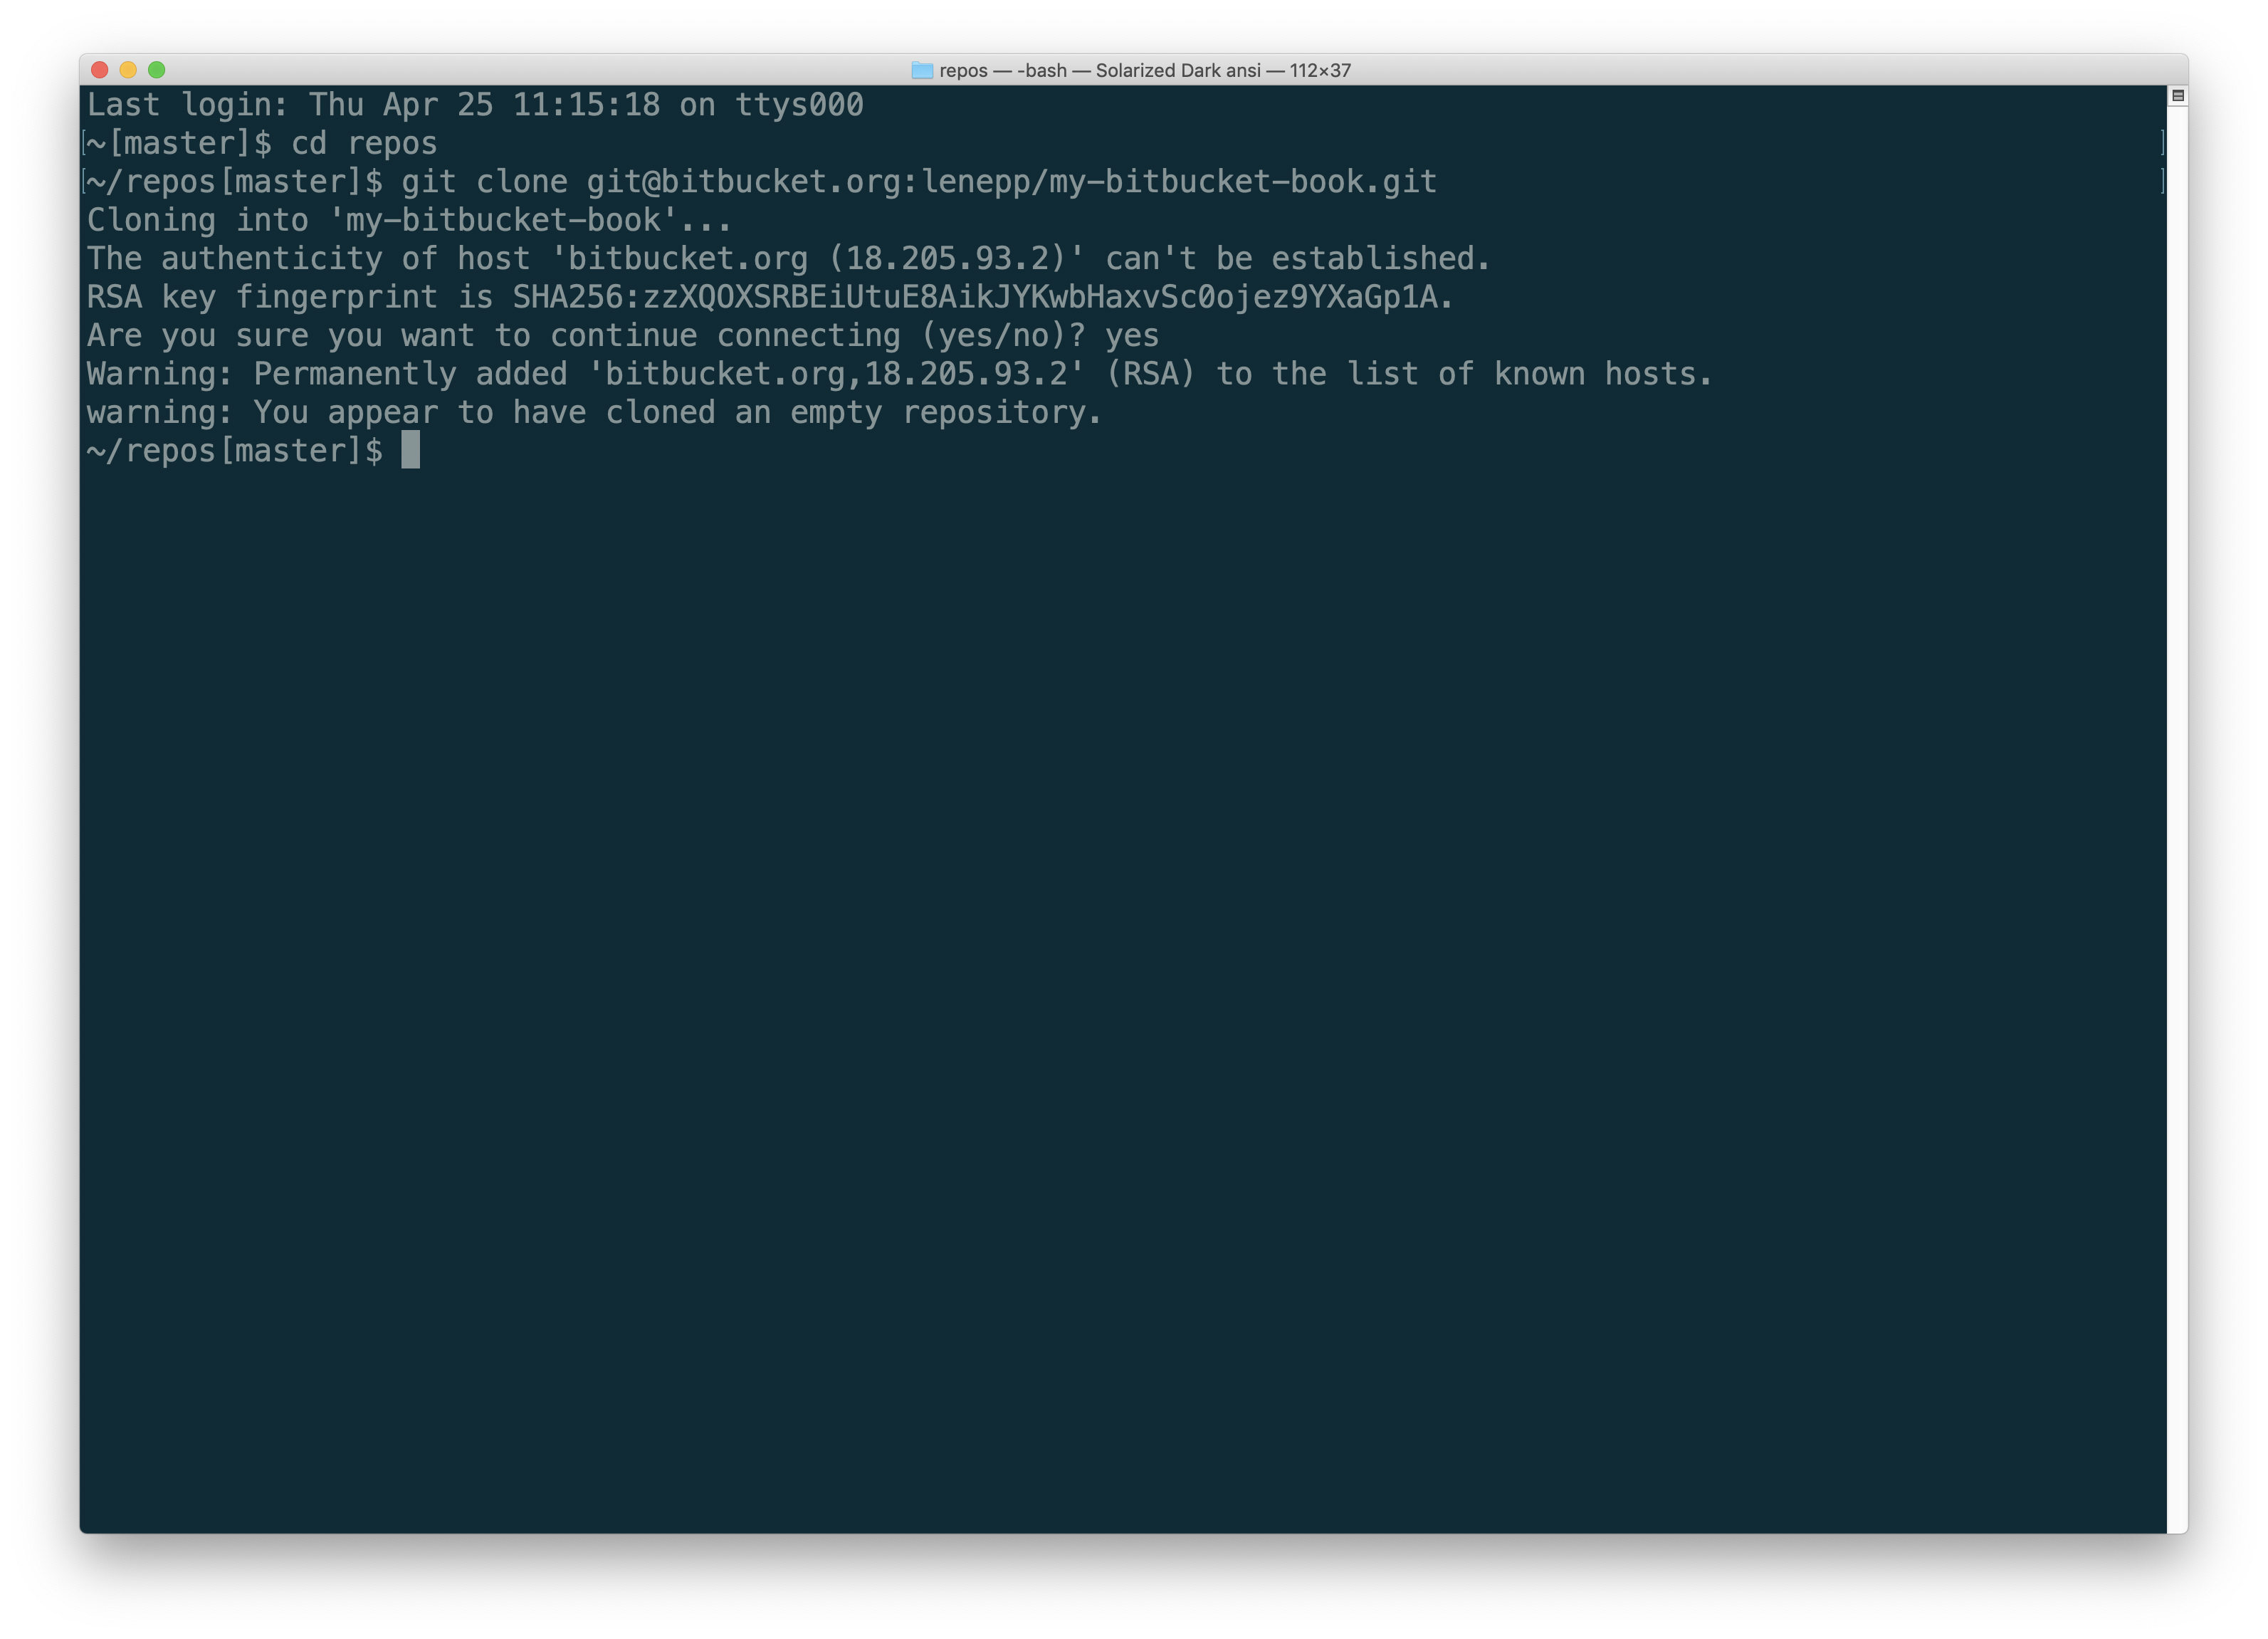
You may see a message asking if you are sure you want to connect. If you are sure, type “yes” and hit return.
After a moment, you will see a message saying that the repository has been cloned.
Creating a Book in Bitbucket Writing Mode
Go to https://leanpub.com/create/book to create a book in Bitbucket writing mode.
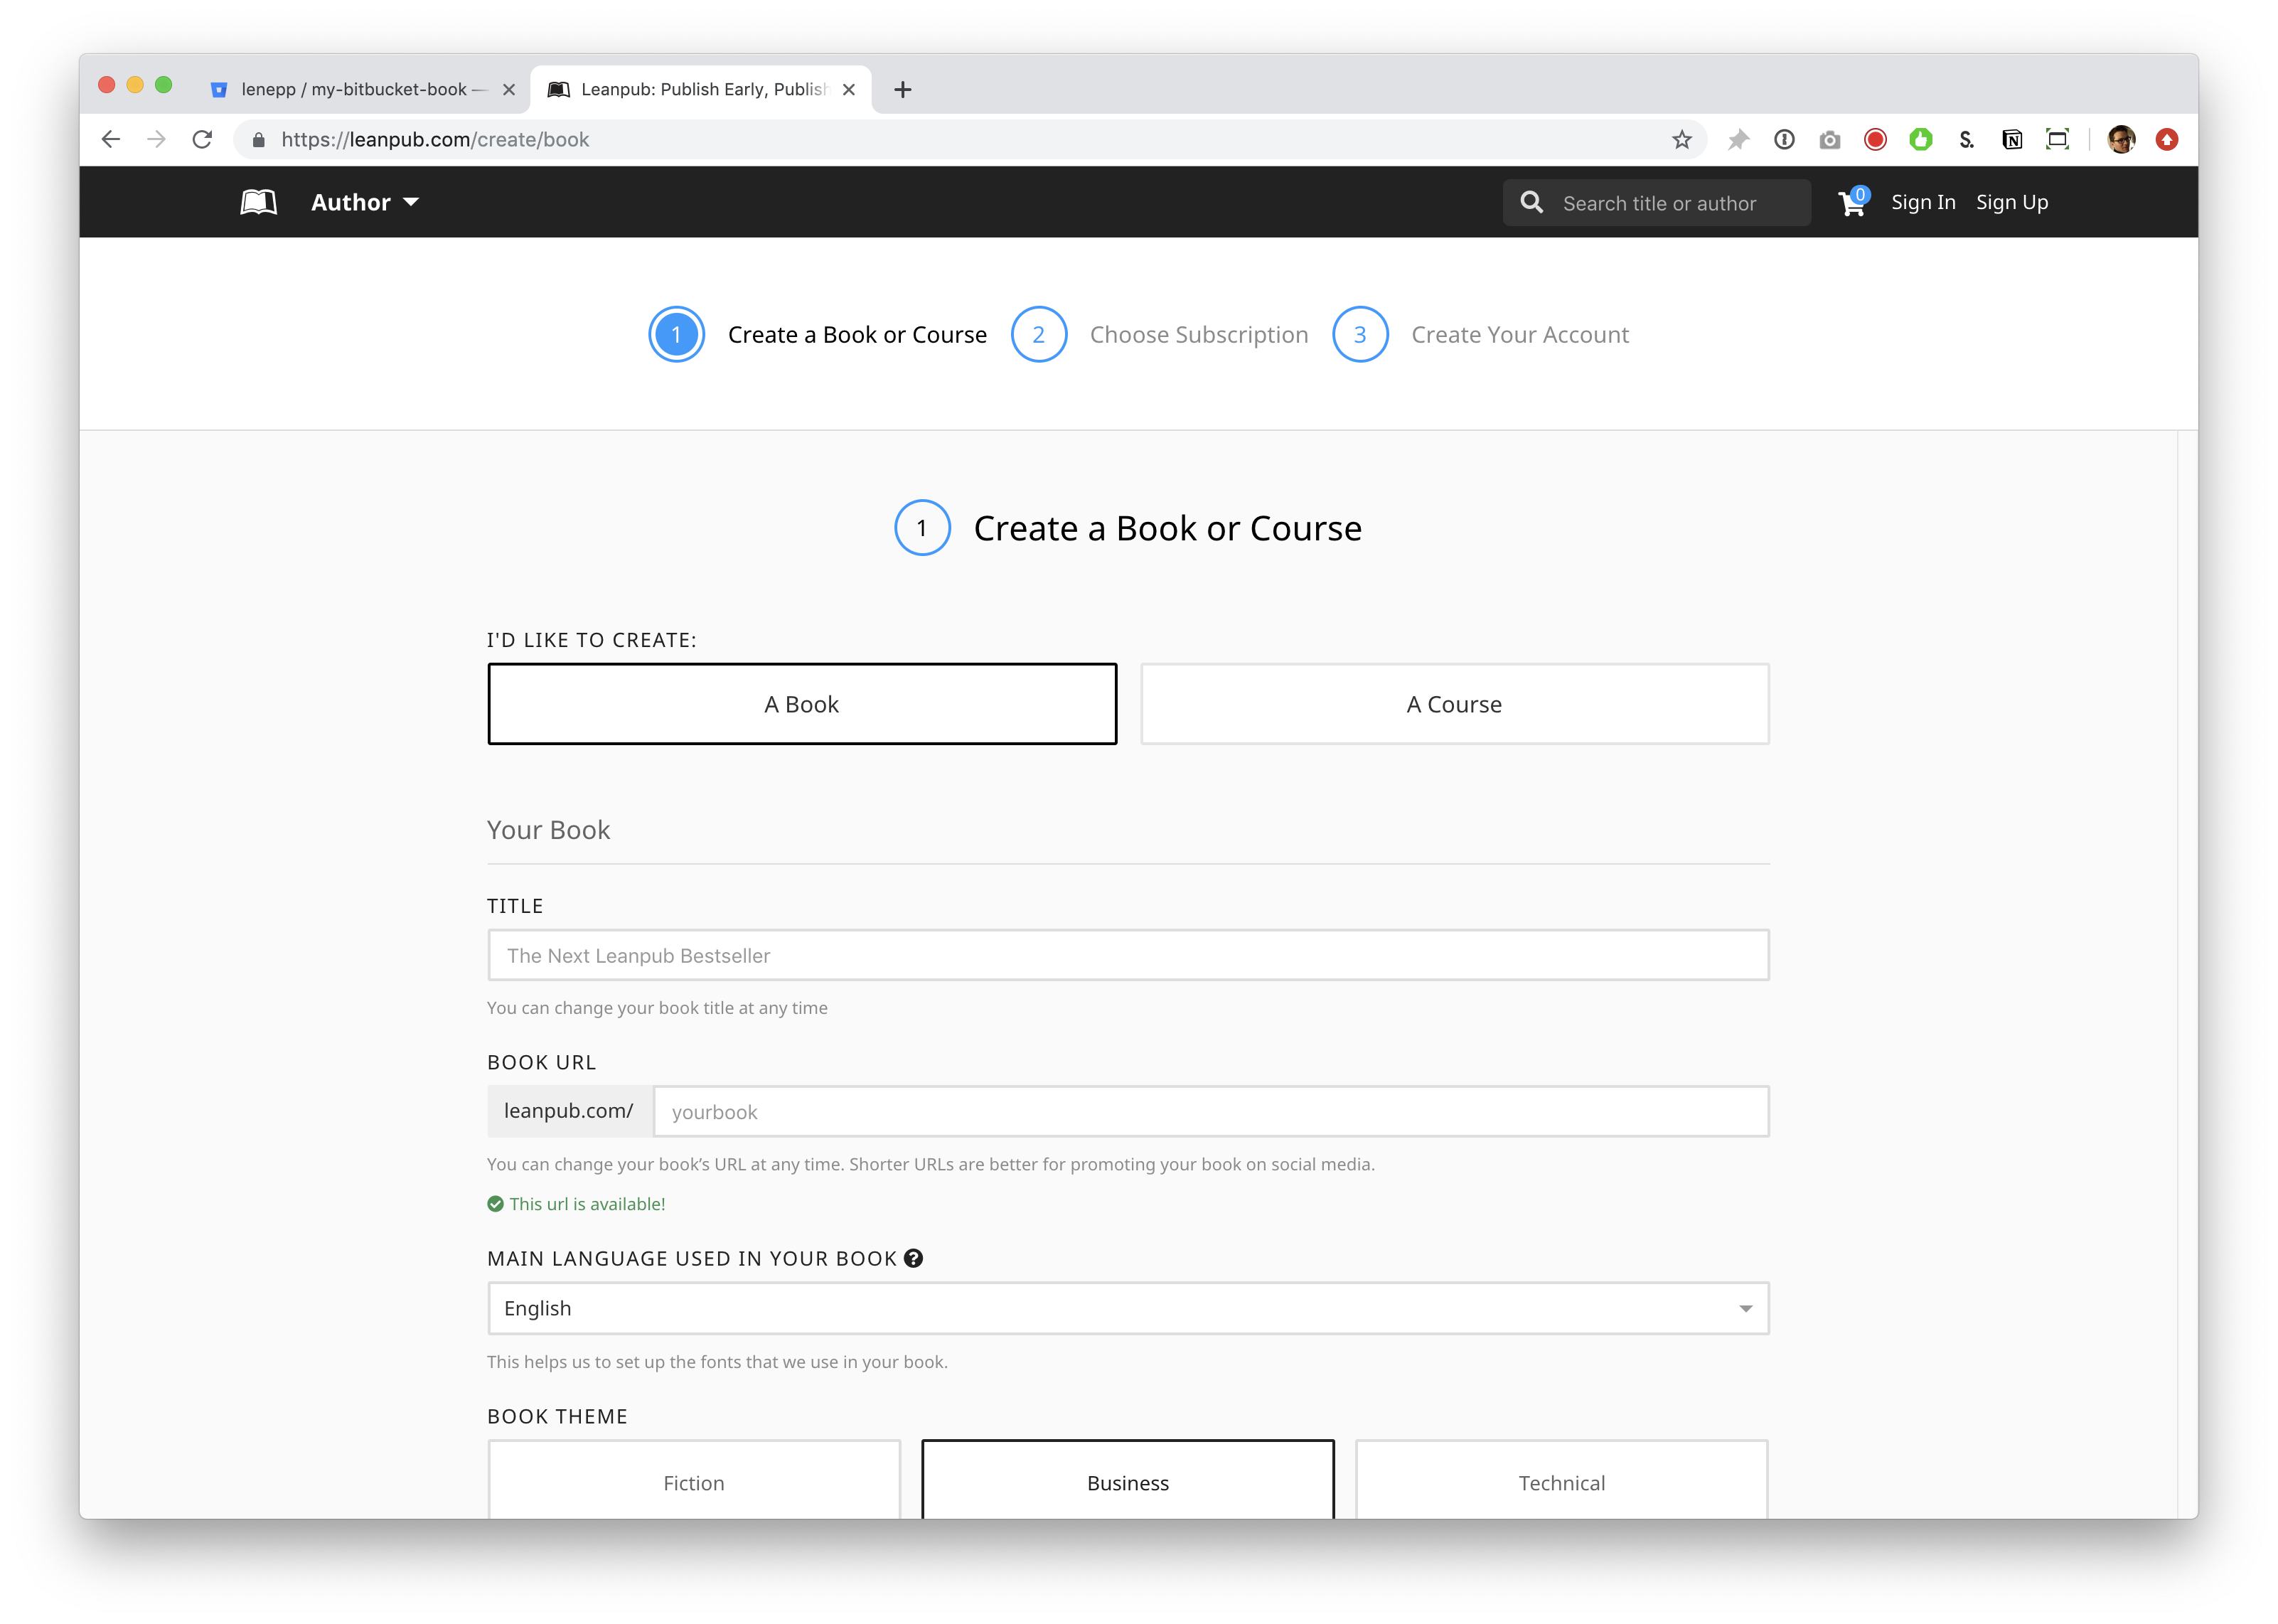
First, type a title for your book into the “TITLE” box. You can change your title later.
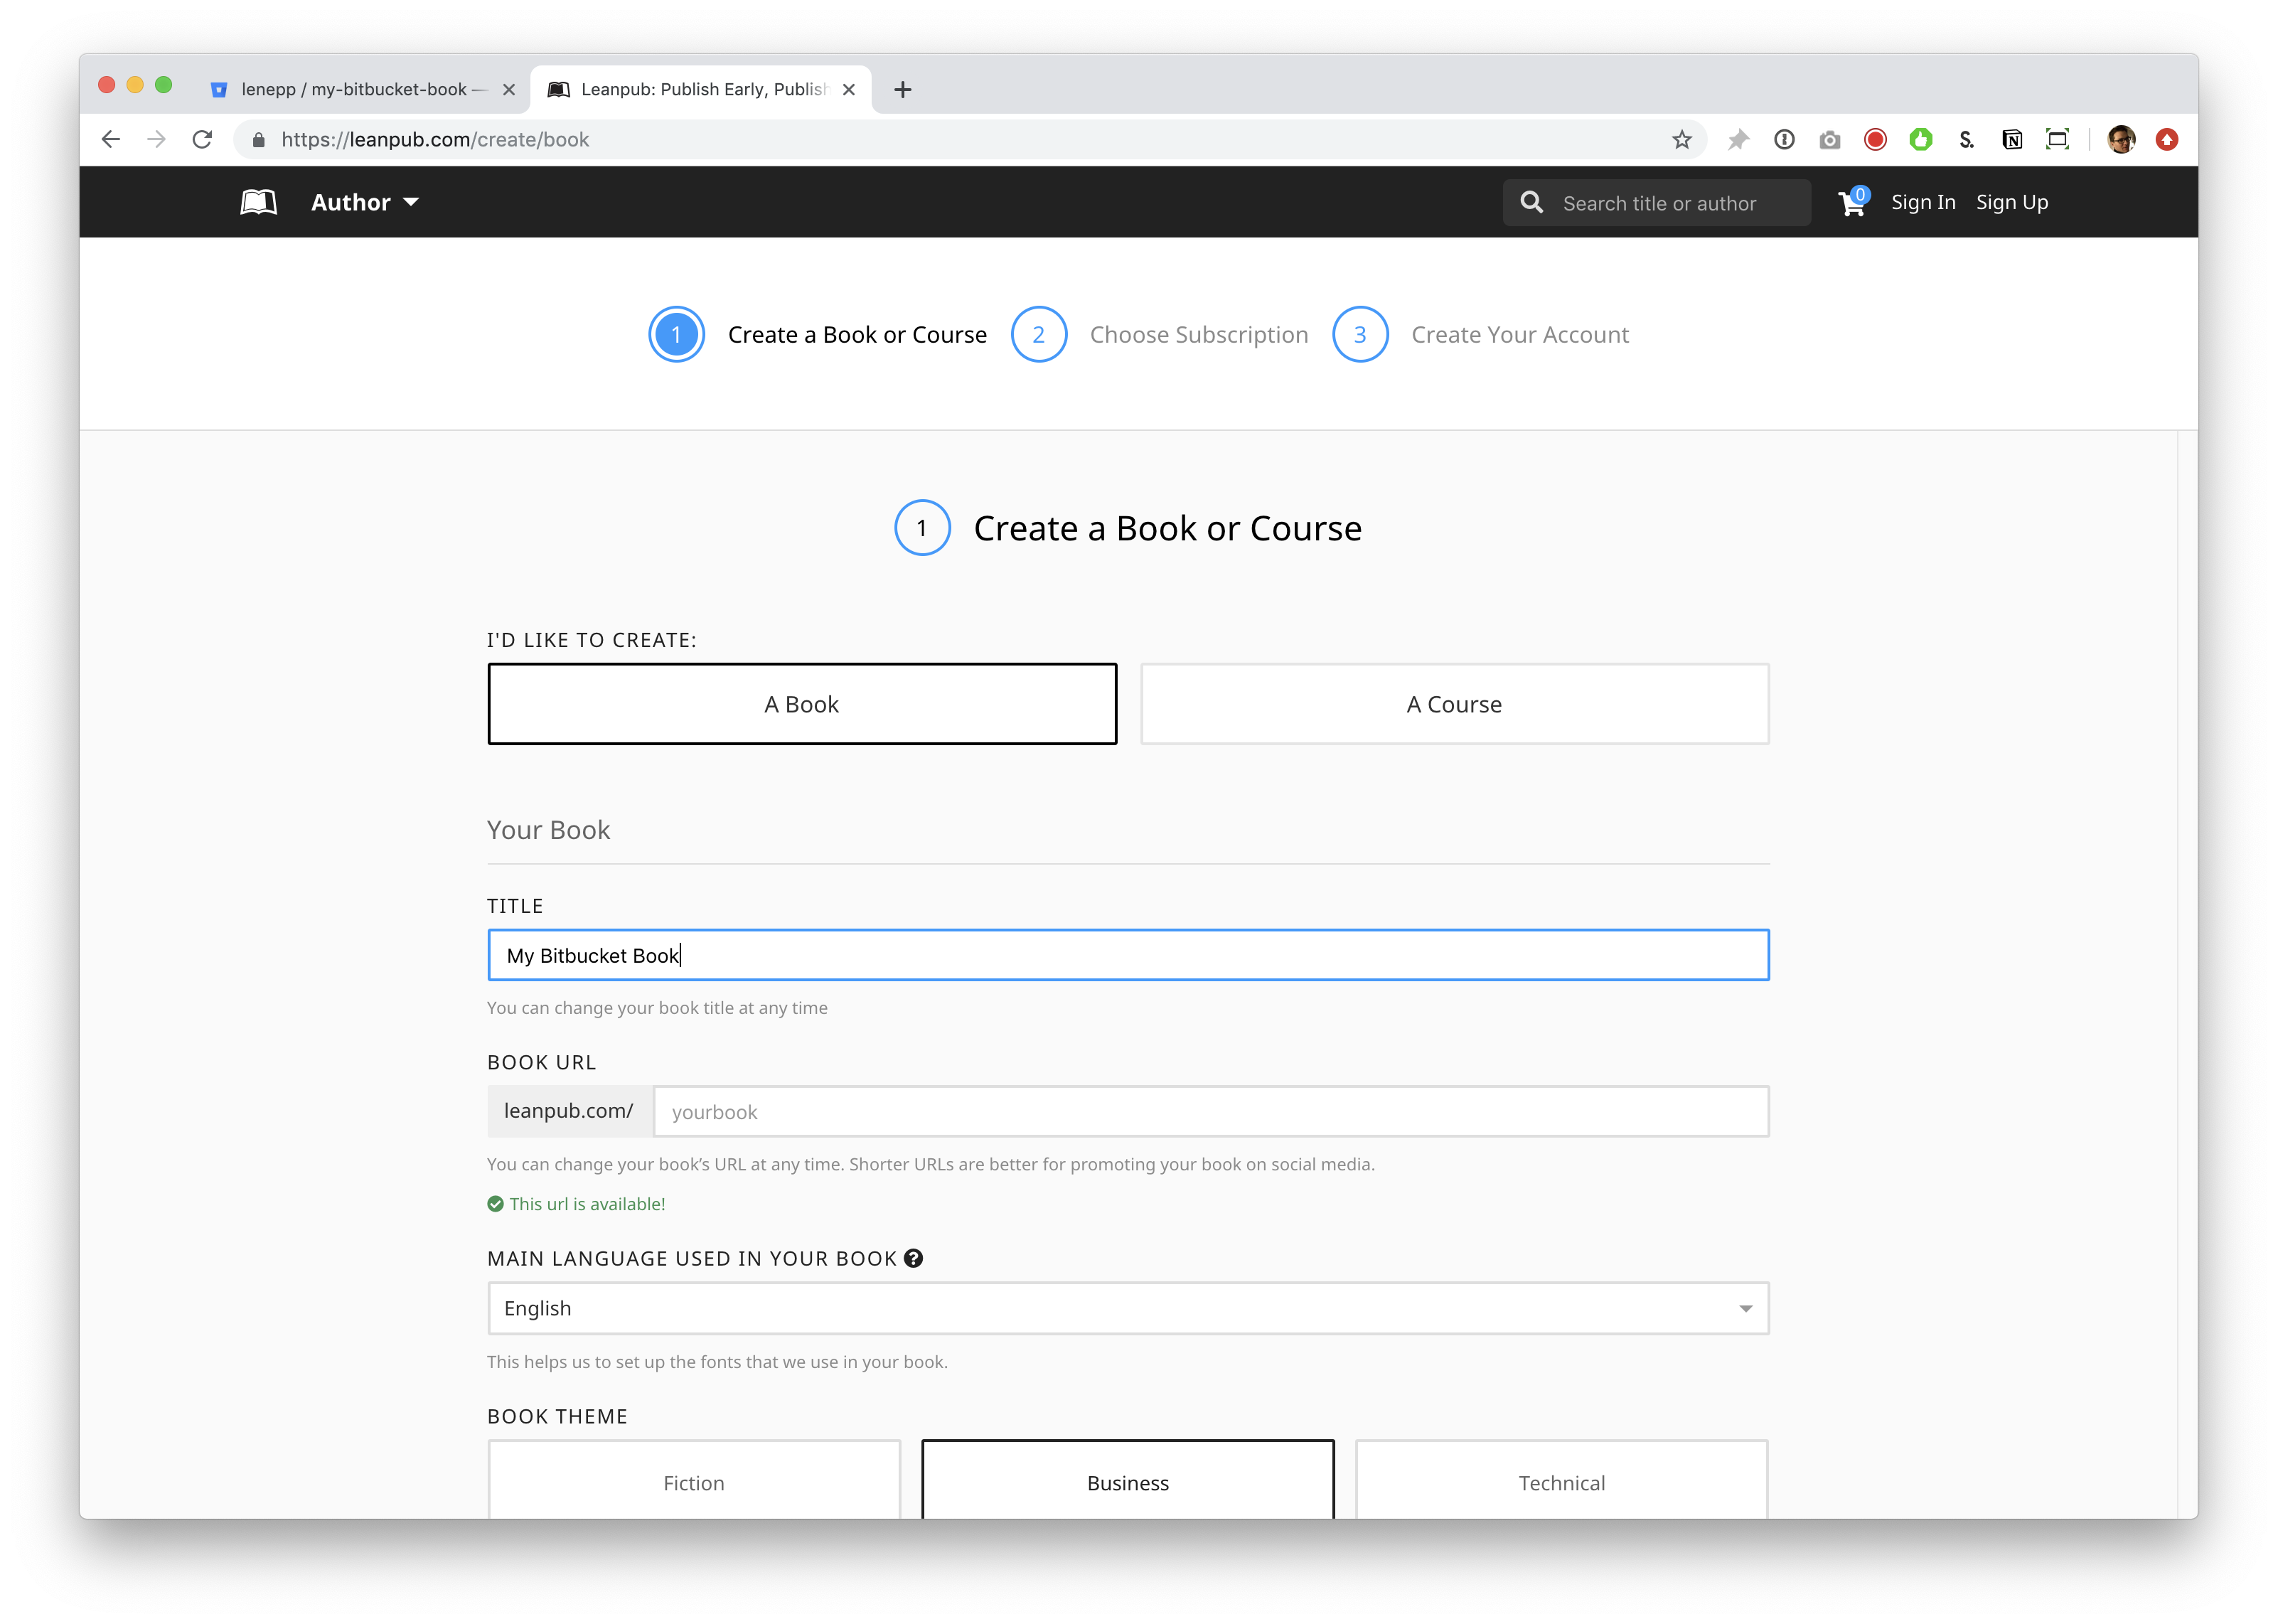
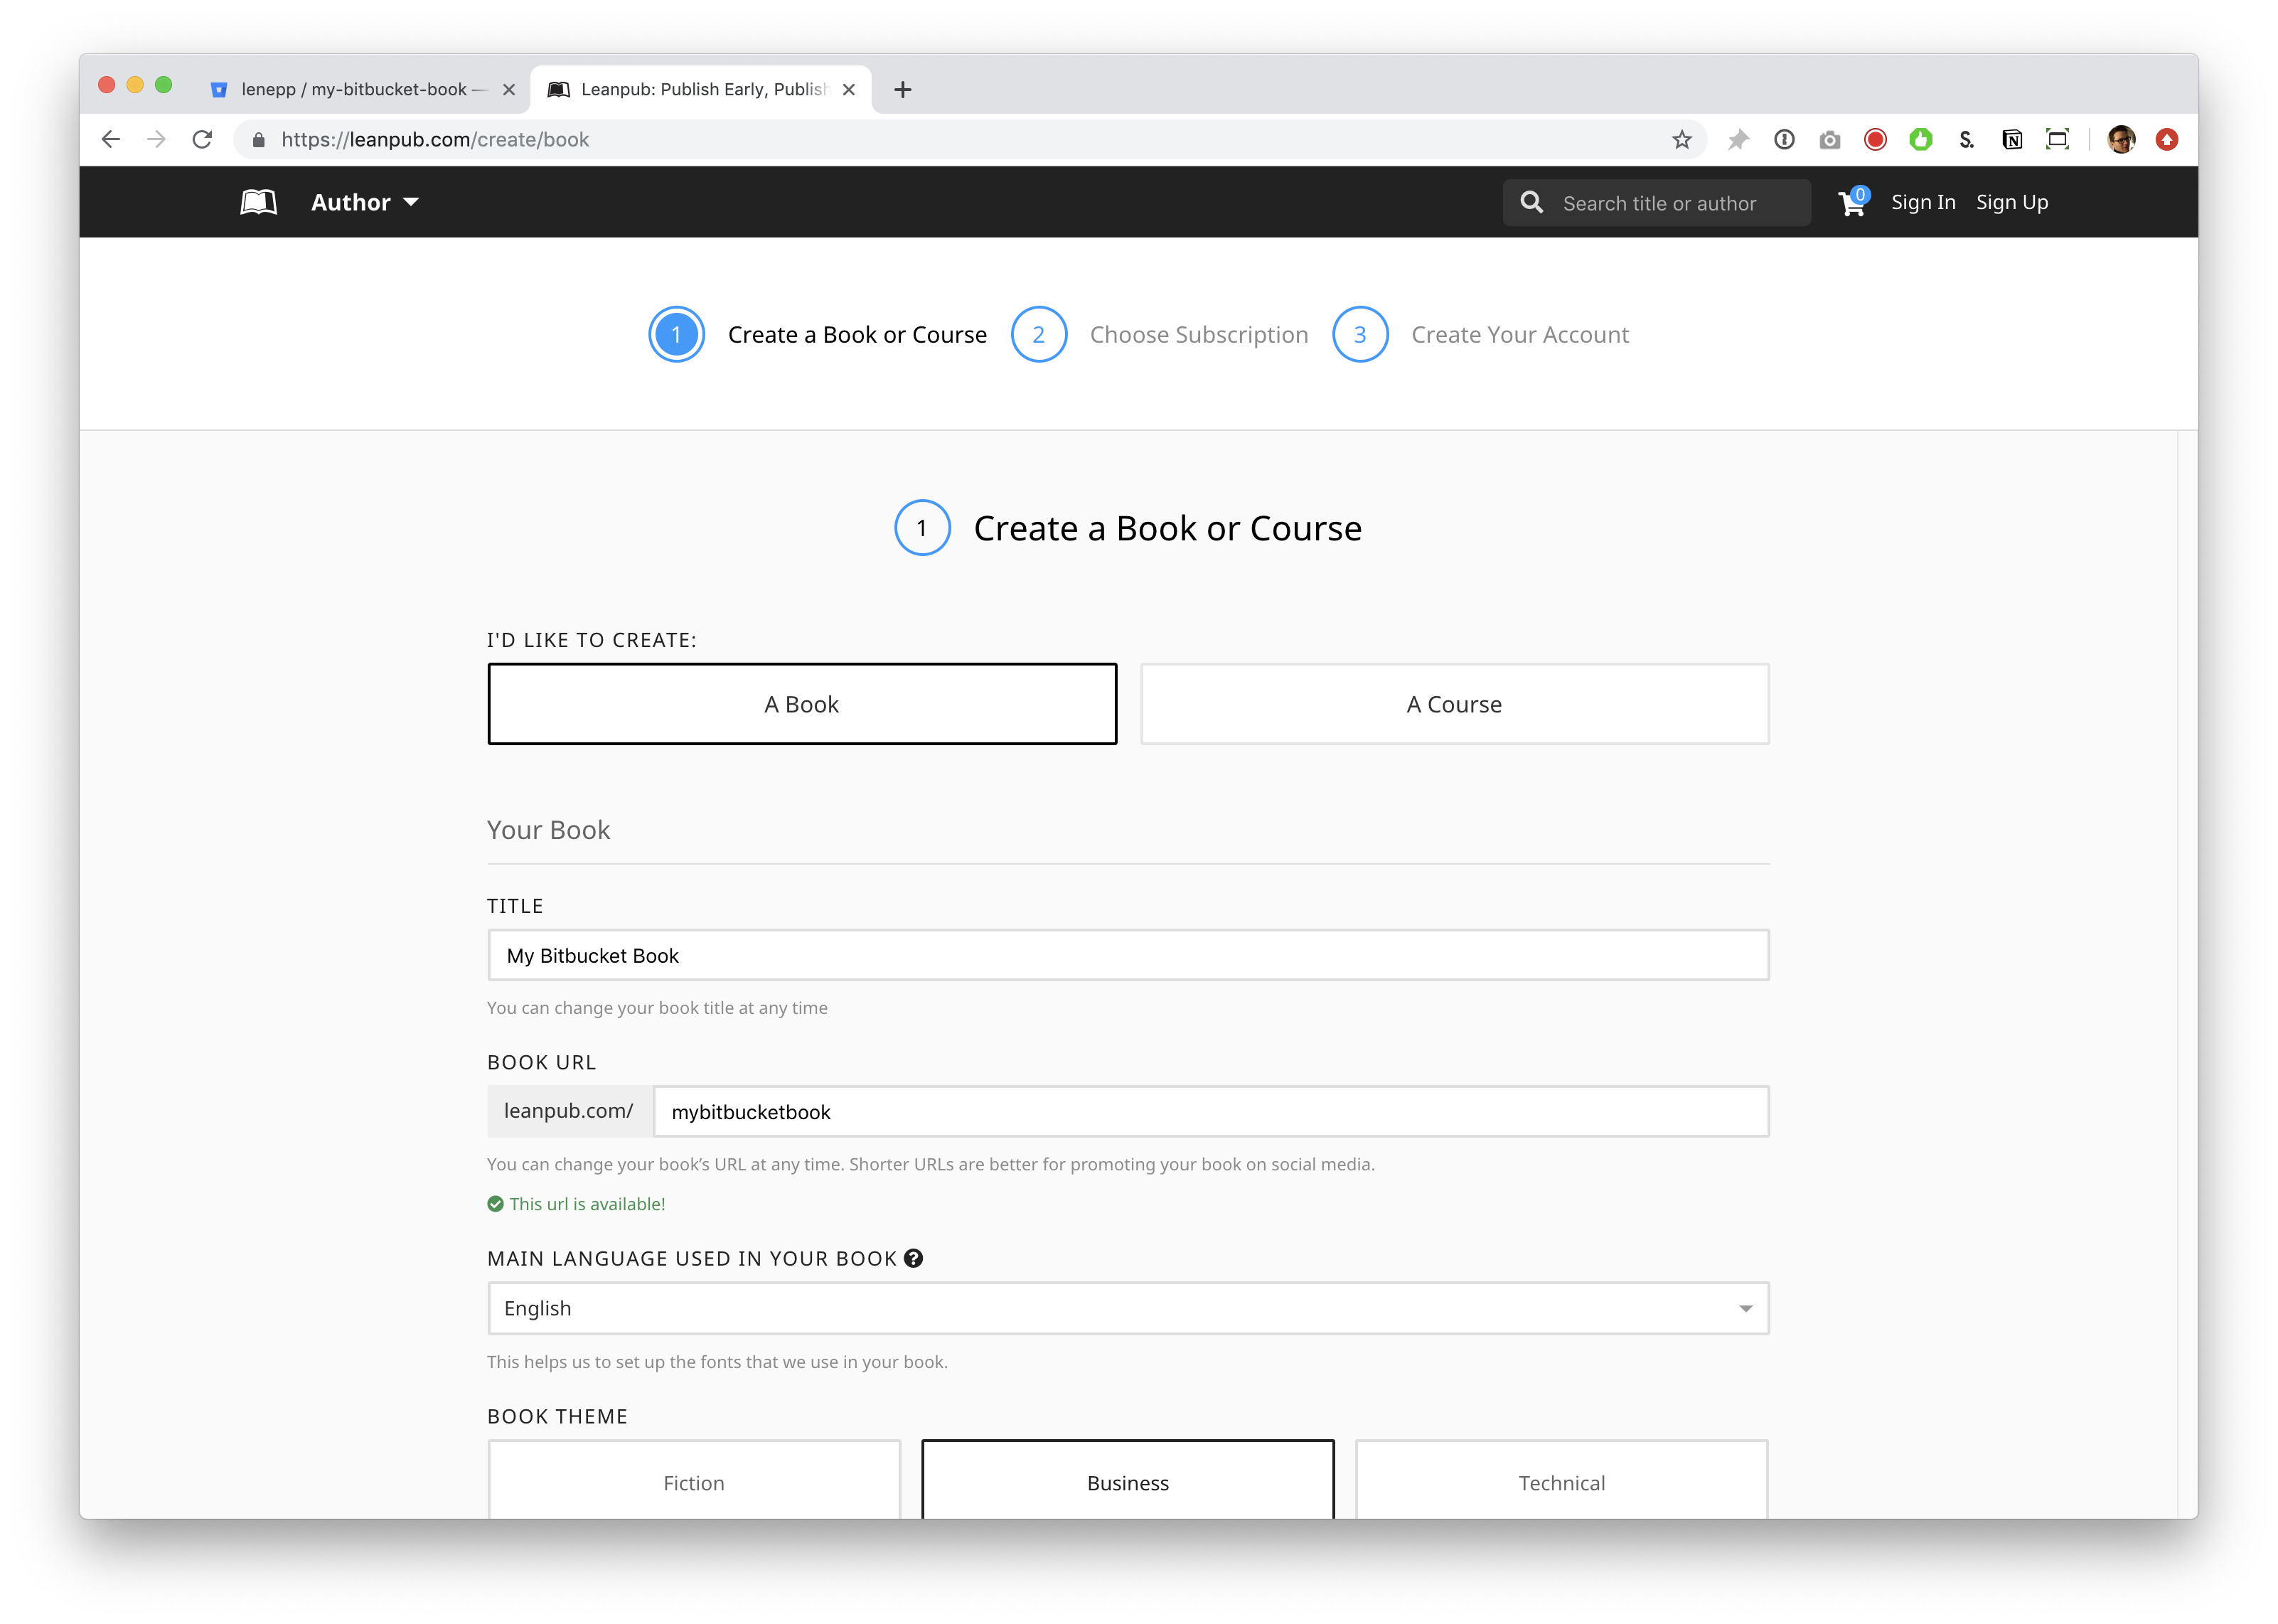
Click in the “BOOK URL” box. Leanpub will automatically suggest a URL for your book’s web page on Leanpub. You can change this URL at any time.
Scroll down and you will see “MAIN LANGUAGE USED IN YOUR BOOK.” You can select a language from the drop-down. Like the other settings, you can change this at any time.
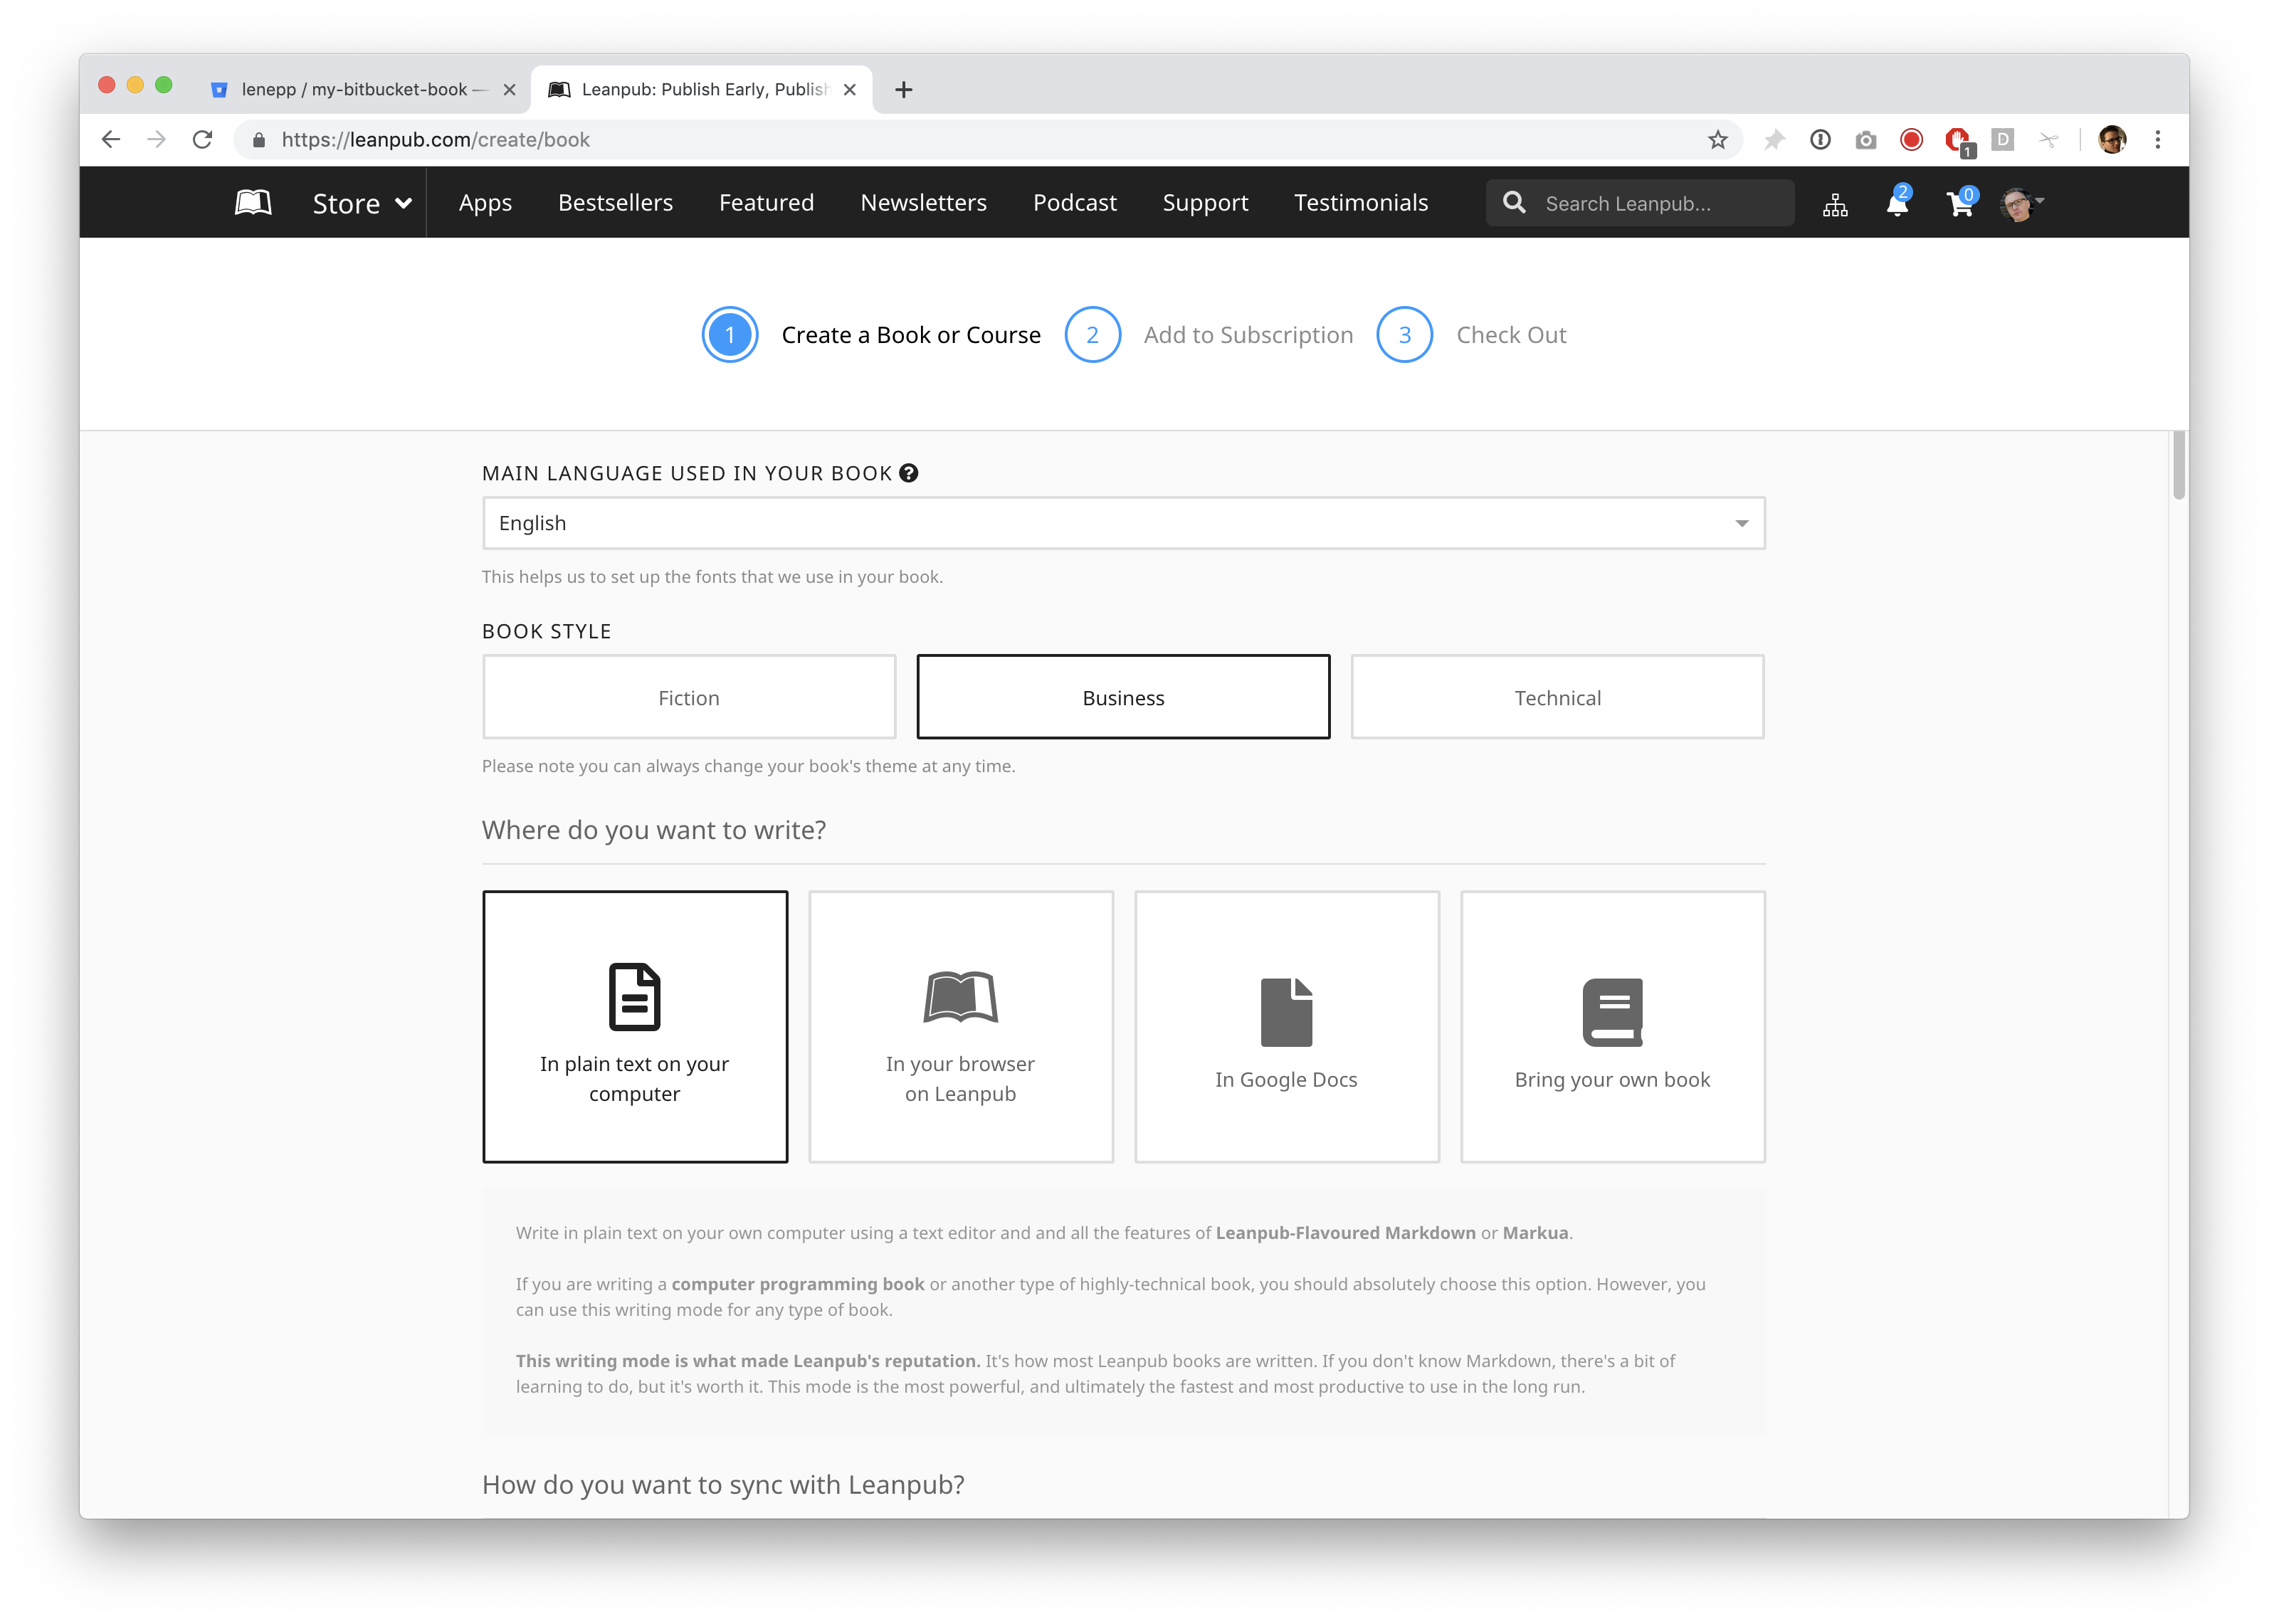
Scroll down and you will see the “BOOK THEME” options. “Business” will be selected by default. The Book Theme is just a set of standard formatting options conventional for books on these subjects. You are not required to choose any particular option. You can change your Book Theme at any time.
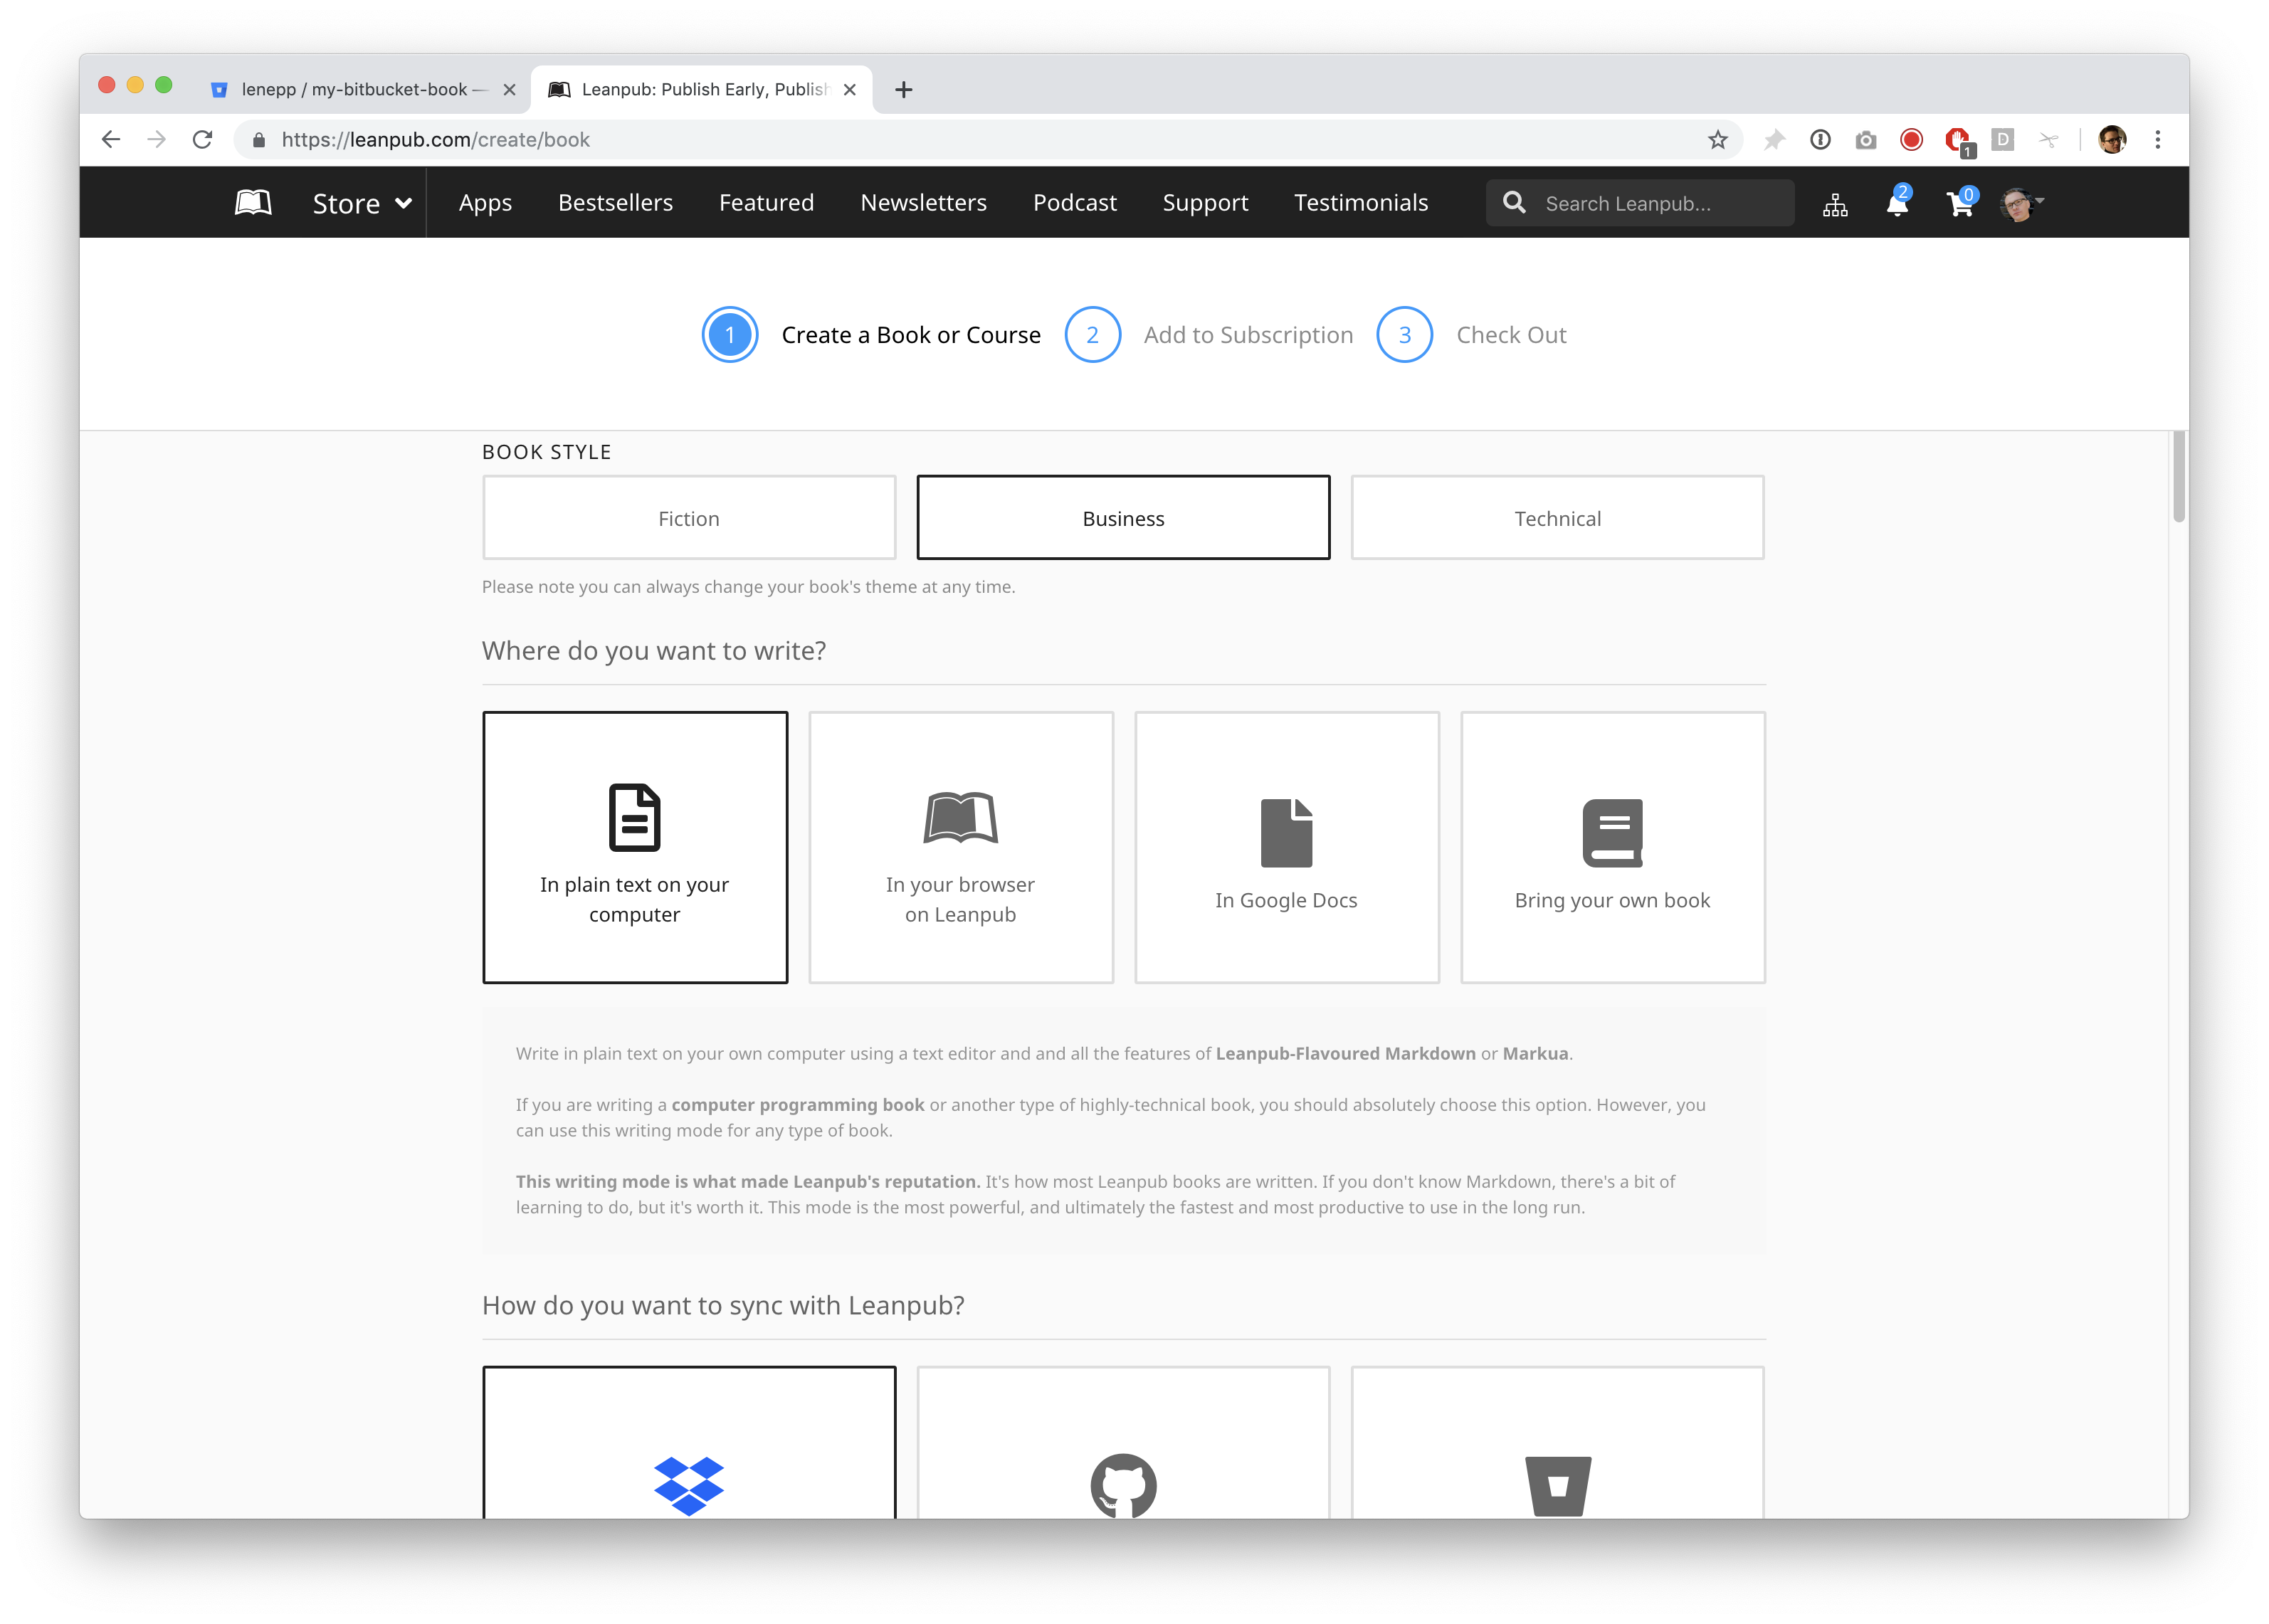
For this tutorial, we selected the “Fiction” Book Theme.
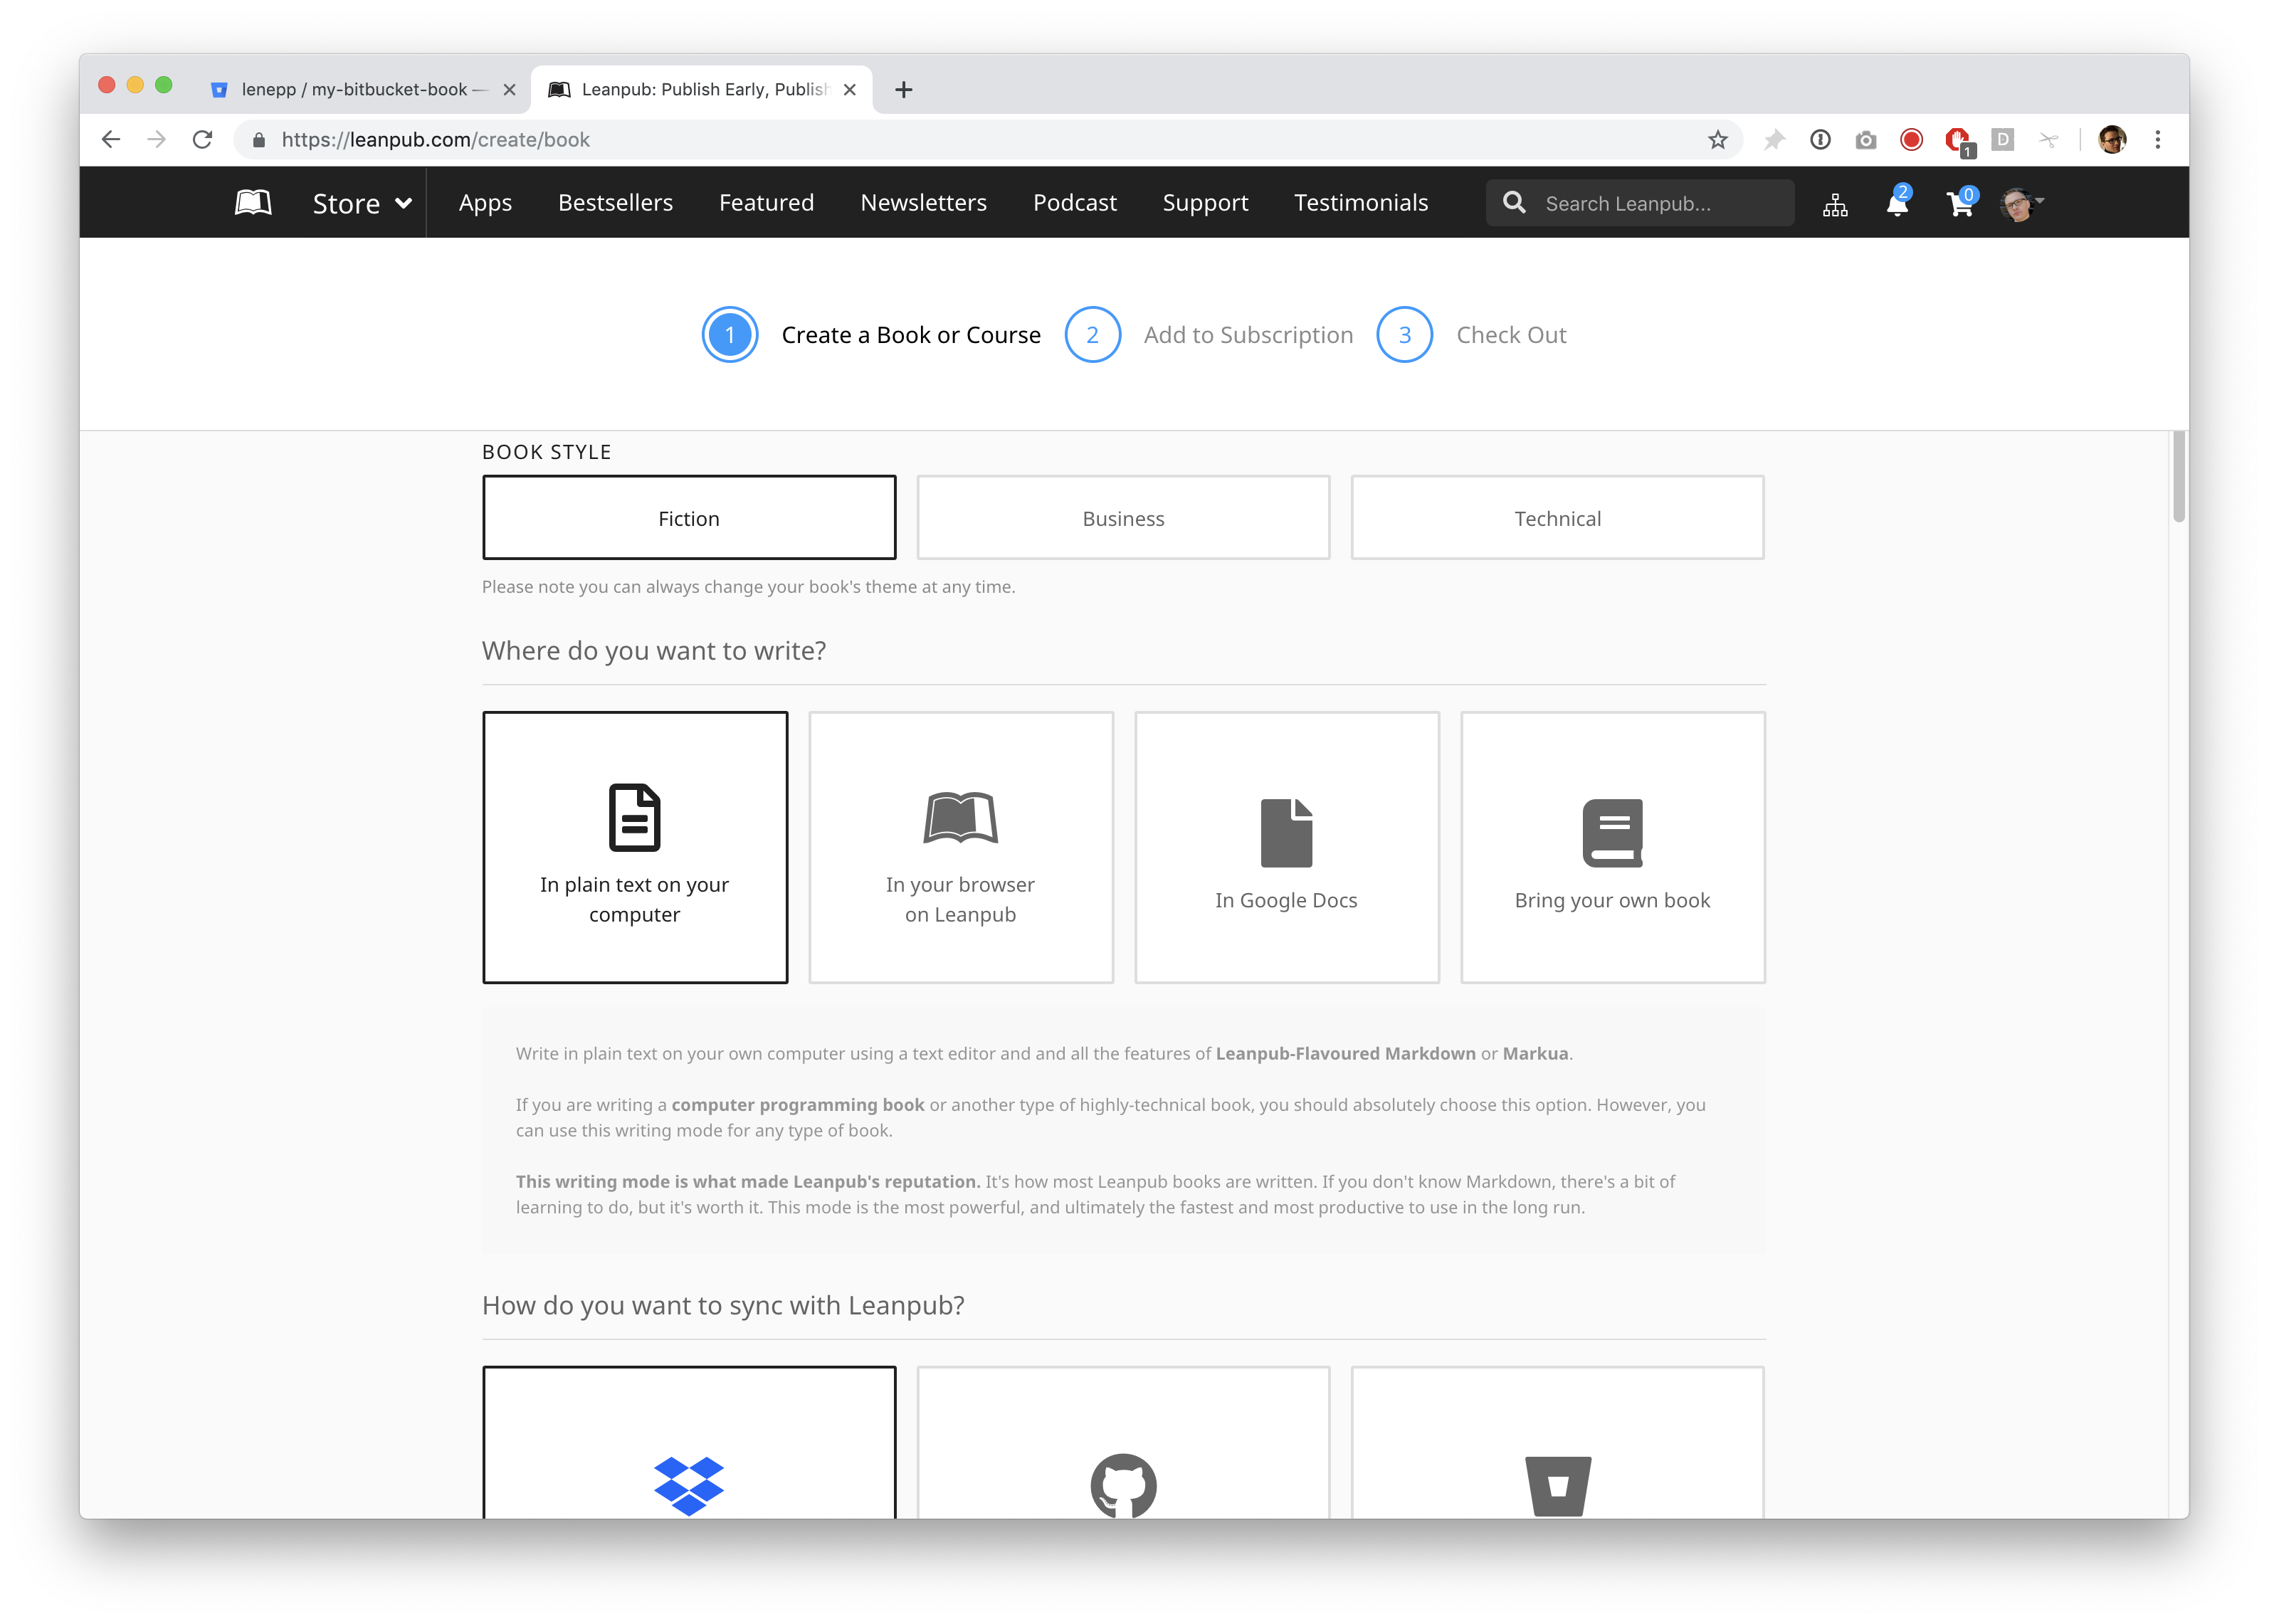
In the section below, you will be presented with various Writing Mode options. For this tutorial, select “Using Git and Bitbucket.”
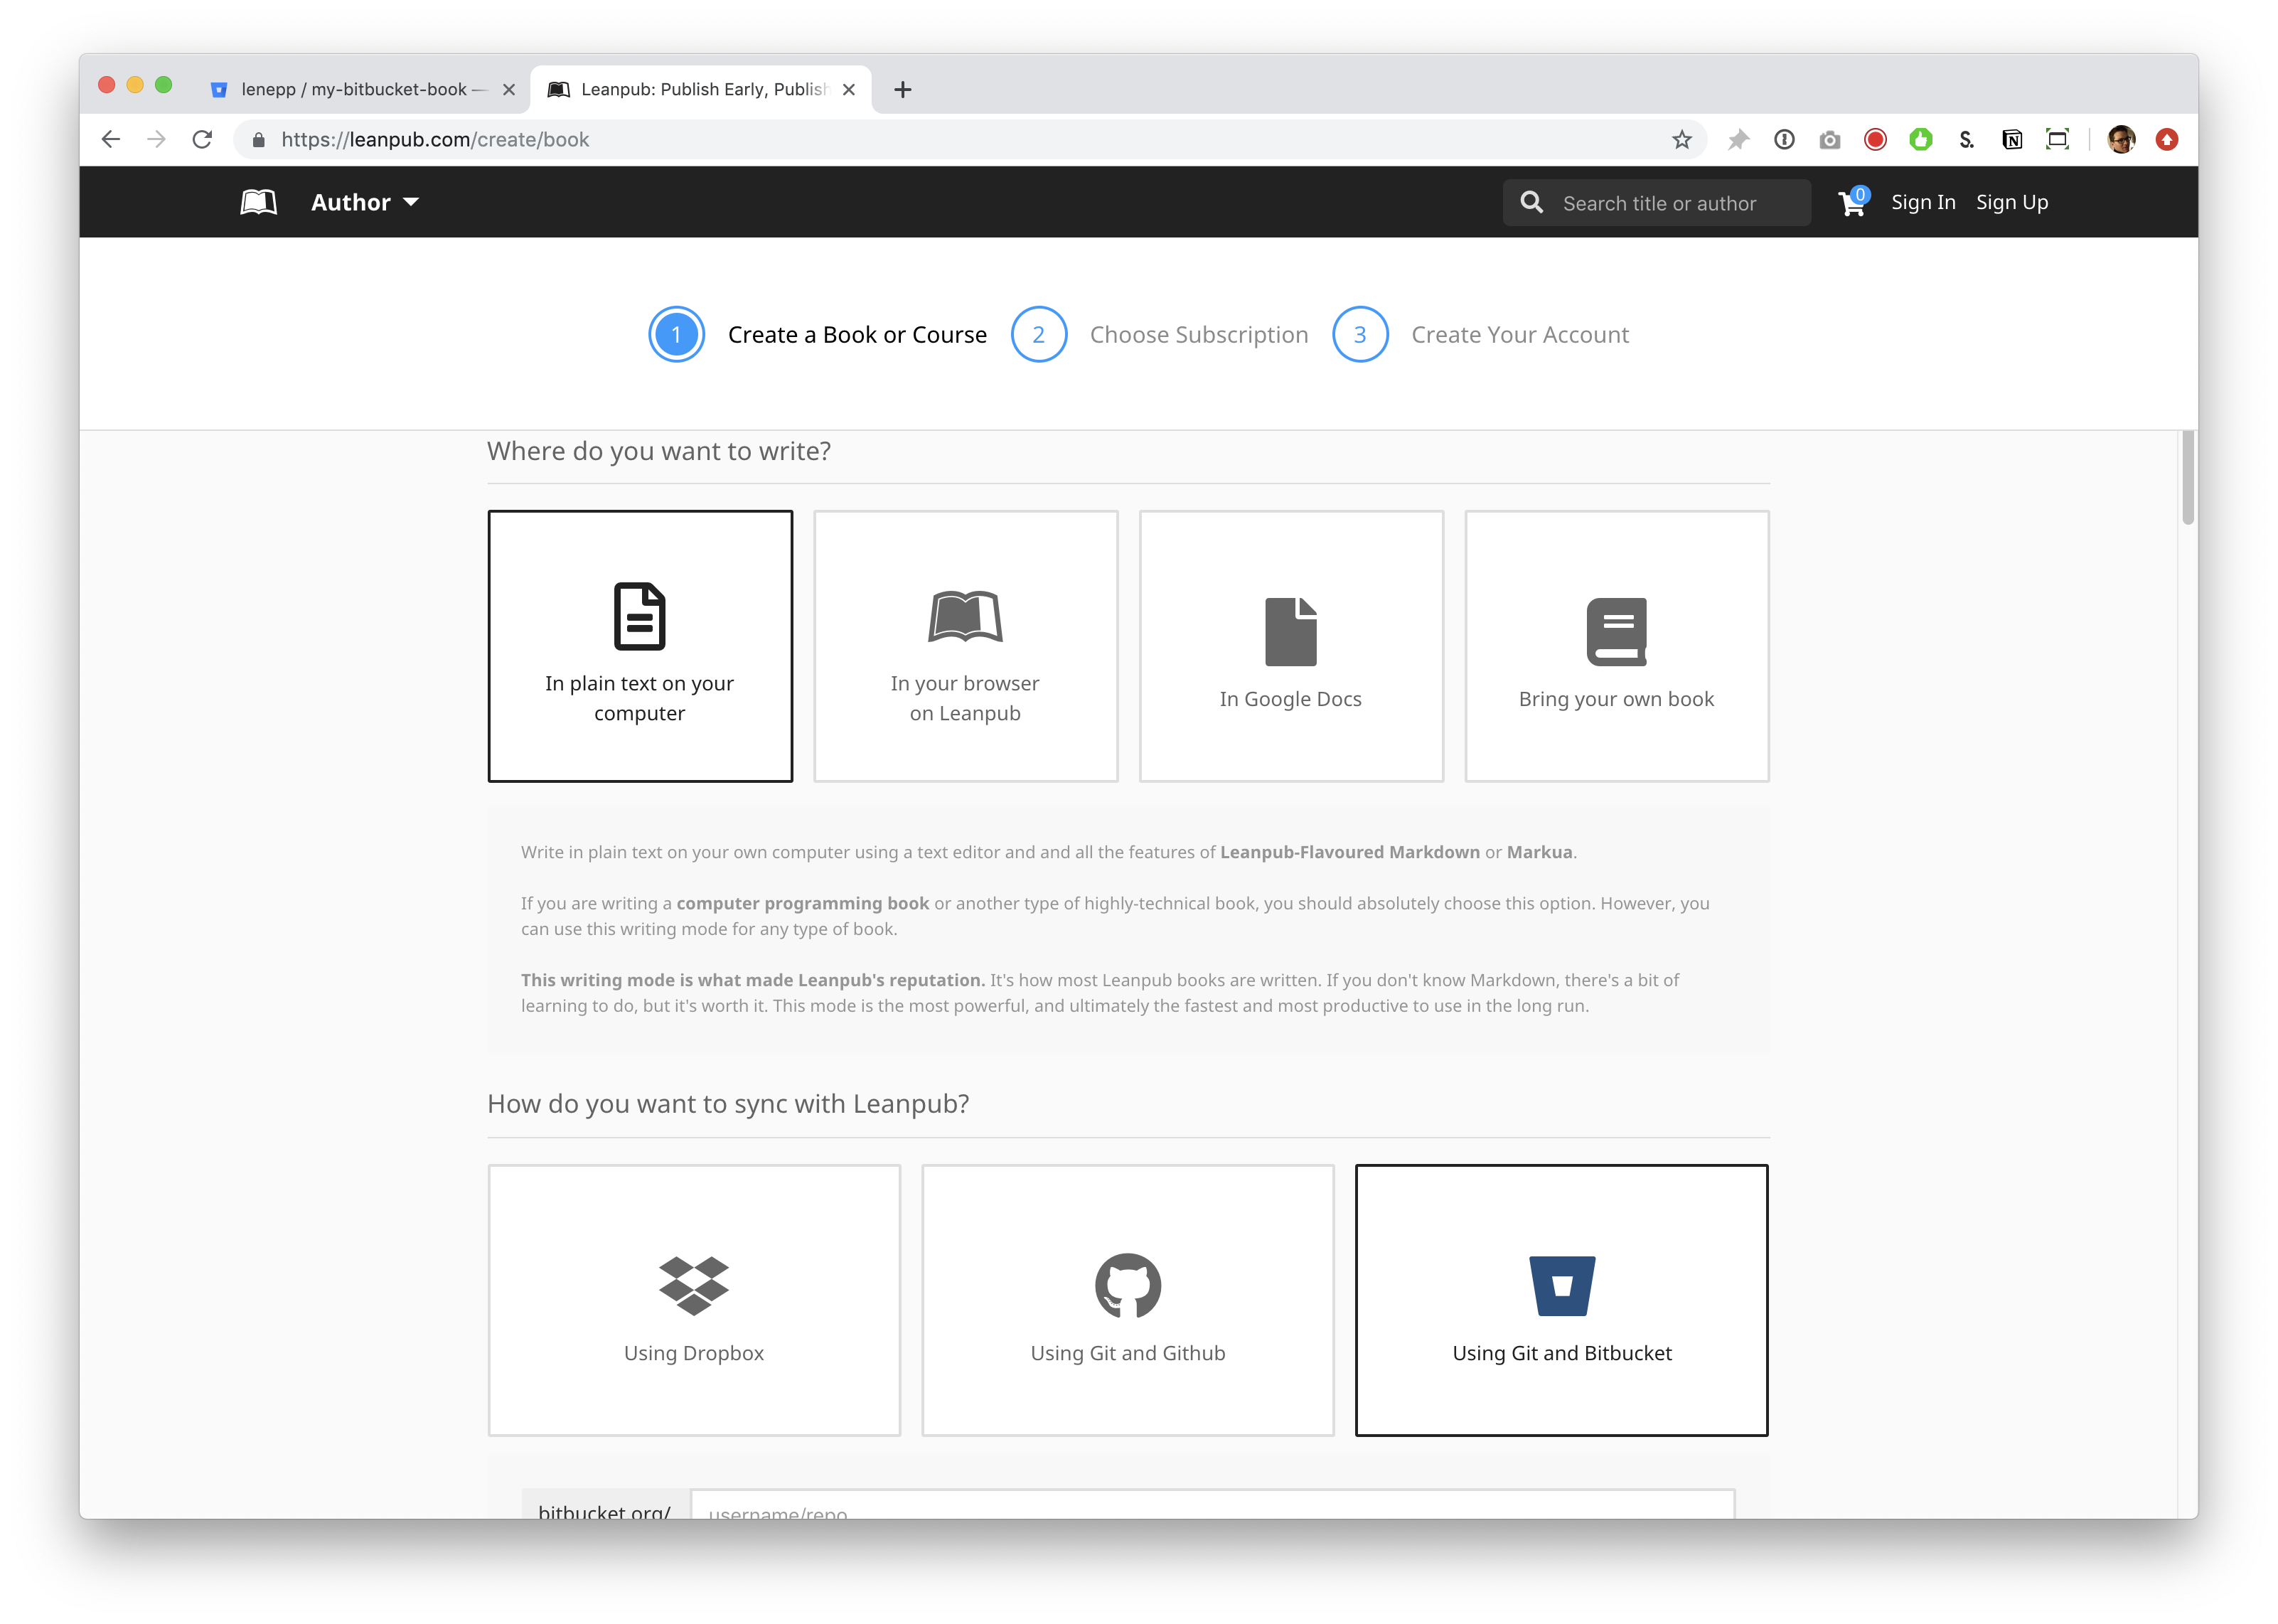
Scroll down and you will see a box to enter your Bitbucket username, followed by a forward slash / and your Bitbucket repo name.
Enter your Bitbucket username, followed by a forward slash / and your Bitbucket repo name.

When you scroll down further, you will see the subscription plan options. By default, “Free” will be selected. If you have a paid Leanpub account already, you will see that plan selected automatically.
Select a plan.

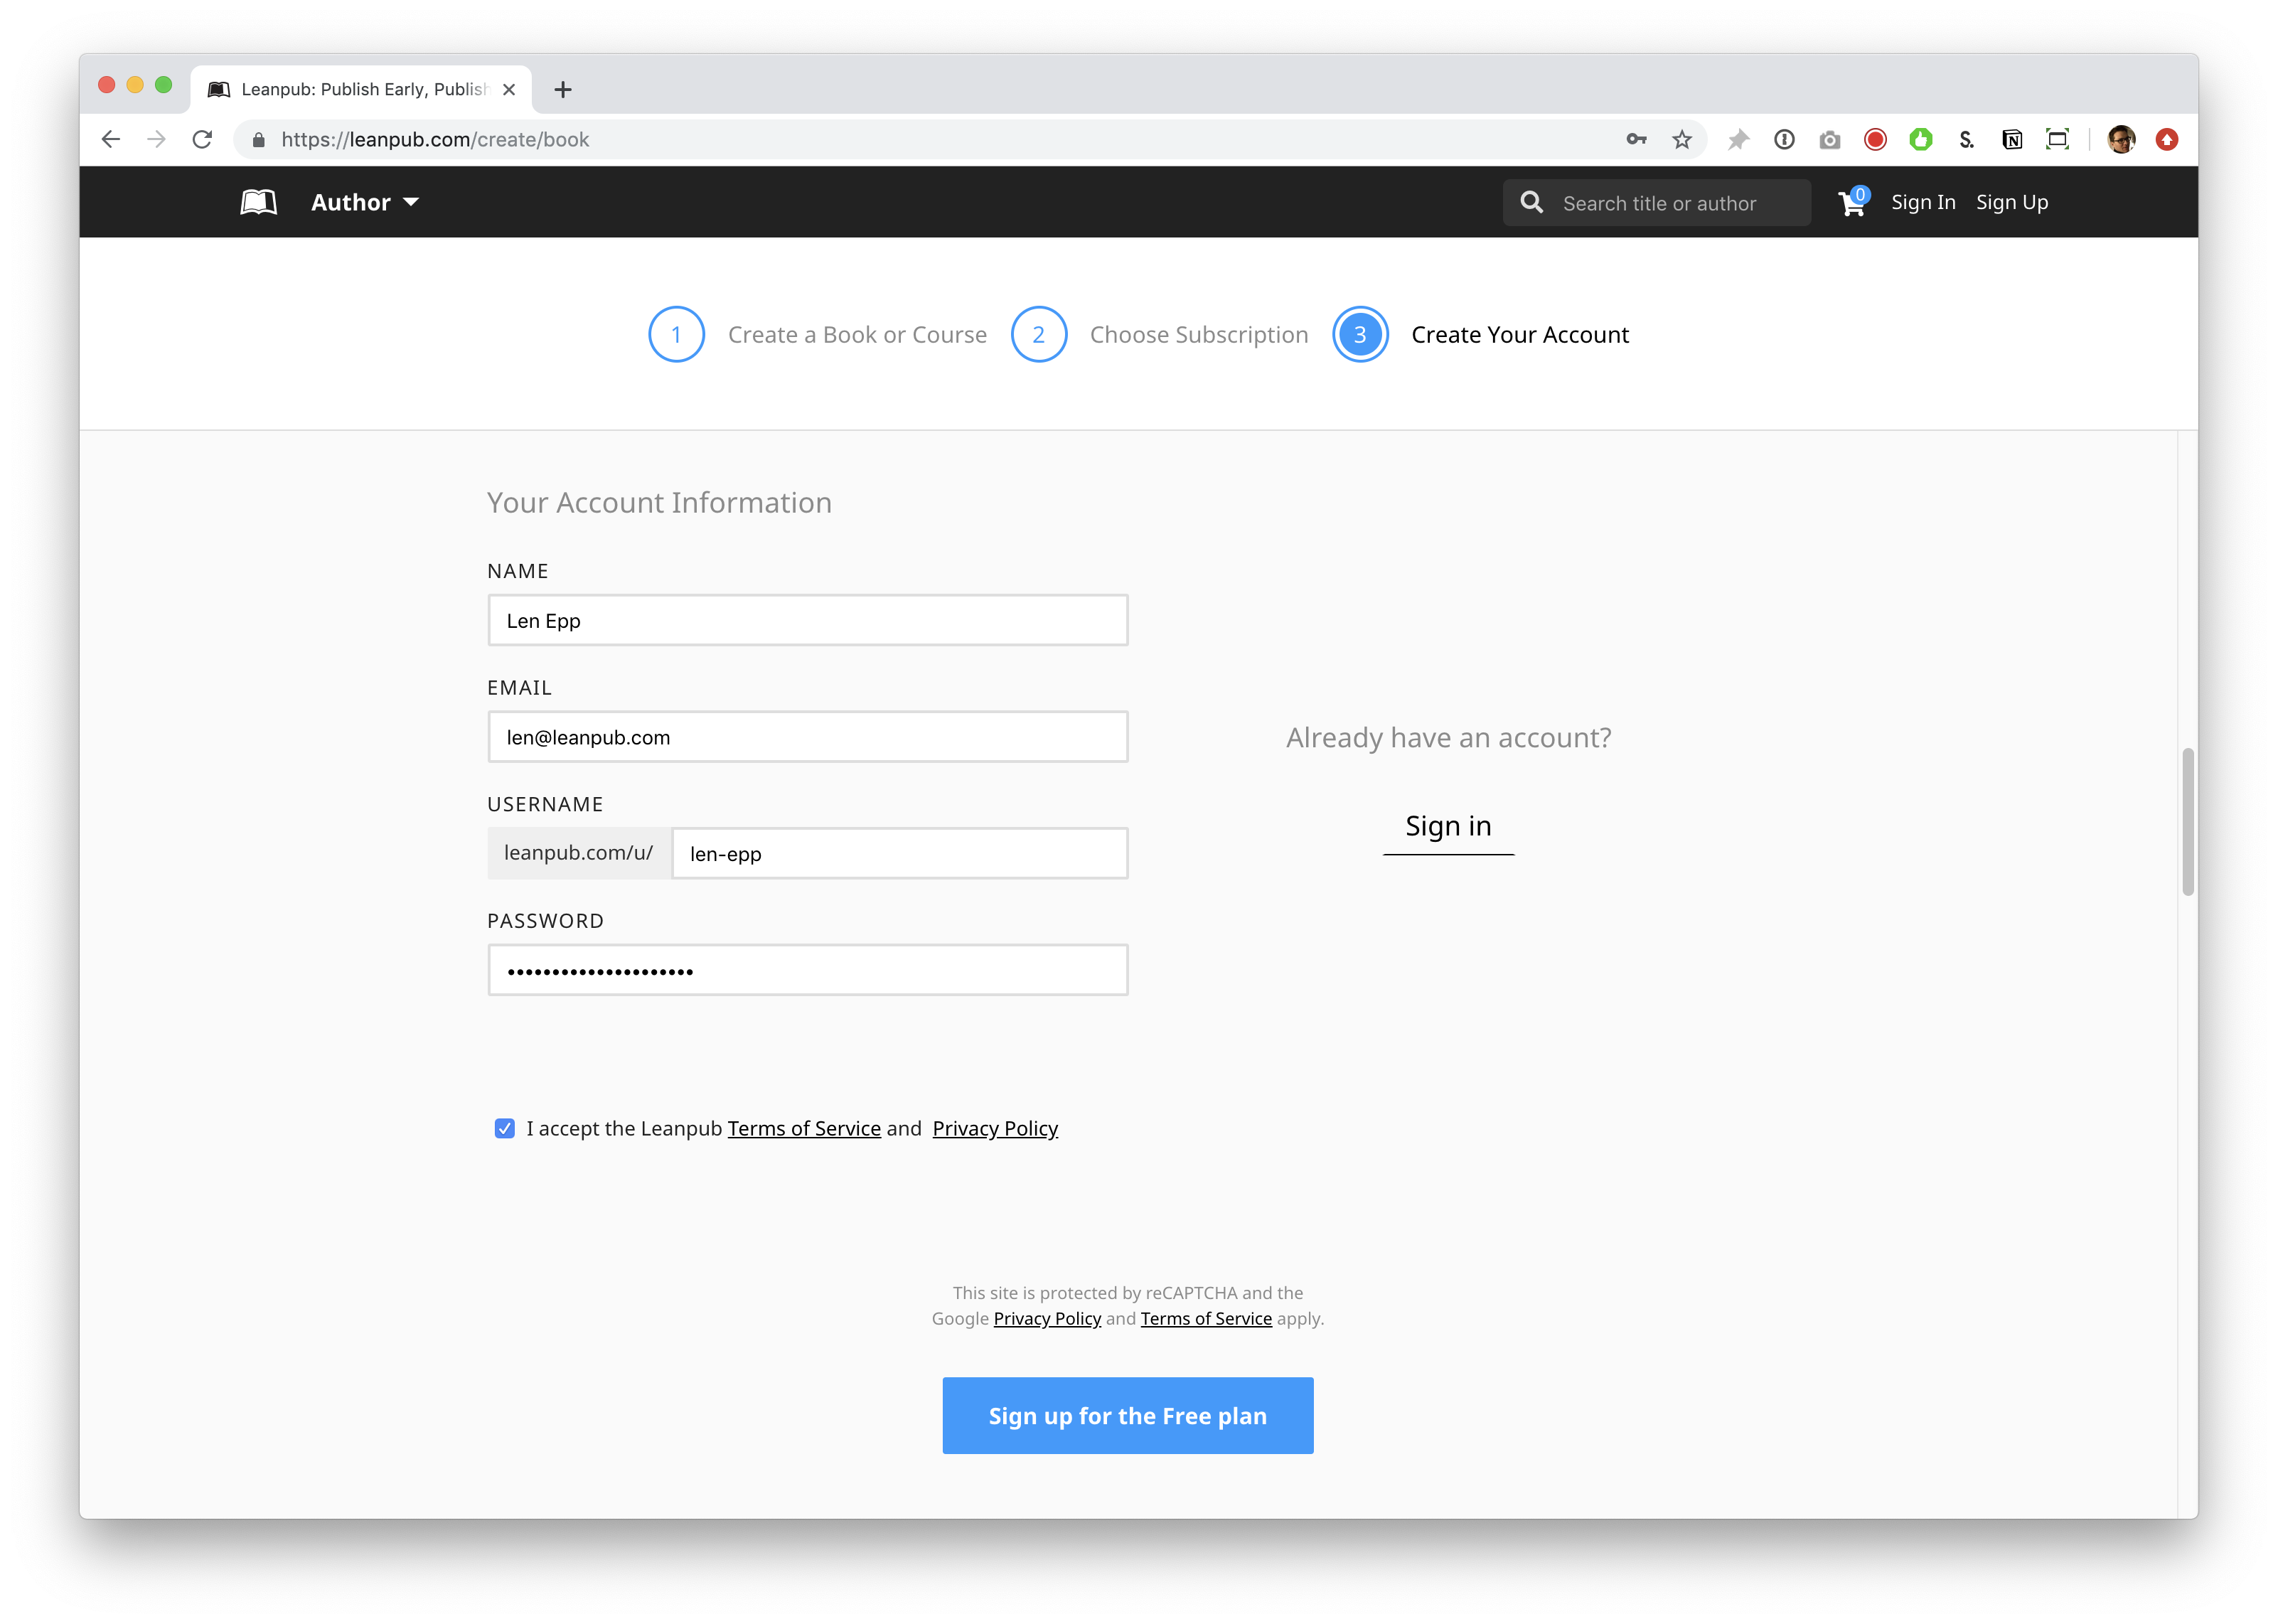
Scroll down and, if you are not signed in to a Leanpub account, you will see an option to enter information to create a new account. You will also see an option to sign in, if you already have a Leanpub account.
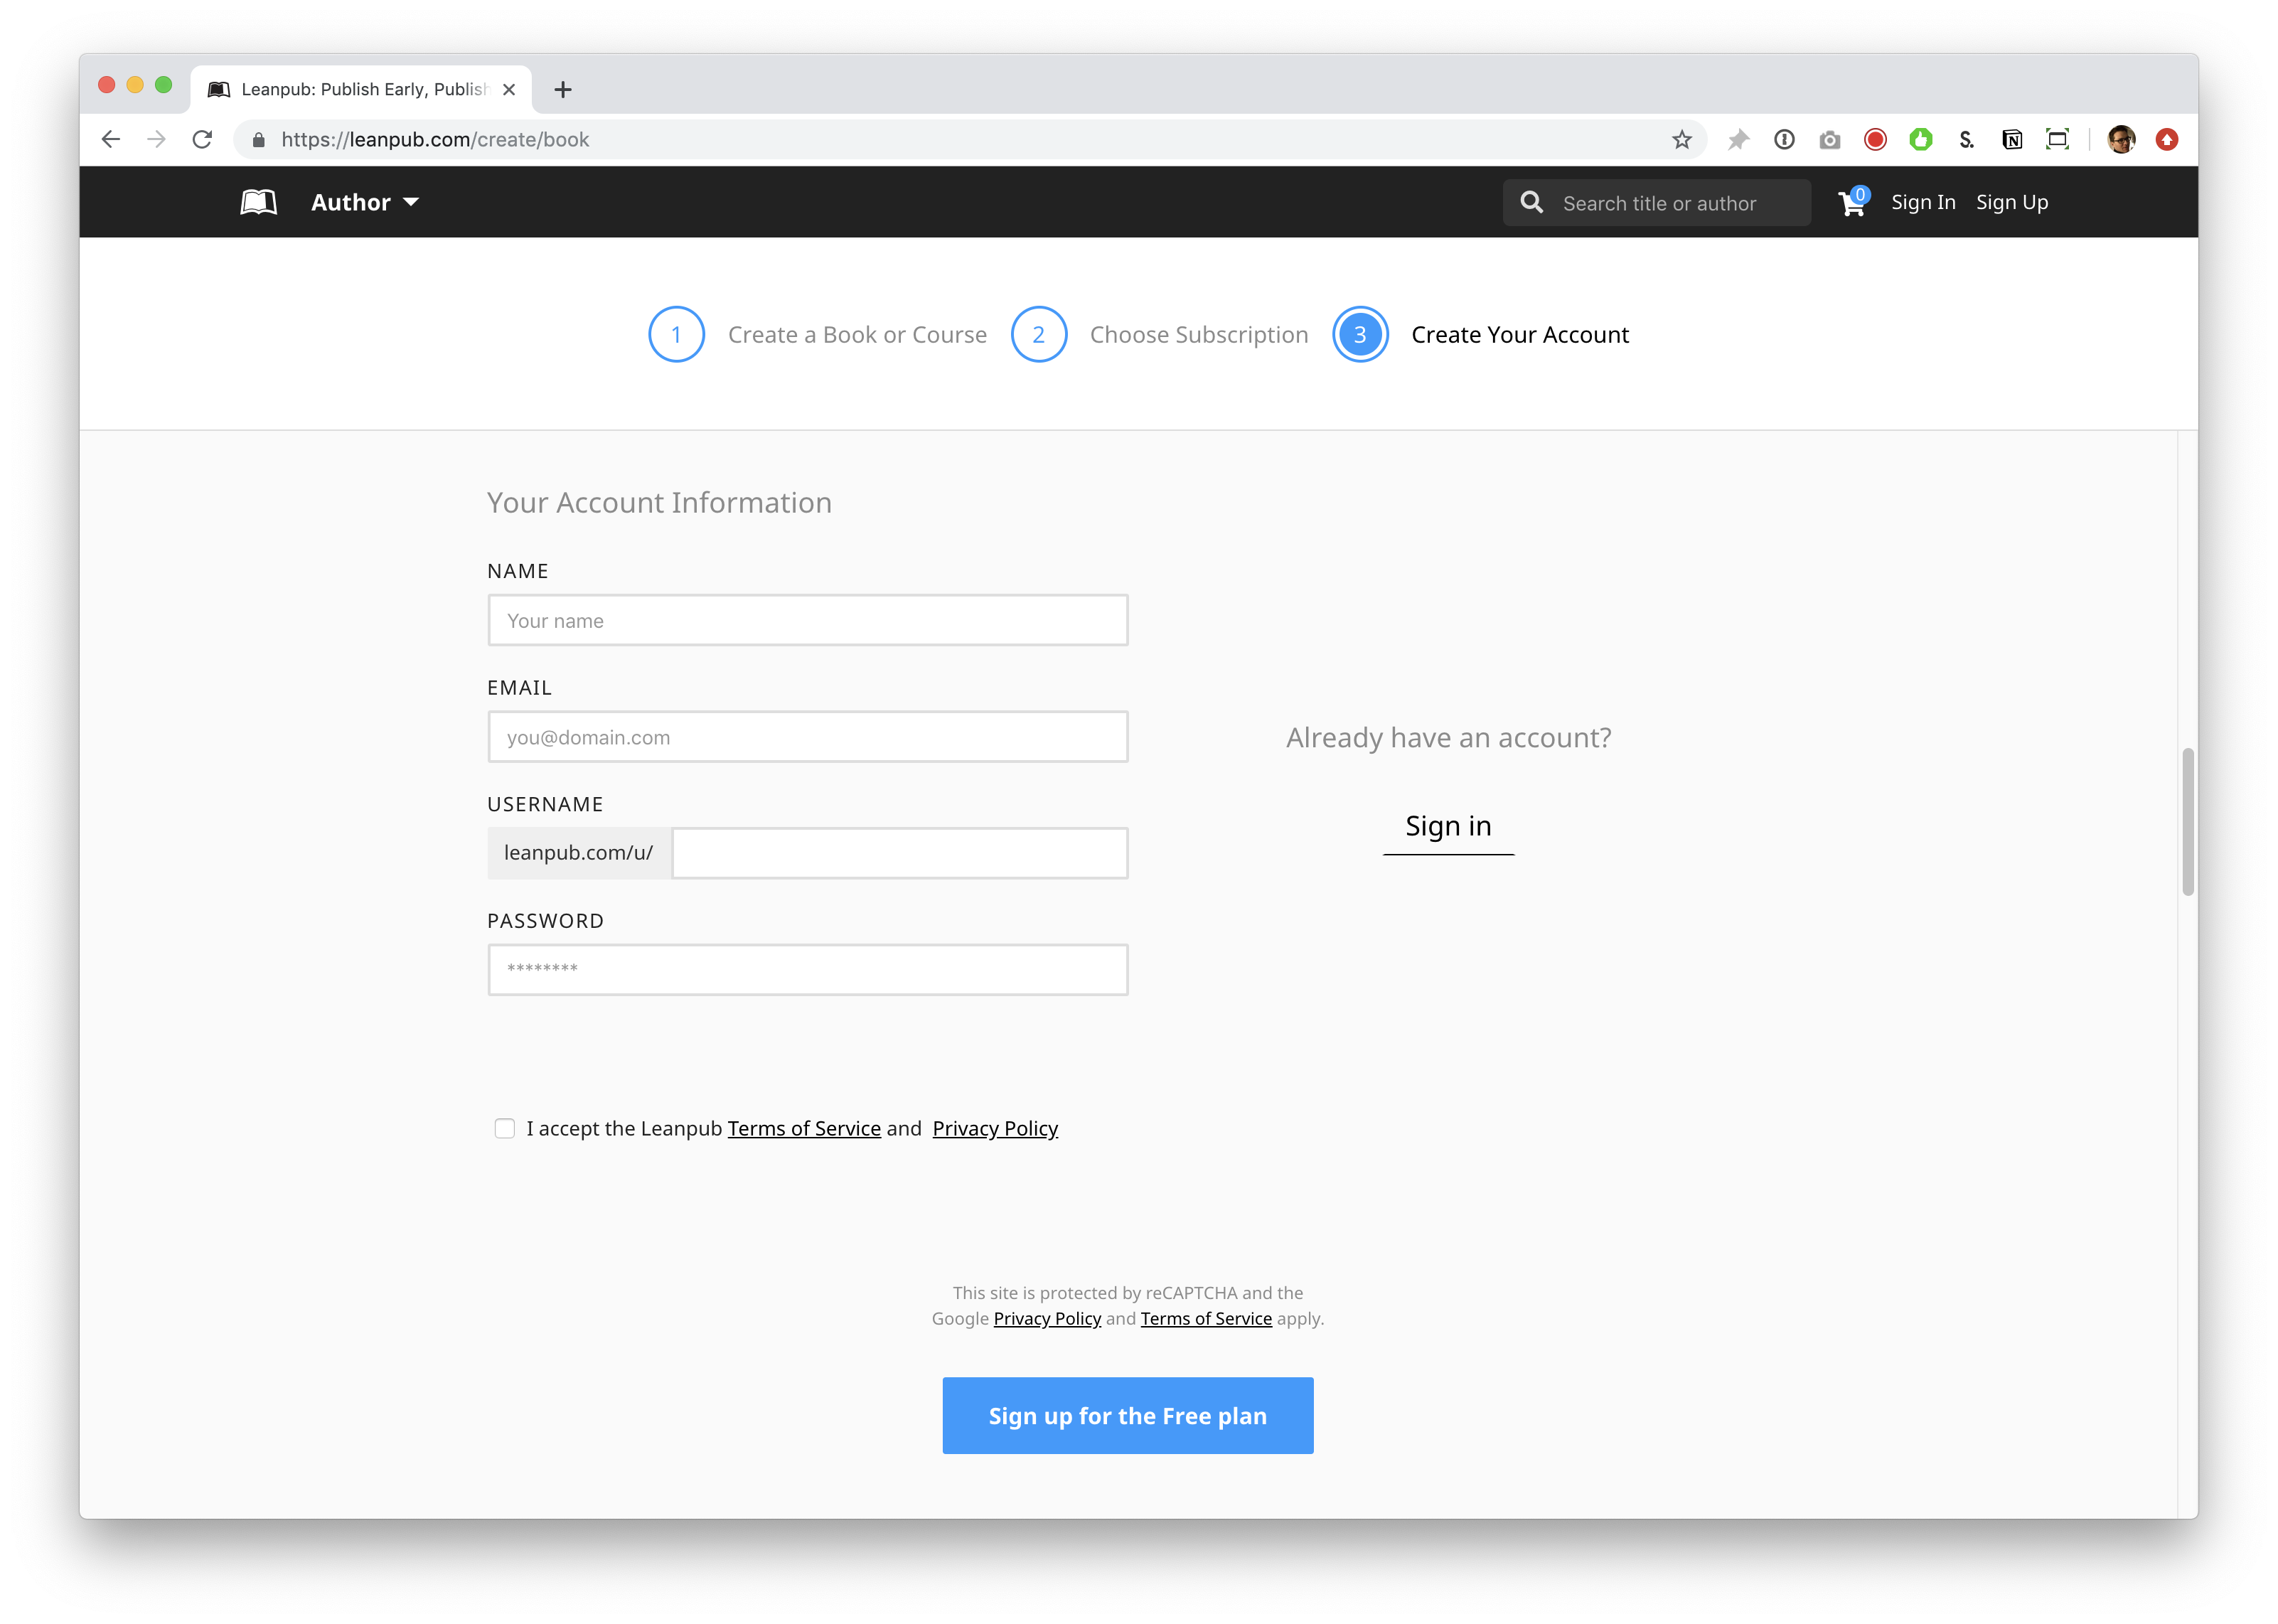
To create a new account, fill in the relevant information.
Finally, click the blue button to finish creating your new Bitbucket book.
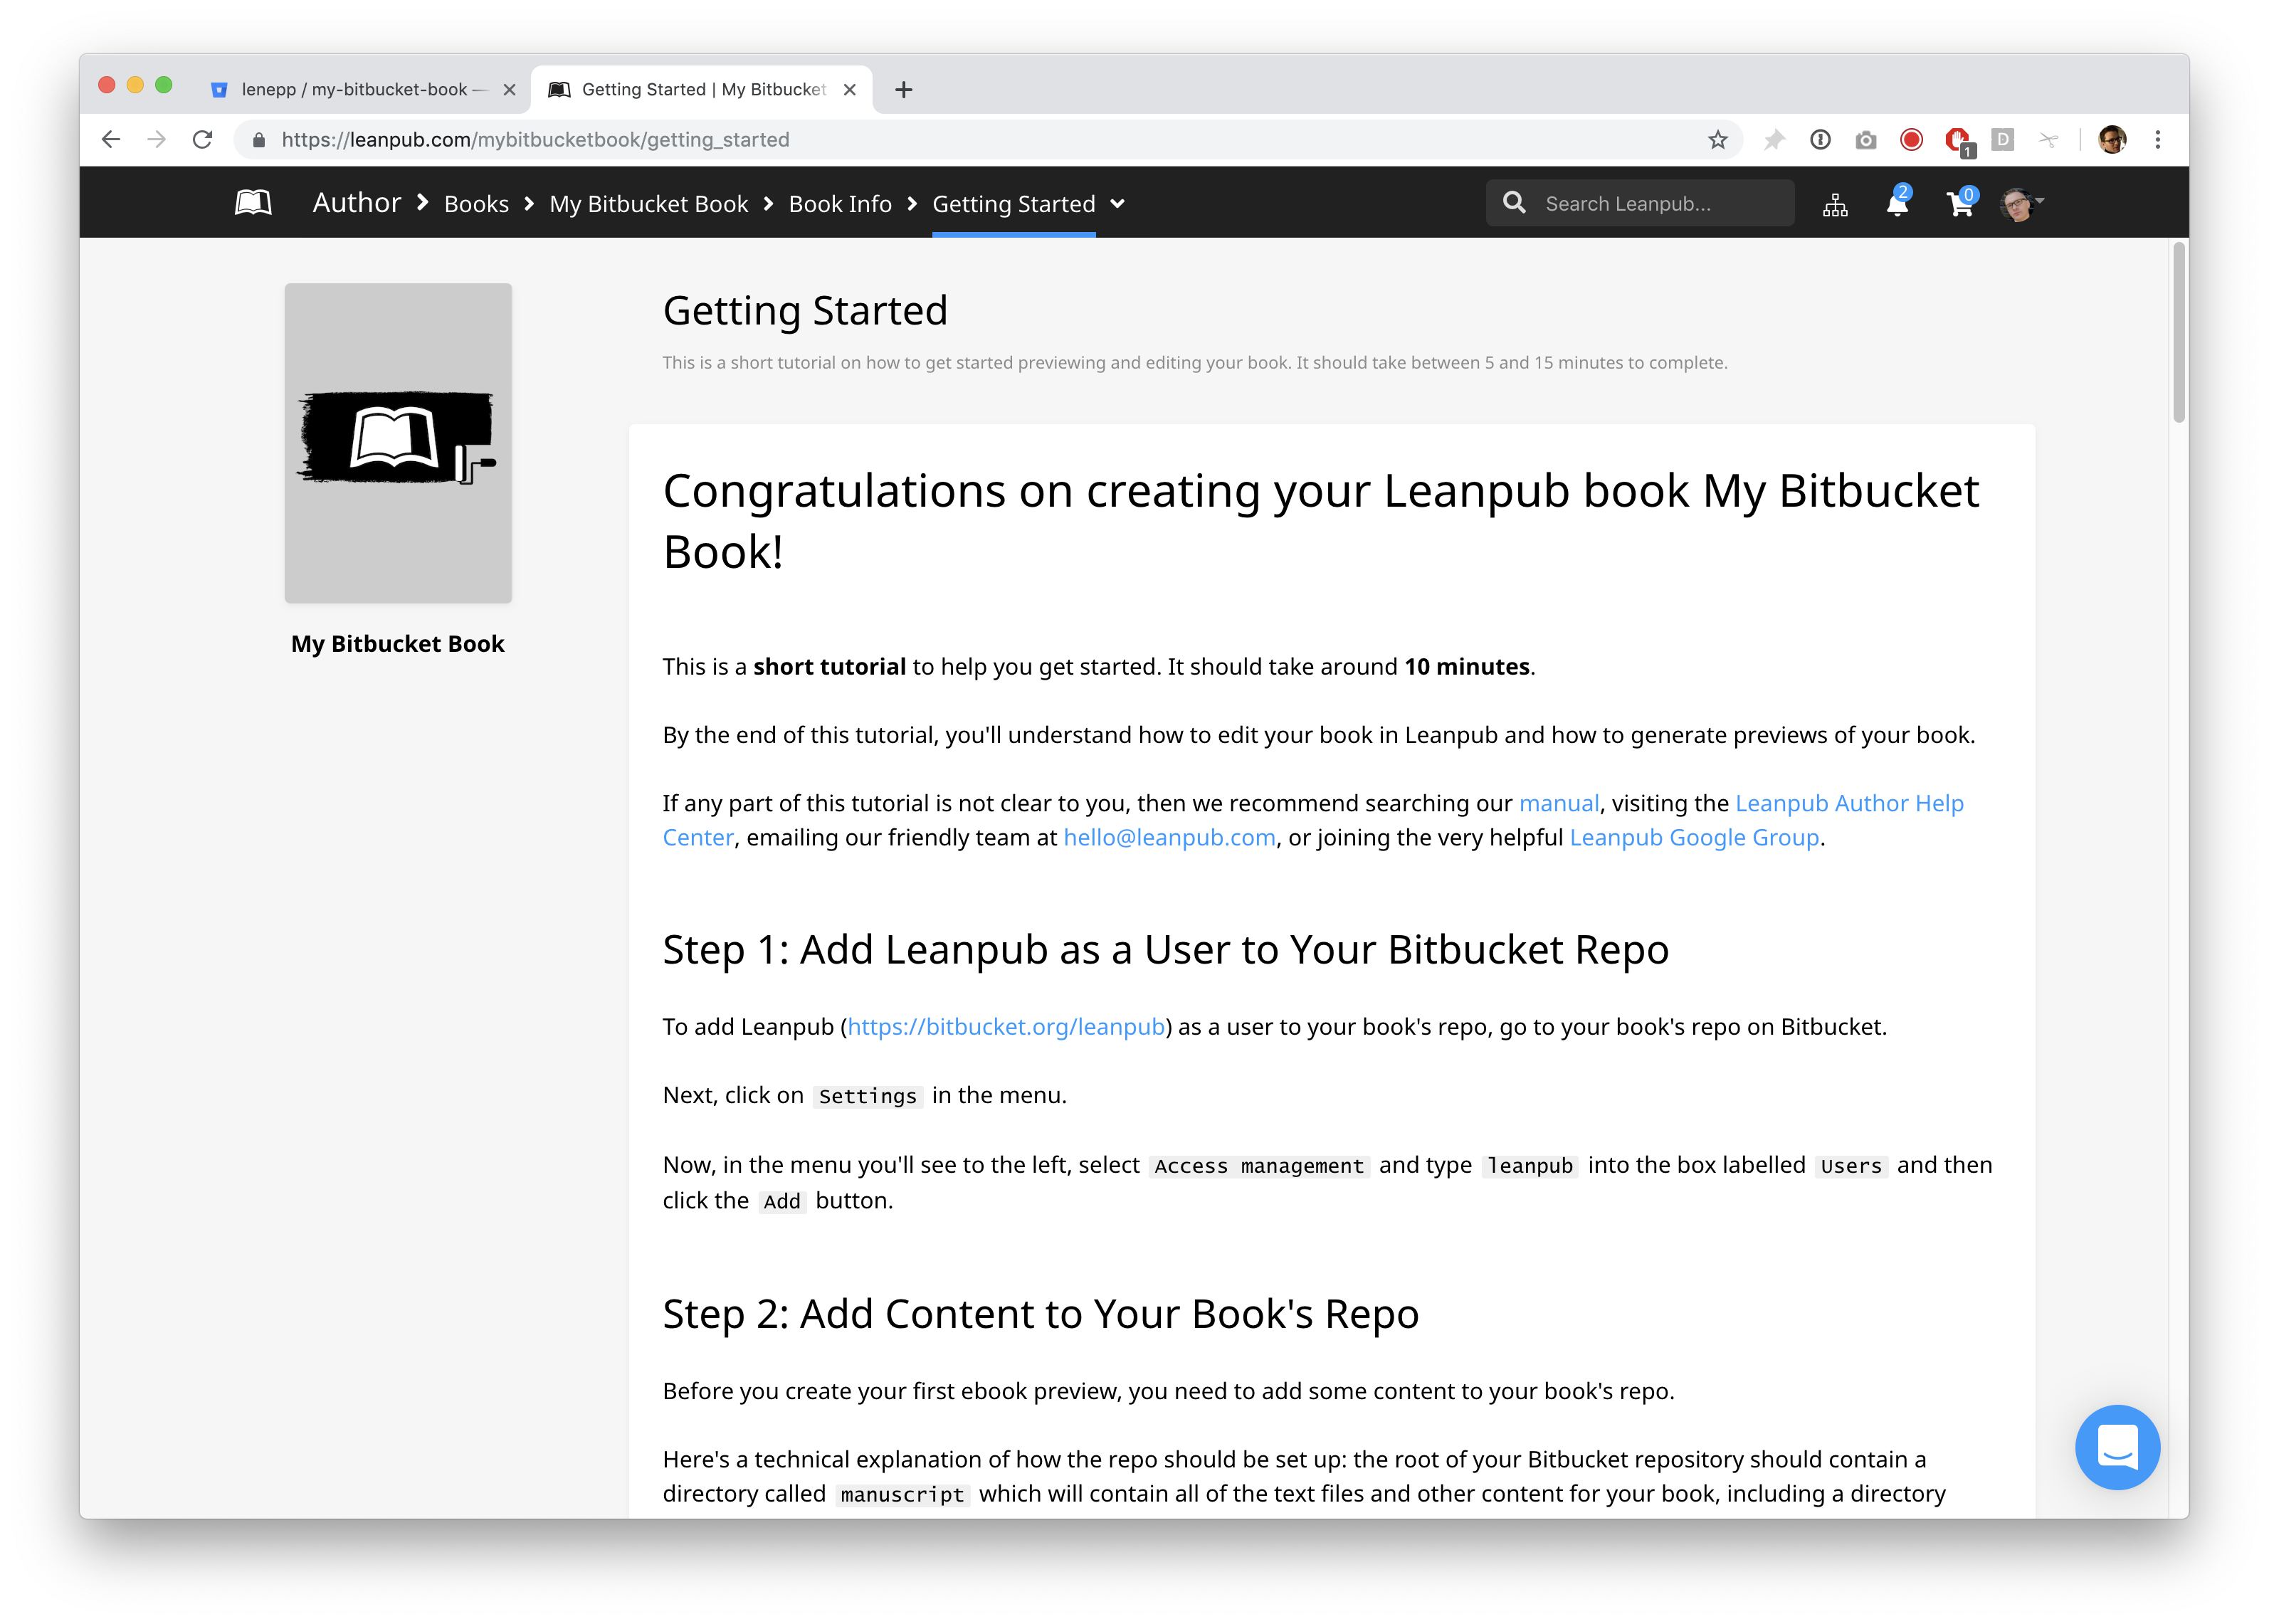
You will now see that you are on the Getting Started page for your book.
If you use bookmarks in your web browser, we recommend you bookmark this page in your web browser in a bookmark folder for your book, but this is not required.
Look at the Author “breadcrumb” menu at the top of the screen. This is how you will navigate to the web pages you will be using in Leanpub to work on your book and see all the features we provide, like uploading a book cover, or setting a price for your book.
When you are finished this tutorial, we recommend you explore the various Author options.
Adding Leanpub As A Collaborator on Your Book’s Bitbucket Repository
Go back to the Bitbucket page for your book’s Bitbucket repository.
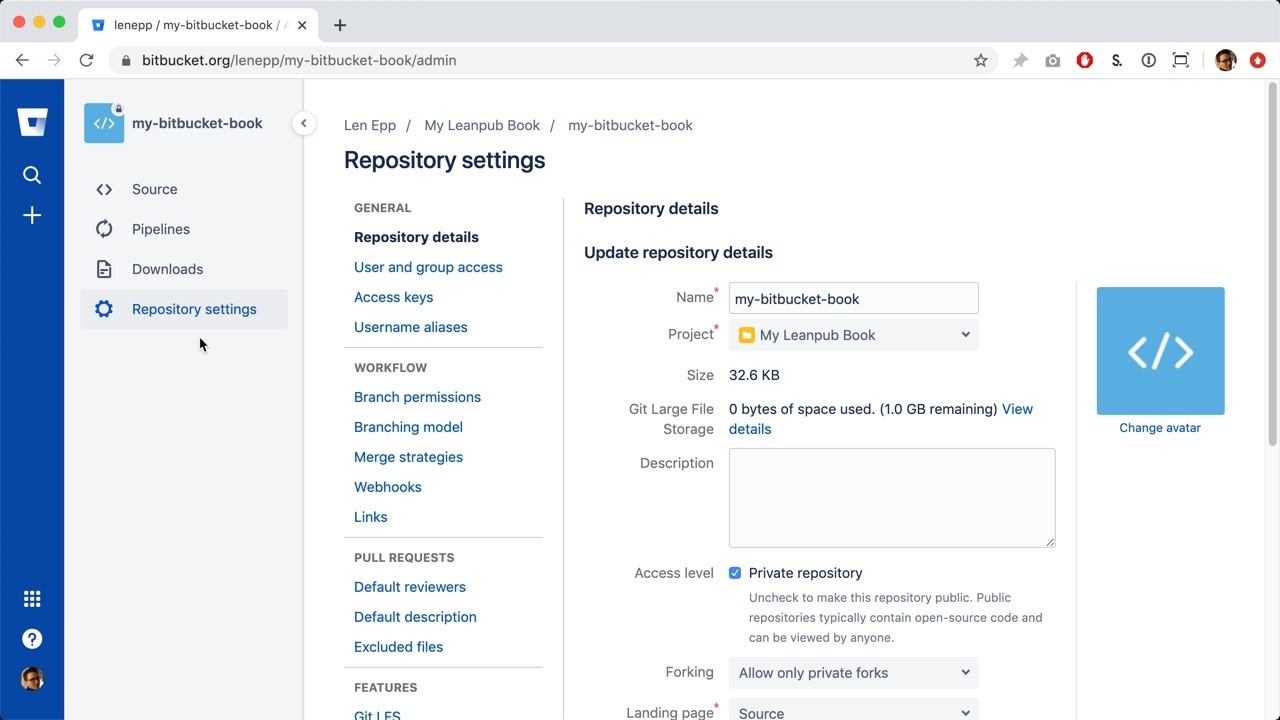
Click on “Repository Settings” in the menu to the left:

This will take you to the “Repository settings” page:
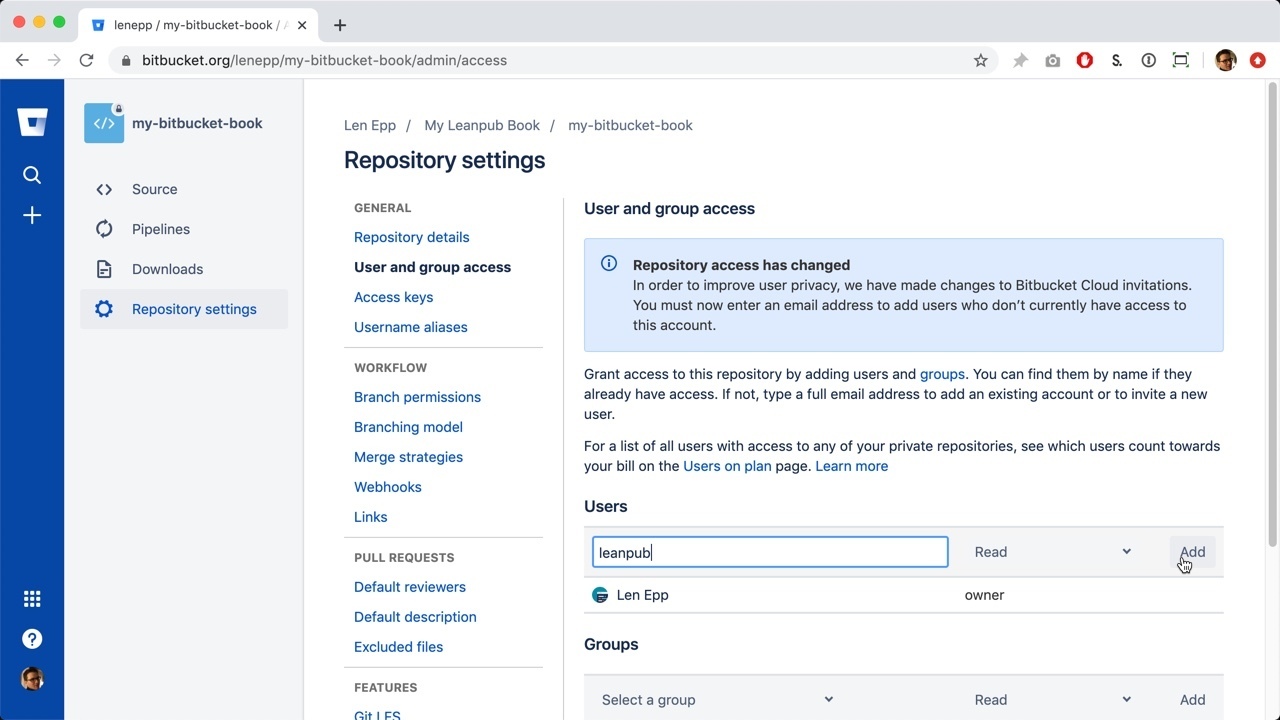
Click on “User and group access” in the menu, under “Repository details”:
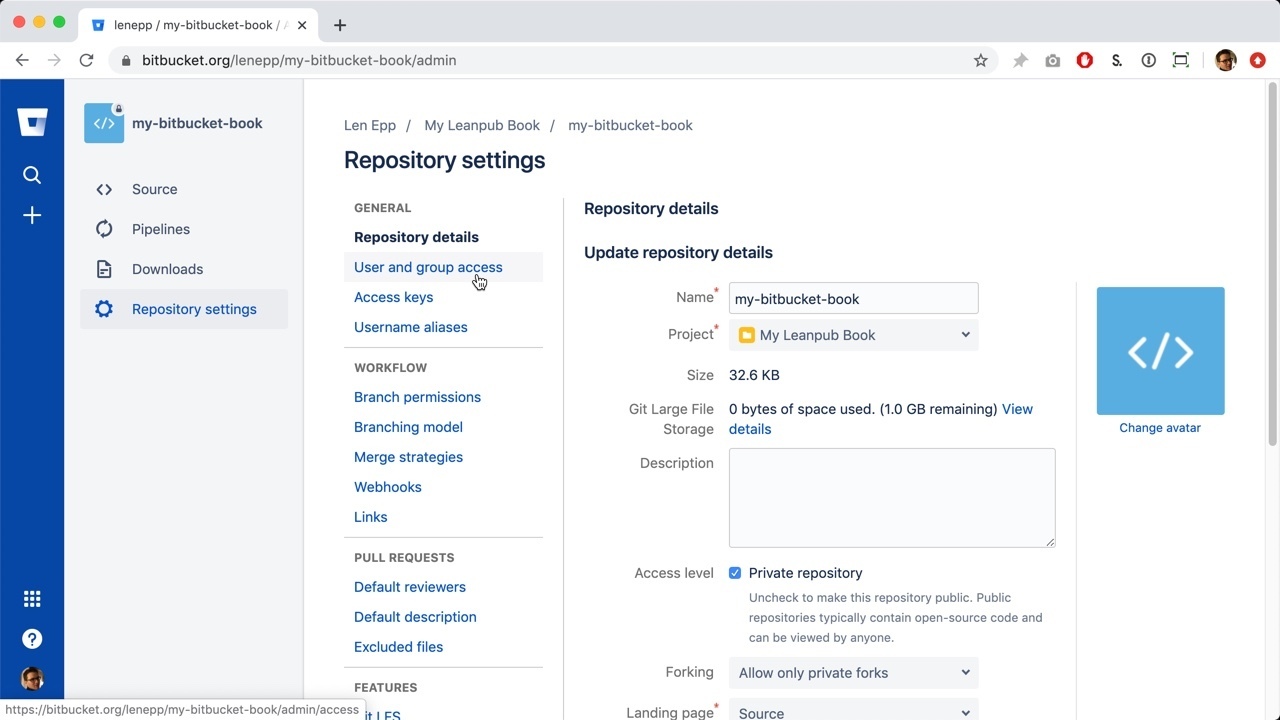
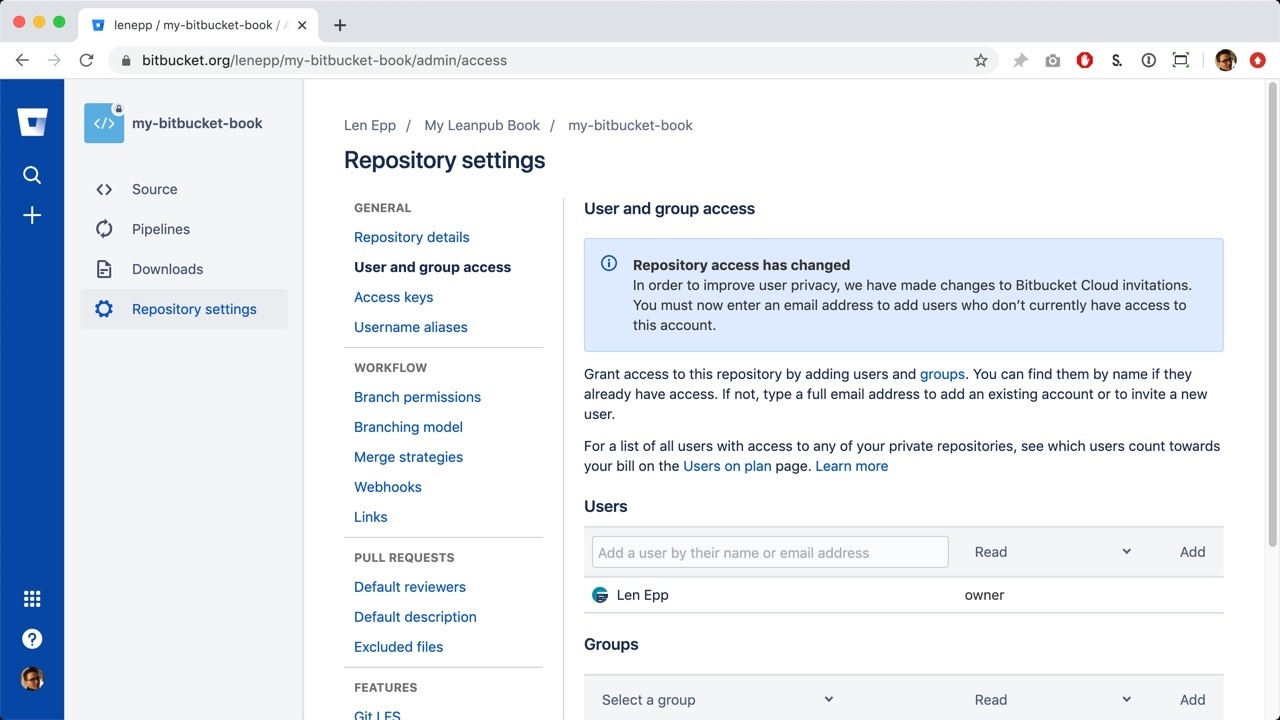
This will take you to the “User and group access” page:
Type “leanpub” in the search box.
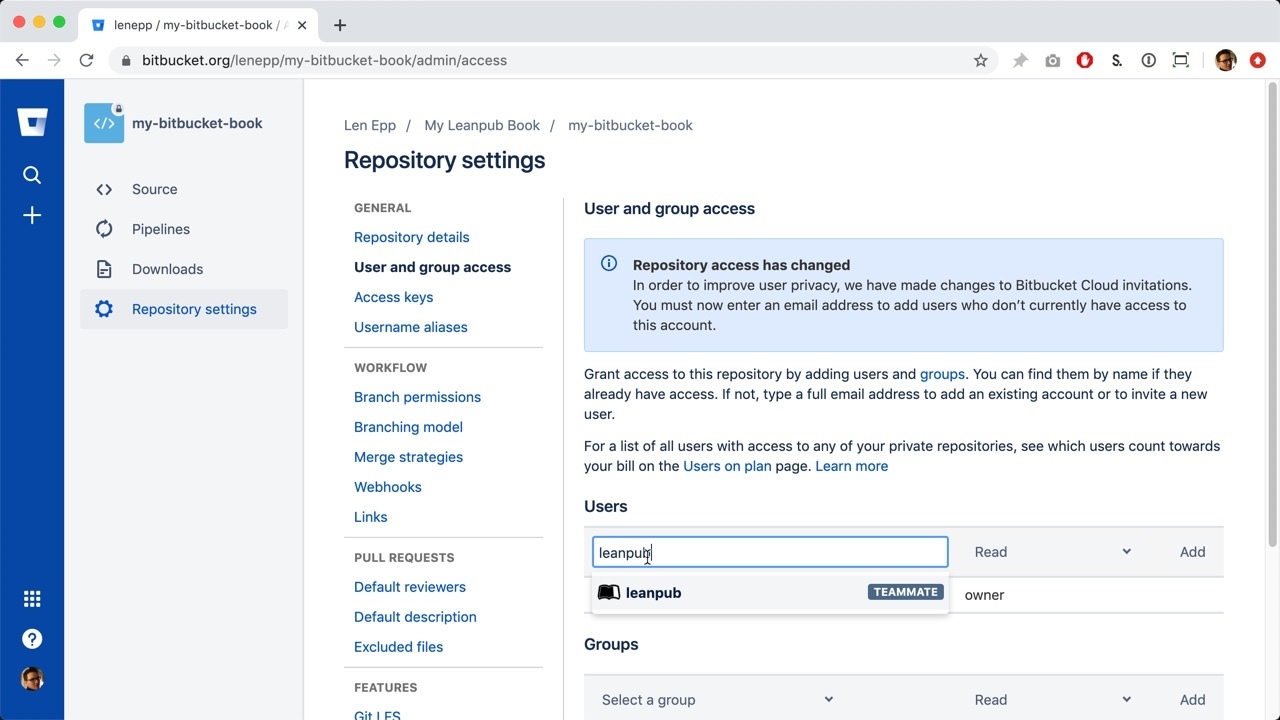
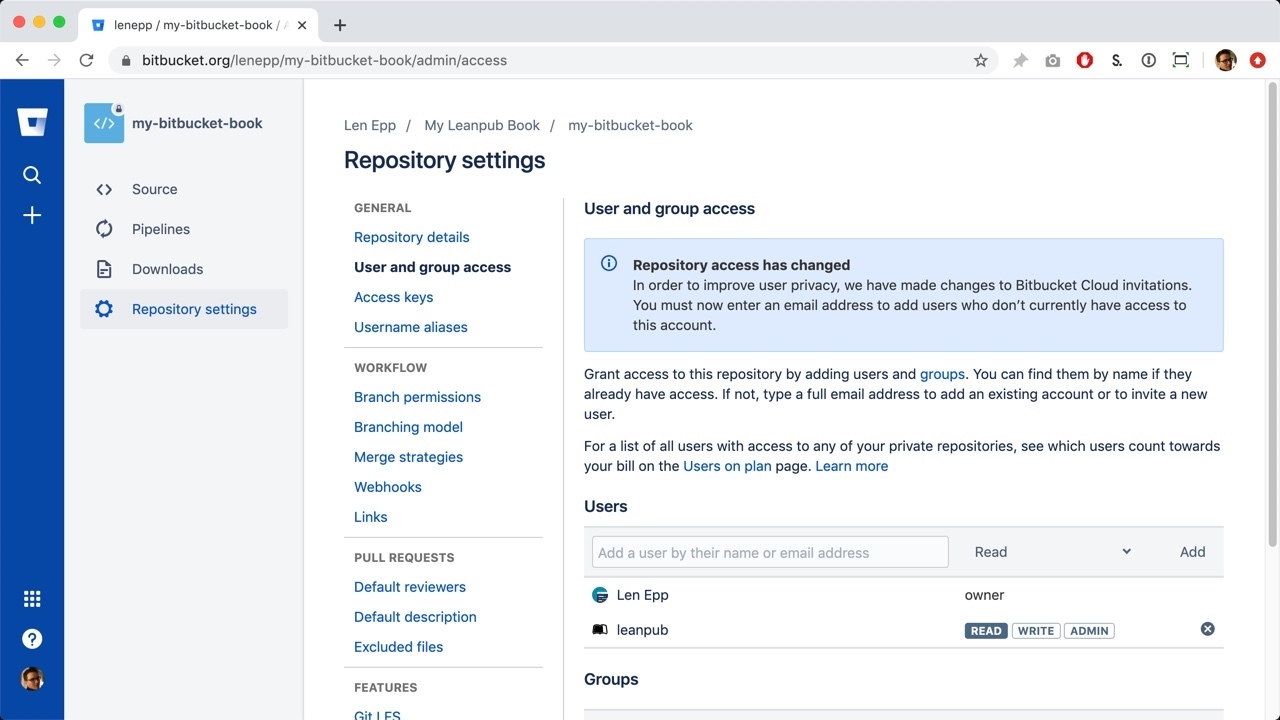
Click the “Add” button to the right:
You will see that Leanpub has been added as a collaborator on the repository.
Adding Default Content to Your Bitbucket Repository
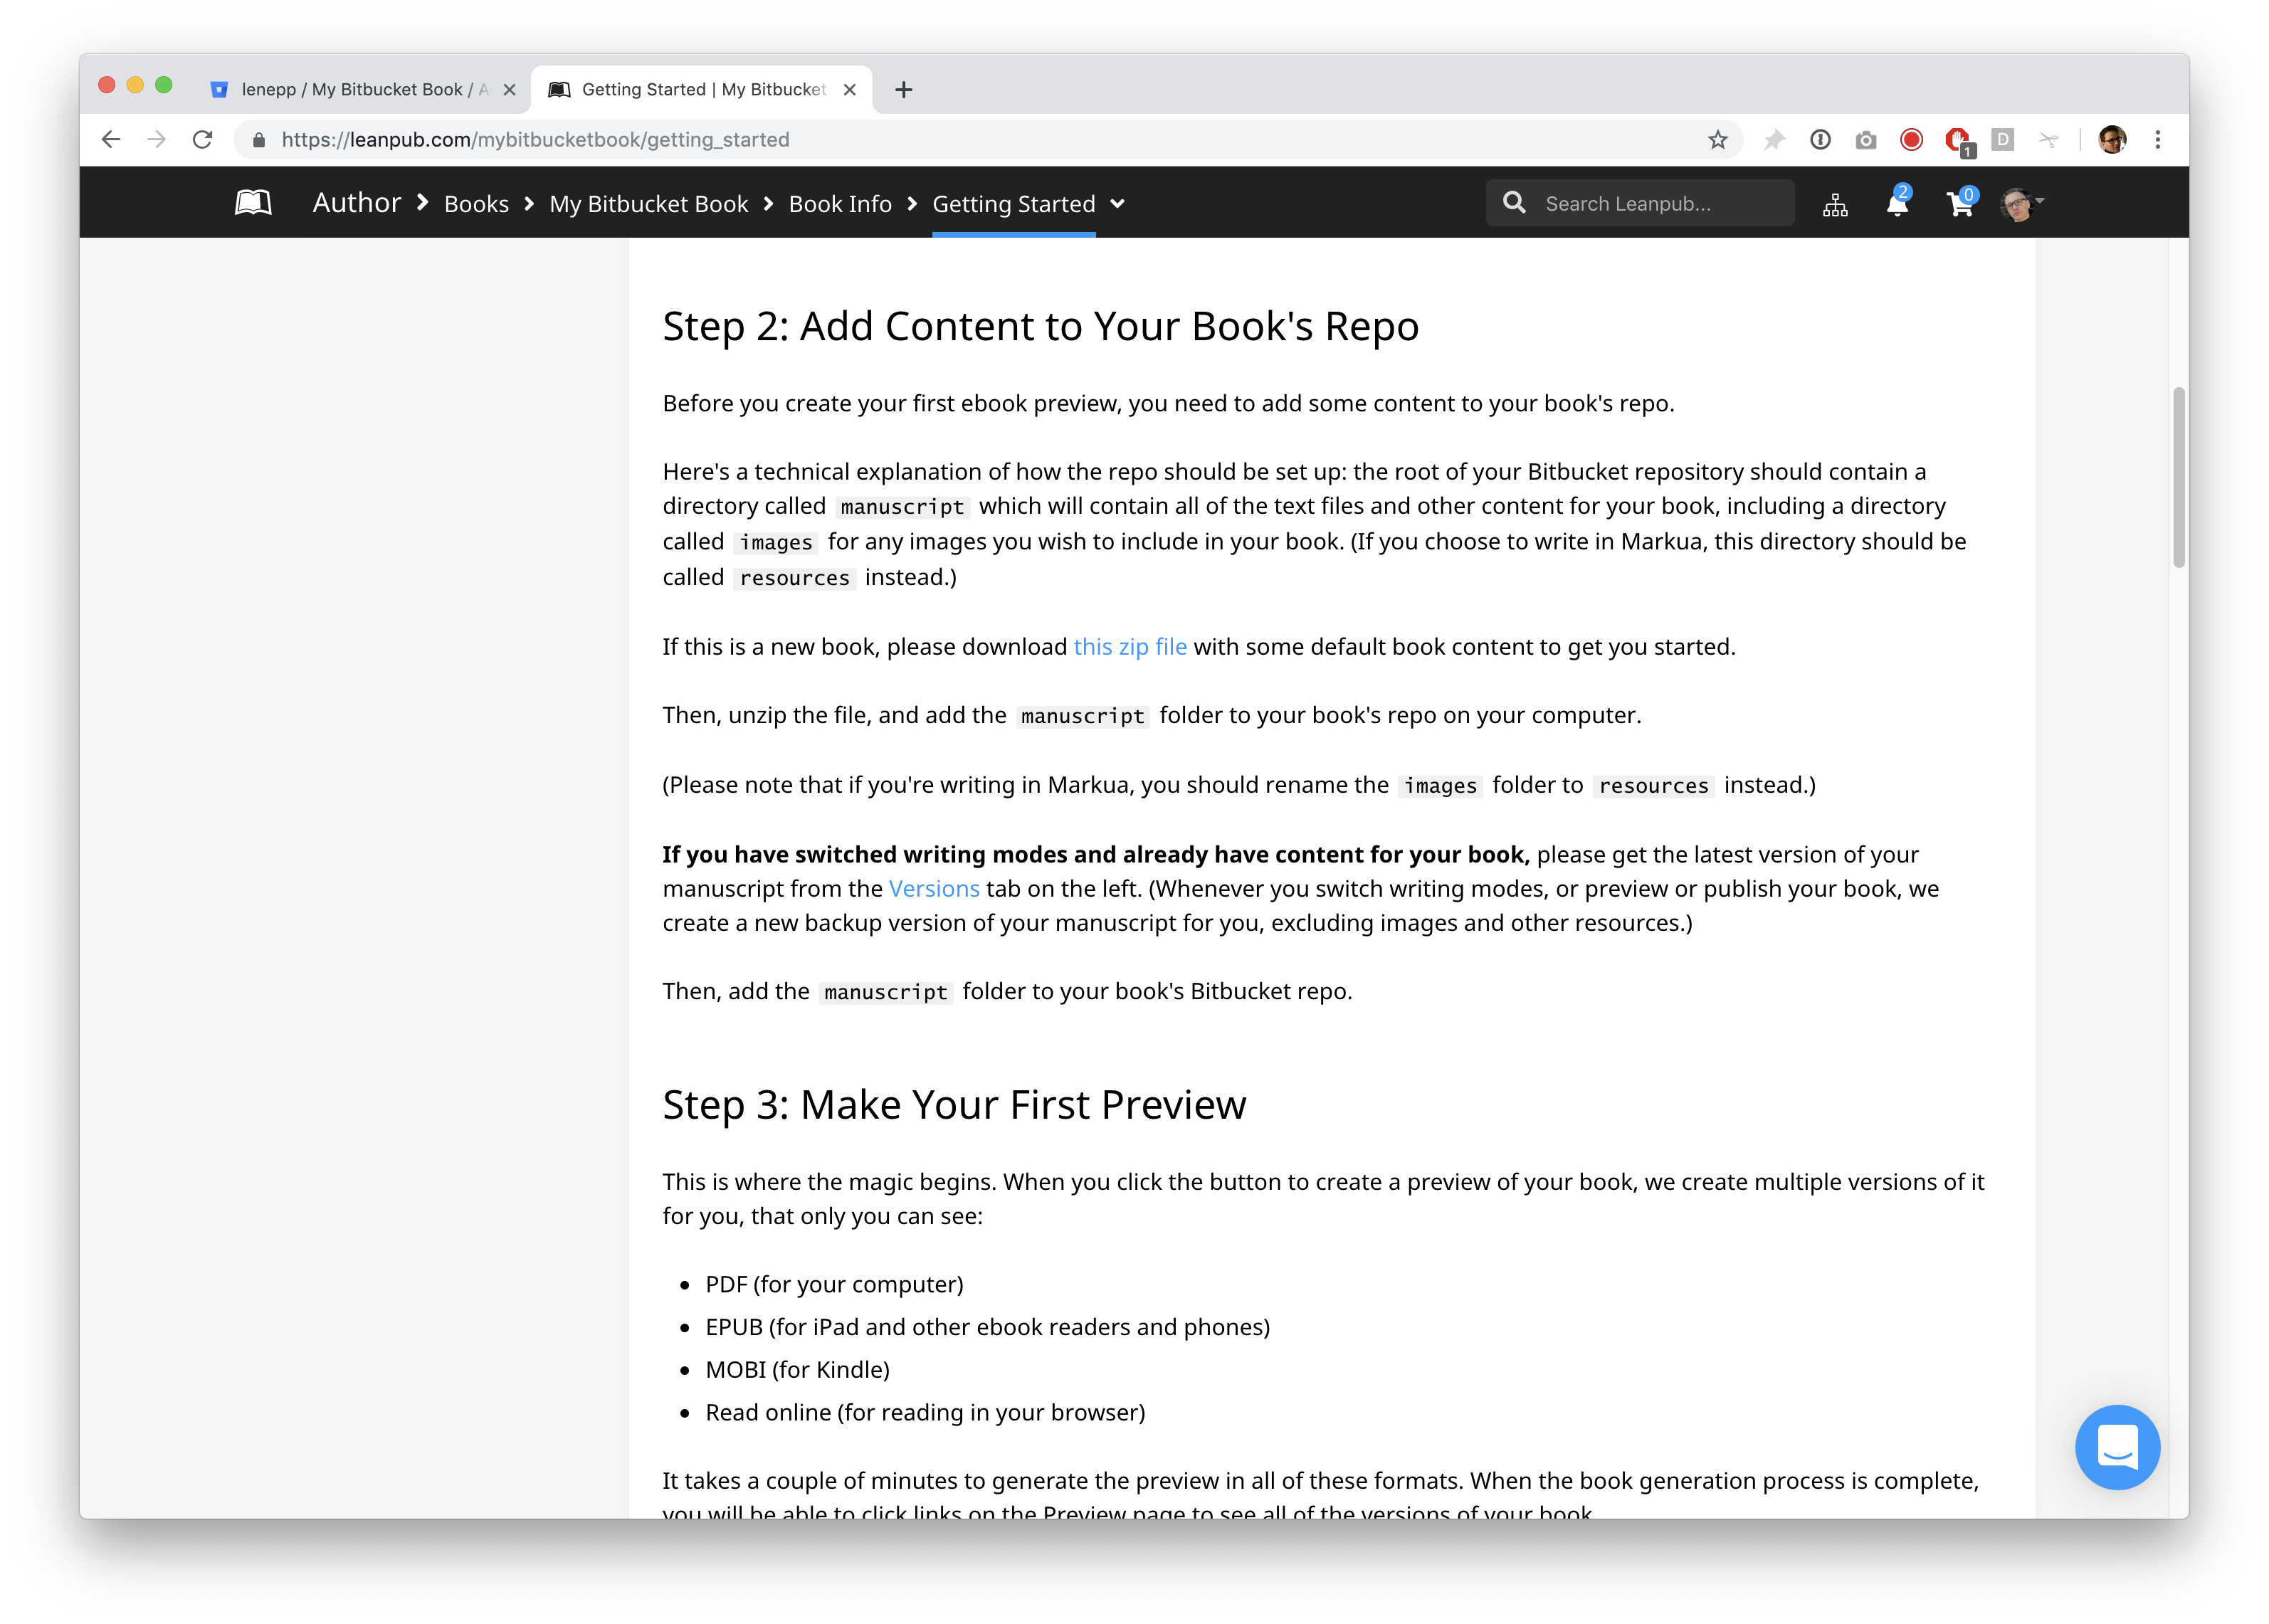
Next, you need to add some content to your Bitbucket repository. (Leanpub NEVER commits to your Bitbucket repository, since we do not want to cause merge conflicts.)
Go back to the Getting Started page for your book.
Scroll down to Step 2 and click the this zip file link, or click the link in this sentence in the tutorial. This will download the default content to your computer.
You will now find the file wherever you store downloads on your computer.

Double-click the folder to unzip it.

Copy the “manuscript” folder. Then, go to the cloned Bitbucket repository on your computer, and paste the “manuscript” folder into the repository.

Go back to the command line on your computer and change to the Bitbucket repository for your book.
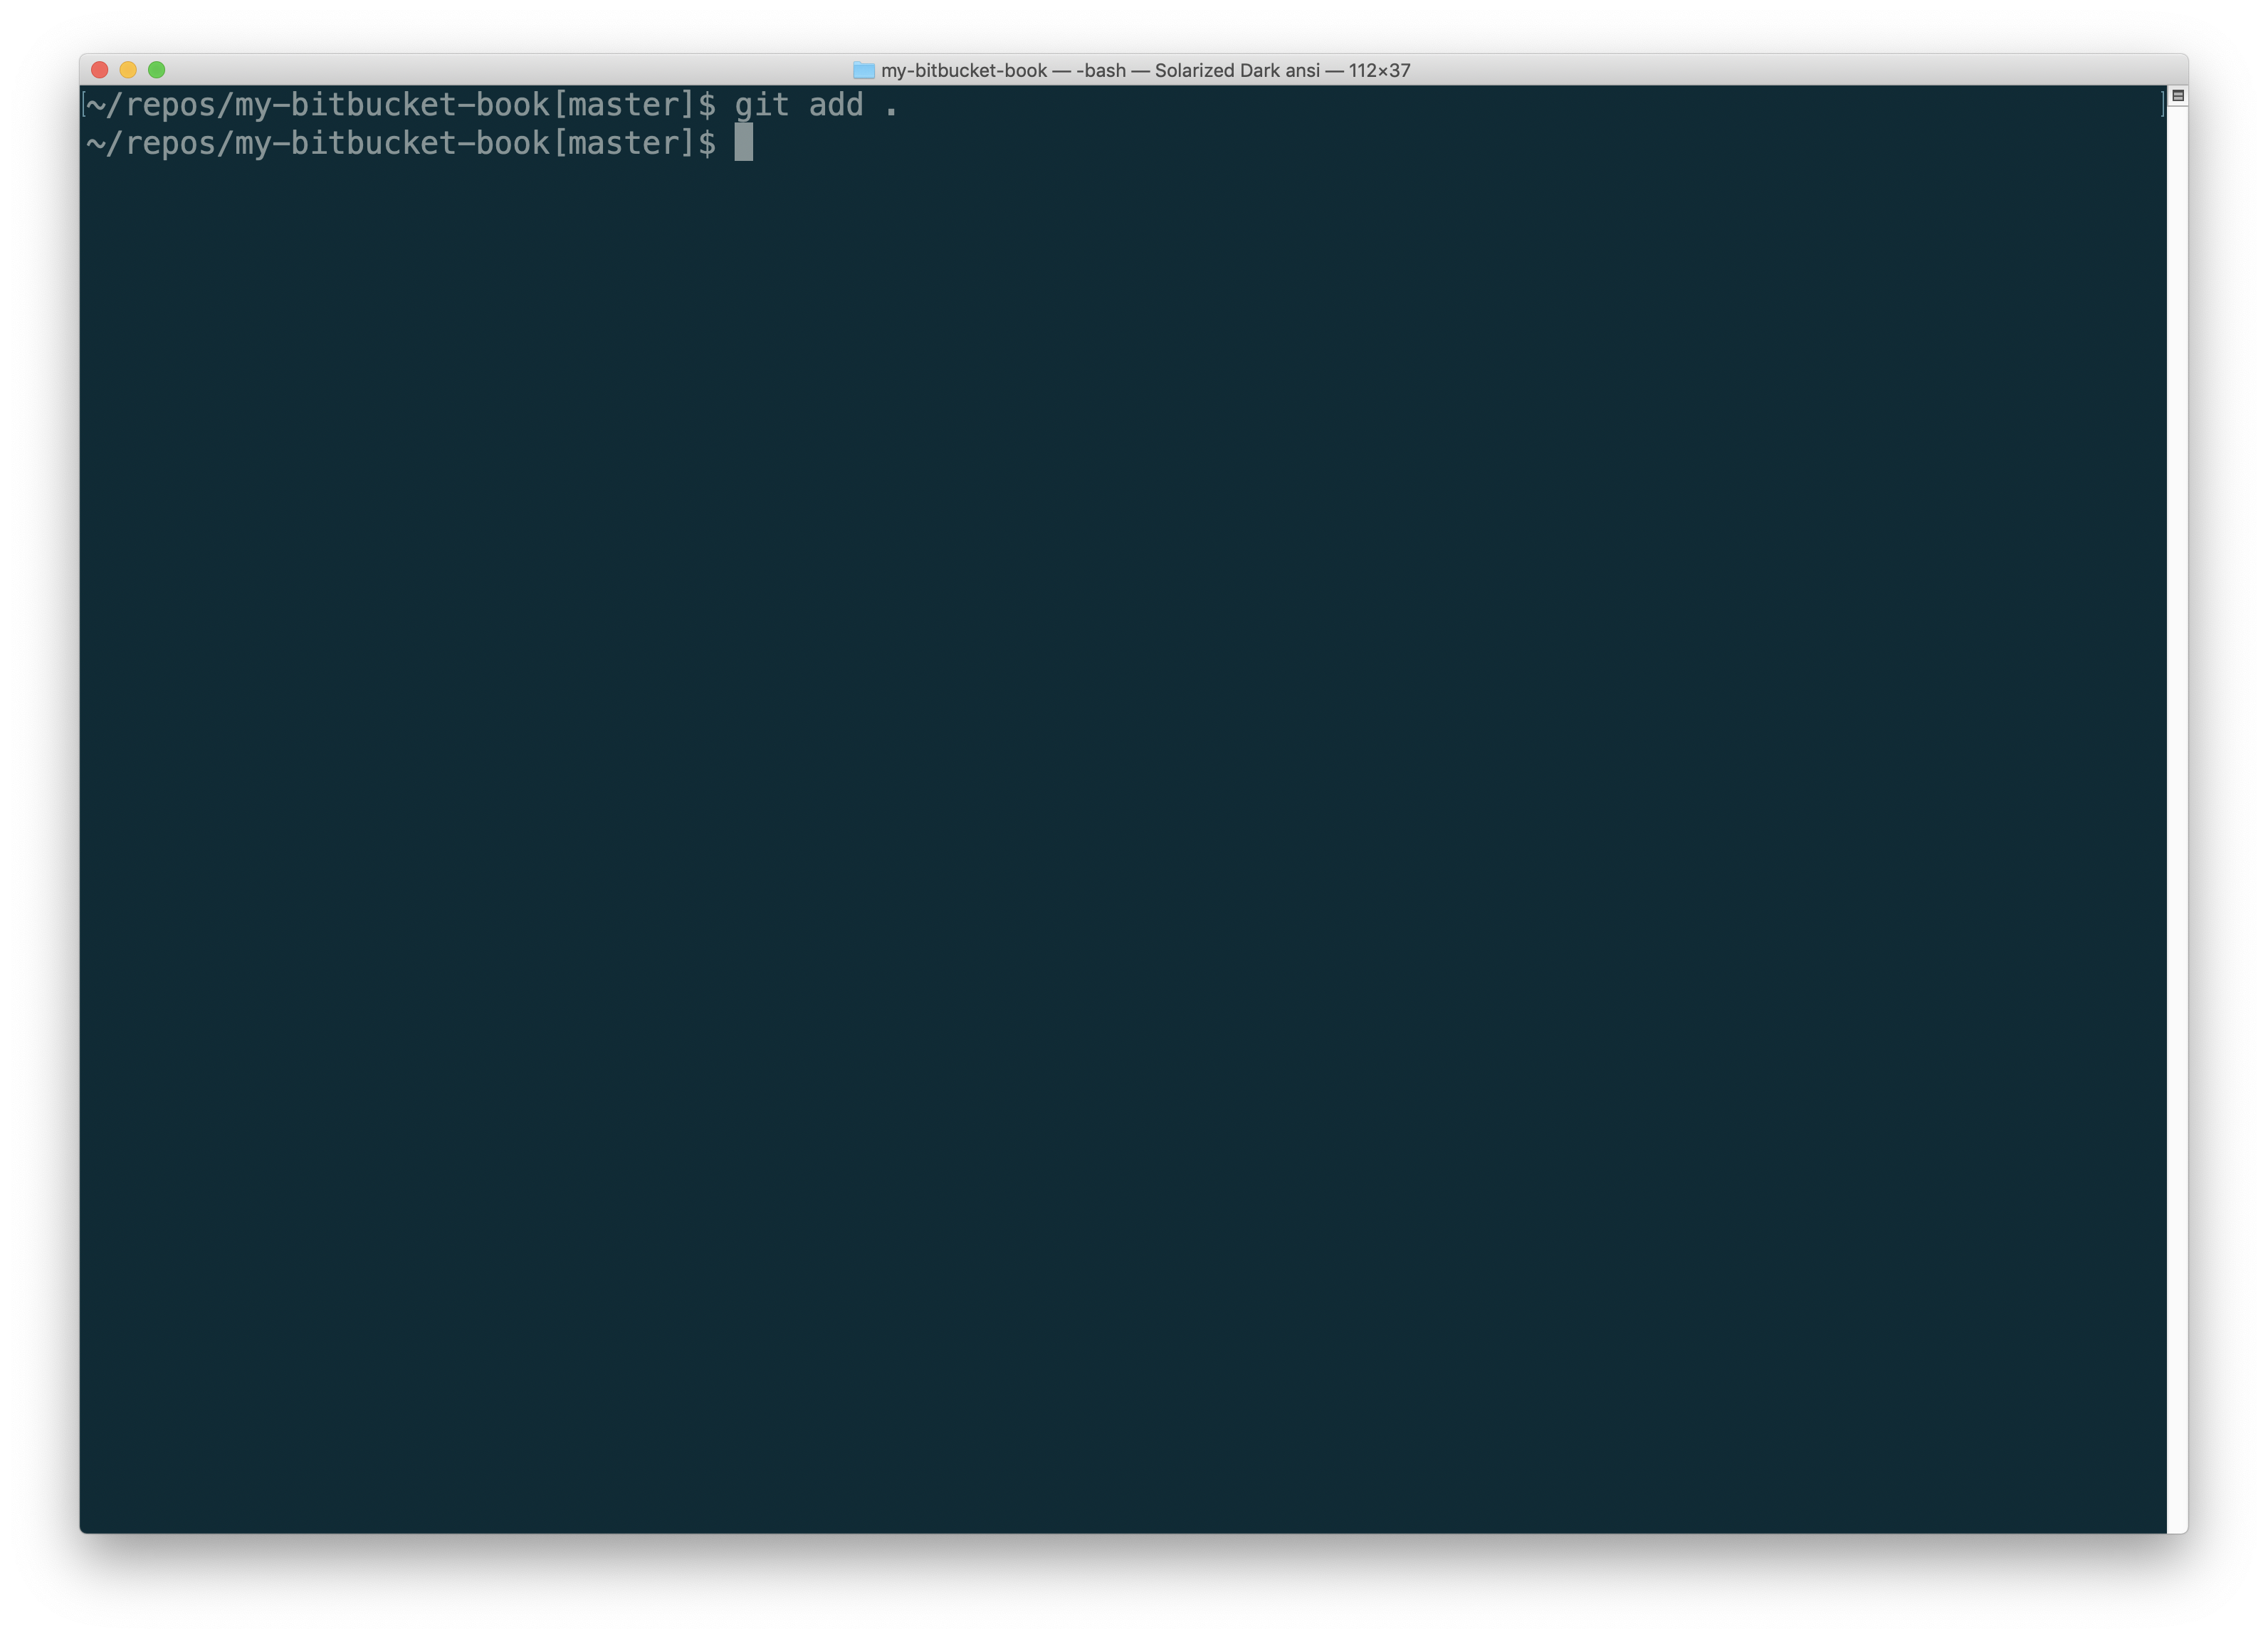
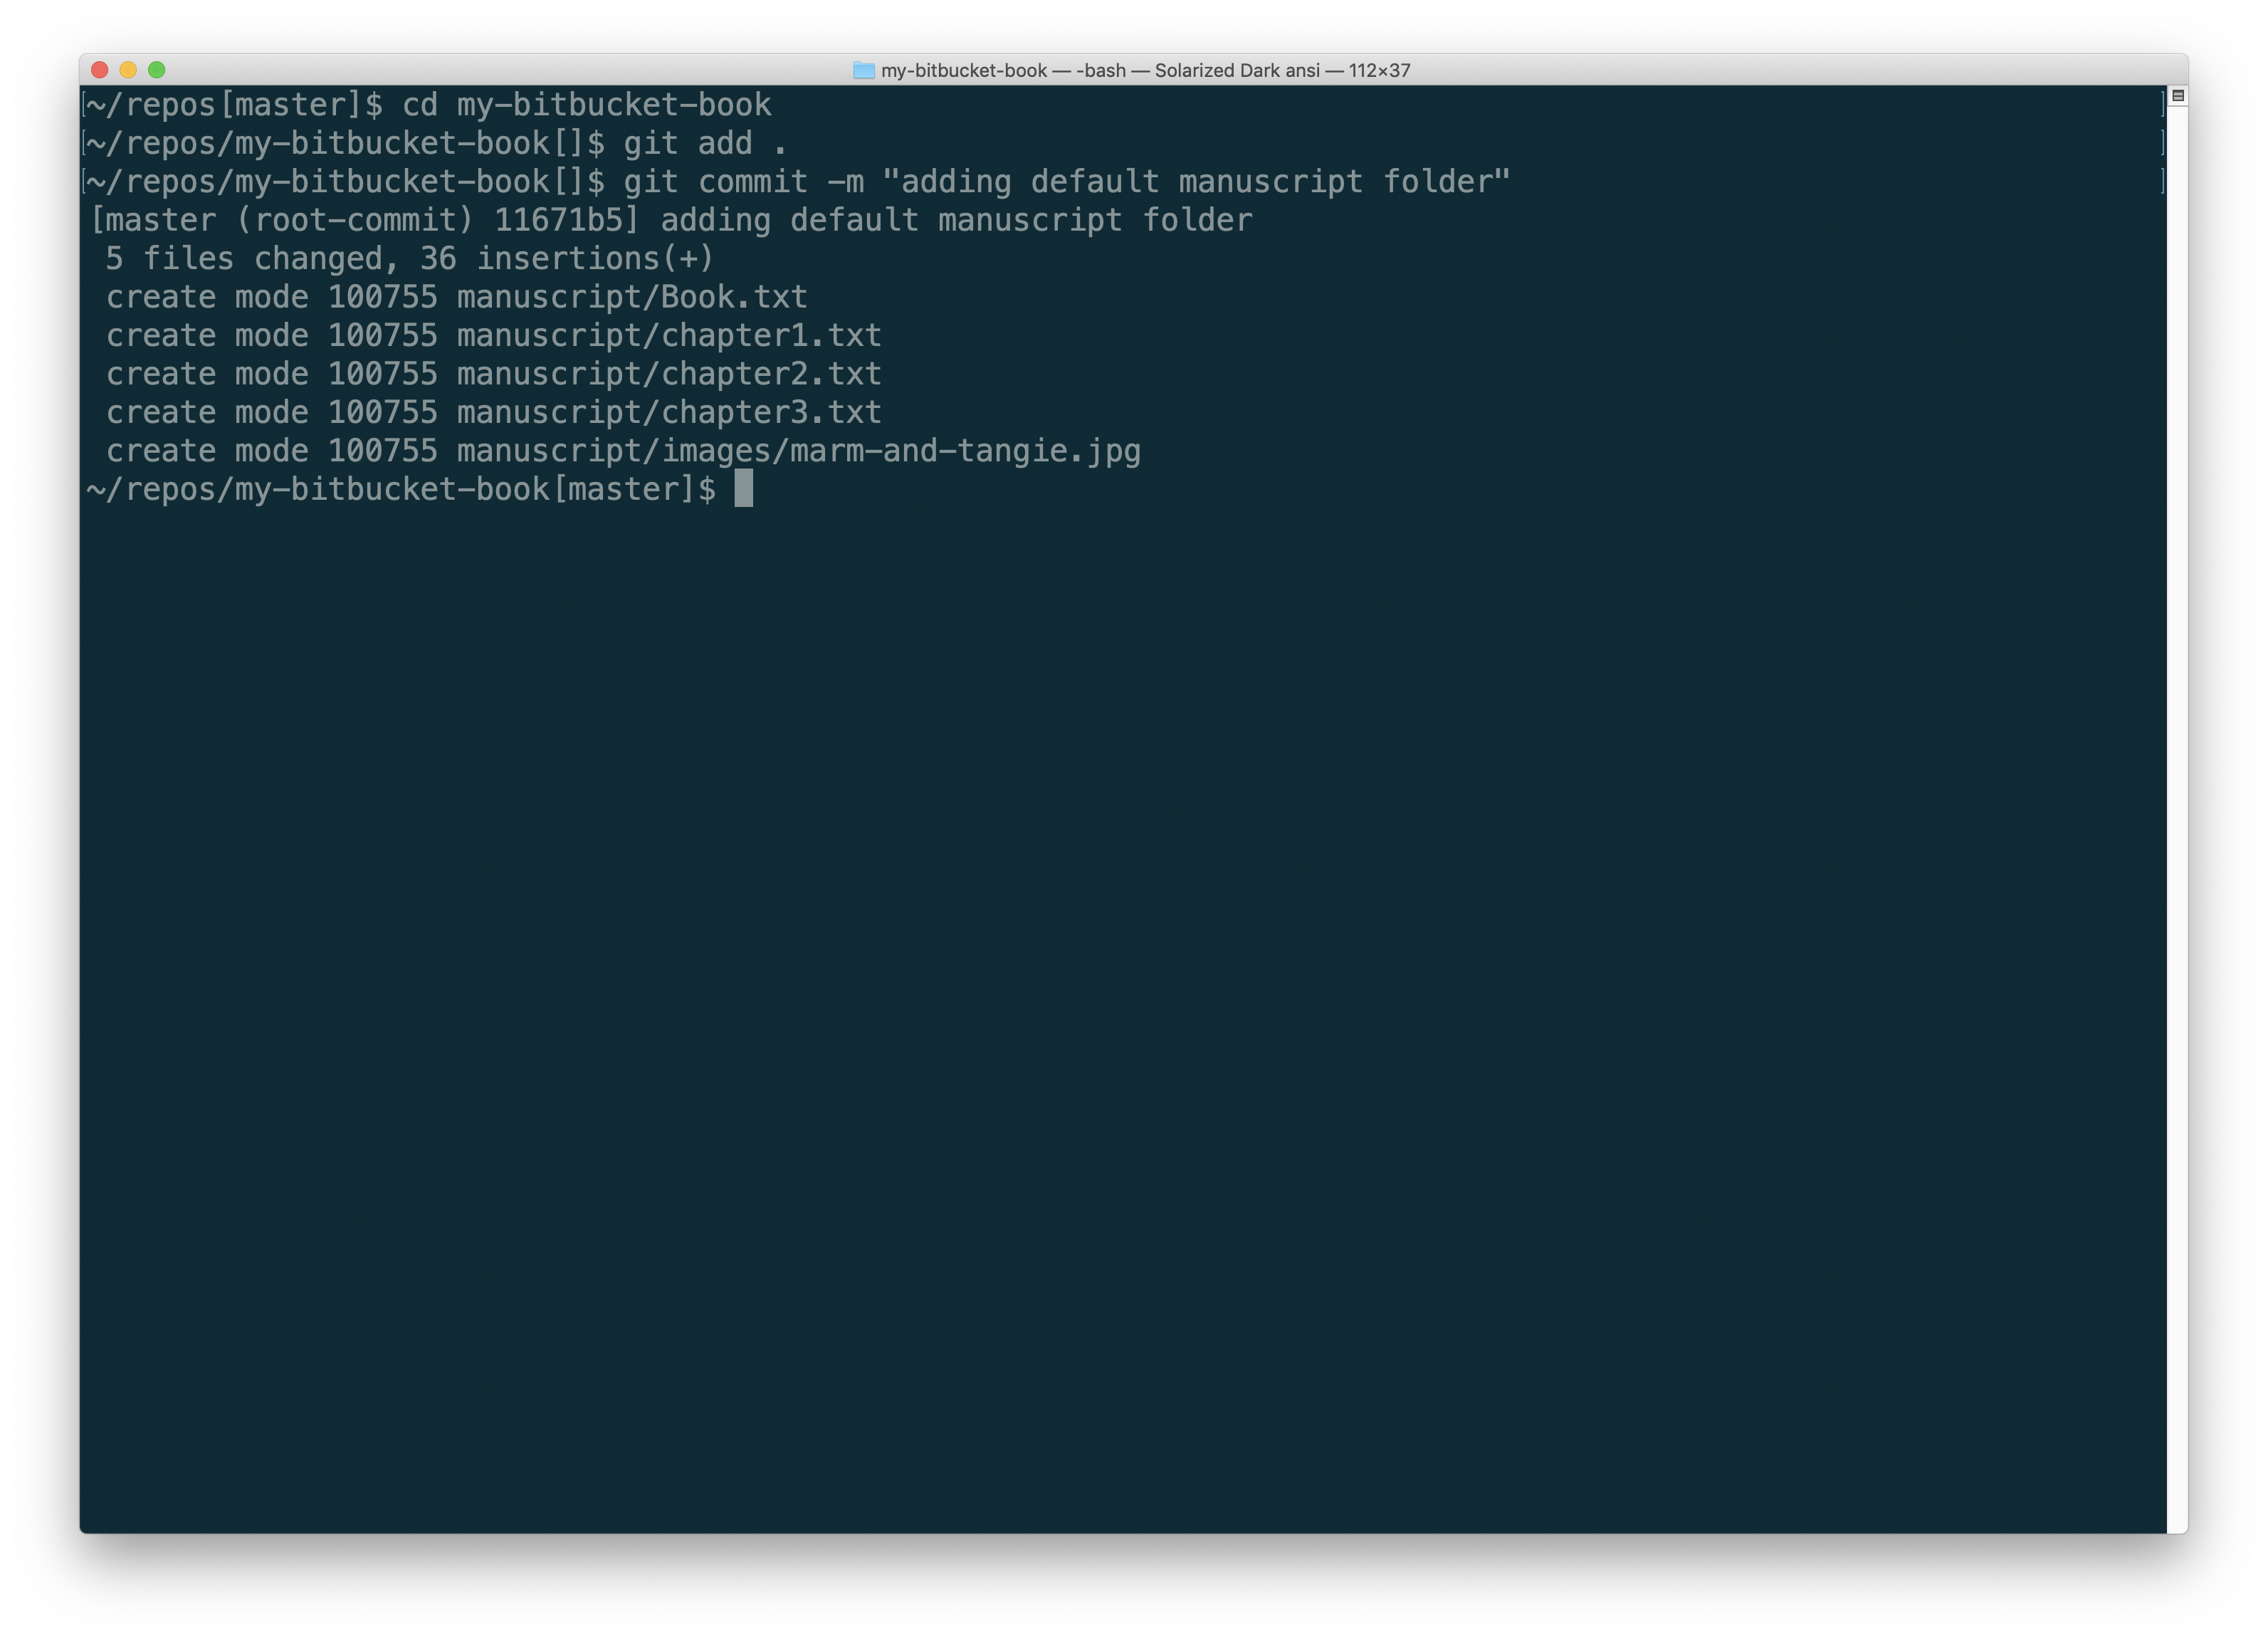
Type git add . to the content using Git.
Type git commit -m "adding default manuscript folder". You will see messages indicating that the content has been committed.
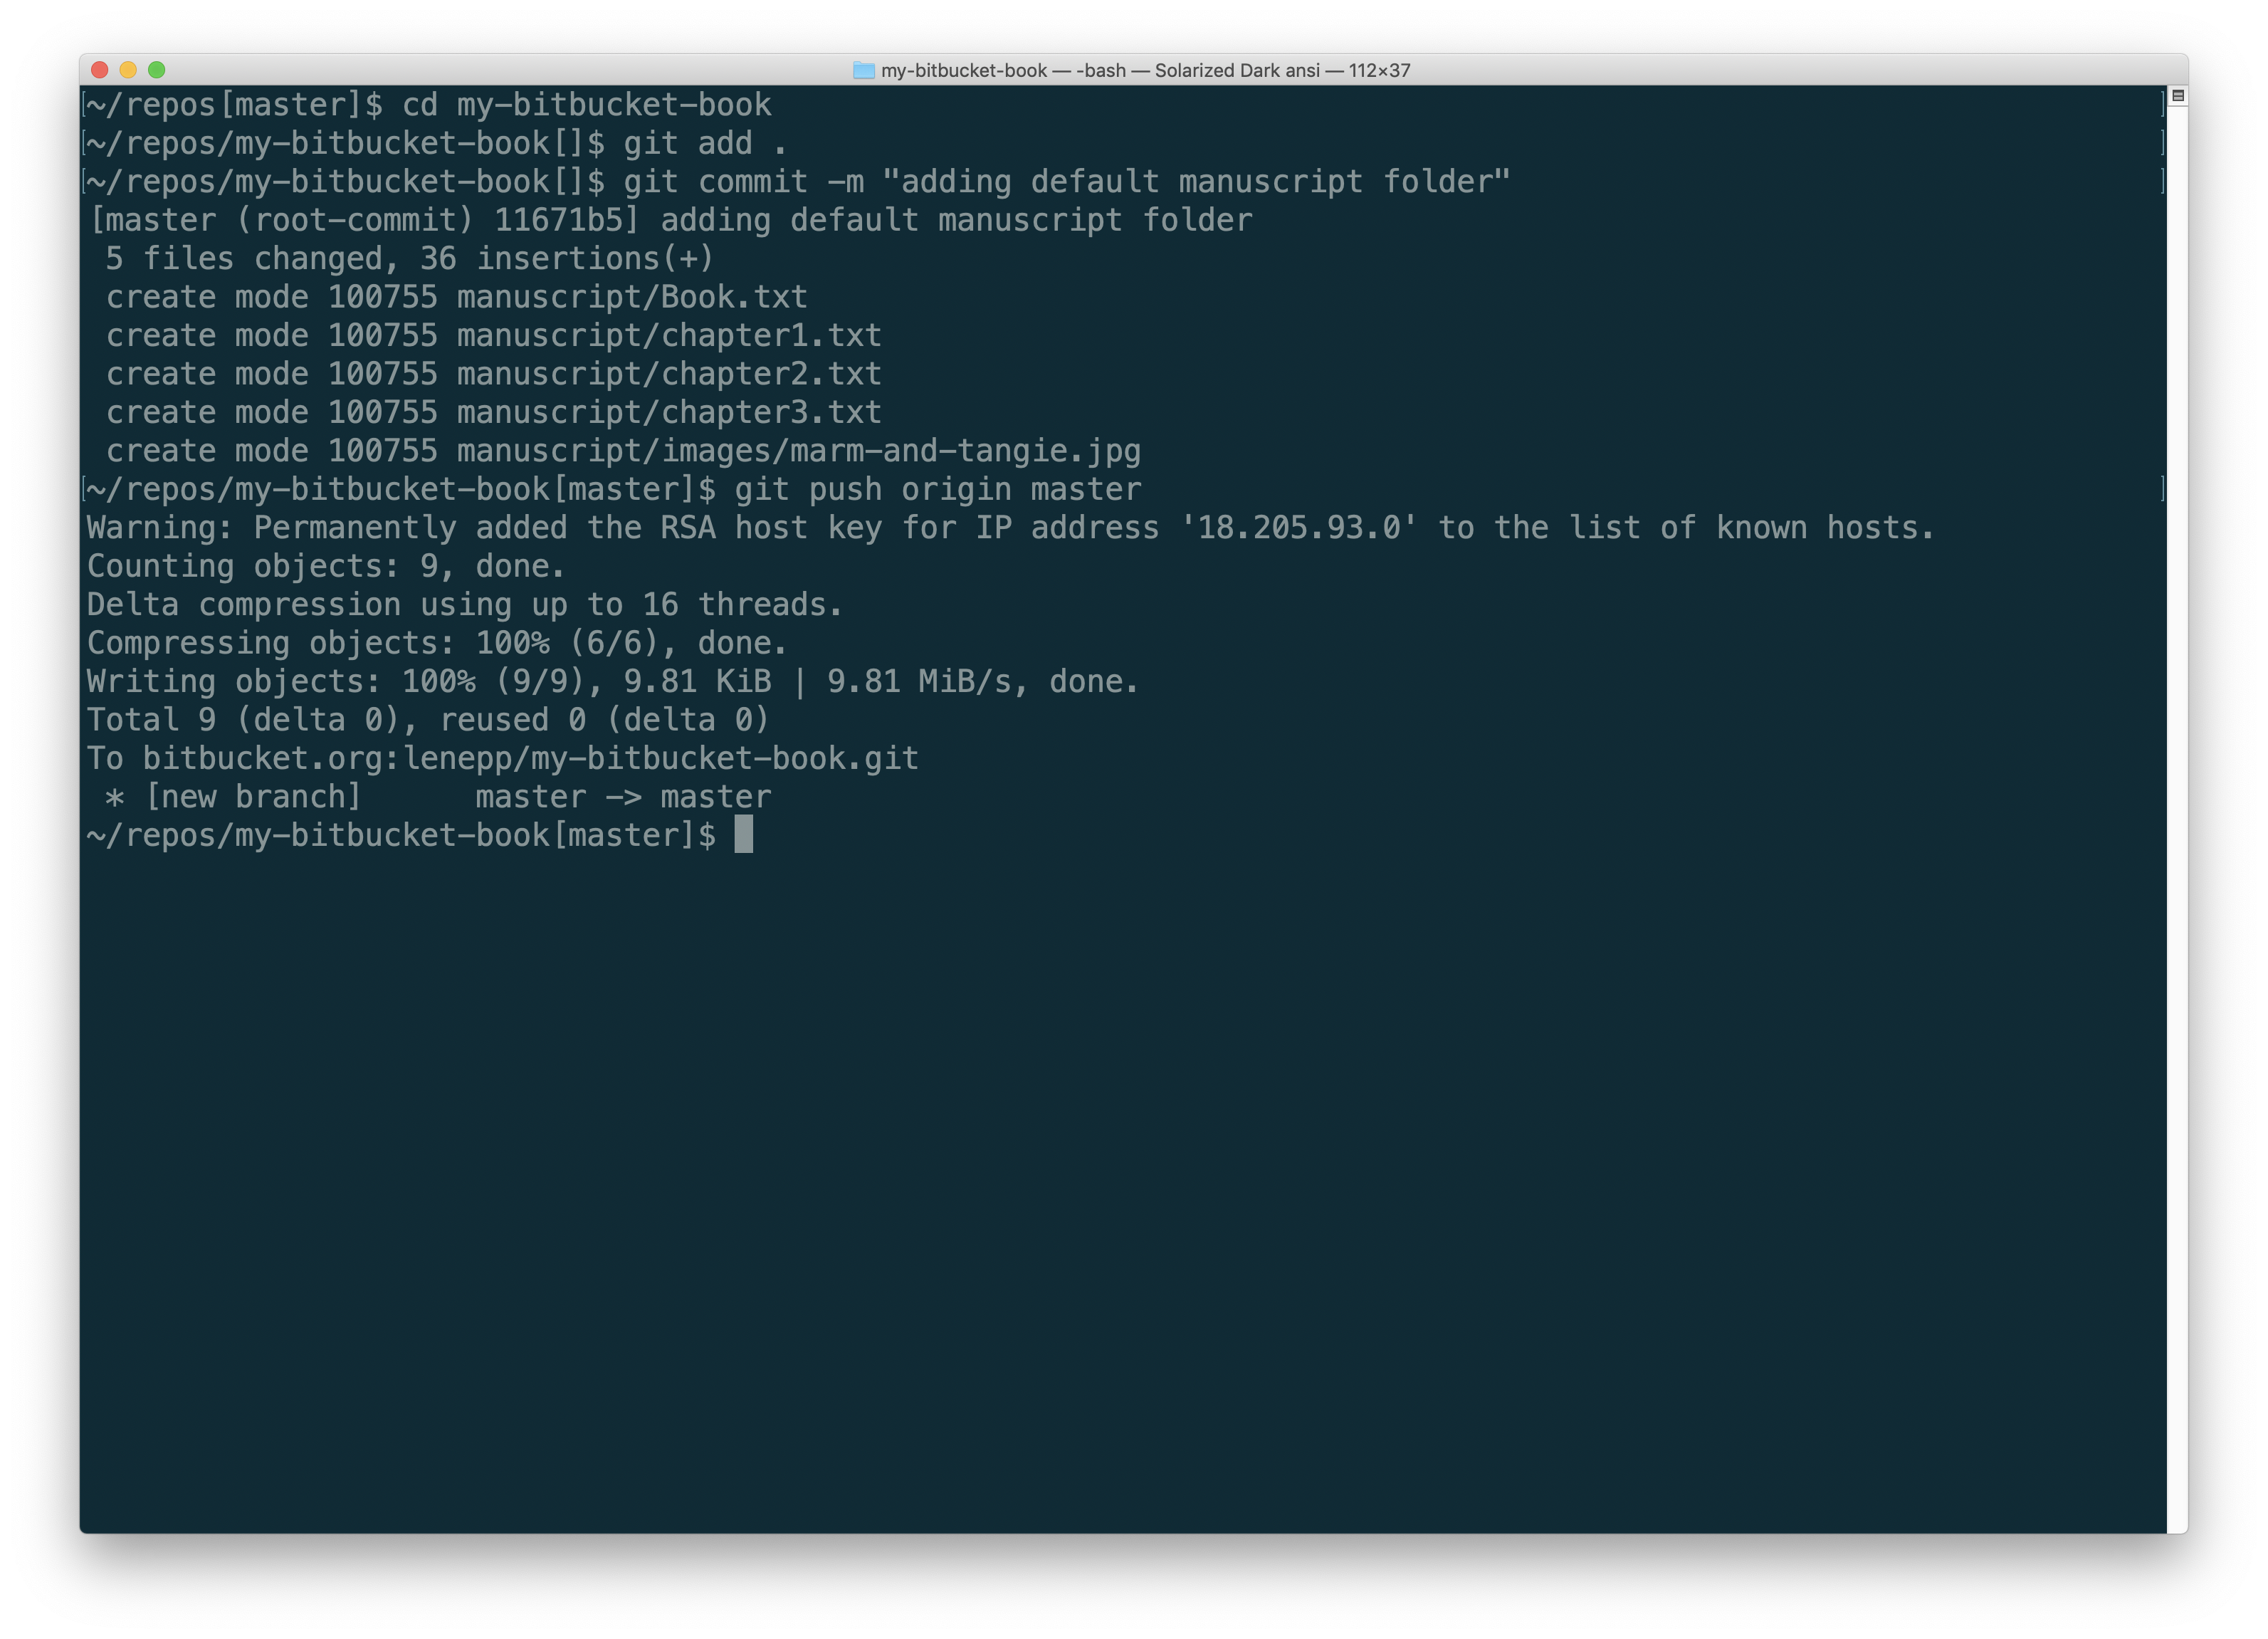
Type git push origin master to push the commit to the repository on Bitbucket.
Creating a Preview
To create your first preview, using the default content we included in your new book, go back the Getting Started page for your book:
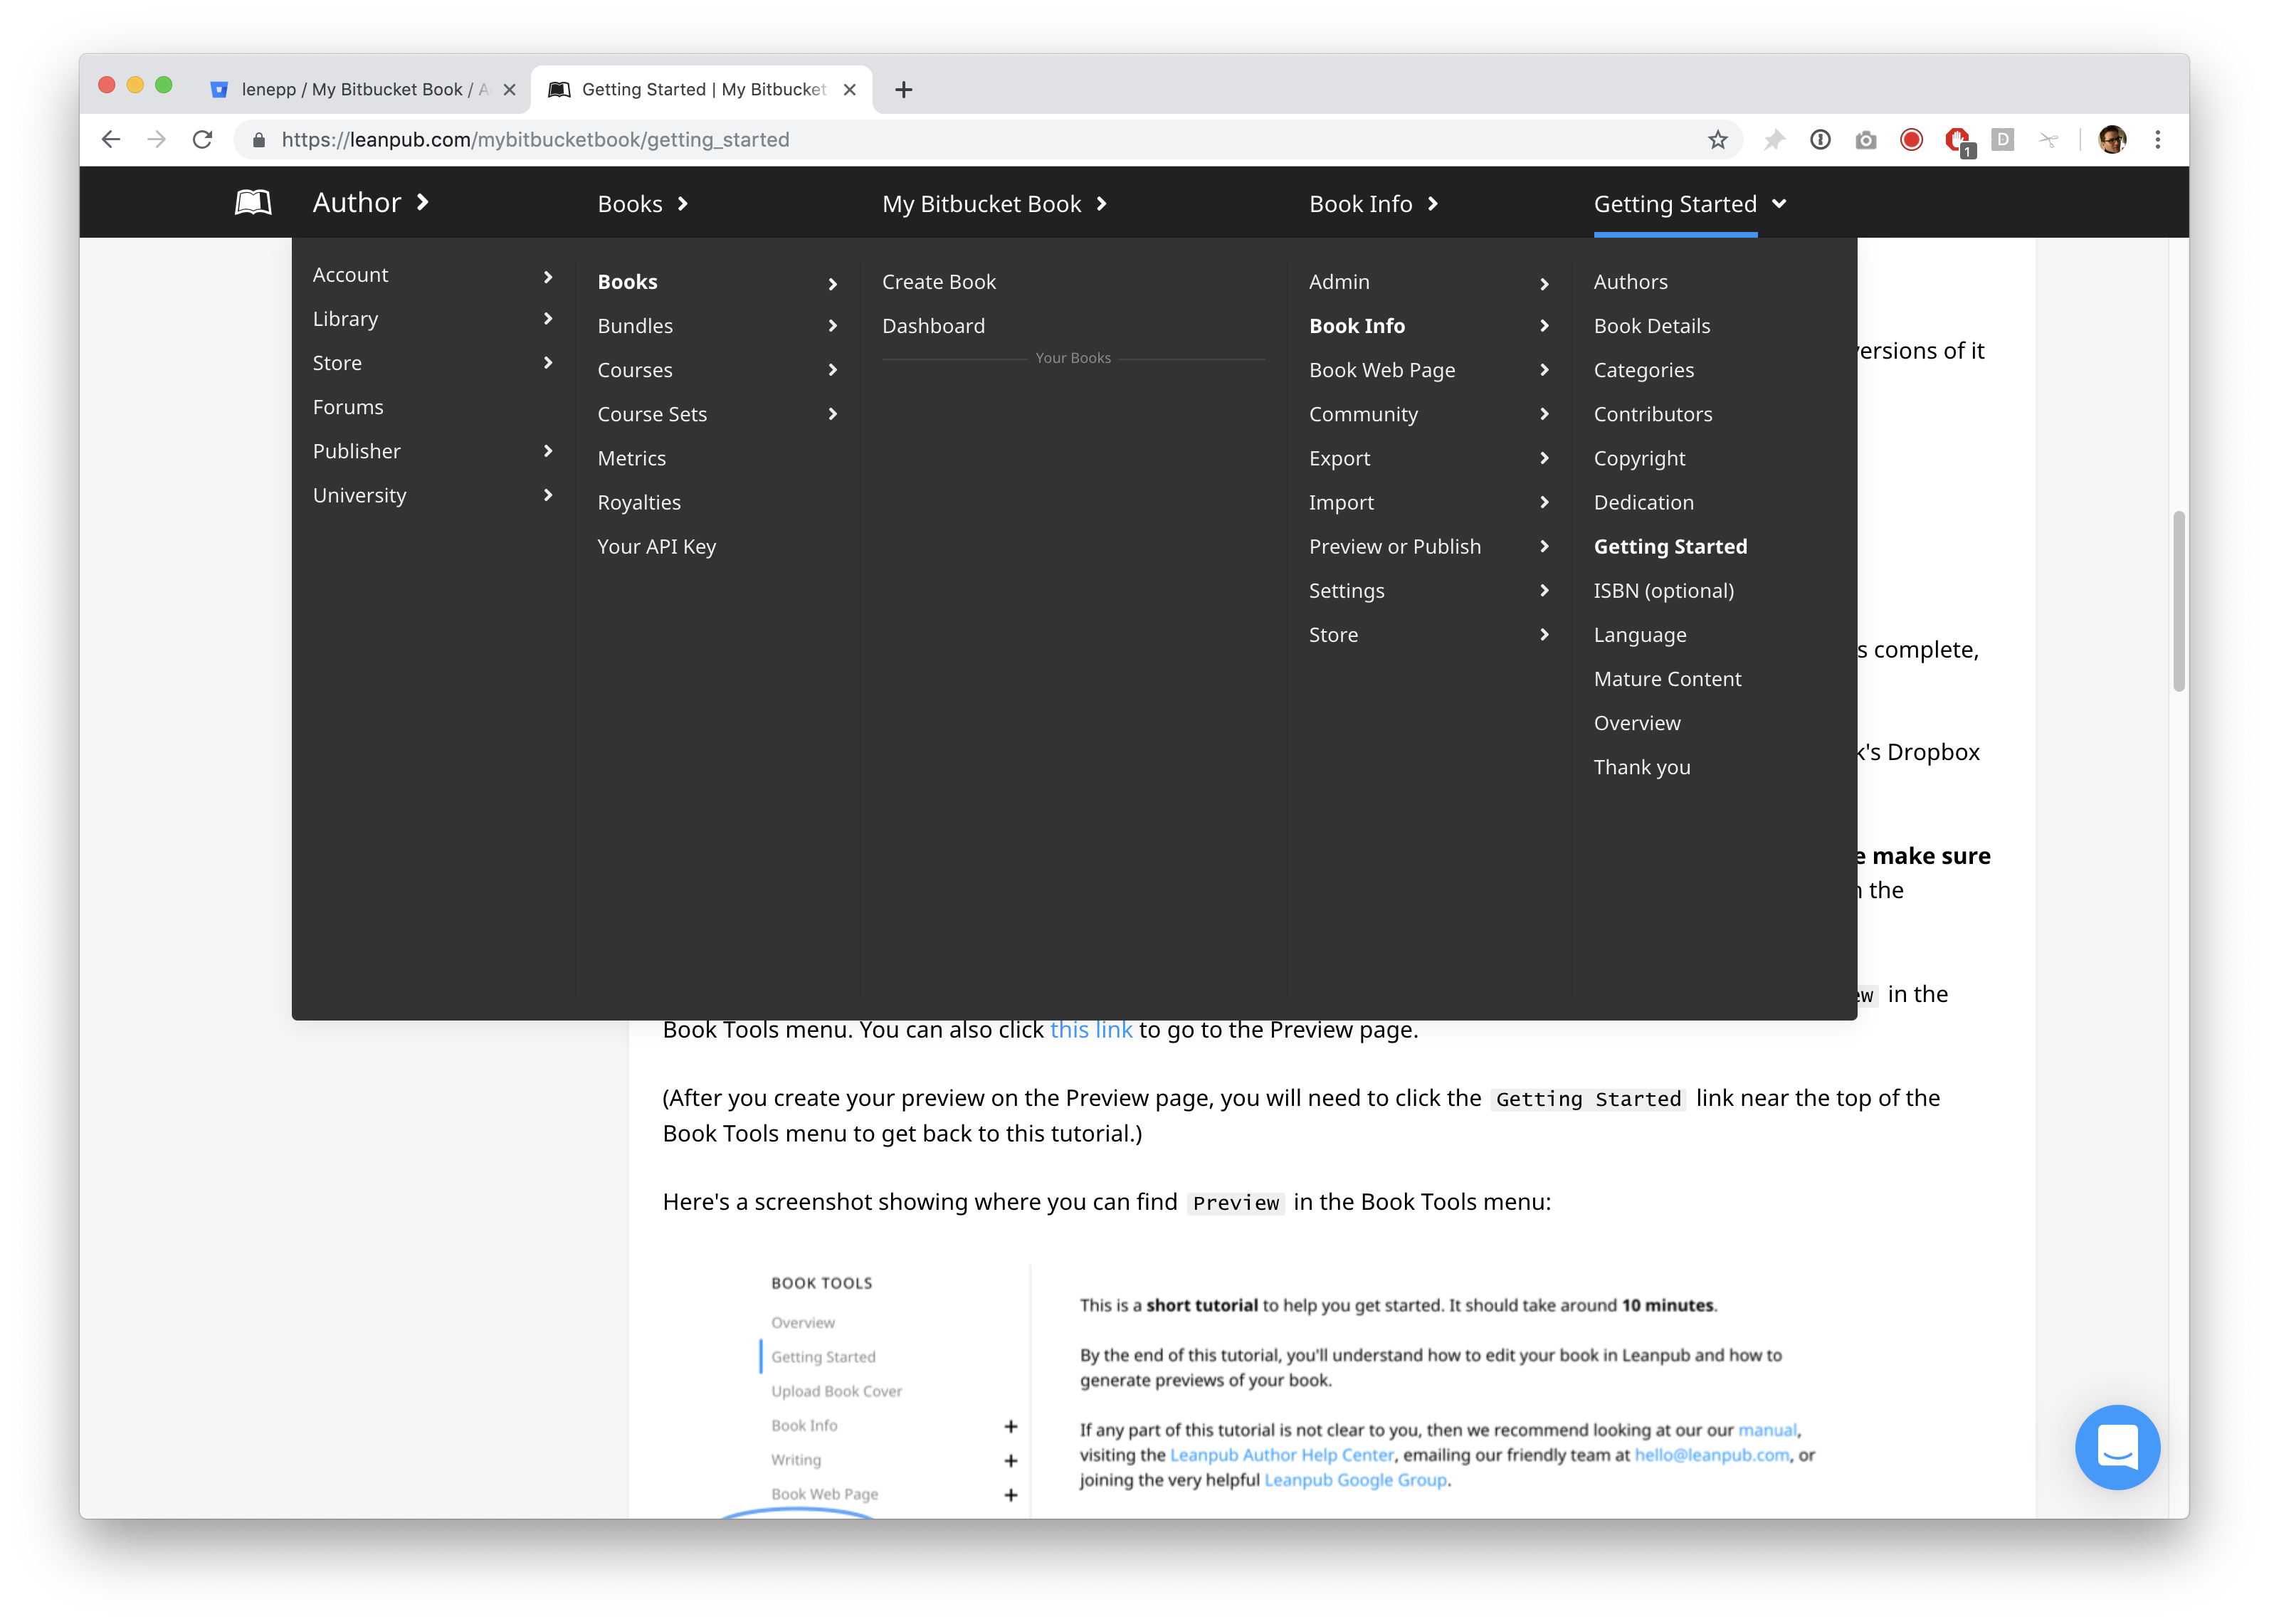
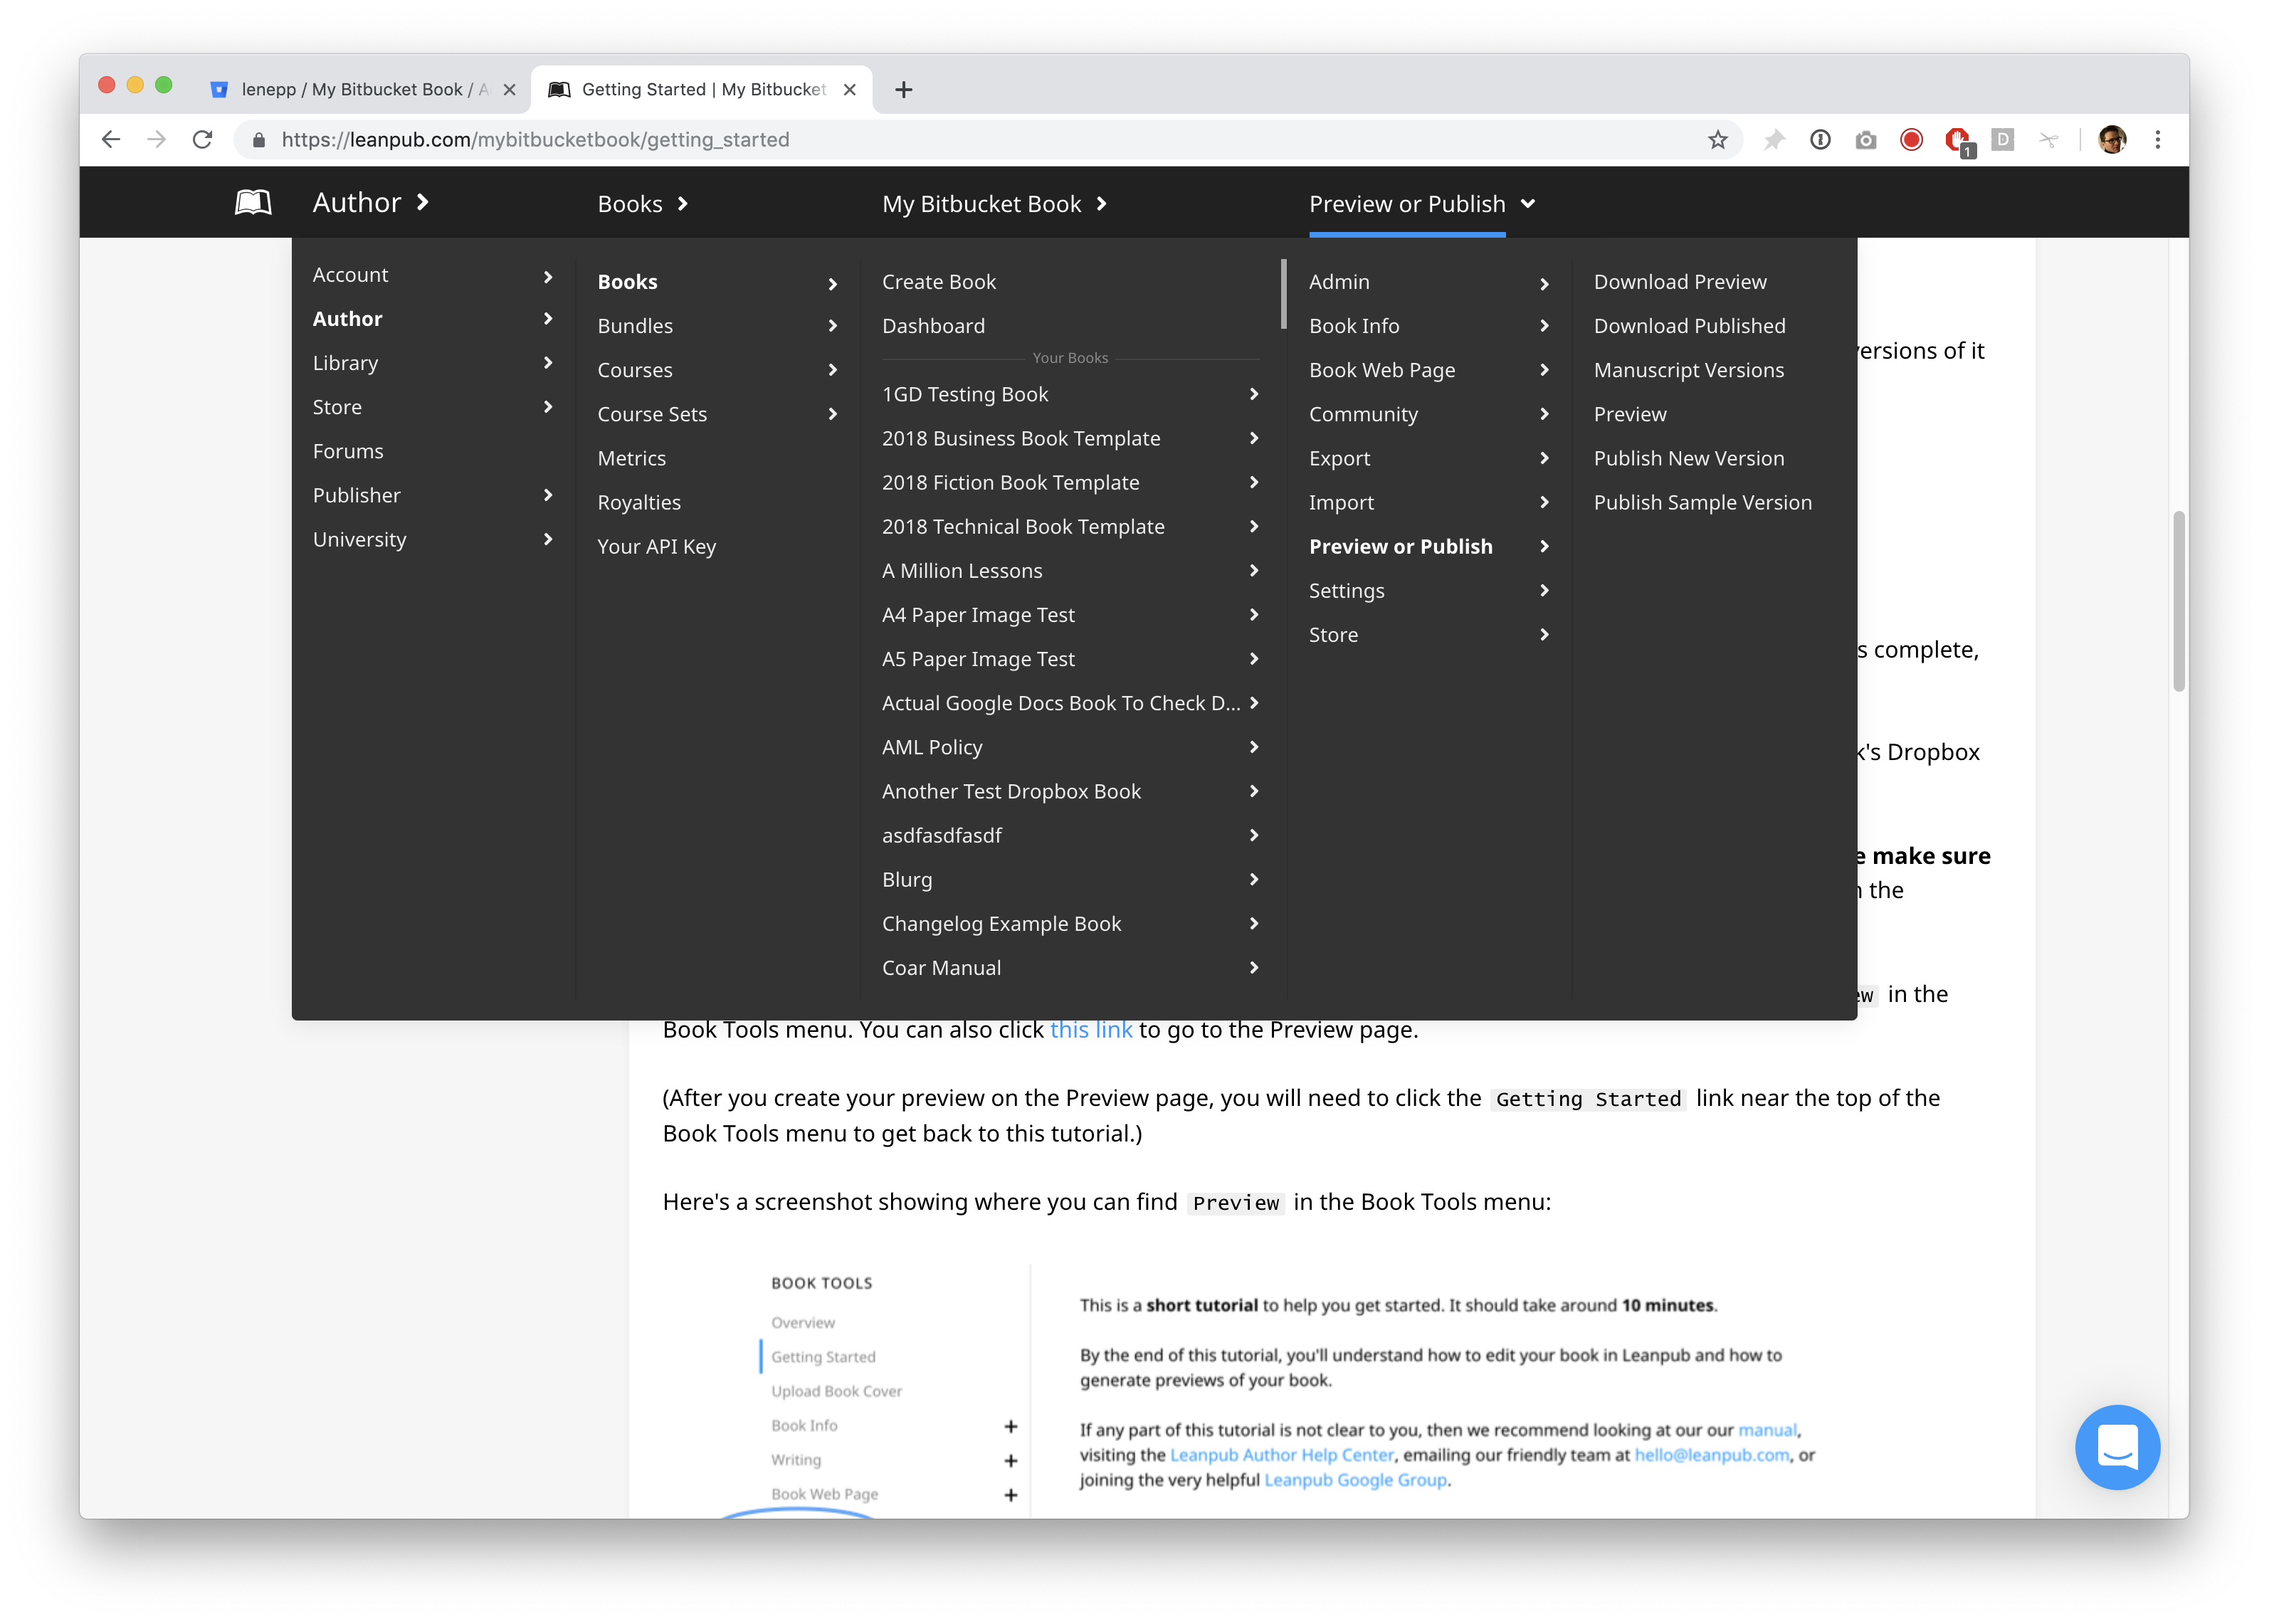
Click on “Getting Started” at the top, and you will see your the Author menu. It will look something like this:
Click on “Preview or Publish” under the “Book Info” column, and you will see something like this:
Select “Preview’ in the column to the right, and you will go to the “Preview” page for your book:

Click the “Create Preview” button. You will go to a page like this, where you will see a progress bar at the top:

When the preview process is complete, you will see download links for the preview, in a variety of formats:
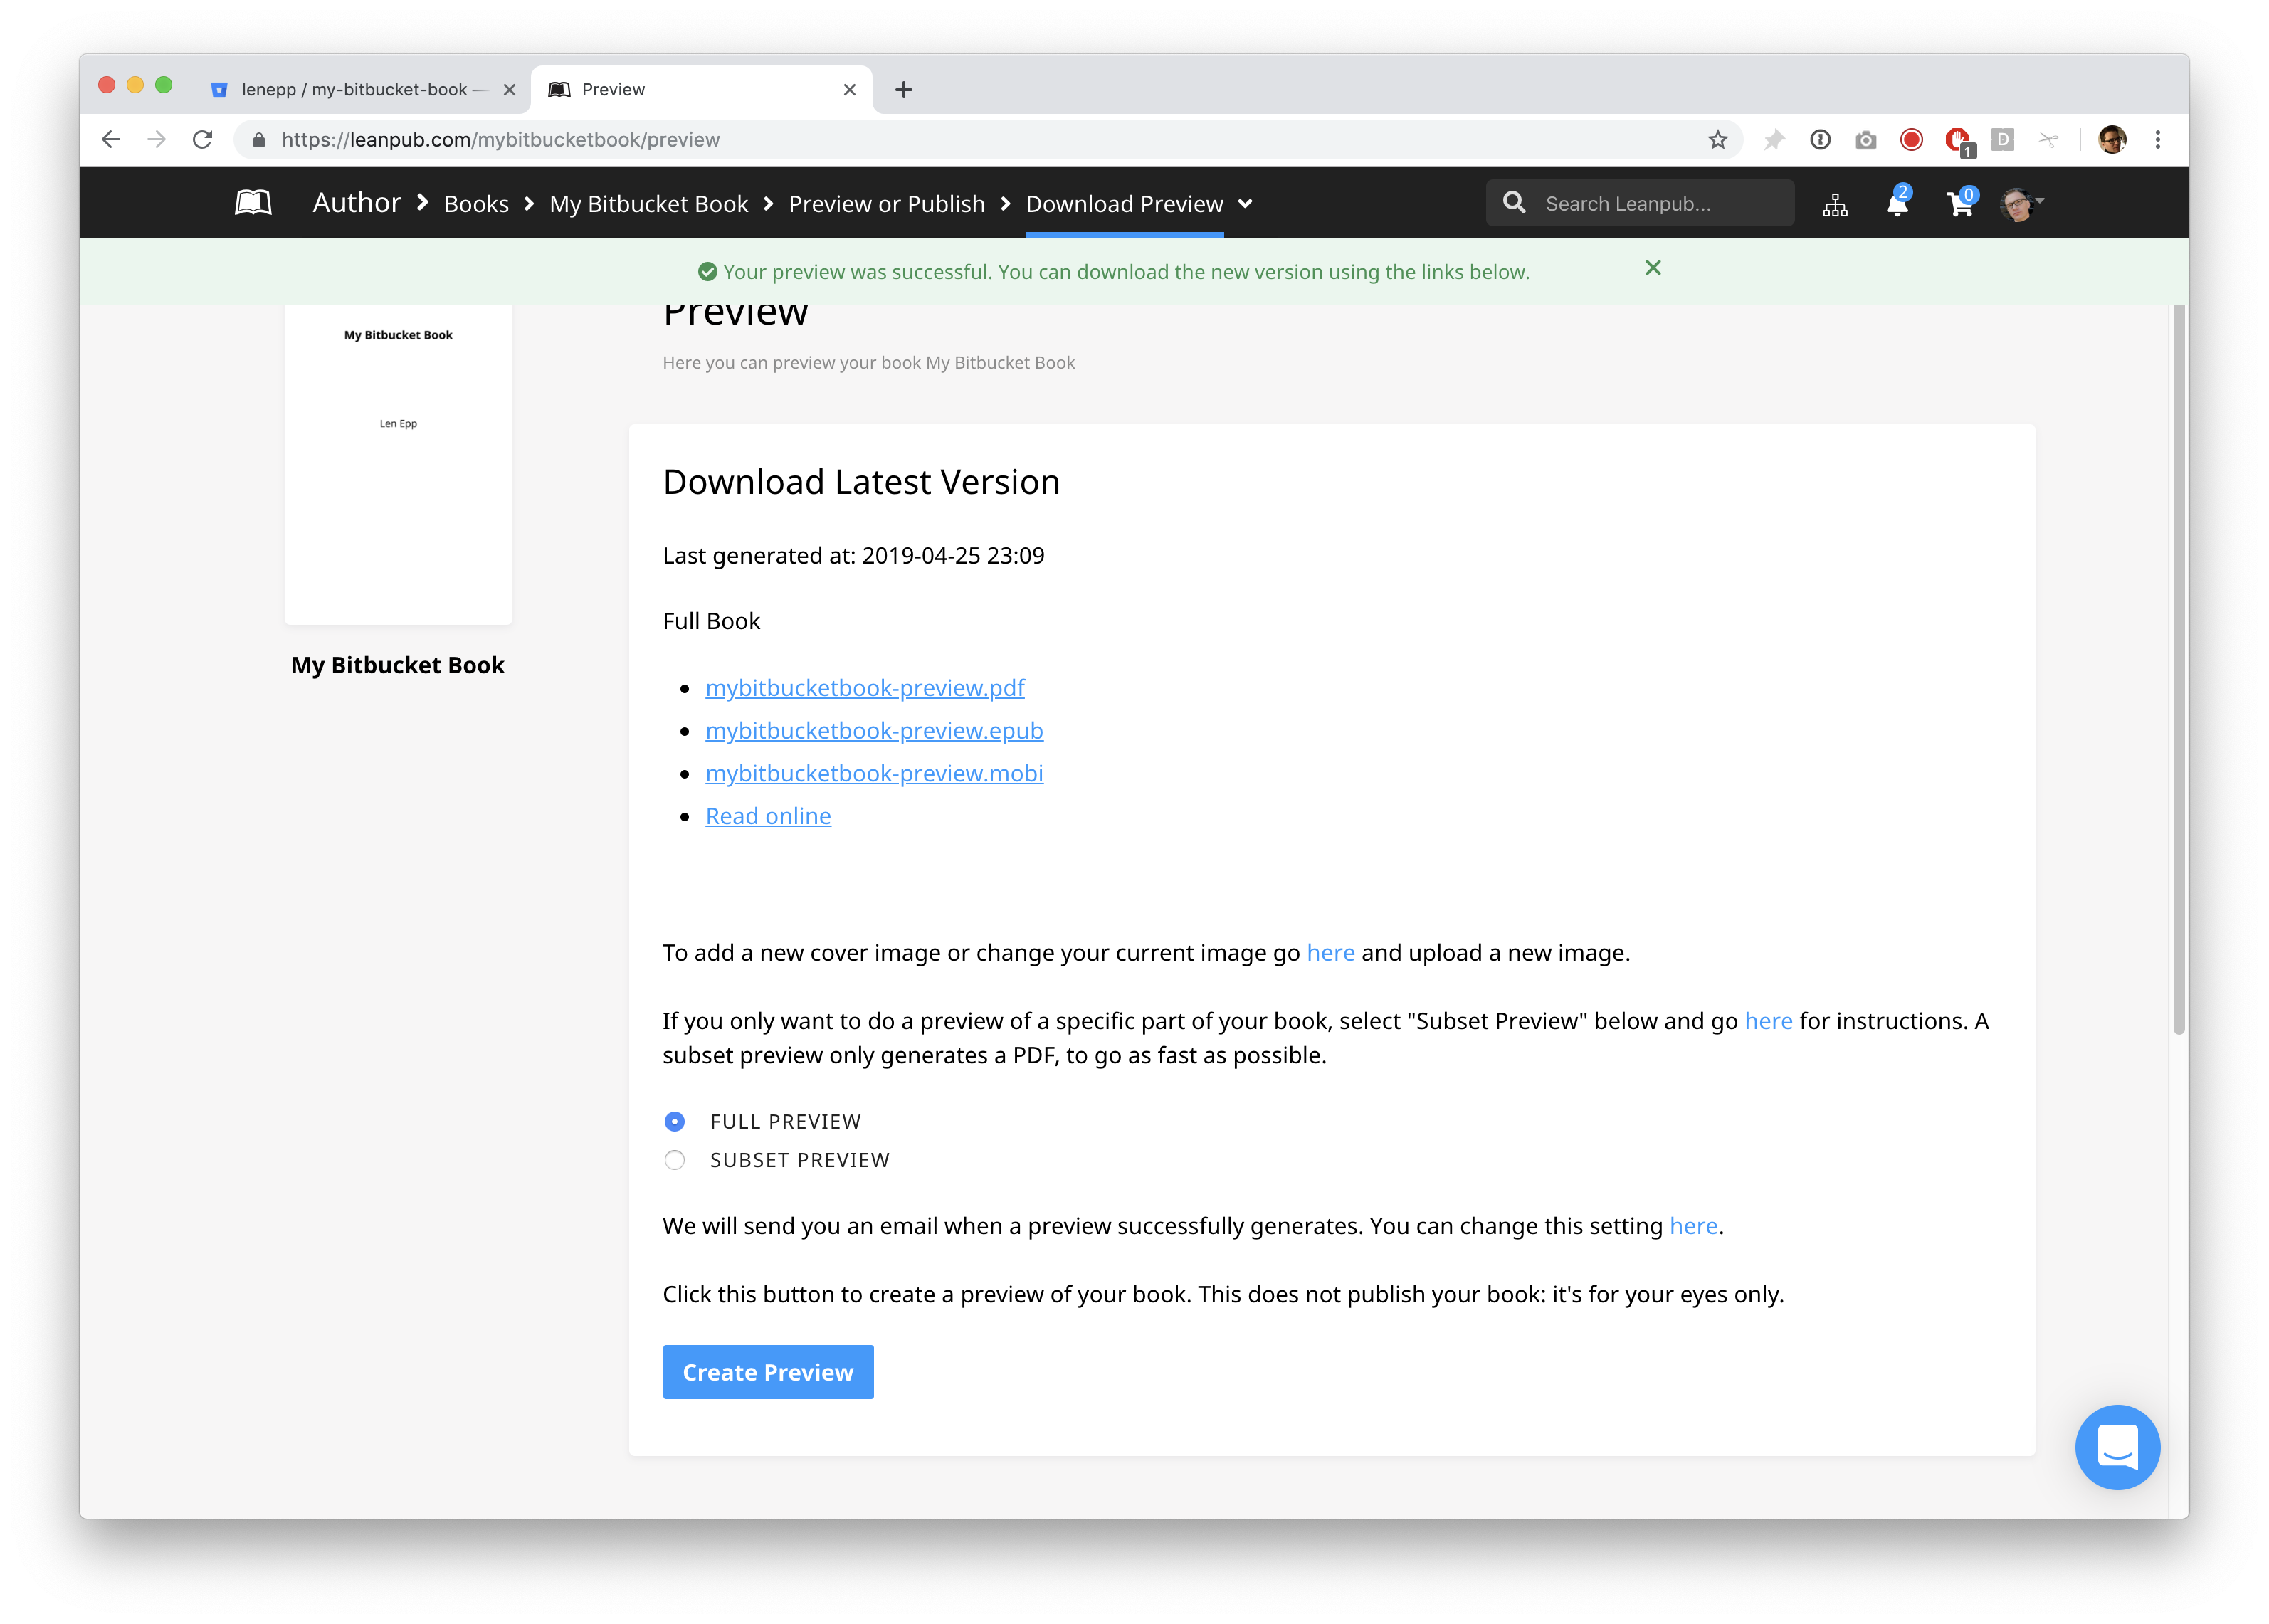
Click on the links to see what your book looks like in the various formats.
Writing in Your Book
Open your book folder in Bitbucket. You’ll see a folder named manuscript inside it. This is where you write your book.
If you have just created a new book, the manuscript folder will contain four files with the file name extension .txt. There will also be a folder called resources:
Open the file called chapter1.txt by double-clicking on it. You can also open the file in any specific text editing software you prefer.
Next, delete the contents of the file and type:
In your text editor, save this change.
Make a New Preview of Your Book
Next, you need to commit your changes and push them to Bitbucket.
On the command line, type git commit -m "first tutorial steps" and hit the return key.
Next, type ‘git push’ and hit the return key.
The next time you create a preview of your book, you will see that Chapter One has changed, and it now says “Hello, world!”
To create a new preview, repeat what you did when you made your first preview, by using the Author menu in Leanpub to go to:
Author > Books > [Your Book Title] > Preview or Publish > Preview
How the List of Files in Book.txt Works
When you create a preview, you may not want our book generators to use all of the files in your manuscript folder. Also, you may want the contents of your book to reflect a different order than the order they are presented in, in your manuscript folder.
So, whenever you create a preview, our friendly bookbots generate your book using only the files that you have listed in the Book.txt file that is in your book’s manuscript folder, and they use those files in the order that you have listed them.
Let’s see how this works.
First, delete a file. In your book’s manuscript folder, select the file named chapter3.txt and delete it.
Now, let’s rename a file. The files listed in Book.txt can have any name you want to give them. (To be clear, the files do not have to include the word “chatper” in the file name.)
In your book’s manuscript folder, select the file chapter2.txt.
Now, change the file name to conclusion.txt by right-clicking on the file and selecting “Rename.” **(Your computer might show a different word than “Rename,” but there should be an option to change any file’s name if you right-click on the file.)
Now that we have changed the files in the manuscript folder, we need to update the list of files in the Book.txt file.
Using your text editor, open the Book.txt file.
In the Book.txt file, you will see this list of files, like this:
First, delete chapter2.txt. Then, delete chapter3.txt.
Next, on the second line, type conclusion.txt.
Now, your list of files in Book.txt will look like this:
Next, open the file conclusion.txt.
Now, delete everthing in the file, and type this:
Conclusion
This book is **done** and ready for *the world to see*, hooray!
Finally, save this change your text editor.
Next, you need to commit your changes and push them to Bitbucket.
On the command line, type git commit -m "finishing tutorial" and hit the return key.
Next, type ‘git push’ and hit the return key.
Now, go back to the preview page for your book at:
Author > Books > [Your Book Title] > Preview or Publish > Preview
The next time you create a preview, it will reflect the changes you have made.
Congratulations! You’ve completed the Getting Started tutorial for writing a book in Leanpub using Bitbucket.
Next Steps
Next, we recommend you explore the Overview page for your book:
Author > Books > [Your Book Title] > Book Info > Overview
On the Overview page, you can see all the pages you need to get your book set up on Leanpub, like “Upload Book Cover” and the “Book Details” page, where you can explain what your book is about to potential readers.
If you have any questions or can’t find anything, please search our Help Center for authors here: http://help.leanpub.com/author-help.
Happy writing!