1.- Installation
1.1.- CentOS 6
As it usually happens, there is more than one way to install CentOS in a computer. So depending on the way we initially boot the server and the source of the installation packages we have many options:
- We can boot and install the system from a DVD. This is probably the most straighforward option, and the right choice if you only have to install a couple of servers. We boot the server from the DVD and we install the all the software from the DVD too.
- We can also use a CentOS Network netinstall DVD to boot the server and then install the packages from a server in our local network or from the Internet. This is a good choice if we need to install a lot of servers.
- We could also use a USB device to boot the server. In this case we should first prepare the USB device by using a software like unetbootin, and we would also need to download the CentOS installation files. Once the USB device is ready we can use it to boot the server and then choose whether to install from a local or a network repository.
Besides, independently of the type of installation we choose, we can also automate the installation by using kickstart. The use of kickstart is beyond the scope of this book but it basically consist in passing a special parameter to the installer with the location of a script file that contains instructions for the installation.
Nevertheless, in order to keep things simple, in this book we will only see the typical DVD installation. The first thing one must do is to get the installation DVDs, these can be downloaded from the CentOS official site. At the moment of writing this book, the ISO files could be downloaded from the links in http://wiki.centos.org/Download . We can choose the exact version we want to install, the architecture (32 or 64 bits) and the type of installation (minimal, network, etc…). We will download and burn the iso files CentOS-6.2-i386-bin-DVD1.iso and CentOS-6.2-i386-bin-DVD2.iso. Once we have the DVDs, the installation is fairly simple, we will make sure the computer is configured to boot from a DVD and we restart it with the first installation DVD inside. After a few seconds we’ll see the screen in (Fig 1).
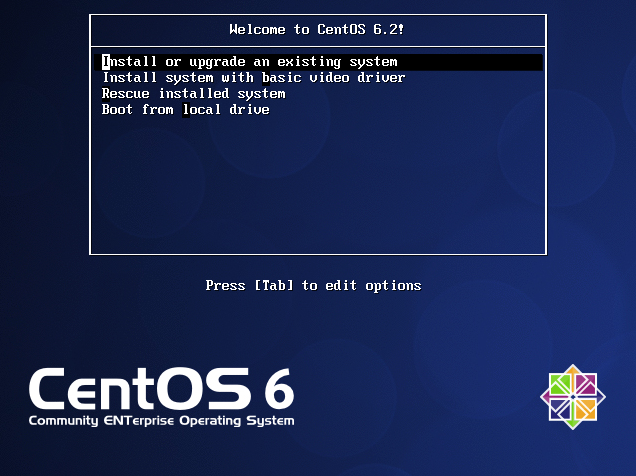
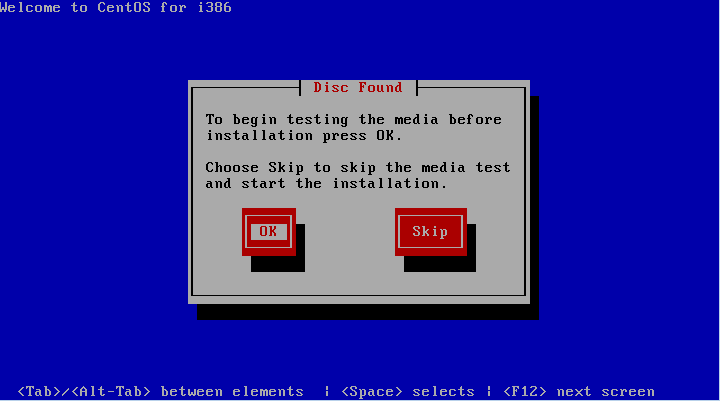
We’ll select the first option “Install or upgrade an existing system”, this will launch the actual installation program. Now we are offered the possibility to check the installation media (Fig. 2). Once we are sure that there is no problem with the dvds we click on “Skip”.
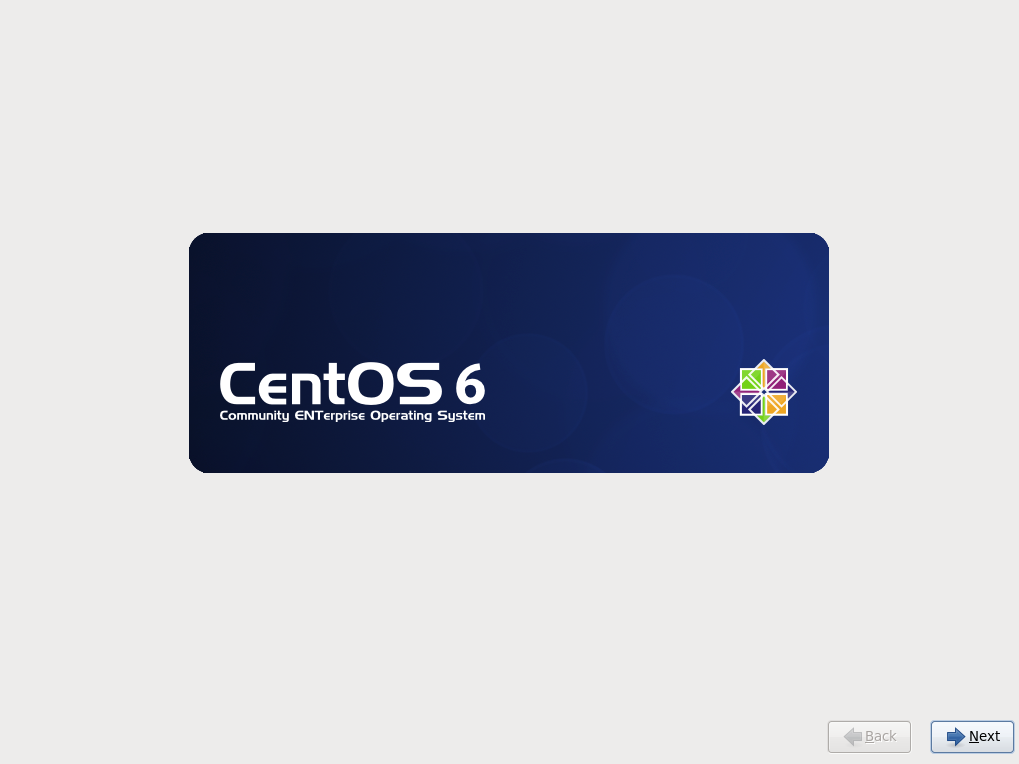
Now the system will init the graphical installer (Fig. 3).
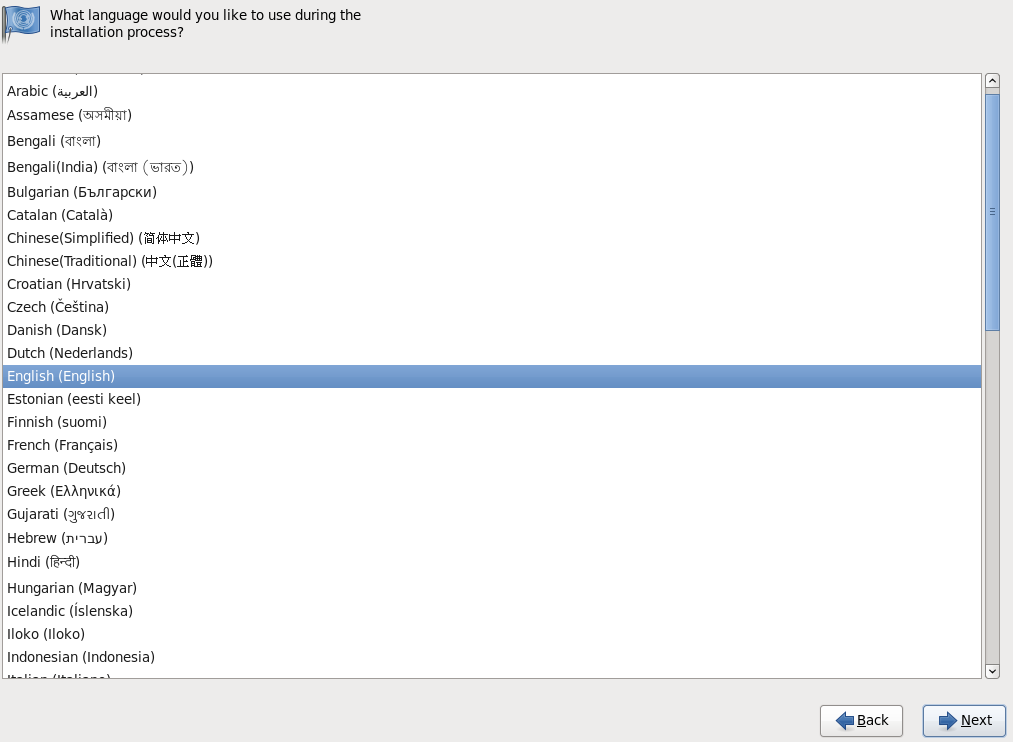
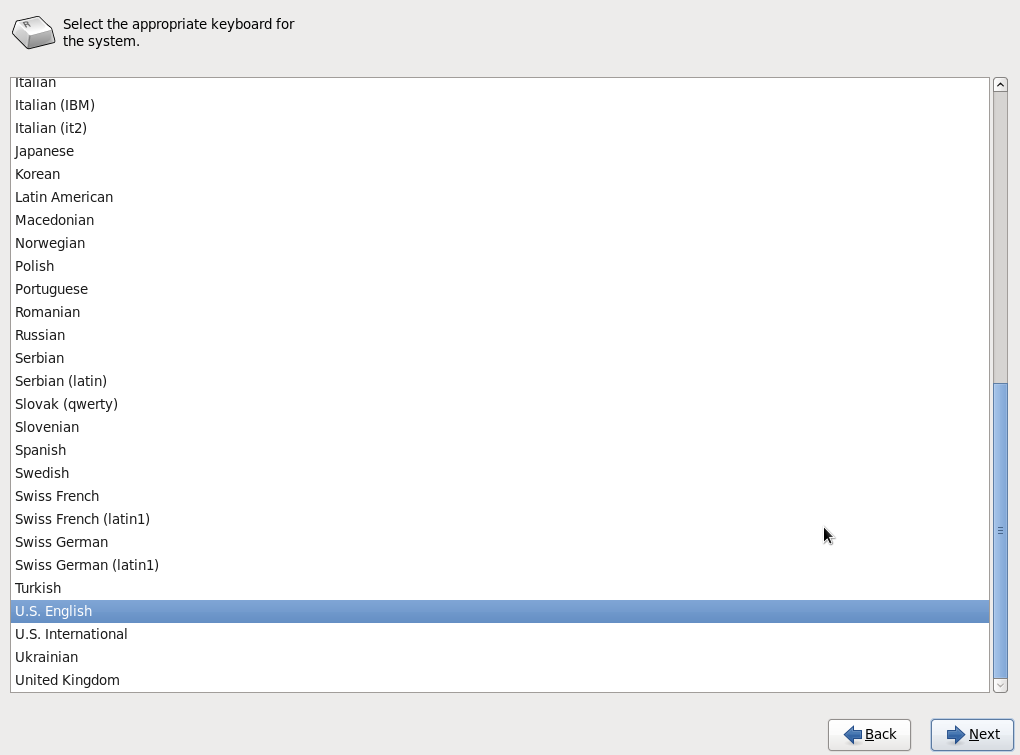
In the next screens we’ll have to choose the language and the keyboard layout (Fig 4 and Fig 5).
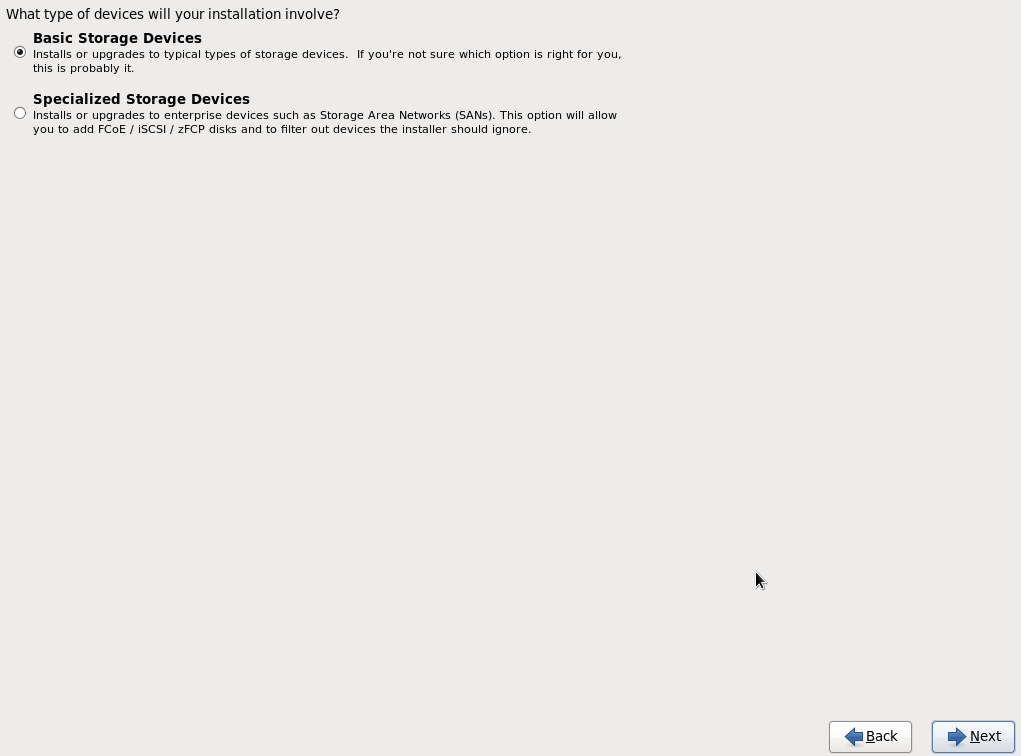
Now we have to choose whether we will be installing CentOS in a standard disk or in a special device such as a SAN lun, an iSCSI drive, etc… As we’ll be installing in standard disks most of the times we will choose the first option (Fig. 6).
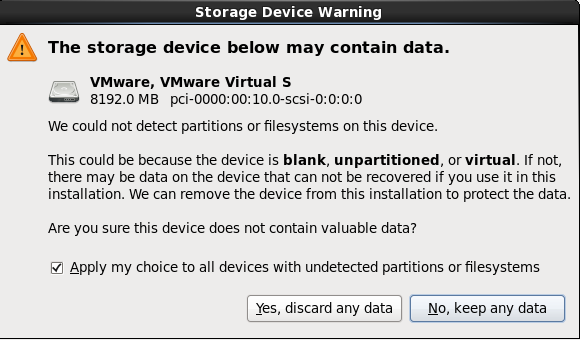
Right after pressing the “Next” button a warning appears (Fig. 7) to tell us that all data in the disk will be lost. As this is either a blank disk or a disk whose data are no longer needed, we say “Yes”.
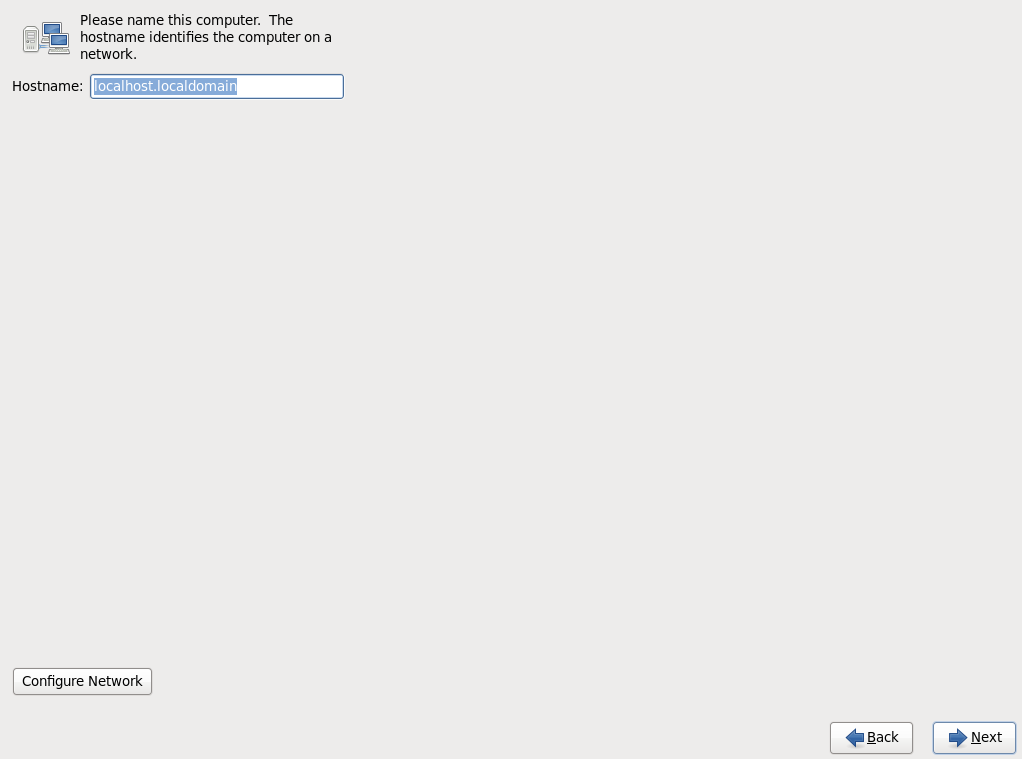
The program now requests us to enter the name and the domain of the computer we are about to install (Fig. 8). We can write this information now or do it once the installation is complete. We click “Next”.
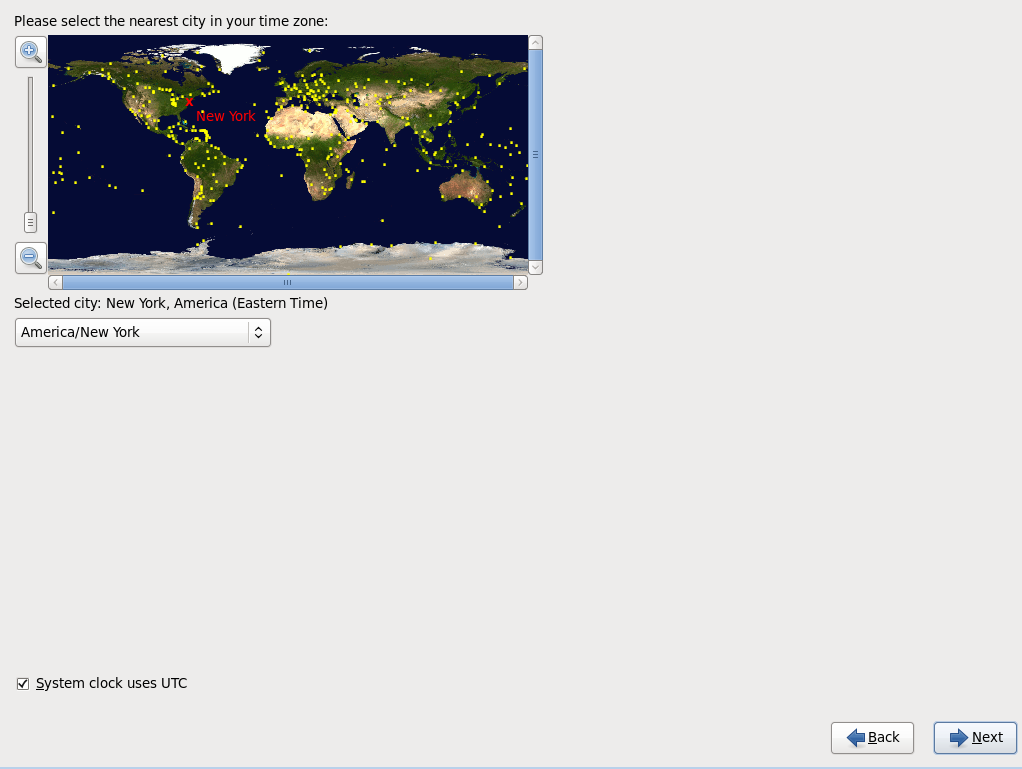
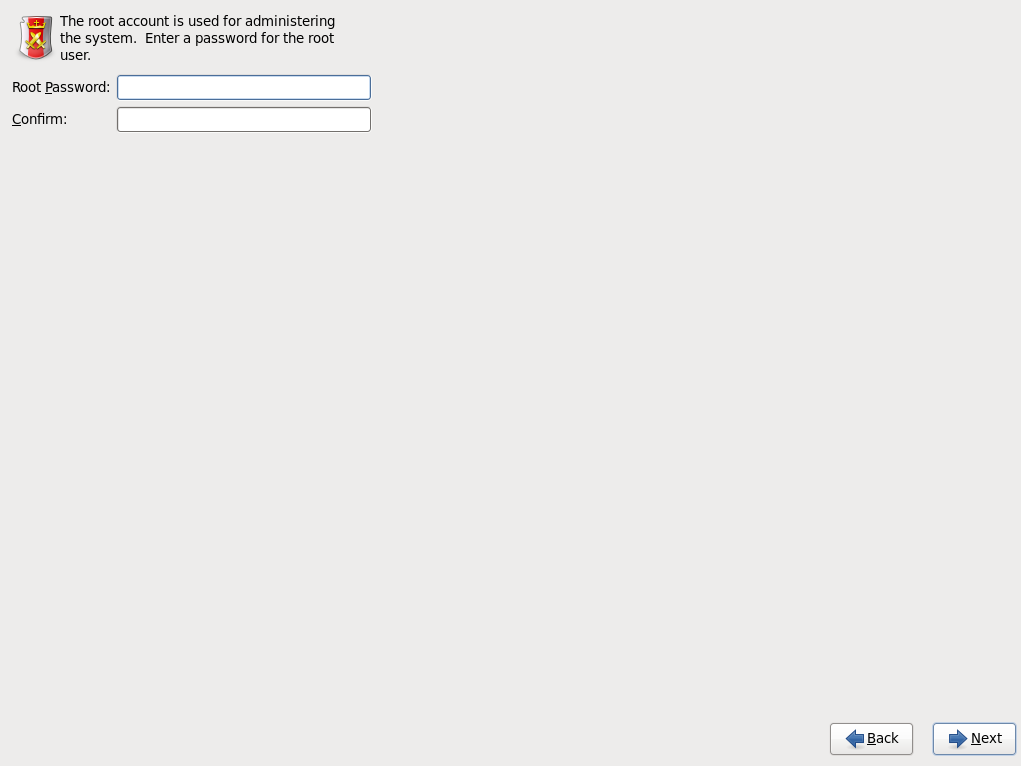
In the upcoming screens we’ll have to choose the Time zone as well as the root password (Fig. 9 and 10).
Now we are offered several options before starting the actual installation (Fig 11). We can choose to use the whole disk, no matter what Linux or non-Linux partitions might exist on the disk, use only free disk space, customize the disk partitioning, etc… As the default partitioning scheme is acceptable to start, we choose the first option. Although if we already had clear in mind the role the server was to play in the network we would probably have to customize the partitioning layout to create separate partitions or volumes for the different directories: /home, /var, etc…

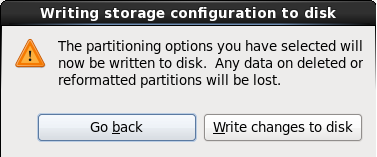
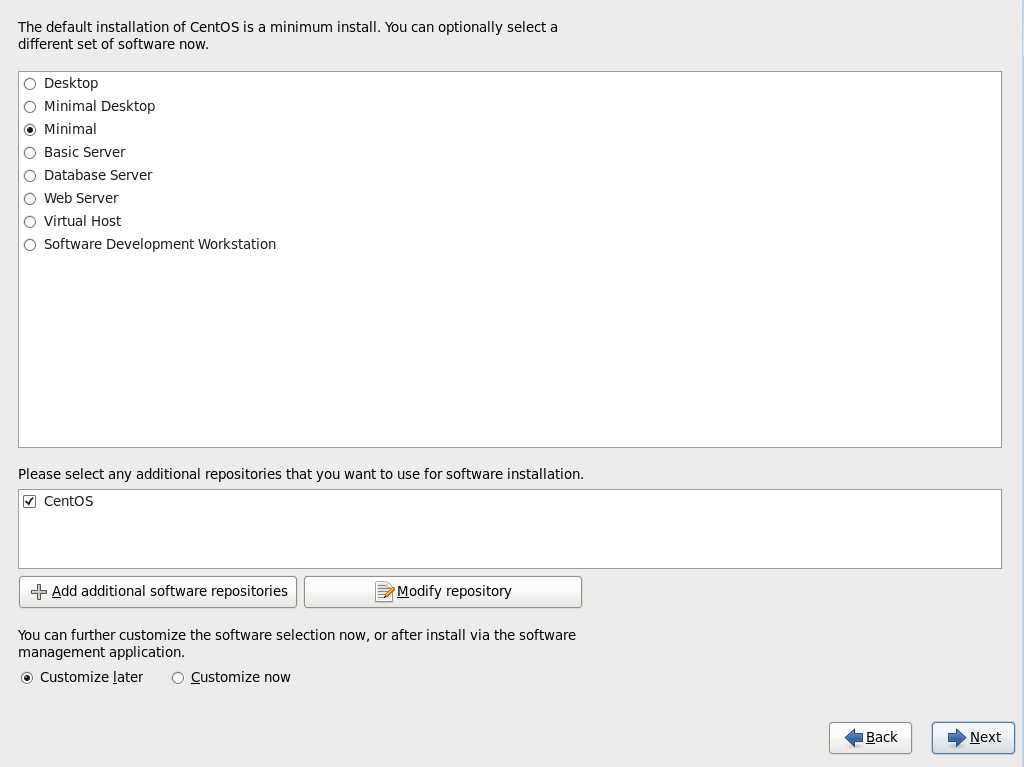
We see another warning (Fig 12) to remind us that the changes are going to be written on disk and we are requested to specify what software package we want to install. There are several pre-defined sets of software, Database server, Web server, etc… We’ll choose the Minimal option (Fig 13) and we will install later the different software packages as we need them.
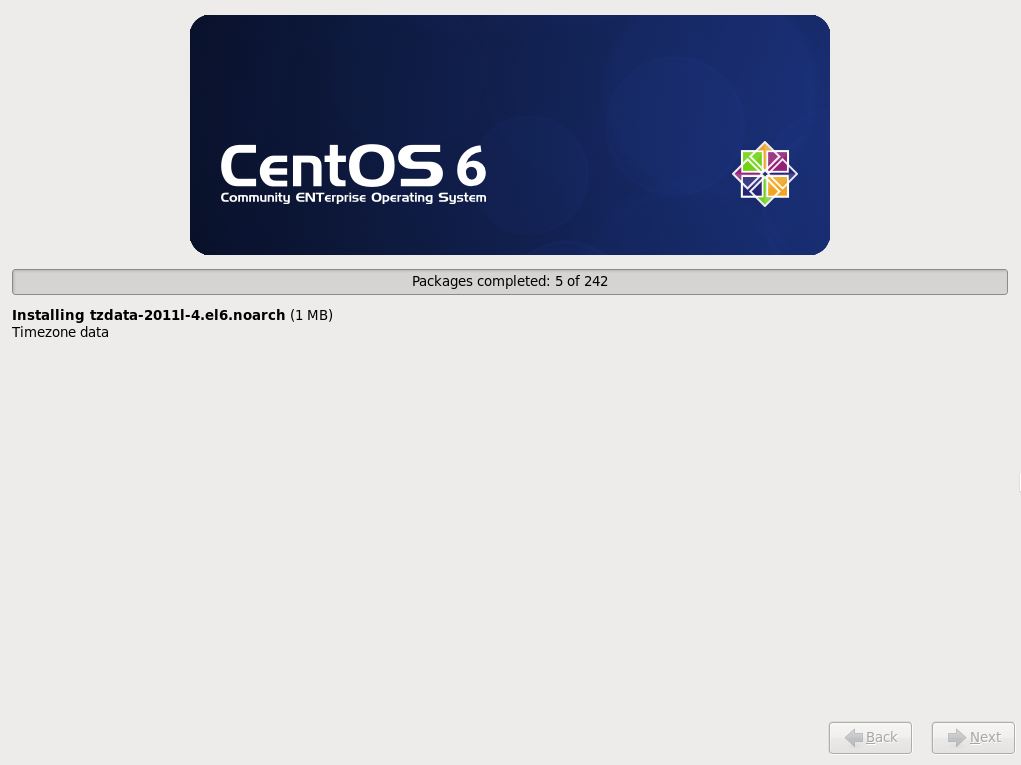
And finally the actual installation process begins (Fig. 14).
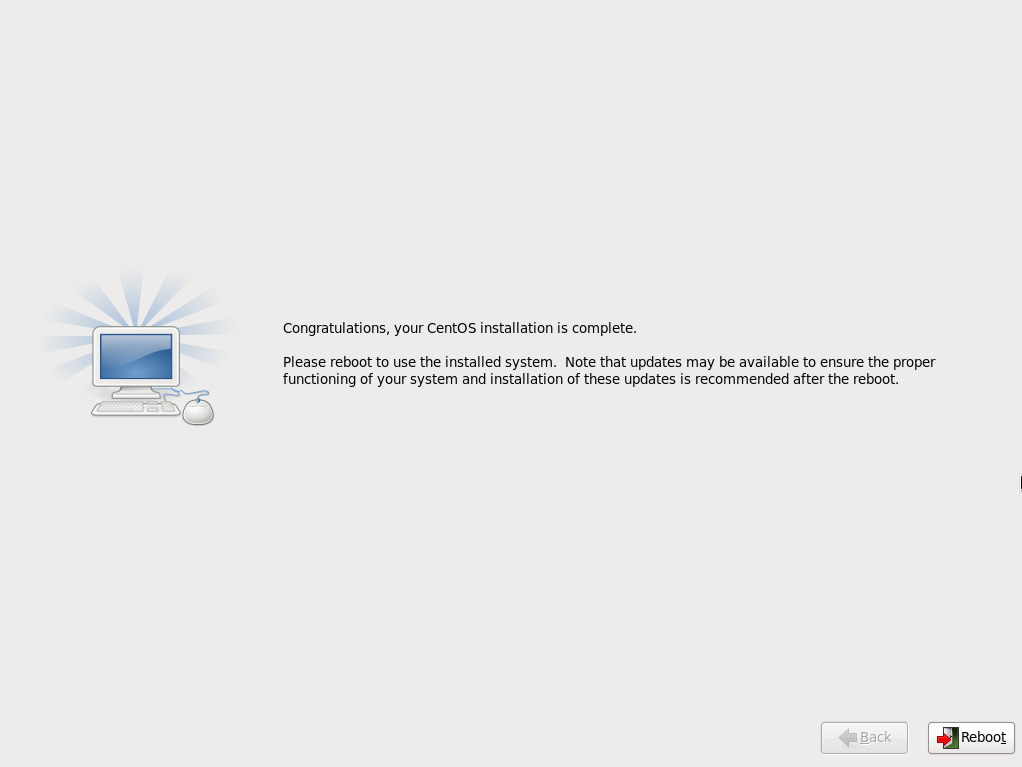
After a few minutes, the installation will be over (Fig. 15) and we’ll have to reboot the system.
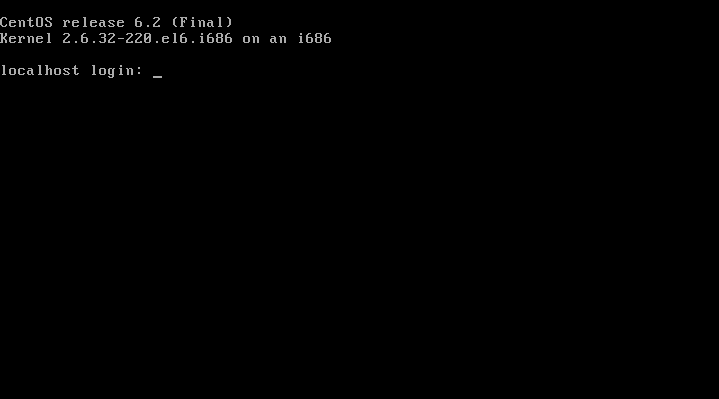
Once the boot process is finished we already have a working CentOS server (Fig 16).
2.1.- CentOS 7
As we saw in section 1.1, there are many types of installations to choose from. As we did previously when installing CentOS 6, we’ll install CentOS 7 from the installation DVD too. By the time of writing of this book, this could be downloaded from the official site. After downloading the ISO file we can burn it into a DVD. After that, we are ready to boot a server with the installation DVD inserted, as long as the computer is configured to boot from a DVD. After a few seconds we’ll see the screen in Fig. 17).
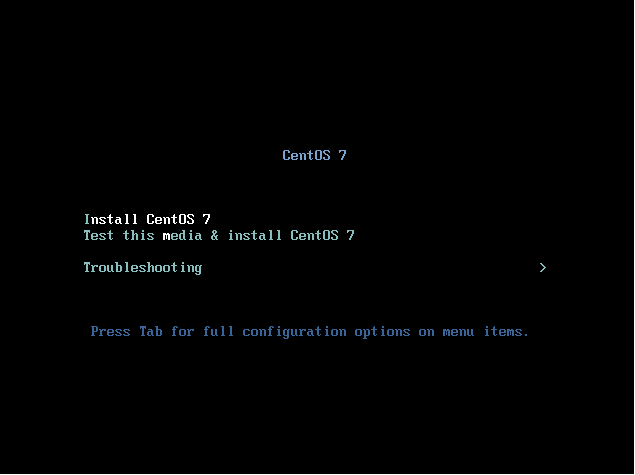
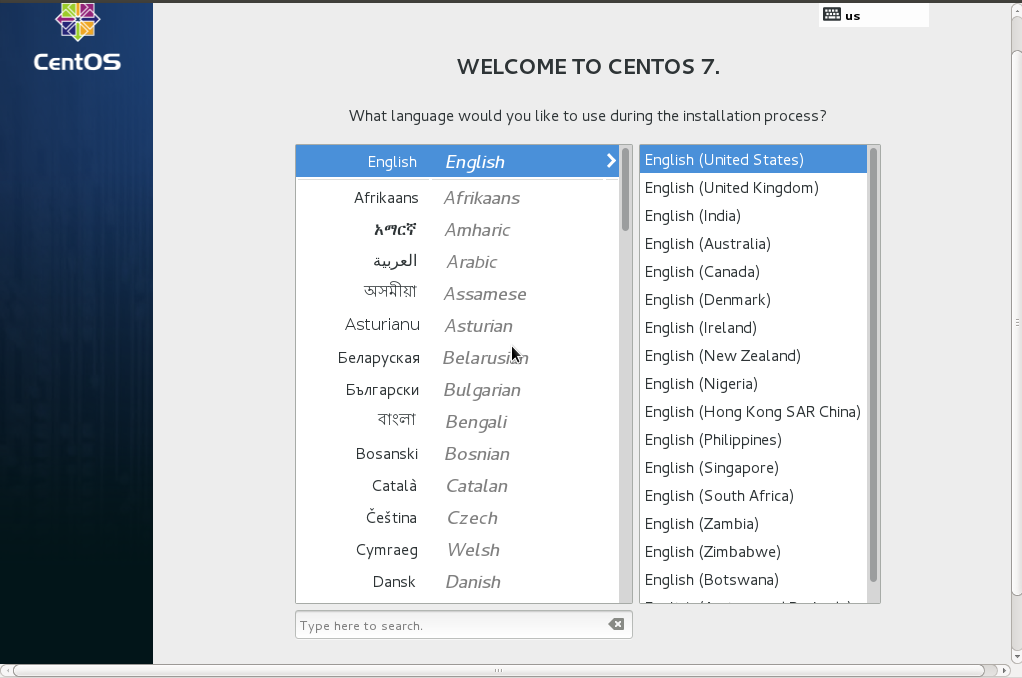
We select the first option “Install CentOS 7”. The computer will start now the graphical installer and we’ll be asked about the language we want to use during the install (Fig. 18).
After we click the “Continue” button we can see a brief summary of the installation (s. Fig. 19).

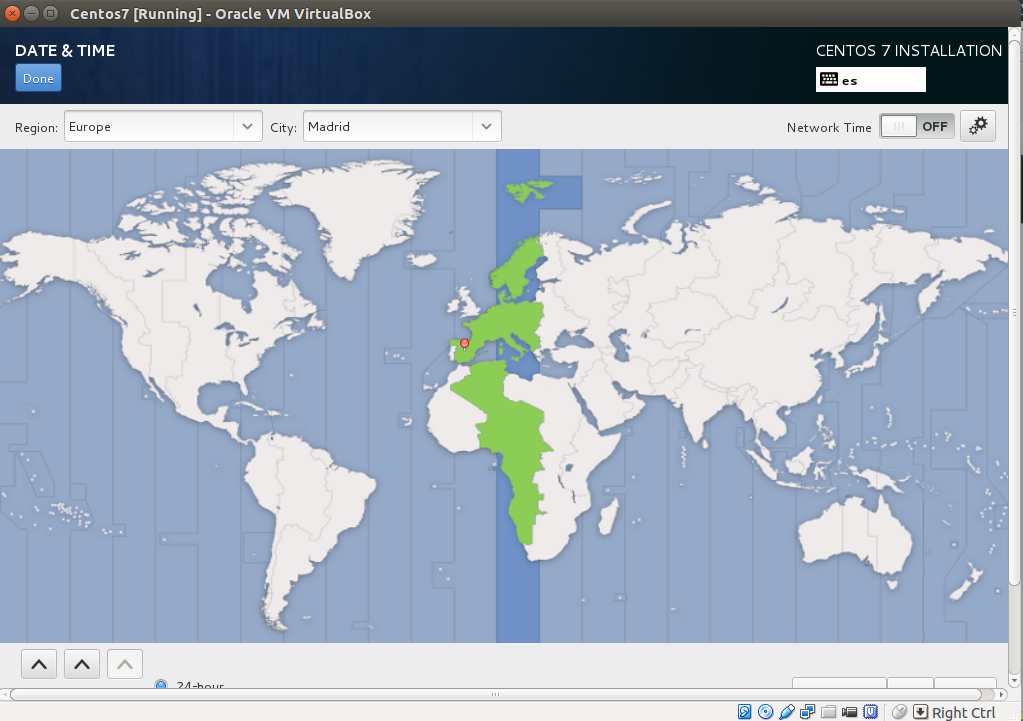
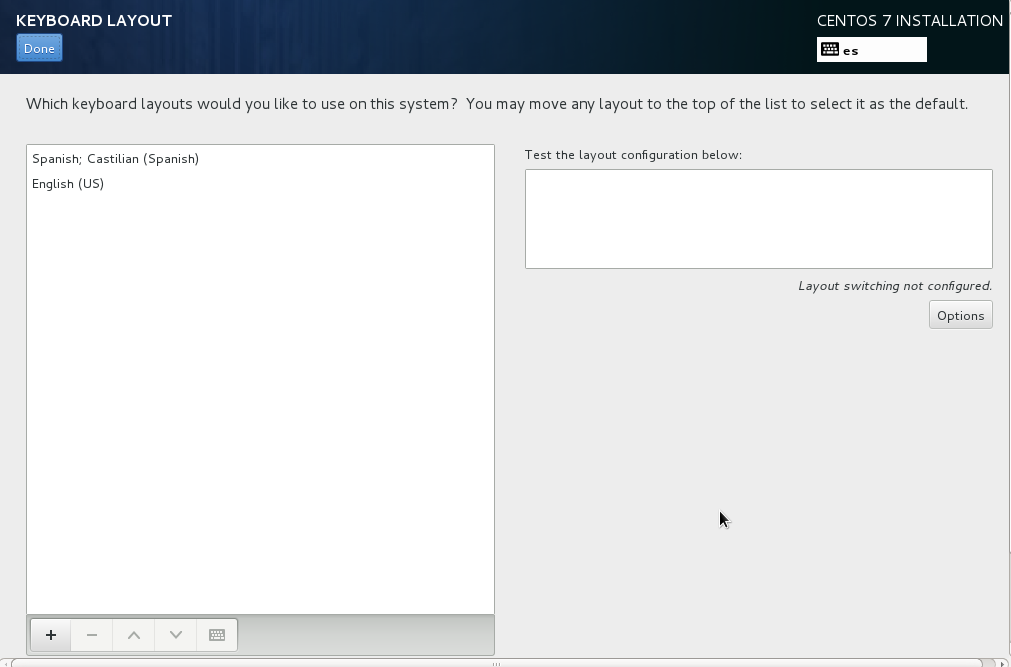
From this screen we can set the timezone (Fig. 20) or change the keyboard layout (Fig. 21).
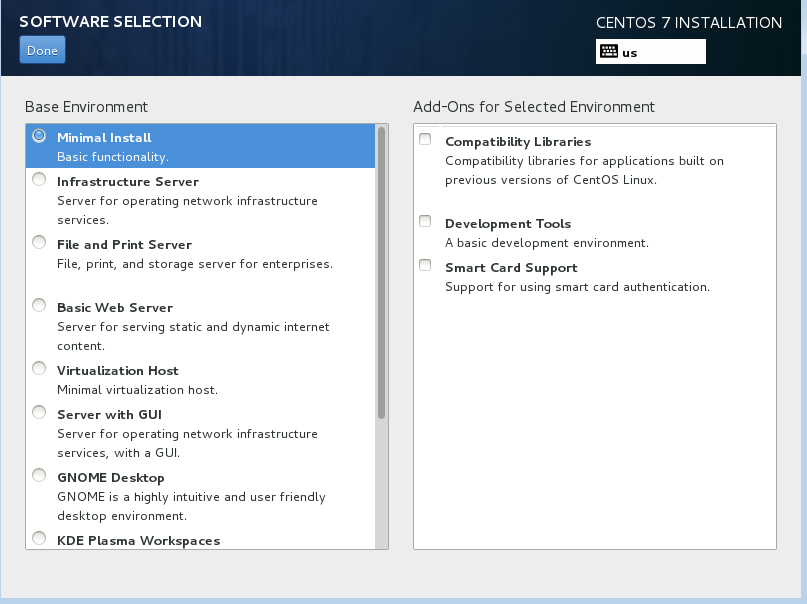
We can also select the software packages we want to install (Fig. 22). By default a minimum install is selected, but there are many other collections of packages available such as Web Server or Virtualization Host. We will keep the default selection: “Minimal Install”.
Before beginning the actual installation we need to choose the installation destination (Fig. 23).
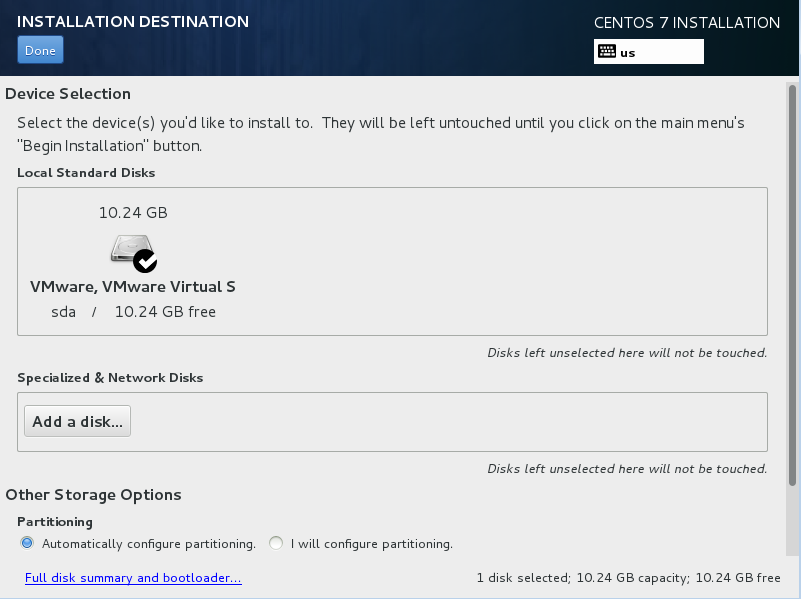
In most of the cases we select the local hard disk, but we could also select other devices such as SAN disks.
At this point we could also set up the network but, as we prefer to do it after the installation, we can obmit this step and click on the “Begin Installation” button.
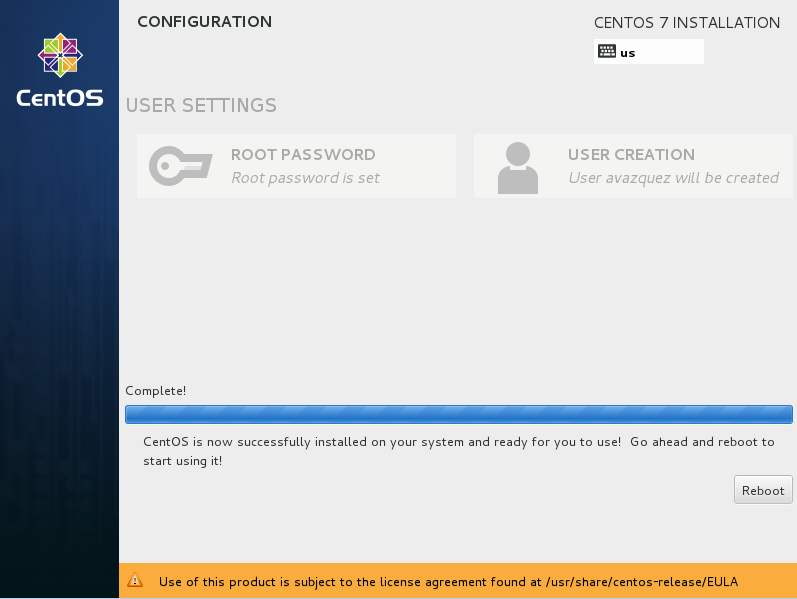
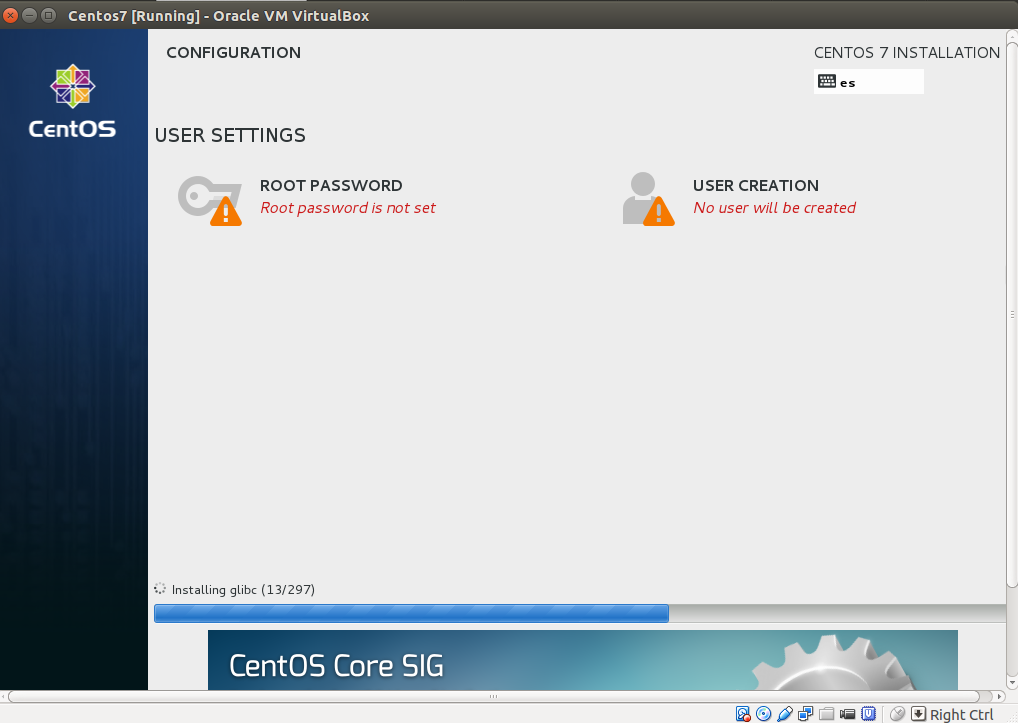
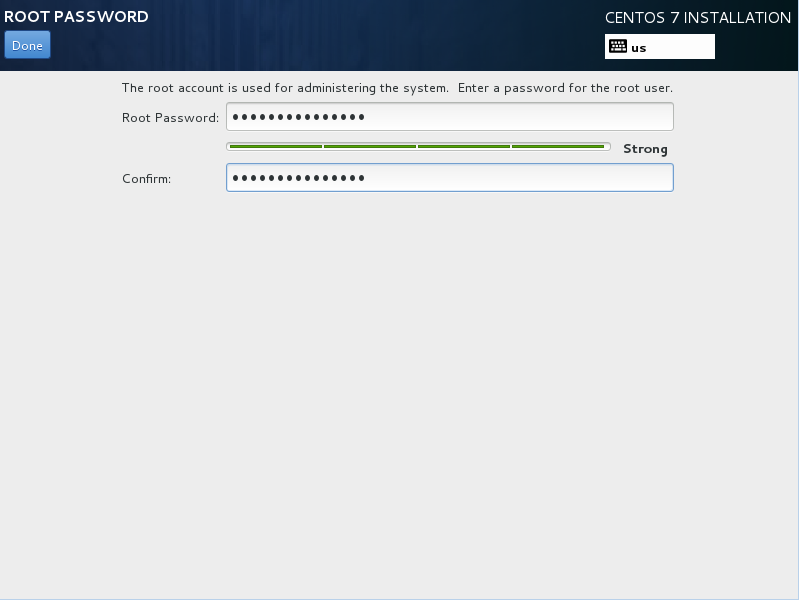
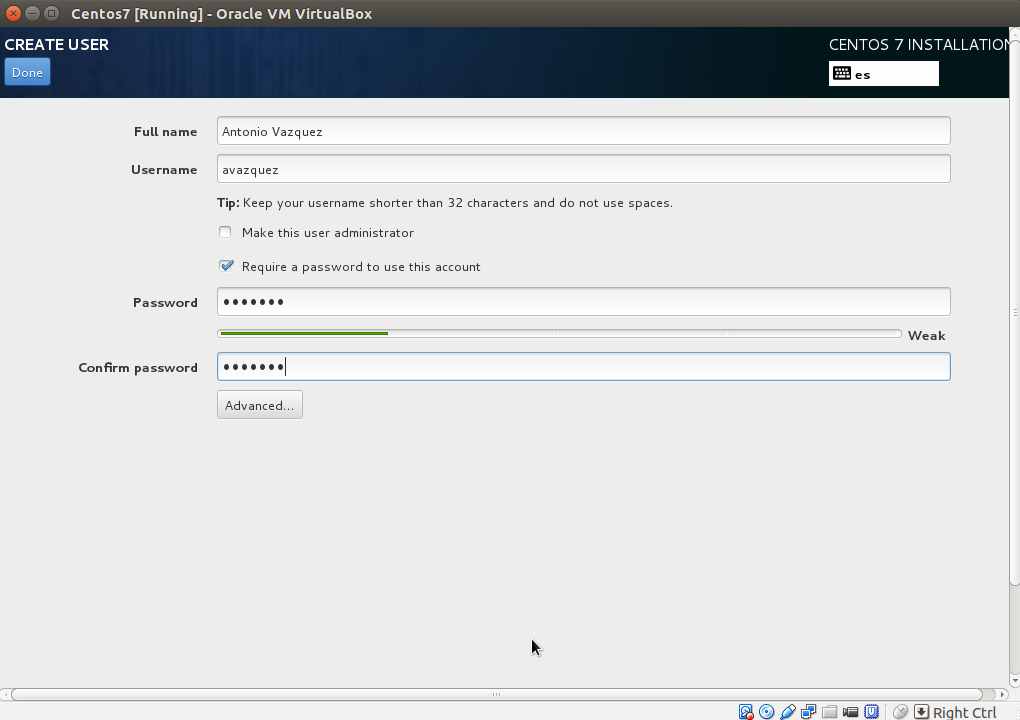
While the system is copying files (Fig. 24) we can set the root password and create additional users (Figs. 25 and 26).
When the installation finishes (Fig. 27) we can reboot the computer and start using CentOS 7.