9. Updating data scenario
9.1 Steps
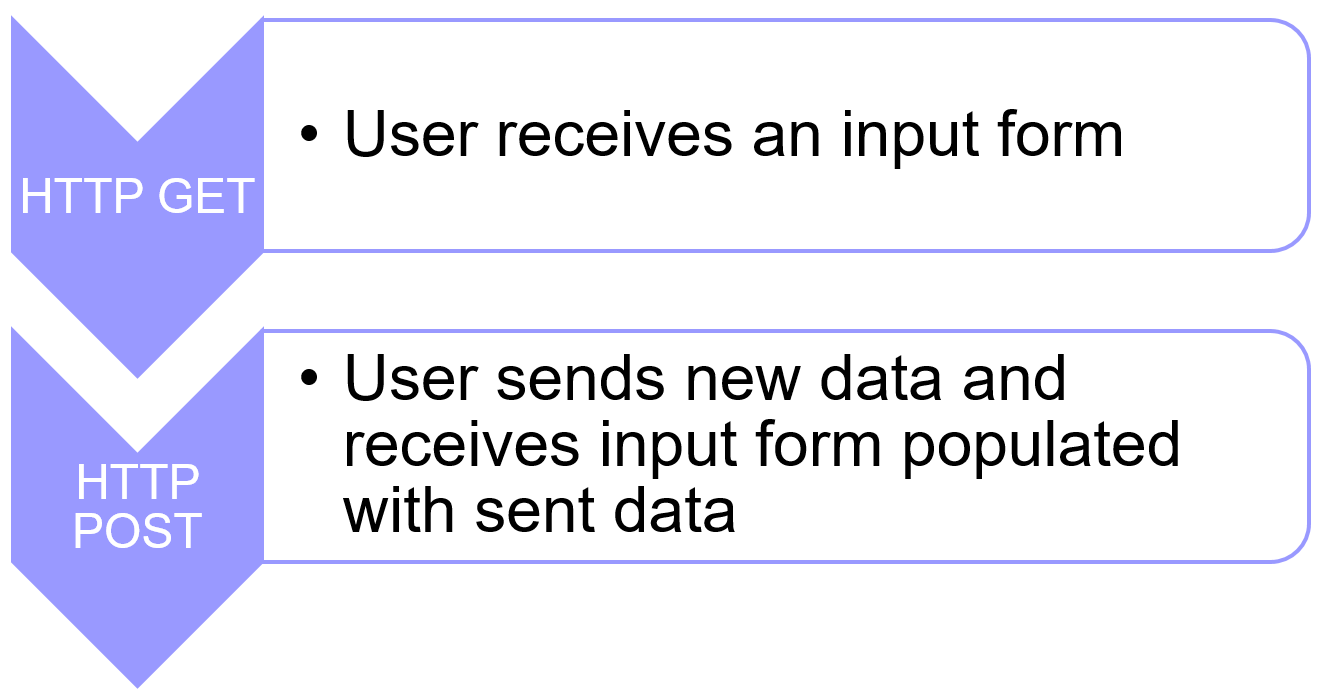
Now we need to support data input in a real-world scenario, not just sending some partial data. When you input data in a Web application, you do so through an HTML form. In fact, that process can be broken in two steps, whatever the server-side technology
9.2 Controller
Those two steps mean rendering a view twice, once for HTTP GET and once for HTTP POST. Which in turn means two actions on our controller. Your controller would typically look like :
When the data source update is successful, you probably don’t want the user to remain on the data input form. Which means the POST action would most likely contain a redirect statement. There is a RedirectToAction method for this on the base Controller class. It comes in handy since we provide the name of the action we want to redirect to :
[HttpPost]
public ActionResult Edit(int id, Product p)
{
  // ...
  if(successful) {
    return RedirectToAction("Index");
  }
}
9.3 Automated generation of controller and views
Now is time for me to show you a gem. In case we use Entity Framework as a data access layer, Visual Studio can generate in a breeze the controller, actions and views needed for a full CRUD scenario. What’s more, the generated code isn’t scary and can be modified to fit your needs.
Let’s see how it works. Remember we have the following model that we wrote a while ago :
All I have to do is right-click the Controllers directory in Solution Explorer and select Add / Controller... from the contextual menu :

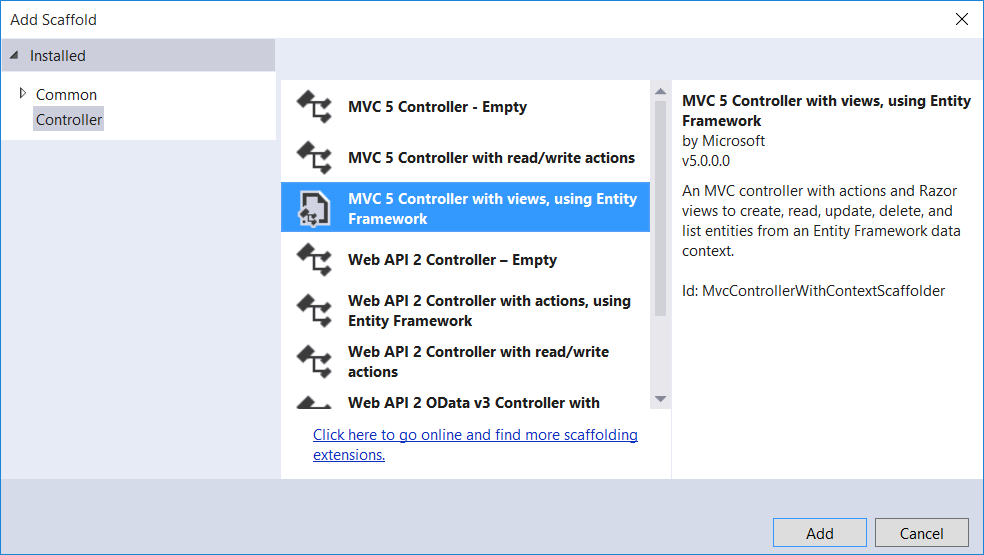
In the Add Scaffold dialog box I select “MVC 5 Controller with views, using Entity Framework” and click the Add button :
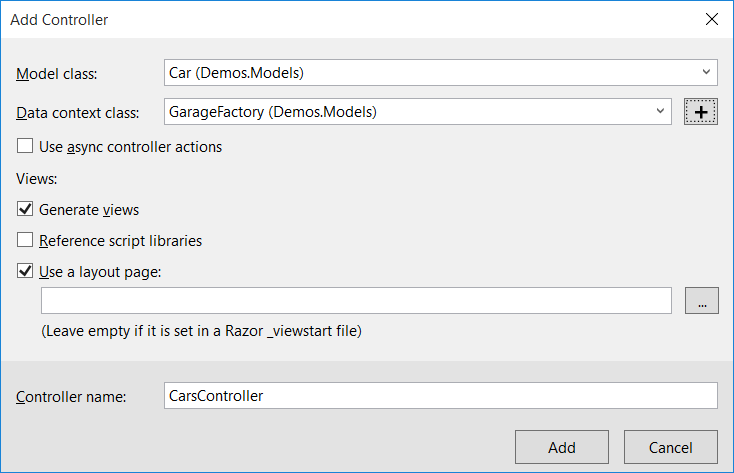
That gets me another dialog box, Add Controller, which I’ll fill in the following way :
- Model class:
Car - Data context class:
GarageFactory - Generate views: checked (default value)
I’ll leave the rest of the options to their default values. Here’s the dialog box before I press the Add button :
That’s all there is to it! I now have full actions and views for each CRUD operation.
Let’s go for instance to the list of cars. We type the http://localhost:58599/Cars URL in our browser and get a nice list :
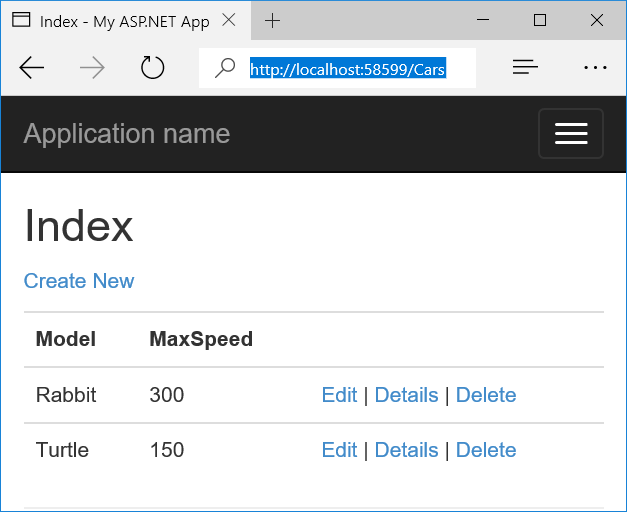
What’s more, there are links to create, edit, delete and details views, all working. Time to get the paycheck and go surfing for the next week.
Well, I can feel that your fingers are getting itchy again. You want to try this by yourself? Great, that’s just what we’re about to do!