2. Creating our Web Site
Here’s how we create an ASP.NET MVC Application.
Remember: you watch and memorize this, don’t try to do it now. Please bear with me, I promise you’ll get fun a bit later.
Let’s start Visual Studio 2015 and select File / New / Project from the menu. I know New Web Site sounds tempting but don’t use it, that kind of site doesn’t scale up well once you get to real applications.
I’m taken to the New project dialog box:

From the left menu I’ll select Visual C# since it’s the most common coding language for .NET, then Web. In the middle pane I’ll select ASP.NET Web Application and in the right pane I’ll ensure the Add application Insights to Project is unselected (because I don’t need them). In the lower part of the dialog box I’ll type the name of my project: Demos.

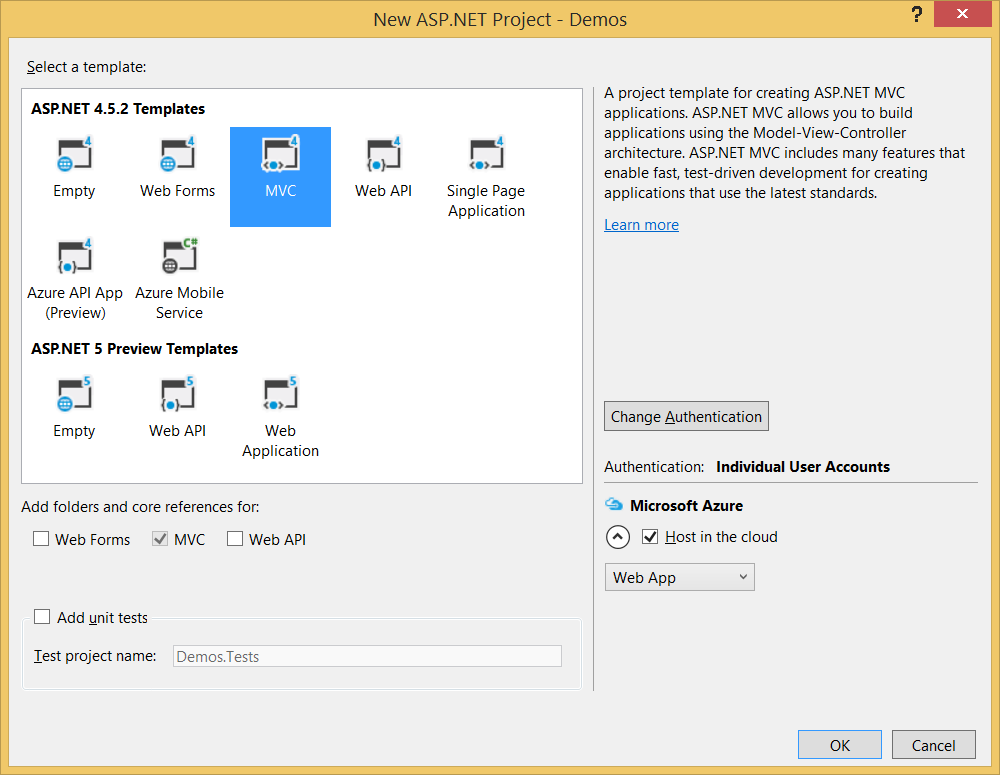
Now I click the OK button and I’m taken to a second dialog: New ASP.NET Project. Time to select the features we want. I’ll select MVC and keep the other default options as shown on that screenshot:
Now I click the OK button of the New ASP.NET Project dialog. I’m taken to a Configure Microsoft Azure Web App dialog. This is for my application’s later hosting on the Web. I’ll just click the Cancel button since I want to configure that later – or never in case I deploy my application elsewhere.
That’s it for now: my application is ready. In order to run it inside my browser, I’ll select Debug / Start Debugging from the menu, or use the F5 shortcut:
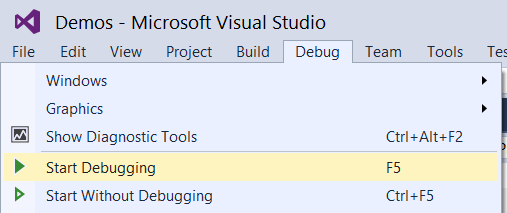
When I do this, Visual Studio starts a local Web server (IIS Express), runs my browser and points it to the URL of my site on that server, and finally attaches to the running code in debug mode so that it can catch any exception or show the code when I read a breakpoint.
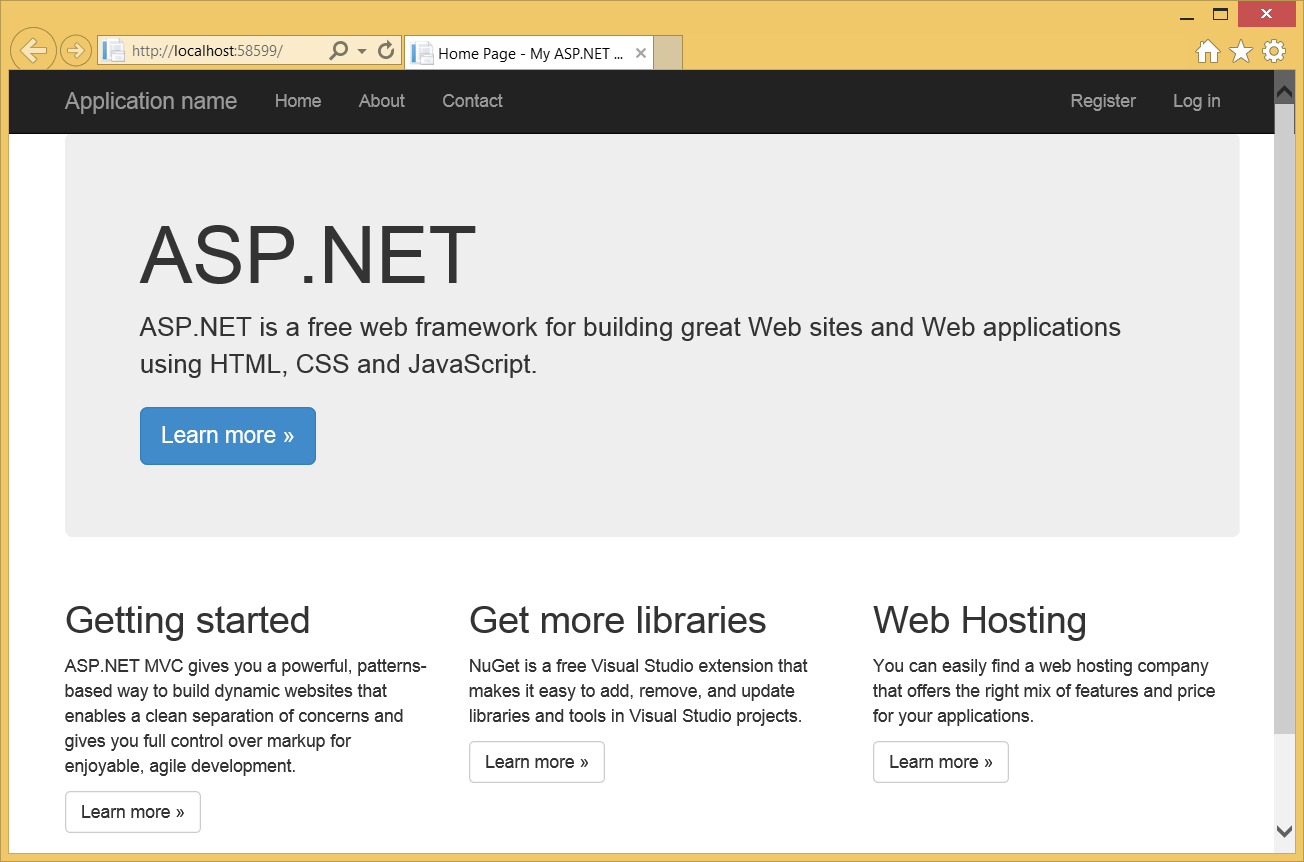
This is what I get in my browser:
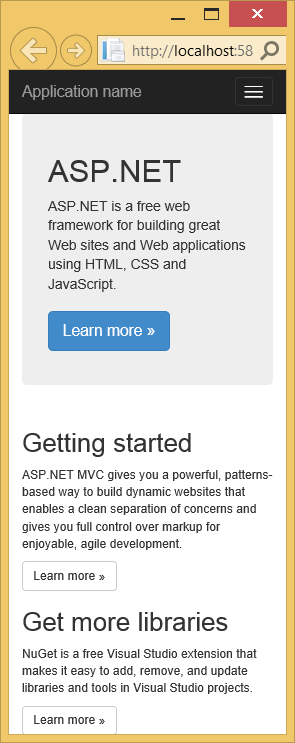
What’s nice is that the site is responsive (the default template uses Boostrap):
That application also has a menu above, with links that take me to almost empty “About” and “Contact” pages. Also note that we already have fully-functional “Log in” and “Register” links for user authentication. If I use them, a local SQL Server database will be created and used for storage.
Well, we have kind of a nice startup after just a few clicks. Now let’s see some theory before we can extend our application. Don’t worry, I’ll keep it short: this book focuses on getting you up and running quickly.