3. ASP.NET MVC inner workings
3.1 Principles
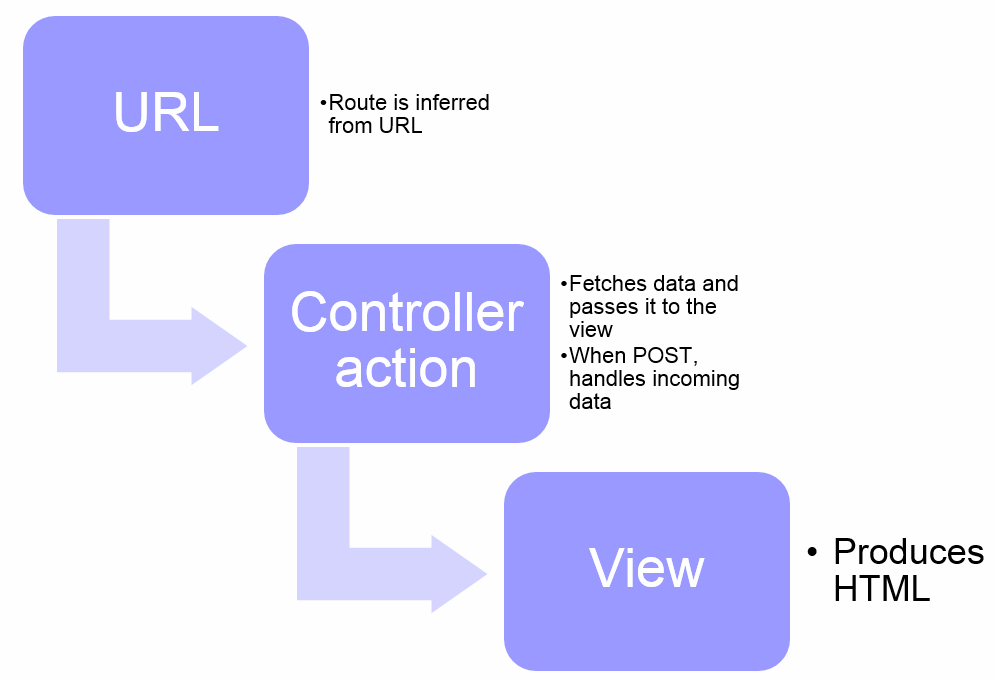
When our browser queries an ASP.NET MVC URL, there are three elements that work together in order to produce an HTML page:
- A View produces the HTML;
- A Controller:
- fetches the data and provides it to the view
- selects the view
- A Route selects the controller.
That’s an easy process. Here’s a schema of it:
3.2 View
Once inferred from the URL, the view is looked for into the following paths:
- Views/[Controller]/[Action].aspx
- Views/[Controller]/[Action].cshtml
- Views/Shared
When coding the view, you can choose between one of two syntaxes (or add another one):
- ASPX
- Razor
We’ll use Razor since it’s a concise view language crafted specifically for ASP.NET MVC. ASPX is a syntax that will sound familiar to those coming from ASP.NET Web Forms.
Before we begin learning about the Razor syntax, we’re going to have a look at what’s part of the Visual Studio template that was created.
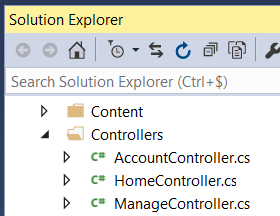
Let’s take a look at the project structure. For this I’ll use the Solution Explorer.

You can see that there is a “Views” folder containing a “Home” sub-folder, inside of which there is an “Index.cshtml” file. As seen above, when ASP.NET looks for the view corresponding to the “Index” action of the “Home” controller, it will get that Views\Home\Index.cshtml file. Sound abrupt? Bear with me.
Let’s open the Views\Home\Index.cshtml file. Apart for the first 3 lines, it contains pure HTML markup. That’s the markup that will be rendered to the browser. And it is also Razor code.
So you just learned a secret: Razor code is basically HTML code. In fact, it’s HTML in which we’ll add some special statements using the @ mark. Yeah, I know you’re beginning to love ASP.NET MVC, or at least Razor.
Inside the solution, we can also find a Controllers\HomeController.cs file:
Let’s open that file.
You can see that the class is named HomeController, and it contains a public method named Index. When ASP.NET looks for the view corresponding to the “Index” action of the “Home” controller, it will get this method.
The “Index” method contains a simple return View(); statement. It means that the default view should be returned for that action.
We’re almost there. Now let’s have a look at the App_Start\RouteConfig.cs file. It contains the following code:
This is the routing configuration. See the url property? It states how ASP.NET MVC will parse incoming URLs. As of now this is the only line, but you may add as many as you wish here.
What url: "{controller}/{action}/{id}" means is that if someone types the http://mysite/home/index URL in their browser ASP.NET will invoke the Index action from the Home controller. It also states that if someone types the http://mysite URL in their browser ASP.NET will invoke the Index action from the Home controller because they are the defaults.
Got it? Now let’s sum up what happens for a sample request:
- Someone types
http://mysite/home/indexin their browser. - ASP.NET MVC understands it has to look for the
Indexaction from theHomecontroller, so it invokes theIndexmethod from theHomeControllerclass. - The
return View();statement means the ASP.NET needs to return the default view. - ASP.NET fetches the
Views\Home\Index.cshtmlfile and renders it to the browser. It’s HTML which can be enhanced using the Razor syntax.
Easy, isn’t it? Well that’s almost all there is to ASP.NET MVC. Read those four steps again until you get them right, because they are the backbone of the ASP.NET process.
Time to put in practice all of that stuff you just learned. And I bet your fingers are itchy for coding.