Maps
Download the Map from the Website
There is an amazingly helpful map of the Yoshida trail on this website. (As the co-founder of Leanpub I respect copyright, so I won’t paste this map in here. What I will do, however, is show a screenshot of the website:
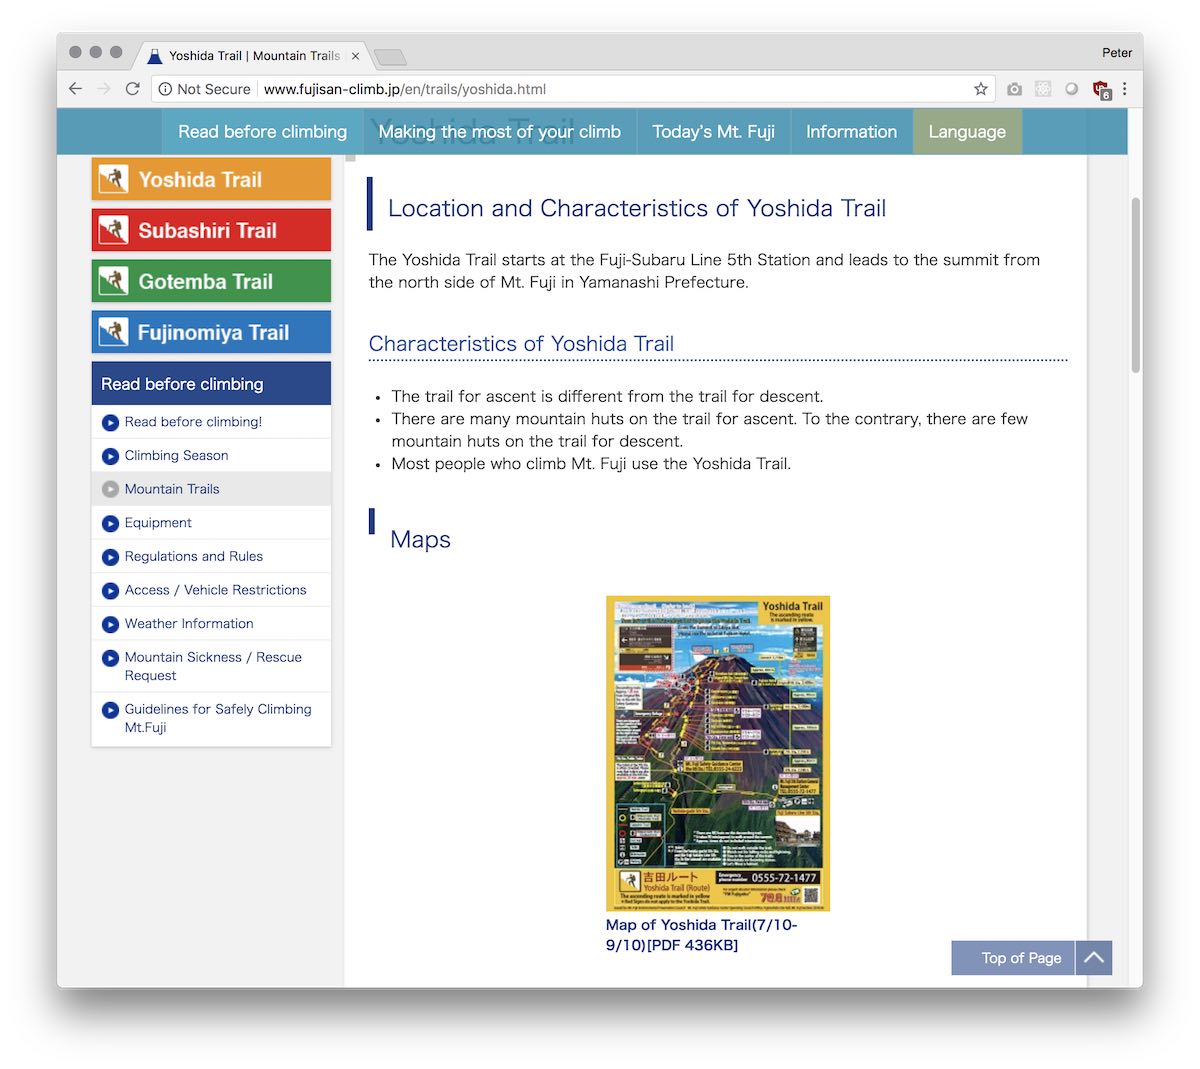
So, I will just strongly recommend that you download it from the official website. Save it on your phone, and print a couple copies of it. This is different than the paper map you will get from the visitor center if you ask for the map of the Yoshidaguchi trail.
This map clearly shows all the mountain hotels, so if you are booking a spot in advance, this is really helpful information. The map also clearly shows the different ascending and descending trails of the Yoshida trail. It also shows the Yoshidaguchi 5th Station, which is roughly at the same altitude as the Fuji Subaru Line 5th Station.
They have lots of printed copies of this map at the information center at the Fuji Subaru Line 5th Station, however—but that’s not going to be very useful to you if you hike the Yoshidaguchi trail, since the first time you will go there is at the end of your hike if you’re taking the bus the rest of the way down, like I did! (Hiking to and from the Fuji Subaru Line 5th Station from the Yoshidaguchi trail would add a couple hours to your hike, just to walk sideways on the mountain for no reason.)
Now, it could be that the visitor center by Mount Fuji station also has a copy of this map if you ask for a map of the Yoshida trail as well as the Yoshidaguchi trail. Frankly, I don’t know.
Get the Paper Map from the Visitor Center
Besides this map, there is a paper map from the Visitor Center right outside Mount Fuji station. Here’s a picture of what it looks like; stop in and pick up a physical copy when you get to Mount Fuji station.
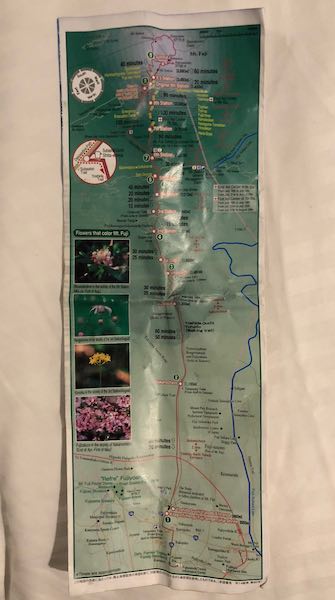
The map from the website discussed above is better for the top half of Mount Fuji, but this map is good for the entire mountain.
Google Maps
As I discuss in Your First Trip to Japan, Google Maps is an essential tool in Japan.
For Mount Fuji, it can help you get to Mount Fuji station, getting the correct trains, etc. Once you’re at Mount Fuji station, it can also help you get to the 7-11 before the shrine, regardless of whether you take a cab or walk. From the 7-11, it can help you find your way to the shrine, although the way gets reasonably well signposted once you are on it.
Once you’re on the actual trail, however, I preferred AllTrails to Google Maps.
AllTrails
The AllTrails iPhone app is really useful for knowing where you are during your hike. It is purpose-built for hiking, and the Pro version has offline map download, which is comforting. There’s reasonably good cell phone reception on Mount Fuji, however, so even the free version of AllTrails can be almost as good on Mount Fuji.
I bought the “lifetime Pro” in-app purchase (it’s $99 USD in the US App Store, and about $140 CAD in the Canadian App Store) of AllTrails before the hike, and I probably could have gotten away with not doing so. However, just the comfort of seeing where I was on the AllTrails contour map and their other map modes, and knowing that I would have this even if I lost cell phone reception, meant that the price was worth it to me. In either the free version or the paid version, AllTrails really turns your iPhone into an amazing hiking tool.
AllTrails can also record what you did for posterity. However, to ensure that things like times and distances are accurate, I think it’s essential to pause the AllTrails recording when you are stopped. (AllTrails even has an Apple Watch app, whose only feature is to start and stop your recording.)
Now, I didn’t do this, since I wanted my times to be completely accurate, including all the rest breaks I took. However, my recording has a number of GPS glitches, which means that the distance measurements are totally useless. The worst one of these was my fault, since I left it on when I went into the first mountain hotel for dinner. However, there were also a number of smaller glitches which happened when I was completely outdoors. I think that they roughly correlate with when I had stopped for a rest break. So, if I had paused the recording when resting, and restarted when walking, I would have had way more useful recordings to show. Sorry about that.
Now, with AllTrails, you can easily shorten the endpoint of each hike, just by dragging a dot. This helped me get rid of the GPS glitches at the end of the Day 1 hike, and it also helped me get rid of the extra bit at the end of the Day 2 hike—I forgot to stop the recording when I got to the Fuji Subaru Line 5th Station, and I only remembered once the bus had gone a couple kilometers.
So, the recordings of the ends of both my Day 1 and Day 2 hikes have been shortened, to get rid of the mistakes at the end. However, I have not edited anything inside either recording. This way, you’ll see exactly what was recorded, including the places where AllTrails shows my GPS going completely nuts.
I was tempted to export the maps as PDF, and show the glitches as a screenshot. However, due to copyright uncertainty (both with the AllTrails graphics, and with the data from Mapbox and OpenStreetMap), I’m not going to do either thing. Instead, I will just link to both days of my hike, which I have made public: