Set up
Setting up our Raspberry Pi Pico for first use is a fairly simple task and I suggest that we should approach it as an exercise in just getting going without too much of an eye to the future.
By that I mean that we should aim to get up and operating with a running program on the Pico. We’ll ignore any plans for connecting peripherals or preparing for installing the device somewhere separate. Our only aim is to get it working and along the way establish how easy it is. We do this so that we can break down any mystique about the process being difficult. This way, if we have a problem, we can work through it with a minimum of complexity.
Our aim therefore is to connect our Raspberry Pi Pico install ‘Thonny’ (which is the programming environment we will use to interact with the Pico) and write a MicroPython program to blink the onboard LED. This is a pretty common example program and should serve to demonstrate that we can get things up and running and from there we can think about more complicated adventures.
Hardware
The hardware requirements are pretty minimal. We will want the following;
- A Raspberry Pi Pico (I will strongly recommend a Pico W and there’s no need to solder any headers onto the board just yet)
- A computer that can run the Thonny Integrated Development Environment (IDE). Pretty much all will be able to.
- A micro USB cable to connect between the Pico and the computer
- A 5V micro USB power source (optional, but cool if we want to demonstrate the Pico running independently from the computer)
Software
The project will guide you through the installation of:
- The Thonny Python IDE
- MicroPython firmware for Raspberry Pi Pico
What is Thonny?
Thonny is a simple Integrated Development Environment (IDE) that is designed to be the logical interface between you (the programmer) and the Pico. This is the application where your can write you code, run it and see the output (and any errors!). IDE’s can be incredibly complex systems that support advanced software development. Thonny is designed for beginners who want to use Python and as such it will more than adequately serve to get us started. It’s also Open Source and as such there are few limitations on getting hold of a copy for use.
Install Thonny
To get hold of the software, go to the official Thonny web site and click on the ‘Download’ button. That will list out the different options that you can choose from depending on the type of computer you are going to be using. Follow the instructions and you will have Thonny installed in a couple of minutes. Open it up.
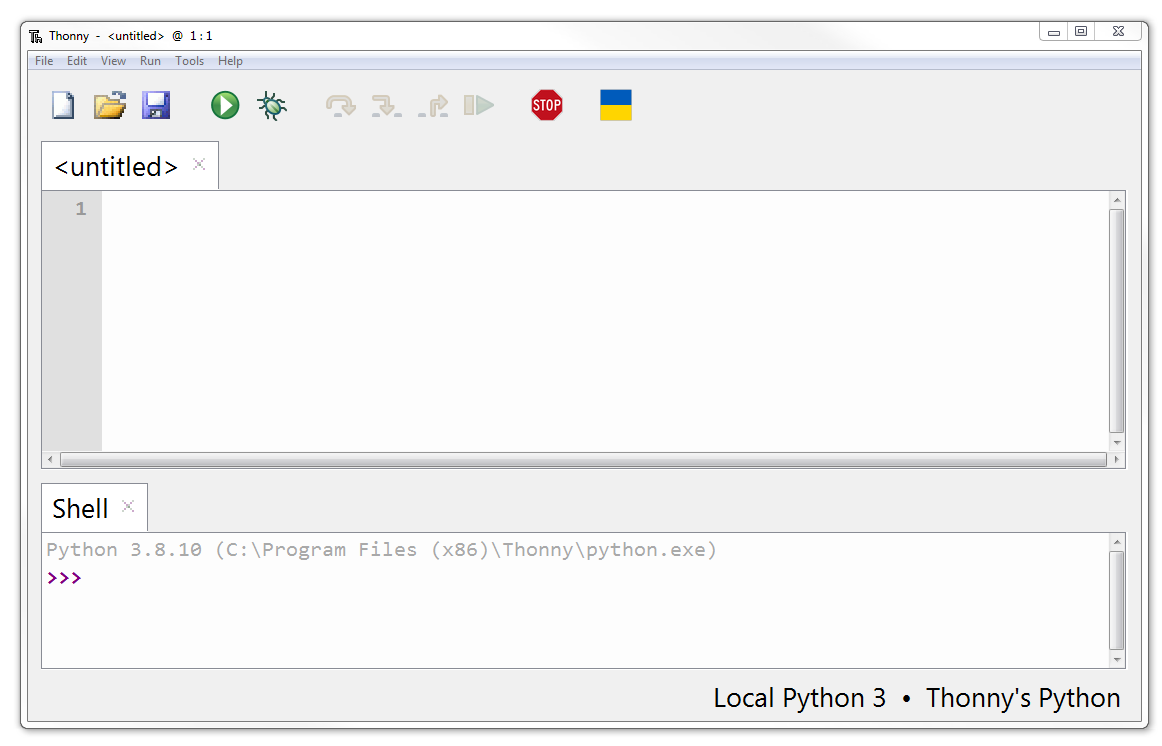
The basic Thonny interface as shown provides us with a code editor in the top section, where we will write all of your code. The bottom half is our ‘Shell’, where we will see any output when we run our code.
In the classic manner of programmers everywhere we can test that things are working correctly by writing a ‘Hello World’ program.
Type the following into the code editor;
Then press the ‘Run Script’ button (or press F5).
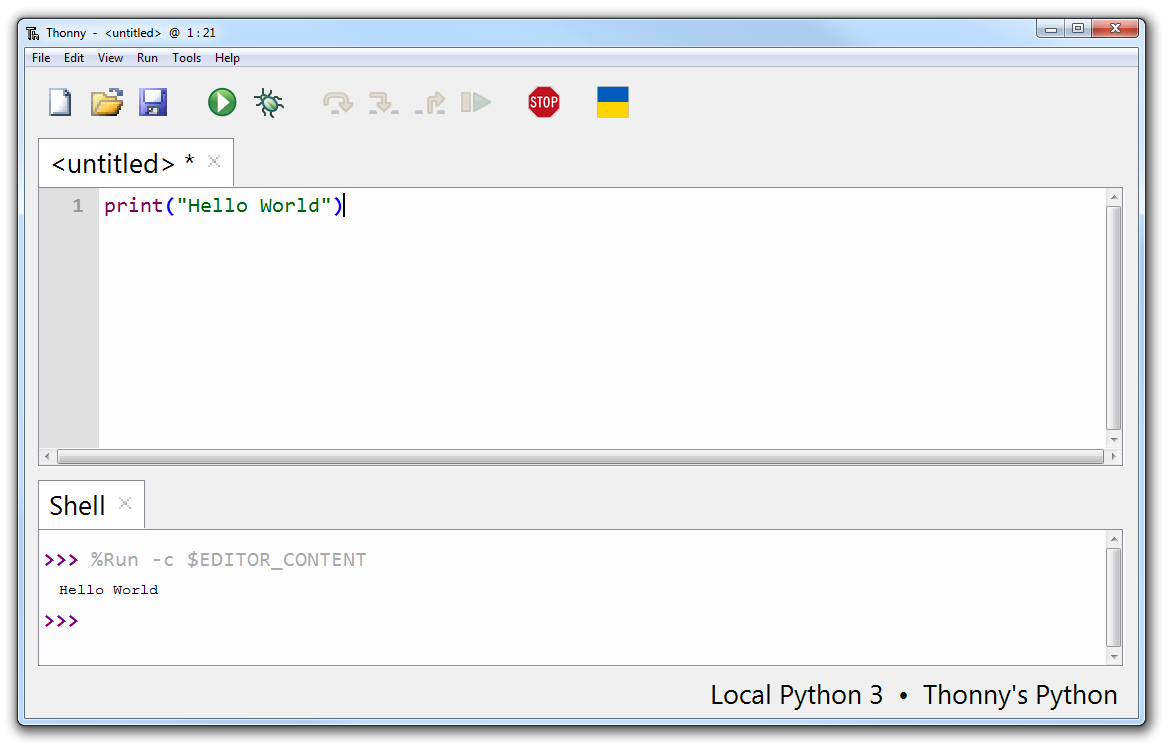
In the shell section of Thonny we should see that the program has run and it has printed out the phrase ‘Hello World’! Congratulations! You’re a programmer! Although perhaps we shouldn’t get ahead of ourselves ;-).
To get a feel for how Thonny can help us out, deliberately break your Hello World program by deleting one of the parenthesis. When we press run again, we should be presented with feedback in the shell that there in an error in the code and it should even provide some indication of where in the code it has occurred. Have a bit of a play and see what changes you can make to both break and expand the code.
What we have been doing above is writing Python code and having it run on our desktop. Now we’re now ready to move on to the next step and connect our Raspberry Pi Pico to Thonny and have the code run on the Pico.