Project 2 – Rain or Not?
In this project, we create an app that helps the user knows if they need to begin the umbrella each day. It serves one single purpose which fetches the weather. In this example, we only care about the rainy day and the sunny say. In the future, you may modify it to support more weather conditions such as windy and snow days.
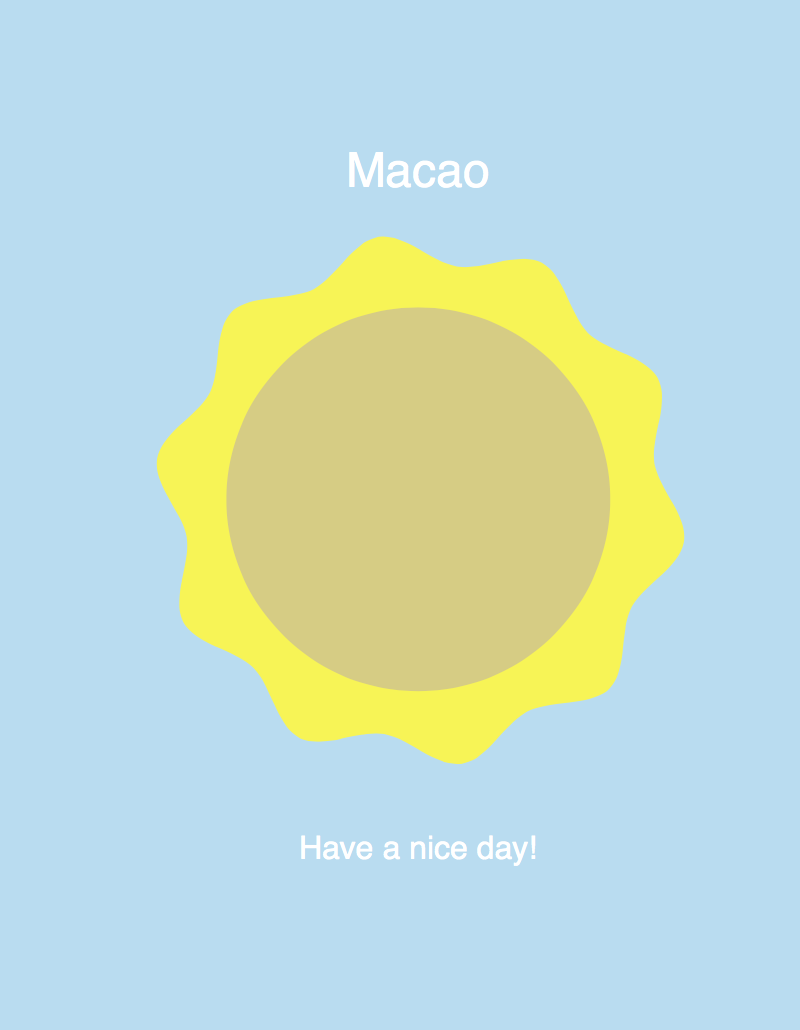
Before we get started into the project, here is the screenshot of what we are going to build. You can also try the project demo with the following link. I recommend you go try it so you can map the code with the app that we are building.
http://mak.la/demo-rain-or-not
Why this project is awesome
We have created an information based app in last example. In this example, we will explore how we can separate the logic into data, view and controlling logic. This is known as MVC, modal-view-controller.
We try to separate the logic, data and the view. This ensues that each module of code is minimal and so they are easy to maintain.
Mission Checklist
We are going to replace the canvas-based content into DOM elements.
- Setup the project
- Data
- Mocking API
- View
- Adding Canvas
- Moving the Canvas in
- Aligning with FlexBox
- Device Rotation
1 ;(function($){
2 $.getJSON('http://api.openweathermap.org/data/2.5/weather?q=Macao,MO&callback=?'\
3 , function(data){
4     console.log(data);
5   });
6 }).call(this, jQuery);
1. Setup the project
Time for Action
- The
index.htmlfile.index.html 1<!DOCTYPEhtml>2<htmllang='en'>3<head>4<metacharset='utf-8'>5<metaname='viewport'content='width=device-width, initial-scale=1'>6<metaname='apple-mobile-web-app-capable'content='yes'>7<title>RainorNot</title>8<linkrel='stylesheet'href='styles/app.css'>9</head>10<body>11<divid='app'>12<divid='main'class='page loading'>13<header>Macao</header>14<canvasid='app-canvas'class='out'width='300'height='300'>15<!--fallbackcontent-->16<imgclass='rainy-only status'src='http://placehold.it/300x300&text=\17rainy'alt='rainy'>18<imgclass='sunny-only status'src='http://placehold.it/300x300&text=\19sunny'alt='sunny'>20</canvas>21<pclass='description rainy-only'>Bringyourumbrella</p>22<pclass='description sunny-only'>Haveaniceday!</p>23</div>24</div>2526<scriptsrc='//code.jquery.com/jquery.min.js'></script>27<scriptsrc='//code.createjs.com/easeljs-0.7.1.min.js'></script>28<scriptsrc='//code.createjs.com/tweenjs-0.5.1.min.js'></script>29<scriptsrc='//code.createjs.com/movieclip-0.7.1.min.js'></script>30<scriptsrc='scripts/rain-or-not-lib.js'></script>31<scriptsrc='scripts/app.js'></script>32<scriptsrc='//cdnjs.cloudflare.com/ajax/libs/prefixfree/1.0.7/prefixfree.m\33in.js'></script>34</body>35</html> - The
app.coffeefile.app.coffee 1this.rainOrNot={}23classApp4constructor:->5console.log"Do you need your umbrella today?"67@refresh()8910refresh:->11data=newData()12view=newView()13data.fetch(is_rainy)->14view.update(is_rainy) - Make sure we invoke the App: {title=”app.coffee”} new App()
What just happened?
2. Data module
The data logic is responsible to fetch the data from the source and parse the data.
Time for Action
- We create a new class for the Data module.
app.coffee 1classData2constructor:->3@api='http://api.openweathermap.org/data/2.5/weather?q=Macao,MO'4fetch:(callback)->56$.getJSON@api,(data)->7console.log(data)89code=data.weather[0].id+""#forcetostring1011#rainycodeallstartat512ifcode[0]=='5'13callback(true)14else15callback(false)
3. Mocking API
We need to use different API response to test our logic.
Mocking an API usually means that we create a static JSON file and put it somewhere that the development app can access. But this could be more automatic if we have lots of mock API to create. A tool named mockable comes to help.
I created 2 canned responses, sunny and rainy, with the following URL. The response JSON is copied from the source, OpenWeather.
1 http://demo5385708.mockable.io/weather?sunny
2 http://demo5385708.mockable.io/weather?rainy
Time for Action
- In the
Dataclass, we add a mock API to test different API response. Add the following code to override the API url.app.coffee 1classData2constructor:->3@api='http://api.openweathermap.org/data/2.5/weather?q=Macao,MO'45#mock6@api='http://demo5385708.mockable.io/weather?rainy'7...
4. View
Defining the CSS styles.
 1 .loading {
 2   background-image: url(../images/loading.png) center center no-repeat;
 3 }
 4
 5 .sunny {
 6   background: #B8DCF1
 7 }
 8 .rainy {
 9   background: #9FB6C4;
10 }
The main view that controls DOM elements and the more-specific View objects, such as Background and CanvasView
 1 class View
 2   constructor: ->
 3     $('.status').hide()
 4     $('.description').hide()
 5
 6     @canvasView = new CanvasView()
 7     @canvasView.reset()
 8     @background = new Background()
 9   update: (is_rainy=true)->
10     $('.loading').removeClass('loading')
11     @canvasView.moveIn()
12     if is_rainy
13       $('.rainy-only').show()
14       $('.sunny-only').hide()
15       @canvasView.showRainy()
16       @background.setRainyBackground()
17     else
18       $('.rainy-only').hide()
19       $('.sunny-only').show()
20       @canvasView.showSunny()
21       @background.setSunnyBackground()
Controlling the Background
1 class Background
2   constructor: ->
3     @element = $('body')
4   setSunnyBackground: -> @element.addClass('sunny')
5   setRainyBackground: -> @element.addClass('rainy')
5. CanvasView
 1 class CanvasView
 2   constructor: ->
 3     cjs = createjs
 4     @canvas = document.getElementById("app-canvas")
 5     @stage = new cjs.Stage(@canvas)
 6
 7     cjs.Ticker.setFPS 60
 8     cjs.Ticker.addEventListener "tick", @stage
 9     cjs.Ticker.addEventListener "tick", @tick
10
11     @retinalize()
12   tick: =>
13     @applyDeviceRotation()
14
15   retinalize: ->
16     CanvasView.width ?= @canvas.width
17     CanvasView.height ?= @canvas.height
18
19     @canvas.style.width = CanvasView.width + 'px'
20     @canvas.style.height = CanvasView.height + 'px'
21     @canvas.width = CanvasView.width * 2
22     @canvas.height = CanvasView.height * 2
23     @stage.scaleX = @stage.scaleY = 2
24
25   moveIn: -> $(@canvas).removeClass('out').addClass('in')
26   reset: -> $(@canvas).removeClass().addClass('out')
27
28   showRainy: ->
29     @icon = new lib.Rainy()
30     @stage.addChild @icon
31   showSunny: ->
32     @icon = new lib.Sunny()
33     @stage.addChild @icon
6. Moving the canvas in
Time for Action
This is a subtle effect that we move the canvas icon from bottom to the center of the viewport by using CSS3 transition.
app.css file
 1 .out {
 2   transform: translateY(100%);
 3   opacity: 0;
 4 }
 5
 6 .in {
 7   transition: all .75s cubic-bezier(0.140, 0.460, 0.160, 1.210);
 8   transform: translateY(0%);
 9   opacity: 1;
10 }
The transition may fail if the data is cached without loading. We need to add a little delay to make the CSS transition work.
1 class App
2   constructor: ->
3     console.log "Do you need your umbrella today?"
4
5     setTimeout =>
6       @refresh()
7     , 500
7. Aligning with FlexBox
Flexbox is the next hot topic on layout. It’s draft was first published in 2009 and has reach a relatively stable status now, after 5 years of discussions and name changes.
In the step, we will make the app frame a flexbox container and layout our user interface elements at the center of the screen, vertically.
Time for action
- Add the following to the CSS to make the items align center vertically.
app.css 1/* Flexbox */2html,body,#app,.page{3height:100%;4}5.page{6flex-direction:column;7display:flex;8align-items:center;9justify-content:center;10}
I recommend reading the full guide to FlexBox. Or you may check the latest working draft on W3C website.
http://www.w3.org/TR/css-flexbox-1/
8. Device Rotation
In this step, we will add a motion effect where the rainy and sunny icon slightly moves based on the device rotation.
This is done by listening to the DeviceOrientationEvent and use the rotation degree to control the icon.
Time for Action
Let’s work on the following steps to create a motion effects based on the rotation degree of the device.
- We create a new class which keep storing the latest device rotation. The value is from the Gyroscope where axises are represented in
alpha,beta,gamma.app.coffee 1classDeviceRotation2constructor:->3DeviceRotation.a=DeviceRotation.b=DeviceRotation.g=045#gyroscope6$(window).on'deviceorientation',(e)->7DeviceRotation.a=@a=e.originalEvent.alpha8DeviceRotation.b=@b=e.originalEvent.beta9DeviceRotation.g=@g=e.originalEvent.gamma10$('#debug').text("#{@a} #{@b} #{@g}") - We need to apply the value. In the
CanvasViewclass, we use the device rotation to offset the sunny and rainy icons.app.coffee 1applyDeviceRotation:->2a=DeviceRotation.a3b=DeviceRotation.b4g=DeviceRotation.g56@icon.front.x=CanvasView.width/2+g/107@icon.front.y=CanvasView.height/2+b/1089@icon.back.x=CanvasView.width/2+g/510@icon.back.y=CanvasView.height/2+b/5 - Now the App constructor becomes:
app.coffee 1classApp2constructor:->3console.log"Do you need your umbrella today?"45setTimeout=>6@refresh()7,50089$('body').click=>@refresh()1011newDeviceRotation()
What just happened?
The #debug element is used to observe the value of the gyroscope. By printing out the values, we can hold the device on hand, and then rotate the device into different directions and observe how the tilting changes the three rotation axises. After we get what we need from the numbers, we can hide it or even delete it. Make sure these debug information is not visible when we deploy the app in production environment.
Device Orientation Event
For more information on using the 3 axises of the device rotation, please check the Apple Developer documentation:
http://mak.la/apple-device-orientation-event
I created a utility that inspects the device rotation value and prints them out nicely.
https://play.google.com/store/apps/details?id=net.makzan.gyroinspcetor
You may use this tool to inspect the value you want by holding the device at the target rotation.
Controlling Flash instance
When we set an instance name in the Flash movie clip which being exported to canvas, we can actually access that instance from the Javascript. This gives a huge convenient way to manipulated with the exported graphics.
For example, in this example, we listen to the drive rotating events and changes the movement offset of both the front and back instance of the weather symbol. The front and back instance are already defined in the flash and exported to the Javascript.
Summary
In this project, we learnt to define our logic into different modules for easier maintenance. The logic is divided into data querying, view rendering and controller that bridges between data and view.
We also learned to control pre-defined symbol instances that was exported from Adobe Flash.
At last, we listen to the device orientation to get the 3 axis value of device rotation.