6 Survey questions with form controls
In many experiments you will want to know a few details of the participants, such as age, gender, and level of education. To be able to easily obtain such information, a number of so called form controls have been included in the NeuroTask Scripting framework. With these participants can enter information in text fields, select their age or gender from a list, etc. NeuroTask form controls are built with the normal controls available in HTML forms, adding services for automatic layout and data storage. This means that for simple types of questions, it is easy to include some survey-type questions in your scripts, which are shown in a screen-by-screen manner. It is not currently possible to have a single, scrollable survey form, so the size of the questions is limited to the available screen size. We may add scrollable survey forms in the future.
If your experiment consists completely out of survey questions, however, you could also use a (free) online survey tool, for example Google Forms if your forms are relatively simple.
Having said all that, it is possible to build a very sophisticated survey system on the basis of NeuroTask Scripting, with the added advantage that there are virtually no limitations to the type of questions you may want to ask and the ways you want to handle feedback and question order. In the rest of the chapter, we will assume that you are studying the effects of self-reported sleep on health and cognition. Part of your experiment consists of a brief sleep survey.
6.1 Instruction
We already encountered the instruction() function in earlier chapters. It takes an instruction message, an optional button label (default is “OK”), and a header (default is “Instruction”), which is rendered as an <h2> header (see previous chapter for an explanation of this). The instruction() function is is mainly a convenience function that places left-outlined text in the main.centerblock with a button underneath. Let’s start our survey with a brief instruction:1
instruction("Please, answer the following questions about your usual sleep habits.");
This will look something like:
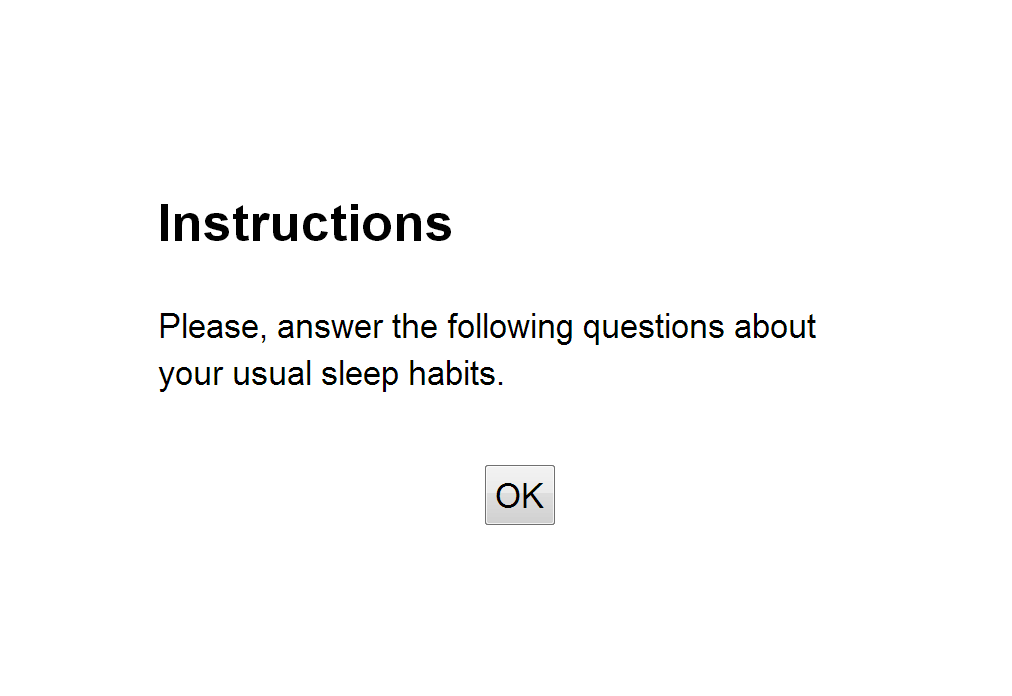
As soon as the participant clicks the OK button, the screen is cleared.
If you target non-English speakers you can change the button and header:
instruction("Beantwoord alstublief de volgende vragen over uw gebruikelijke
            slaappatroon","OK","Instructies");
It is not very difficult to create your own instruction screens with various layouts, as we will see below.
6.2 Button
The button is probably the most basic type of control. The only thing you can do with it is to click it (or touch tap or press Enter when it is in focus). The button will then emit a so called ‘click’ event that can be caught by await('click').
All NeuroTask form controls discussed here generate data that is automatically stored to your account (if the script is currently ‘activated’) and can be inspected in the data panel. If you had tested the instruction() script fragment above and then inspected your data panel, this would have looked something like:
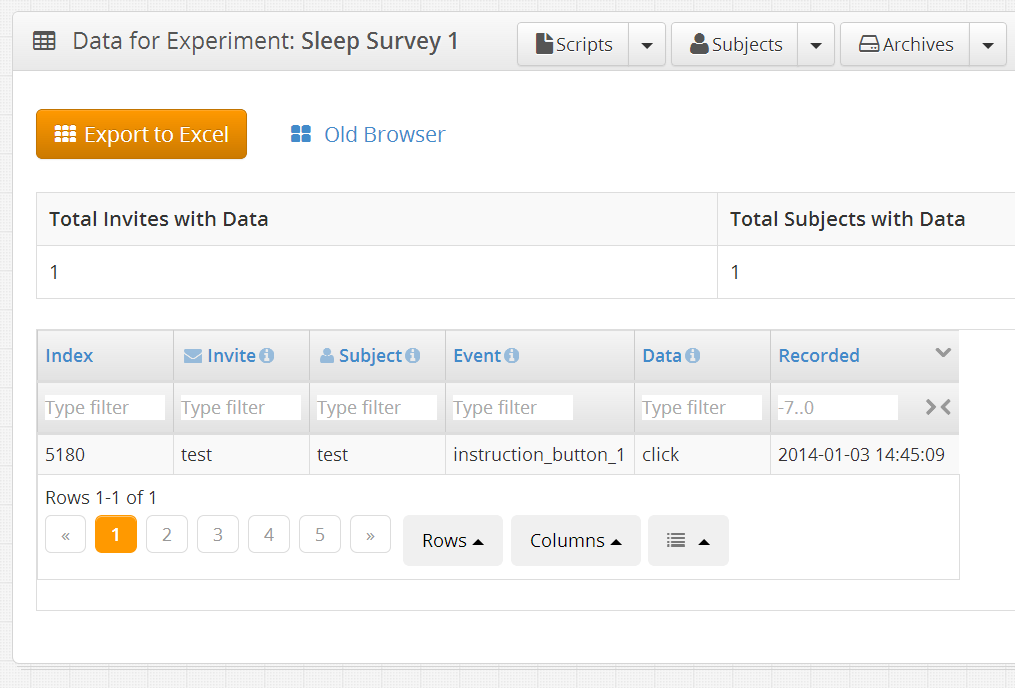
As you can see, the data panel for this experiment script is pretty empty, except for a single entry that has an event name ‘instruction_button_1’ and as value ‘click’. This is the result of clicking the OK button of the instruction once, during testing. If you had several screens with instructions these would be numbered automatically. The ‘click’ value is not very useful here but the date and time might be, for example, to check when they completed reading the instructions. More useful values can be obtained with the input form controls.
In many cases, you will want to use a single block per form control, so that you can use the blocks to layout each screen. The button() function adds a button to a block:
b.button();
This would put a button in the middle of block b. By default the label will say “OK”. This can be changed with the first argument:
b.button("Continue");
The arguments, all of which are strings, are as follows. Many of these types of arguments are also present in other controls.
message- Button label (default is “OK”).
response_name- The event name as found in the data panel (default is button_1, button_2, etc., auto-numbered).
response_value- The event value as found in the data panel (default is “click”). If you change the event value to something more useful, like “instruction_button”, note that the event that is emitted to the
await()function is still called “click”, as “click” is a standard JavaScript event name. id- An “id” given to the
<button>DOM node so that it can be accessed with CSS rules and queries (default is to set the id equal to the response_name, e.g., “button_1”). An id is necessary if you want to style say the background color of the button.
     b.button("Back","navigation","backward","back_button")
      .style("background-color","red","#back_button");
- If you left out the “#back_button” id, the entire block would turn red, instead of just the button.
querystring- This is used to place the button inside a DOM node(s) that fit the query. For example, the
instruction()function uses this:
    var b = text("<div class='instruction'><h2>" + h + "</h2>"
                 + s + "</div><div id='instruction_button'></div>");
    b.button(sb,"instruction_button_" + (++instruction_buttons),
             undefined,undefined,"#instruction_button");
- Here
his the header text,sis the instruction text, andsbis button label. The button is placed in the<div>with id “instruction_button”. This example also illustrate how you can layout forms by first writing HTML and then placing controls at strategic locations using id values. In general, however, we advise using the one-control-per-block rule.
6.3 Input
The input field is a form control that allows any text to be typed in by the user. It is suitable for brief answers. As part of a sleep inventory, we may have a question somewhere like this:
input("Enter any medication you are currently using","medication");
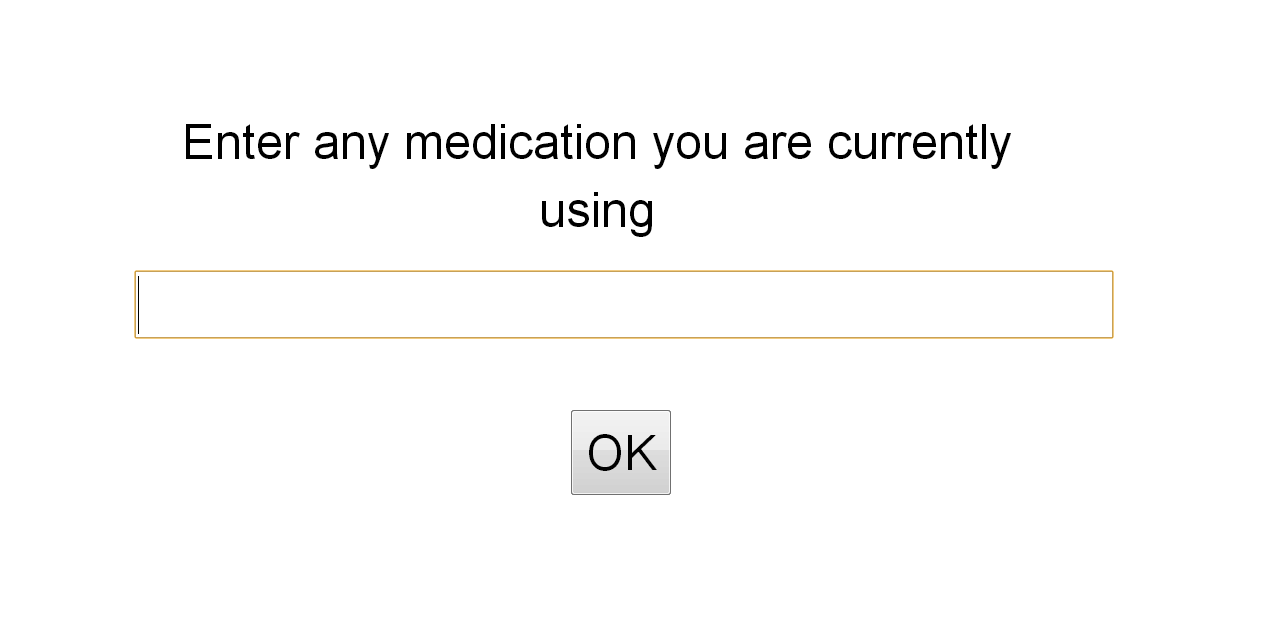
input() functionThis is the stand-alone input() function which uses the preset main.centerblock to display its text. It shows the question above the field and the answer is stored with event name “medication” in the data panel. By default the width of the input field is 100 (a percentage, relative to the width of the block: 100% is the entire block). If you don’t like such a wide input field, you can add a third argument to make the input field less wide, e.g., 50.
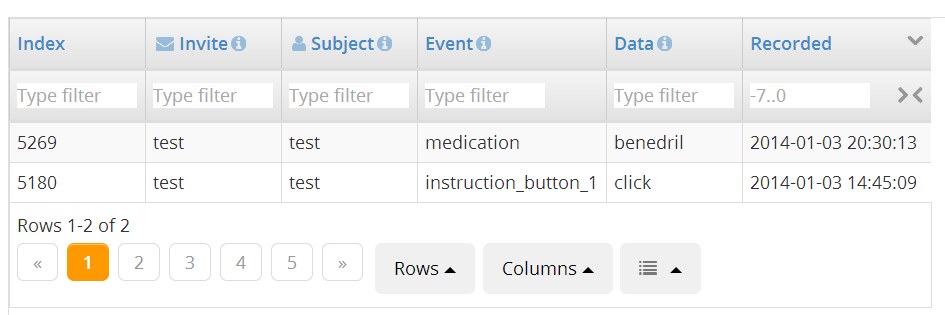
The data panel for this experiment now looks as shown below. As you can see, the answer is stored with the Event Name “medication”.
All NeuroTask Scripting form controls are accompanied by an OK button, unless the startform() function is used as will be explained below. The stand-alone input() function furthermore adds the service of awaiting the “click” event and then clearing the screen. The (simplified) code for this function is:
function input(s,v,width)
{
    // NOT SHOWN: apply default values
    main.centerblock.style("fontSize","1.25em").input(s,v,undefined,width);
    main.centerblock.await('button:click');
    clear();
    // NOT SHOWN: return value
}
First, we increase the font size with 25% and then call the input() function on the main.centerblock block. Then, we wait until the OK button has been clicked. The reason it says await('button:click') rather then just await('click') is that we are only waiting for a button click. If the user would click in the input field, for instance to start editing or select text, we would not want to move on yet.
The full set of arguments than can be given to the block input() function are:
input(message,response_name,width,id,querystring)
These arguments are identical to those of button(), with two differences: (i) response_value is missing because the value now is the the string entered by the participant, and (ii) you can set the width of the string in percentages (a decimal number).
6.4 Using response values in scripts
So far, we have seen that any values entered in form controls by participants are automatically stored online, in your NeuroTask Scripting account (provided your script is currently ‘activated’, meaning it is allowed to store data), where they can be inspected in the data panel of your experiment script. The details of how this happens and exactly what is stored are explained in a later chapter. Online storage is great, but what if you want to use the data in the script itself? There are many reasons why you might want to do this: calcation of scores, error checking, feedback to participants, conditional questions (e.g., Question 2 is only asked if Question 1 says ‘Yes’), and so on.
Return values
The most straightforward way is to simply obtain the return value:
var meds = input("Enter any medication you are currently using"
                + "(Leave empty if you are not using any)","medication");
If the participant entered ‘benedryl’, this will be assigned to the variable meds, as a string value. You could use it like this not very useful but still illustrative example:
text("You are using: " + meds);
There is another way that may be easier in some cases: the response object.
The response object
All values entered by participants in NeuroTask form controls are automatically stored in the response object. So with this script fragment
input("Enter any medication you are currently using","medication");
we could access in the script the value entered by the participant by writing either response.medication or response["medication"] (these notations are equivalent).
We could now use this value for a conditional question, following the question above:
1 if (response.medication !== "") // If the answer was not empty
2 {
3     input("Which ones of these make you feel agitated?"
4          + "(Leave empty if none apply)","agitated");
5 }
Because you can do arbitrary processing on the response with JavaScript, it is possible to make arbitrarily complex questionnaires.
Feedback with
Suppose, we want to ask more about the medication provided. Then it would be nice to remind the participant of the value entered earlier. NeuroTask has a built-in system where earlier values can easily be introduced in the text presented with the text() function or any of the NeuroTask Scripting controls discussed in this chapter, as follows:
if (response.medication !== "")
{
    input("Enter any side-effects you are experiencing from {medication}",
          "side_effects");
}
We are using the answer label medication used in the earlier input() question. By putting curly braces {...} around it (no spaces allowed), we can immediately re-use the value entered by the participant. For example, if the participant had entered ‘benedryl’, the question would automatically turn into:
input("Enter any side-effects you are experiencing from benedryl",
      "side_effects");
Having the response object and the format() function are merely provided as a convenience. You could achieve the same using the returned values from controls and adding strings together as in First and last name: " + name.first + " " + name.last. It is up to you to decide what to use.
6.5 Largeinput
In the example above, asking for side-effects of prescription drugs, there might be a long list for some patients and a single input line would be awkward to use. When we expect a lot of text as an answer, we have the largeinput() function.
largeinput("Enter any side-effects you are experiencing from {medication}",
           "side_effects");
This looks very similar to the singe-line input field, except that by default there are about five lines visible.
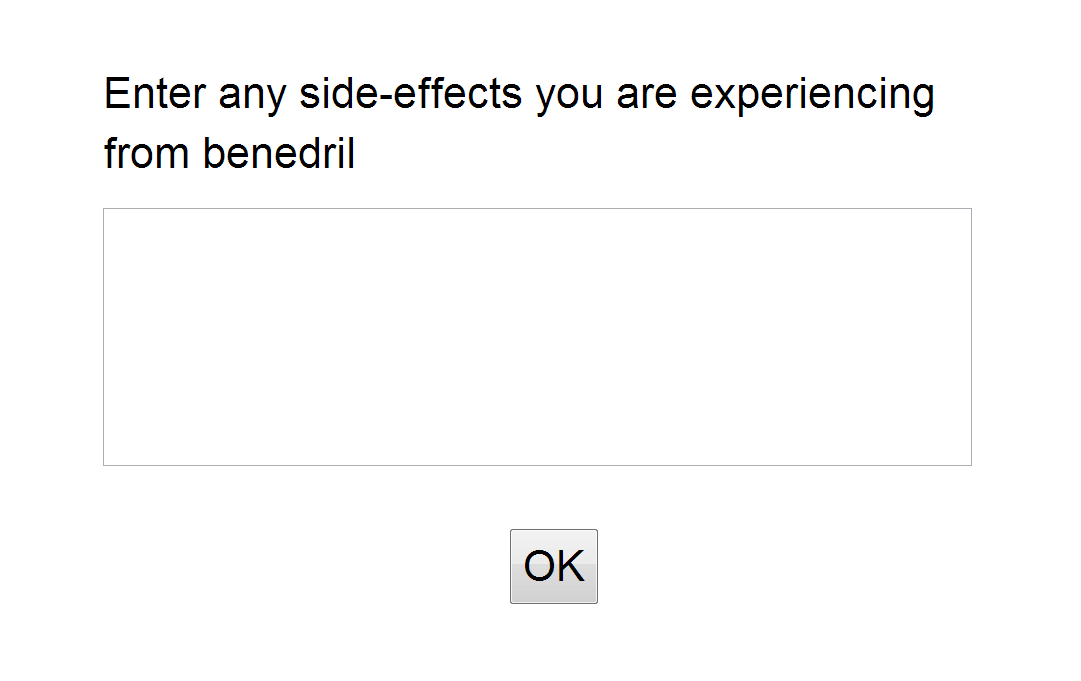
largeinput() field with default settings.If more lines are needed, these will scroll into view automatically. It is possible to show more lines or fewer lines of text with a third argument, which is an integer specifying how many lines to display (5 is default). The other arguments are like input() (including the width argument):
largeinput(message,response_name,rows,width,id,querystring)
6.6 Select, radio, and scale
The select(), radio(), and scale() functions are treated in one section because all three allow the participant to select one response out of several choices. select() shows a drop-down menu, radio() a vertically layed-out set of choices and scale() a Likert scale with optional left and right labels.
select()
The select() function is used as follows
select("How many hours do you sleep per night on average?",
       ['less than 5','6','7','8','9','10','more than 10'],"hours_sleep");
and the result will be something like this:
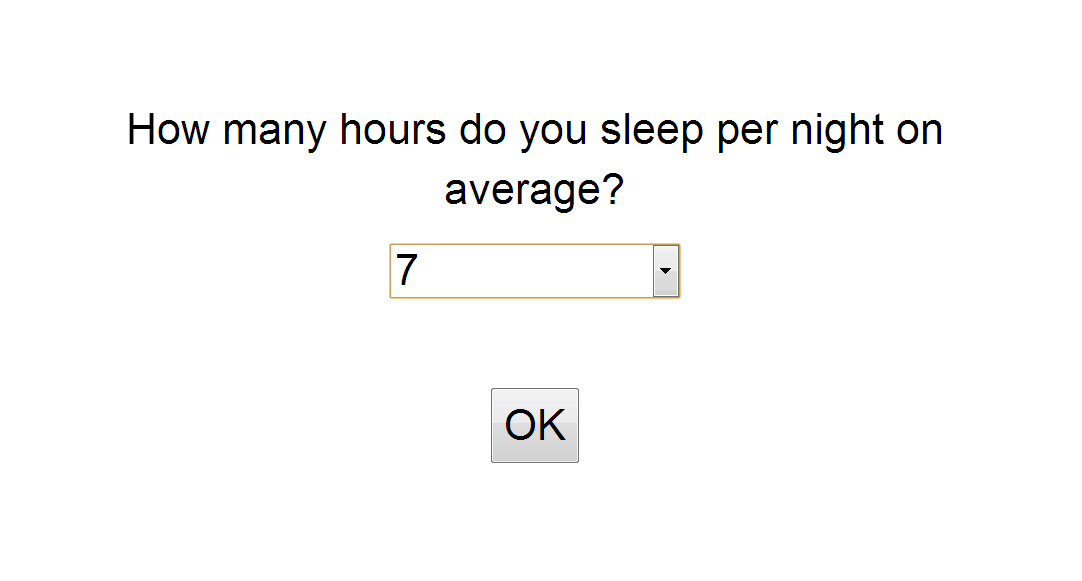
The response value is the string that was selected by the participant.
In some cases, you may want to recode the response options and only store the recoded value, e.g., ‘male’ = 0 and ‘female’ = 1. This may save some time working with Excel or SPSS adding the recode formulas there. (Then again, male is more descriptive than 0 if you come back to your data after many years.) To achieve recoding, replace each option like ‘male’ with [‘male’,0], where 0 is the recoded value (may also be a string: whatever you need here). For example:
select("What is your gender?",[['male',0],['female',1]],'gender');
In your data, you will now see 0 and 1 instead of ‘male’ and ‘female’. The same approach also works with the radio() control, described next.
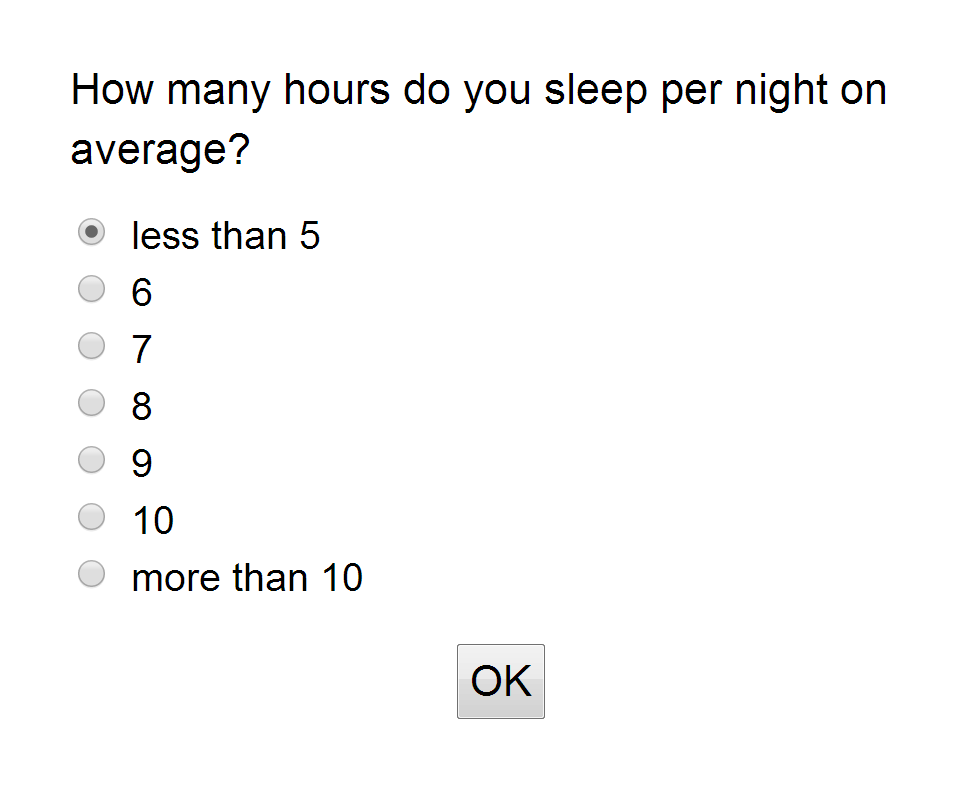
radio()
The radio() control takes the same arguments as the select() control, but gives a different appearance.
radio("How many hours do you sleep per night on average?",
     ['less than 5','6','7','8','9','10','more than 10'],"hours_sleep");
which looks like this:
scale()
The scale() control gives a Likert scale:
    scale("How well do you sleep at night?",
           "Very badly","Very well","sleep_quality");
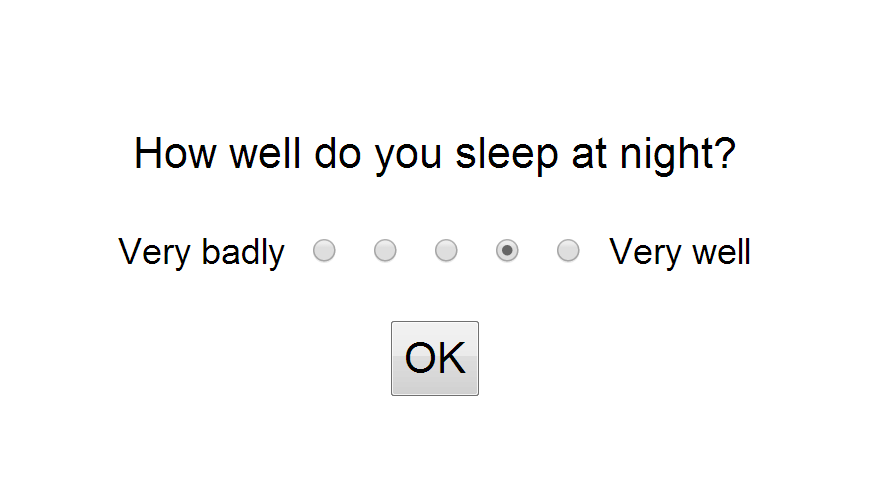
You can set the number of points with a fifth argument, e.g. 7 to get a seven-point scale (5 is default). It is currently not possible add labels above the points, e.g., from 1 to 5 or -2 to 2, but there are shared scripts that can do this, including some fairly complex table-like scales with several rows.
6.7 Check
The check() control gives one or more checkboxes, each with its own label.
1 check("Do you experience any of the following?",
2      [
3 	["Trouble getting to sleep at night","sleep1"],
4 	["Restless legs","sleep2"],
5 	["Frequently waking up","sleep3"],
6 	["Feeling very hot","sleep4"]
7      ],
8      "sleep_problems");
Because the sentences are too long to usefully serve as event labels, alternative labels have been provided: “sleep1” to “sleep4”. These could have also been named “night”, “restless”, “waking”, and “hot” to make them more descriptive; there is no need to use numbers. Information entered by participants is saved in two ways: (1) as an array of choices, e.g., [‘sleep1’,’sleep4’], and (2) as a series of variables “sleep_problems_sleep1” to “sleep_problems_sleep4”, which are the combination of the control’s variable “sleep_problems” and that of the individual options (joined with a “_” character). This is done to facilitate analysis once you have downloaded the data.
6.8 Sleep questionnaire example
If we put all questions above together we have a mini-sleep questionnaire:
 1 instruction("Please, answer the following questions about your usual sleep habits.");
 2 input("Enter any medication you are currently using","medication");
 3 if (response.medication)
 4 {
 5     largeinput("Enter any side-effects you are experiencing from {medication}",
 6                "side_effects");
 7 }
 8 radio("How many hours do you sleep per night on average?",
 9       ['less than 5','6','7','8','9','10','more than 10'],"hours_sleep");
10 scale("How well do you sleep at night?","Very badly","Very well","sleep_quality");
11 check("Do you experience any of the following?",[
12 	["Trouble getting to sleep at night","sleep1"],
13 	["Restless legs","sleep2"],
14 	["Frequently waking up","sleep3"],
15 	["Feeling very hot","sleep4"]
16       ],"sleep_problems");
17 text("Thank you for participating!",200);
18 await(8000);
When a participant has completed the survey questions, the response object will contain something like the following information:
 1 response =
 2 {
 3     hours_sleep: "7",
 4     instruction_button_1: "click",
 5     medication: "benedryl",
 6     side_effects: "snoring",
 7     sleep_problems: ["sleep1","sleep4"],
 8     sleep_problems_sleep1: "true",
 9     sleep_problems_sleep2: "false",
10     sleep_problems_sleep3: "false",
11     sleep_problems_sleep4: "true",
12     sleep_quality: "4"
13 }
All of these variables can be used in the text() function and in controls like the input() or largeinput() functions, using curly brackets notation like:
text("Earlier you stated that you sleep {hours_sleep} hours per night");
The same information as in the response object will also be stored in the data section of your account, provided the script is ‘activated’.
Now suppose that you have another question that you only want to pose if the participant has trouble getting to sleep at night. Then you can do this:
if (response["sleep_problems_sleep1"] === "true")
{
    largeinput("Can you describe your difficulties getting to sleep at night?",
    "night");
}
As a result of this, some subjects will have the “night” data with additional information (possibly and empty string) and others will not.
6.9 Combining controls with startform() and endform()
So far, all form controls have been used as stand-alone controls: one input field or one Likert scale per page. These all had one OK button automatically positioned underneath. What if you want to combine several form controls on one page (each control would still be in its own block)? This can be accomplished with the startform() and endform() functions.
Using these functions ensures two things:
- Only one OK button is shown.
- Only when the OK button has been pressed, will the data be read-out (and stored) from the form controls, so that it is possible for the participant to change any responses until OK is pressed.
We will assume that you put each individual control in its own block. An example:
 1 var months = ["January", "February", "March", "April", "May", "June",
 2               "July", "August", "September", "October", "November", "December"];
 3
 4 startform();
 5     main.addblock('center',25,100,20)
 6         .text("What is your date of birth?",120);
 7     main.addblock(15,'center',20,20)
 8             .select("Year",range(1910,2000),"year");
 9     main.addblock(35,'center',30,20)
10             .select("Month",months,"month");
11     main.addblock(65,'center',15,20)
12             .select("Day",range(1,31),"day");
13
14     main.addblock('center','bottom',30,20)
15             .button("OK","inputbutton","click","inputbutton")
16             .await('click');
17 endform();
18
19 main.addblock('center','top',100,20)
20     .text("<b>You were born on {month} {day}, {year}</b>");
This is a useful form control that combines three select controls into a birthday selector. Normally, when you use select(), an OK button appears automatically. The startform() function prevents this. Instead, you have to provide your own button. As soon as endform() is reached, the data are ‘harvested’ from the form controls and stored in the response object and sent to your NeuroTask Scripting account. After endform(), things are back to normal: if you would use select() or other controls, they would appear with their own OK buttons again.
6.10 Validation
At the moment it is not possible to add validation checks directly to the controls, although we plan to add these in the future. With this we mean checks to see whether a participant filled something in a ‘required’ input field, or whether the (inadvertently?) stated their age as 180 years old. It is however possible to inspect the value provided by a participant and to give feedback, possible showing the same control again with a message. This means that you can built in validation with some effort. An example:
 1 var message = "Please enter your age (required)", age;
 2 while (1)
 3 {
 4     input(message,"age");
 5     age = parseFloat(response.age);
 6     if (!age)
 7     {
 8         message = "Please enter your age.<br>This is a <i>required</i> field."
 9     }
10     else if (age < 5 || age > 120)
11     {
12         message = "" + age + " is not a valid value for age";
13     }
14     else
15     {
16         break;
17     }
18 }
19 text("Your age is {age}");
20 await(10000);
Admittedly, this is cumbersome but it works until validation has been added. It does have advantage that your validation may be arbitrarily complex. A disadvantage may be that all invalid values are also sent to your account’s data. On the other hand, this may give you some insights into your participants’ erroneous data entry.
Note that when you use startform() and endform() you can only validate the entire form, as values are only available past the endform() statement.