Examples Using Hugging Face Open Source Models
To start with you will need to create a free account on the Hugging Face Hub and get an API key and install:
1 pip install --upgrade huggingface_hub
You need to set the following environment variable to your Hugging Face Hub access token:
1 HUGGINGFACEHUB_API_TOKEN
So far in this book we have been using the OpenAI LLM wrapper:
1 from langchain.llms import OpenAI
Here we will use the alternative Hugging Face wrapper class:
1 from langchain import HuggingFaceHub
The LangChain library hides most of the details of using both APIs. This is a really good thing. I have had a few discussions on social tech media with people who object to the non open source nature of OpenAI. While I like the convenience of using OpenAI’s APIs, I always like to have alternatives for proprietary technology I use.
The Hugging Face Hub endpoint in LangChain connects to the Hugging Face Hub and runs the models via their free inference endpoints. We need a Hugging Face account and API key to use these endpoints3. There exists two Hugging Face LLM wrappers, one for a local pipeline and one for a model hosted on Hugging Face Hub. Note that these wrappers only work for models that support the text2text-generation and text-generation tasks. Text2text-generation refers to the task of generating a text sequence from another text sequence. For example, generating a summary of a long article. Text-generation refers to the task of generating a text sequence from scratch.
Using LangChain as a Wrapper for Hugging Face Prediction Model APIs
We will start with a simple example using the prompt text support in LangChain. The following example is in the script simple_example.py:
 1 from langchain import HuggingFaceHub, LLMChain
 2 from langchain.prompts import PromptTemplate
 3
 4 hub_llm = HuggingFaceHub(
 5     repo_id='google/flan-t5-xl',
 6     model_kwargs={'temperature':1e-6}
 7 )
 8
 9 prompt = PromptTemplate(
10     input_variables=["name"],
11     template="What year did {name} get elected as president?",
12 )
13
14 llm_chain = LLMChain(prompt=prompt, llm=hub_llm)
15
16 print(llm_chain.run("George Bush"))
By changing just a few lines of code, you can run many of the examples in this book using the Hugging Face APIs in place of the OpenAI APIs.
The LangChain documentation lists the source code for a wrapper to use local Hugging Face embeddings here.
Creating a Custom LlamaIndex Hugging Face LLM Wrapper Class That Runs on Your Laptop
We will be downloading the Hugging Face model facebook/opt-iml-1.3b that is a 2.6 gigabyte file. This model is downloaded the first time it is requested and is then cached in ~/.cache/huggingface/hub for later reuse.
This example is modified from an example for custom LLMs in the LlamaIndex documentation. Note that I have used a much smaller model in this example and reduced the prompt and output text size.
 1 # Derived from example:
 2 #   https://gpt-index.readthedocs.io/en/latest/how_to/custom_llms.html
 3
 4 import time
 5 import torch
 6 from langchain.llms.base import LLM
 7 from llama_index import SimpleDirectoryReader, LangchainEmbedding
 8 from llama_index import GPTListIndex, PromptHelper
 9 from llama_index import LLMPredictor
10 from transformers import pipeline
11
12 max_input_size = 512
13 num_output = 64
14 max_chunk_overlap = 10
15 prompt_helper = PromptHelper(max_input_size, num_output, max_chunk_overlap)
16
17 class CustomLLM(LLM):
18     model_name = "facebook/opt-iml-1.3b"
19     # I am not using a GPU, but you can add device="cuda:0"
20     # to the pipeline call if you have a local GPU or
21     # are running this on Google Colab:
22     pipeline = pipeline("text-generation", model=model_name,
23                         model_kwargs={"torch_dtype":torch.bfloat16})
24
25     def _call(self, prompt, stop = None):
26         prompt_length = len(prompt)
27         response = self.pipeline(prompt, max_new_tokens=num_output)
28         first_response = response[0]["generated_text"]
29         # only return newly generated tokens
30         returned_text = first_response[prompt_length:]
31         return returned_text
32
33     @property
34     def _identifying_params(self):
35         return {"name_of_model": self.model_name}
36
37     @property
38     def _llm_type(self):
39         return "custom"
40
41 time1 = time.time()
42
43 # define our LLM
44 llm_predictor = LLMPredictor(llm=CustomLLM())
45
46 # Load the your data
47 documents = SimpleDirectoryReader('../data_small').load_data()
48 index = GPTListIndex(documents, llm_predictor=llm_predictor,
49                      prompt_helper=prompt_helper)
50 index = index.as_query_engine(llm_predictor=llm_predictor)
51
52 time2 = time.time()
53 print(f"Time to load model from disk: {time2 - time1} seconds.")
54
55 # Query and print response
56 response = index.query("What is the definition of sport?")
57 print(response)
58
59 time3 = time.time()
60 print(f"Time for query/prediction: {time3 - time2} seconds.")
When running on my M1 MacBook Pro using only the CPU (no GPU or Neural Engine configuration) we can read the model from disk quickly but it takes a while to process queries:
 1 $ python hf_transformer_local.py
 2 INFO:llama_index.token_counter.token_counter:> [build_index_from_documents] Total LL\
 3 M token usage: 0 tokens
 4 INFO:llama_index.token_counter.token_counter:> [build_index_from_documents] Total em\
 5 bedding token usage: 0 tokens
 6 Time to load model from disk: 1.5303528308868408 seconds.
 7 INFO:llama_index.token_counter.token_counter:> [query] Total LLM token usage: 182 to\
 8 kens
 9 INFO:llama_index.token_counter.token_counter:> [query] Total embedding token usage: \
10 0 tokens
11
12 "Sport" comes from the Old French desport meaning "leisure", with the oldest definit\
13 ion in English from around 1300 being "anything humans find amusing or entertaining"
14 .[4]
15 Time for query/prediction: 228.8184850215912 seconds.
Even though my M1 MacBook does fairly well when I configure TensorFlow and PyTorch to use the Apple Silicon GPUs and Neural Engines, I usually do my model development using Google Colab.
Let’s rerun the last example on Colab:
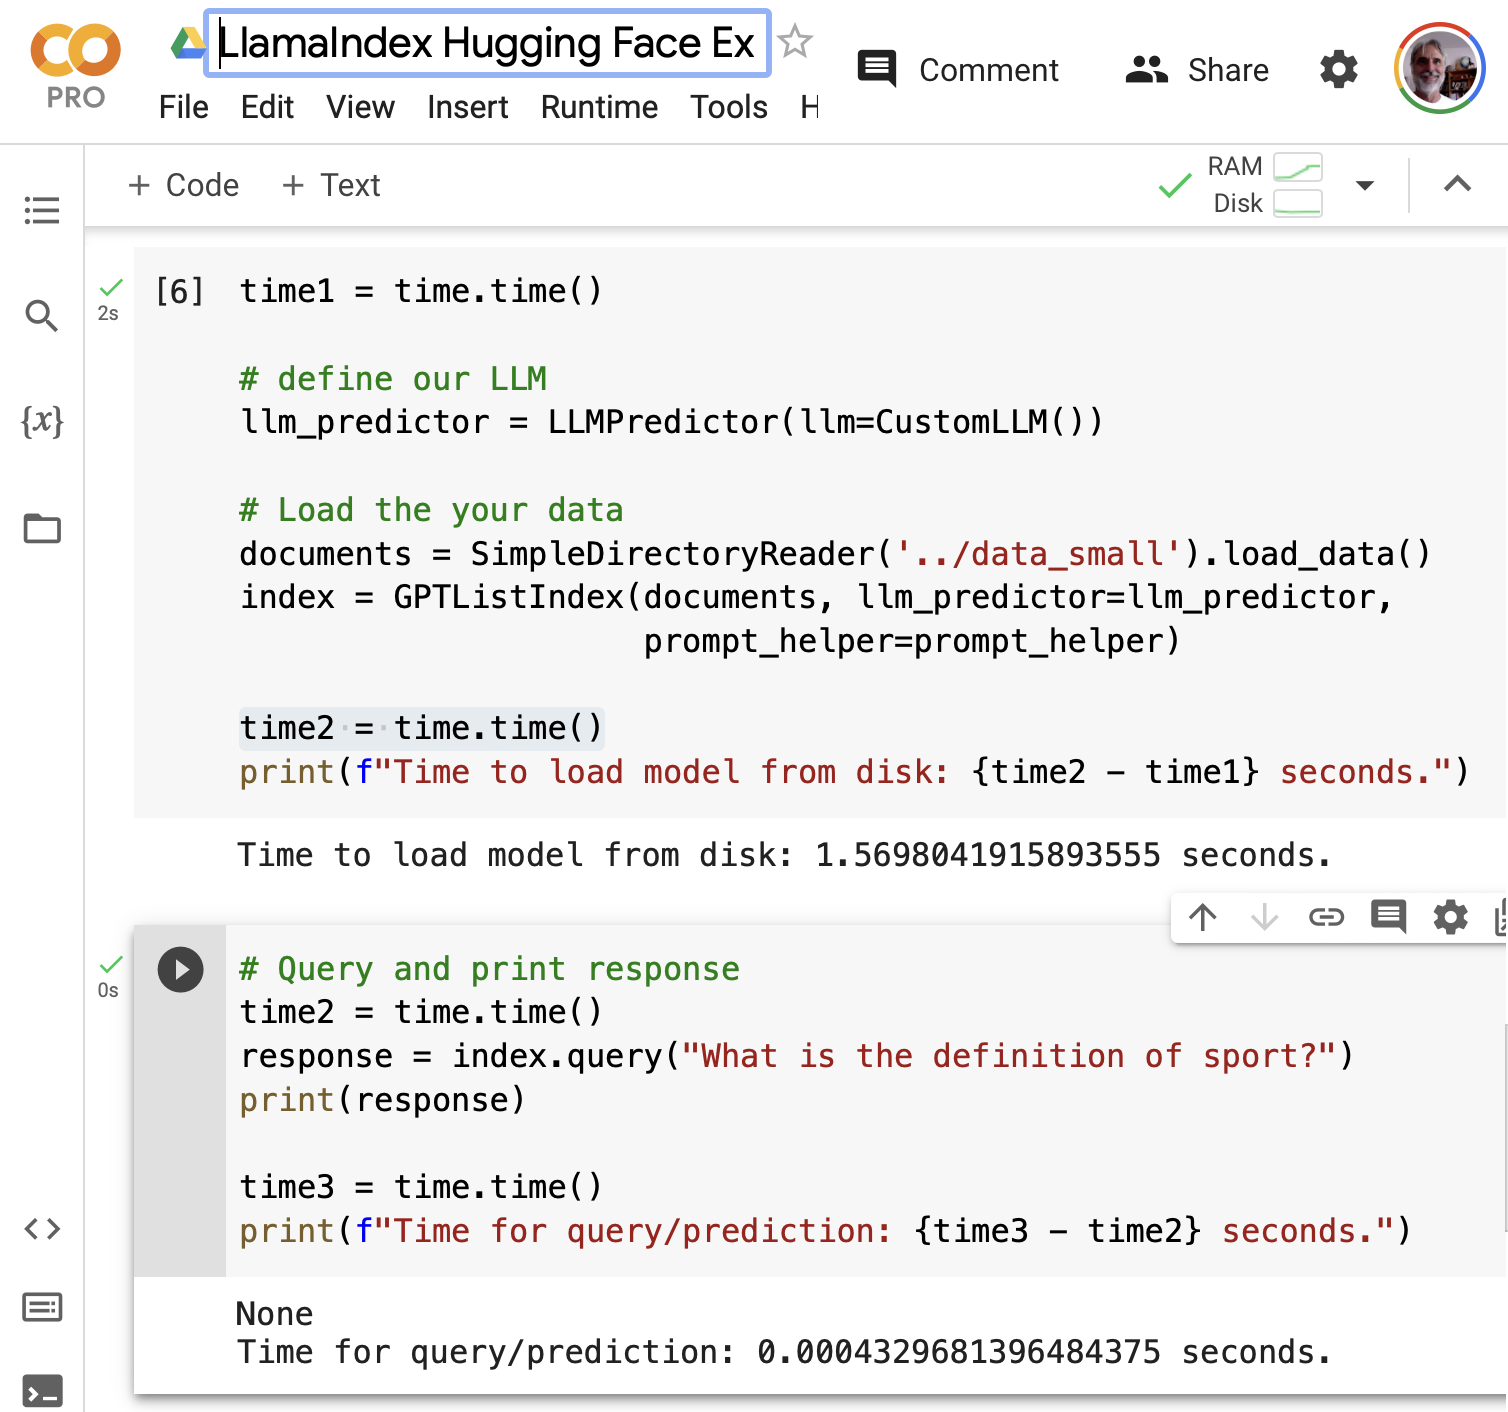
Using a standard Colab GPU, the query/prediction time is much faster. Here is a link to my Colab notebook if you would prefer to run this example on Colab instead of on your laptop.