Chapter 2 - Installing Tracktion T6
Most likely, you already installed T6. If you haven’t yet or have any questions about installation, keep reading.
Your Tracktion Account
Go to www.tracktion.com. Navigate to Account > Login. If you haven’t yet purchased Tracktion, you can choose to download the demo or purchase a license. If you received a version of Tracktion when you purchased a mixer or audio interface, then you can upgrade at a nice discount. Regardless, create an account on the Tracktion site if you haven’t already done so.
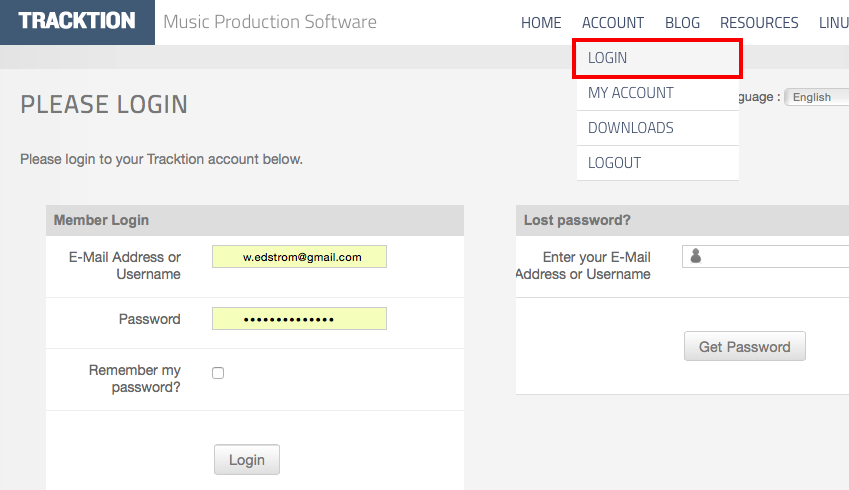
Once you have your user ID and password, log in.
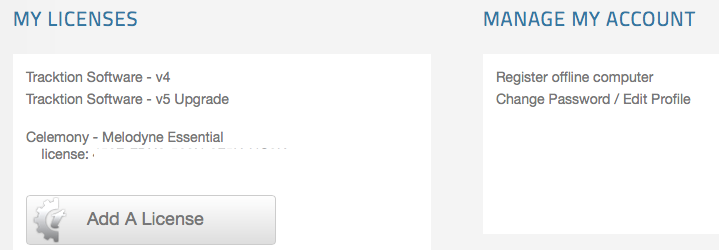
After you log in, you will see your Tracktion licenses listed there.
Should I Install 32-bit or 64-bit?
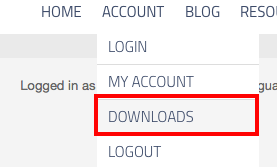
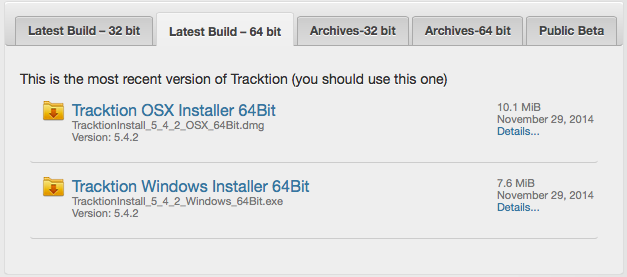
On the Tracktion site, navigate to Account > Downloads. That opens a set of tabs where you can choose which version to download - 32-bit or 64-bit.
The sound quality is the same between the 32-bit and 64-bit versions of T6. The decision is about compatibility with your computer and plugins.
Tracktion T6 32-bit:
- Runs on either 32-bit or 64-bit operating systems
- Runs only 32-bit plugins
- Can access up to 4 GB of RAM
Tracktion T6 64-bit:
- Runs on ONLY 64-bit operating systems
- Runs only 64-bit plugins
- Can access more than 4 GB of RAM
The key point here is this. If you want to run older 32-bit plugins use the 32-bit installation of T6. If your computer has more than 4GB of RAM, then running the 64-bit version allows you to load more instances of large virtual instruments. For the examples in the book, I am running the 64-bit version.
Click on correct link to download the installer. This happens fast because the installer is only a bit over 10 MB which is pretty amazing!
The installation varies slightly between Mac and Windows so I will walk through both.
Mac OS X Installation
The installation file on Mac has a .dmg file extension. This is typical of most Mac installers. Double-click the file to open the disk image. You will see the T6 app right there.
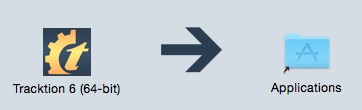
Drag T6 to the applications folder which is conveniently aliased right next to it. That’s it, Tracktion T6 is installed. You still need to unlock it and we will get to that shortly.
Windows Installation
The installation file on Windows has a .exe file extension. This is typical of most Windows installers. Double-click the file to start the installation wizard. Step through the wizard to tell Tracktion where you want it to be installed. In most cases the defaults will work best. In flash it’s done.
Linux Installation
To date, I haven’t run T6 under Linux personally. The great thing is that current Linux builds are available and reportedly work very well.
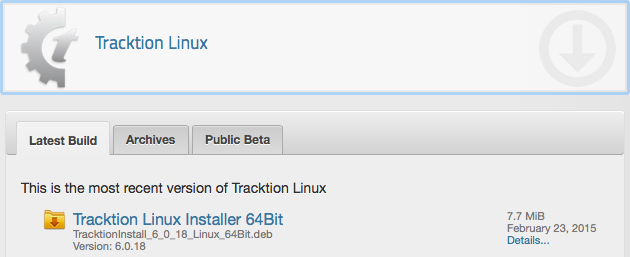
There is a separate Linux section on the Accounts > Download page on the Tracktion website. There you will find the latest 64-bit build in the form of a Debian package (.deb). If you are running Ubuntu, you can just download the file and double click and install the package.
For more about running T6 on Linux, the best source I have found is the Tracktion Linux FAQ on KVR.
Running Tracktion for the First Time
To launch T6 on Mac, locate Tracktion in the applications folder and double click the icon. Another way is to type of few letters of of the word ‘Tracktion’ into Spotlight and select it from the search results.
In Windows, find T6 in the Start Menu. In either case, launch it and T6 will load. The T6 window initially has two tabs - Projects and Settings. Later your songs, called ‘Edits’ in Tracktion, will load into additional tabs.
Tracktion T6 initially runs in demo mode. If you have a license it is quick and easy to unlock it:

- Select the Click Help > About menu item at the lower left of the Projects tab. This loads the About box. You will see all kinds of information about T6.
- Locate and click the Unlock button.
- Enter the address and password you used to register at the Tracktion website and click Register.
Tracktion T6 is now unlocked and ready to use on this computer.
Pop-up Help
As soon as your start playing with T6, you will notice pop-up help. Pop-up help balloons appear as you move the mouse pointer over objects on the window. While somewhat helpful, these messages are also pretty annoying. I suggest turning pop-up help off. To do that, click Help > Turn off pop-up help. The help button is located in the lower left corner of the Projects tab. You can easily reverse that if you want to see it again.
Installing Melodyne Essential
Melodyne Essential is a terrific bonus for T6 users. It adds powerful pitch and time manipulation to T6 at no addition cost. Melodyne Essential is a separate installation and is provided under license from Celemony. Here are the basic steps to install and active it.
- Exit T6 if it is running
- Go to the Tracktion website and log in (Account > Login)
- On your Account Page copy or make note of the Celemony - Melodyne Essential license code list there (Account > MyAccount)
- Go to the Celemony website click login. Log in or create a new account.
- Follow the website instruction to register Melodyne Essential, download, and install
For more information on getting Melodyne Essential up and running check out TSC’s Melodyne Configuration Tips & Tricks page.
Moving On
At some point you will want to scan your existing plugins and loop library. You can learn how to do that in Chapter 22 if you want to work ahead. However, that’s not necessary quite yet. Let’s move on to installing the demo tunes.