Introduction to Using the LM Studio Application
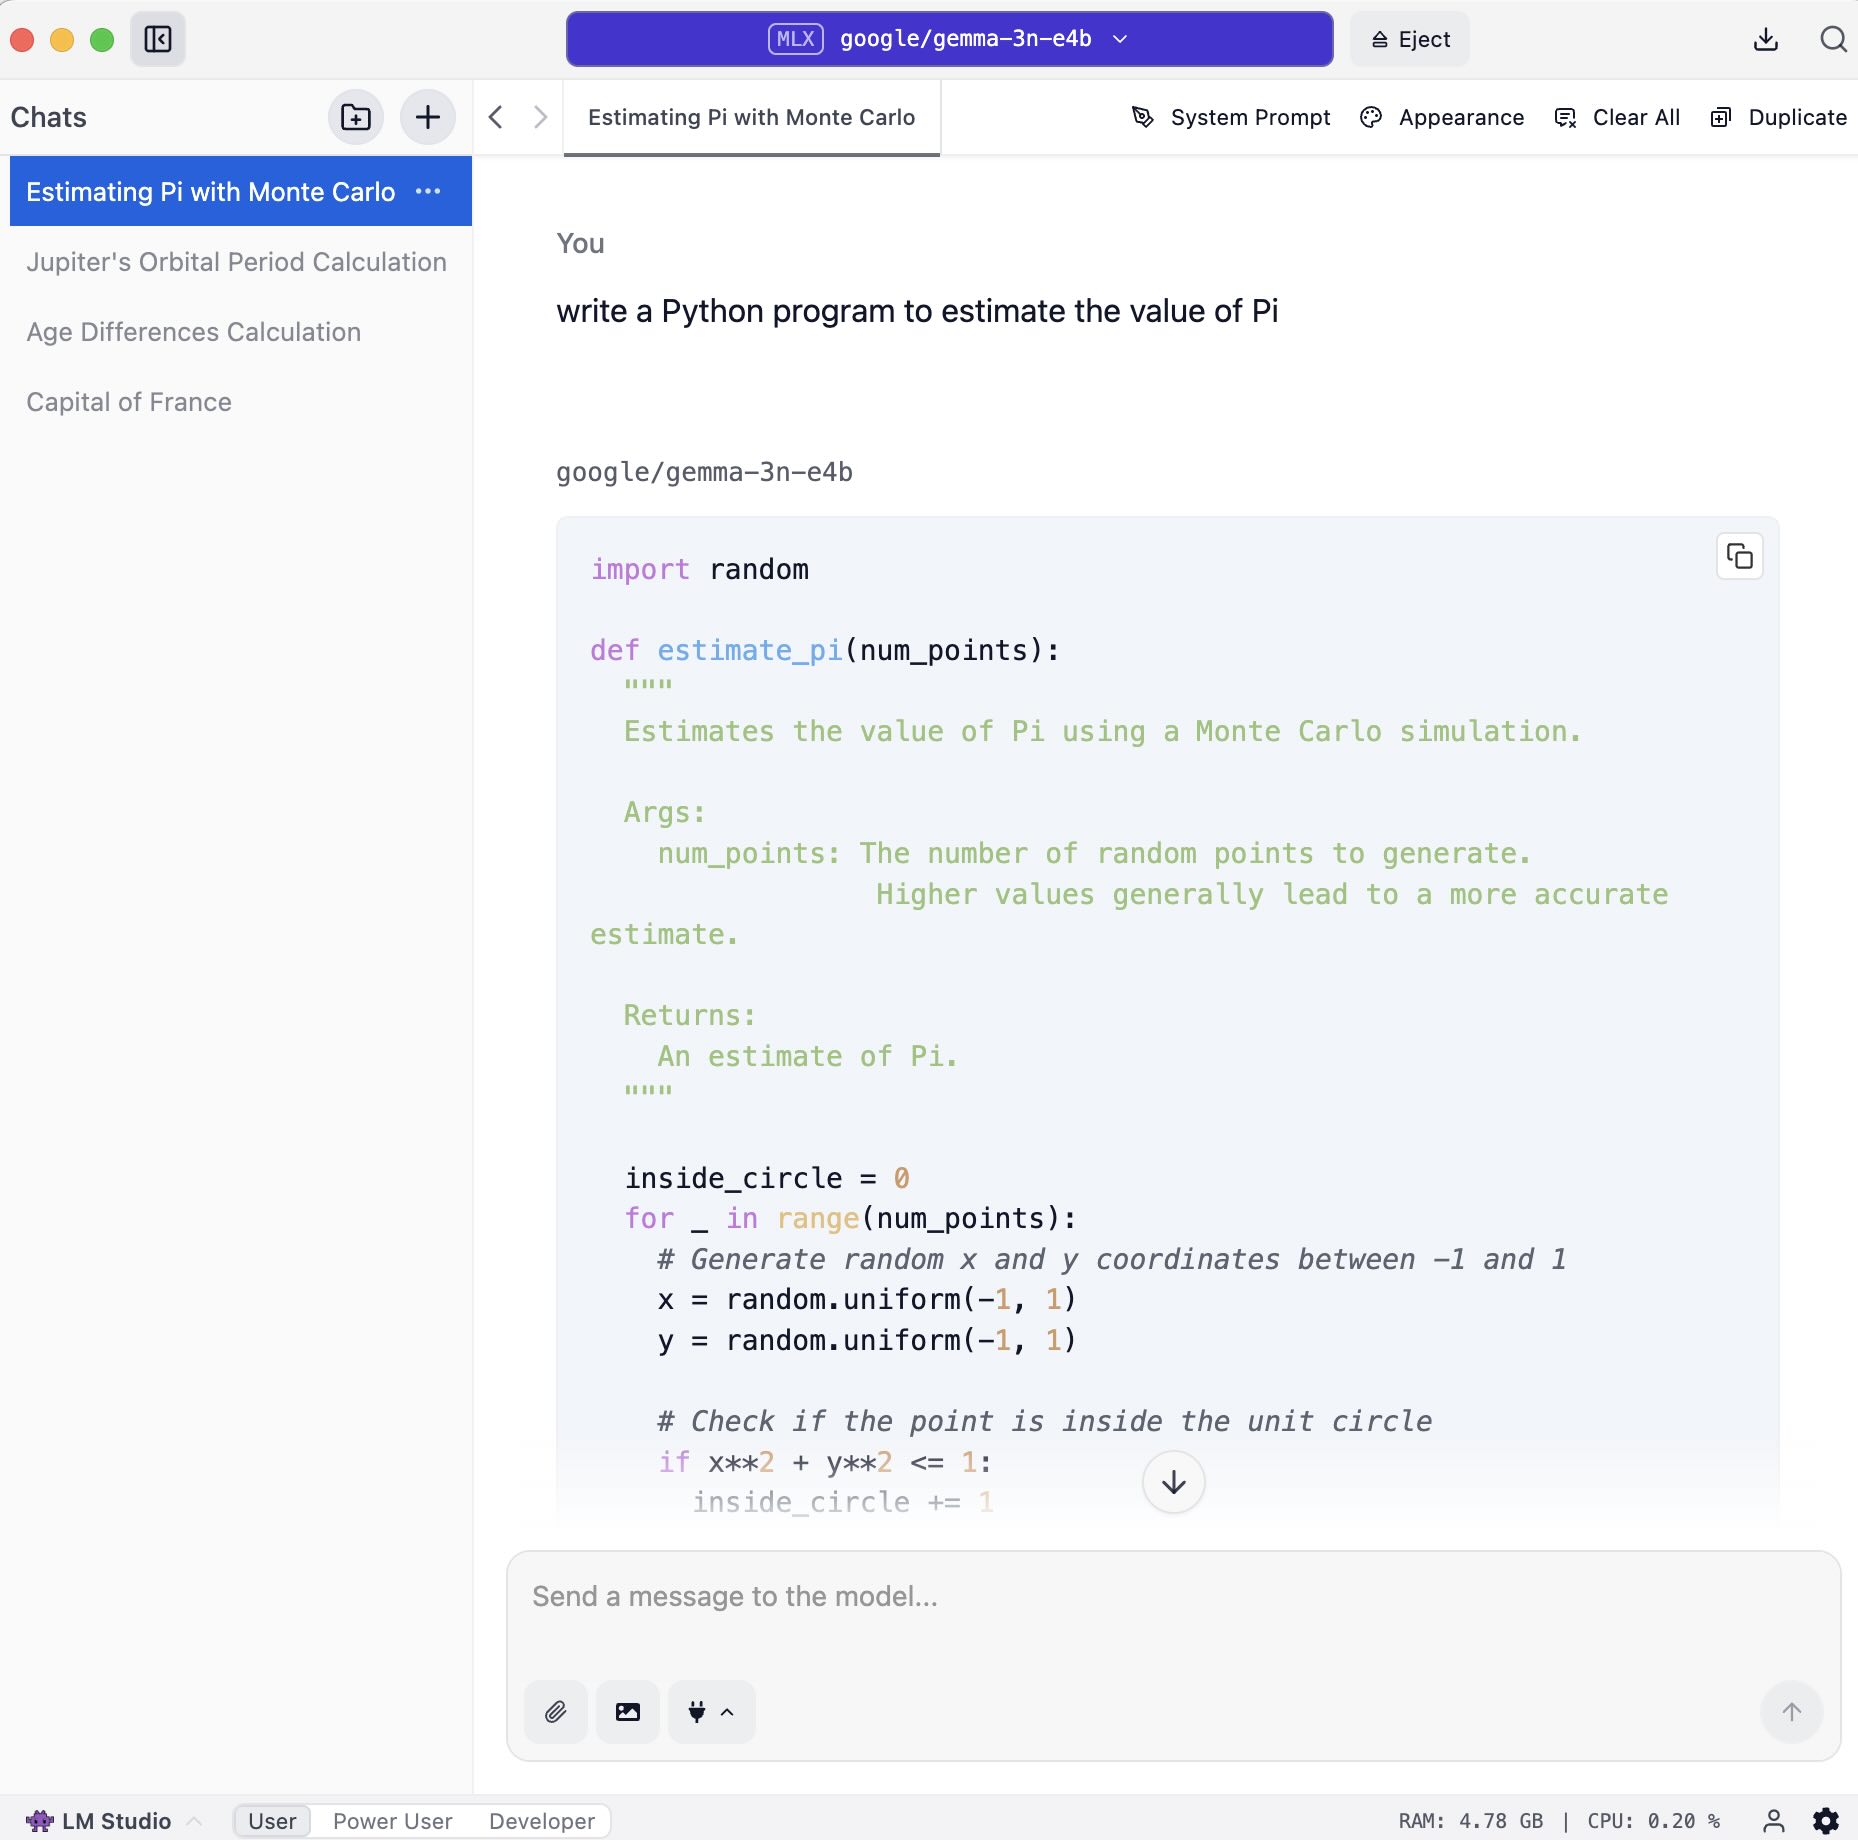
Figure 1: An example of the LM Studio user interface, showing the chat tab.
This chapter introduces you to LM Studio, a powerful desktop application designed specifically for developing and experimenting with Large Language Models (LLMs) directly on your local computer. Building upon your understanding of running local models, perhaps from prior experience with tools like Ollama, LM Studio offers a streamlined environment to interact with openly available LLMs. It allows you to leverage your computer’s CPU and, optionally, its GPU to run models such as gpt-oss, Qwen3, and Gemma 3. LM Studio is characterized by its familiar chat interface and robust search and download functionality via Hugging Face, making it intuitive for new users to get started. The application supports running LLMs using llama.cpp on Mac, Windows, and Linux, and additionally supports Apple’s MLX on Apple Silicon Macs, ensuring wide compatibility across different systems.
To begin your journey with LM Studio, the initial steps are straightforward. First, you need to install the latest version of LM Studio for your specific operating system by downloading an installer from the Downloads page. LM Studio is available for macOS, Windows, and Linux, and generally supports Apple Silicon Macs, x64/ARM64 Windows PCs, and x64 Linux PCs.
Once installed, the process for running an LLM like Llama, Phi, or DeepSeek R1 on your computer involves three key steps:
- Download an LLM: Head to the Discover tab within LM Studio to download model weights. You can choose from curated options or search for specific models.
- Load a model to memory: Navigate to the Chat tab, open the model loader (quickly accessible via cmd + L on macOS or ctrl + L on Windows/Linux), and select a downloaded model. Loading a model typically means allocating memory to accommodate the model’s weights and other parameters in your computer’s RAM.
- Chat! Once the model is loaded, you can initiate a back-and-forth conversation with the model in the Chat tab.
LM Studio offers several features that enhance your local LLM experience. A notable capability is the ability to chat with documents entirely offline on your computer, a feature known as “RAG” (Retrieval Augmented Generation), which allows for completely private and local document interaction. For managing various configurations and use cases, LM Studio introduces Presets. These allow you to bundle a system prompt and other inference parameters, such as Temperature, Top P, or Max Tokens, into a single, reusable configuration. You can save these settings as named presets to easily switch between different use cases like reasoning or creative writing. Presets can be imported from files or URLs, and you can even publish your own to share via the LM Studio Hub. Additionally, you can set Per-model Defaults for load settings like GPU offload or context size for individual models via the My Models tab, which will be applied whenever that model is loaded. Alongside Presets, LM Studio uses a model.yaml format to publish and share model configurations on the LM Studio Hub. Both are sharing mechanisms: Presets bundle inference parameters, while a model.yaml file describes a model and its default settings.
Beyond basic chat and configuration, LM Studio incorporates advanced functionalities to further empower your interactions with LLMs. These include support for Structured Output, Tools and Function Calling, and Speculative Decoding, all of which can enhance your LLM applications. LM Studio also supports Parallel Requests, which lets the server process several inference requests at once. You enable it from the Developer tab. LM Studio also functions as a Model Context Protocol (MCP) Host, which lets you connect MCP servers. This feature arrived in LM Studio 0.3.17 and is now mature in the 0.4.x releases. These servers can provide advanced functions, such as model and dataset search, as exemplified by the Hugging Face MCP Server. You add a server by editing mcp.json, or in one click with an “Add to LM Studio” deeplink button on a web page. However, exercise caution when installing MCPs from untrusted sources, because some MCP servers can run arbitrary code, access your local files, and use your network connection.