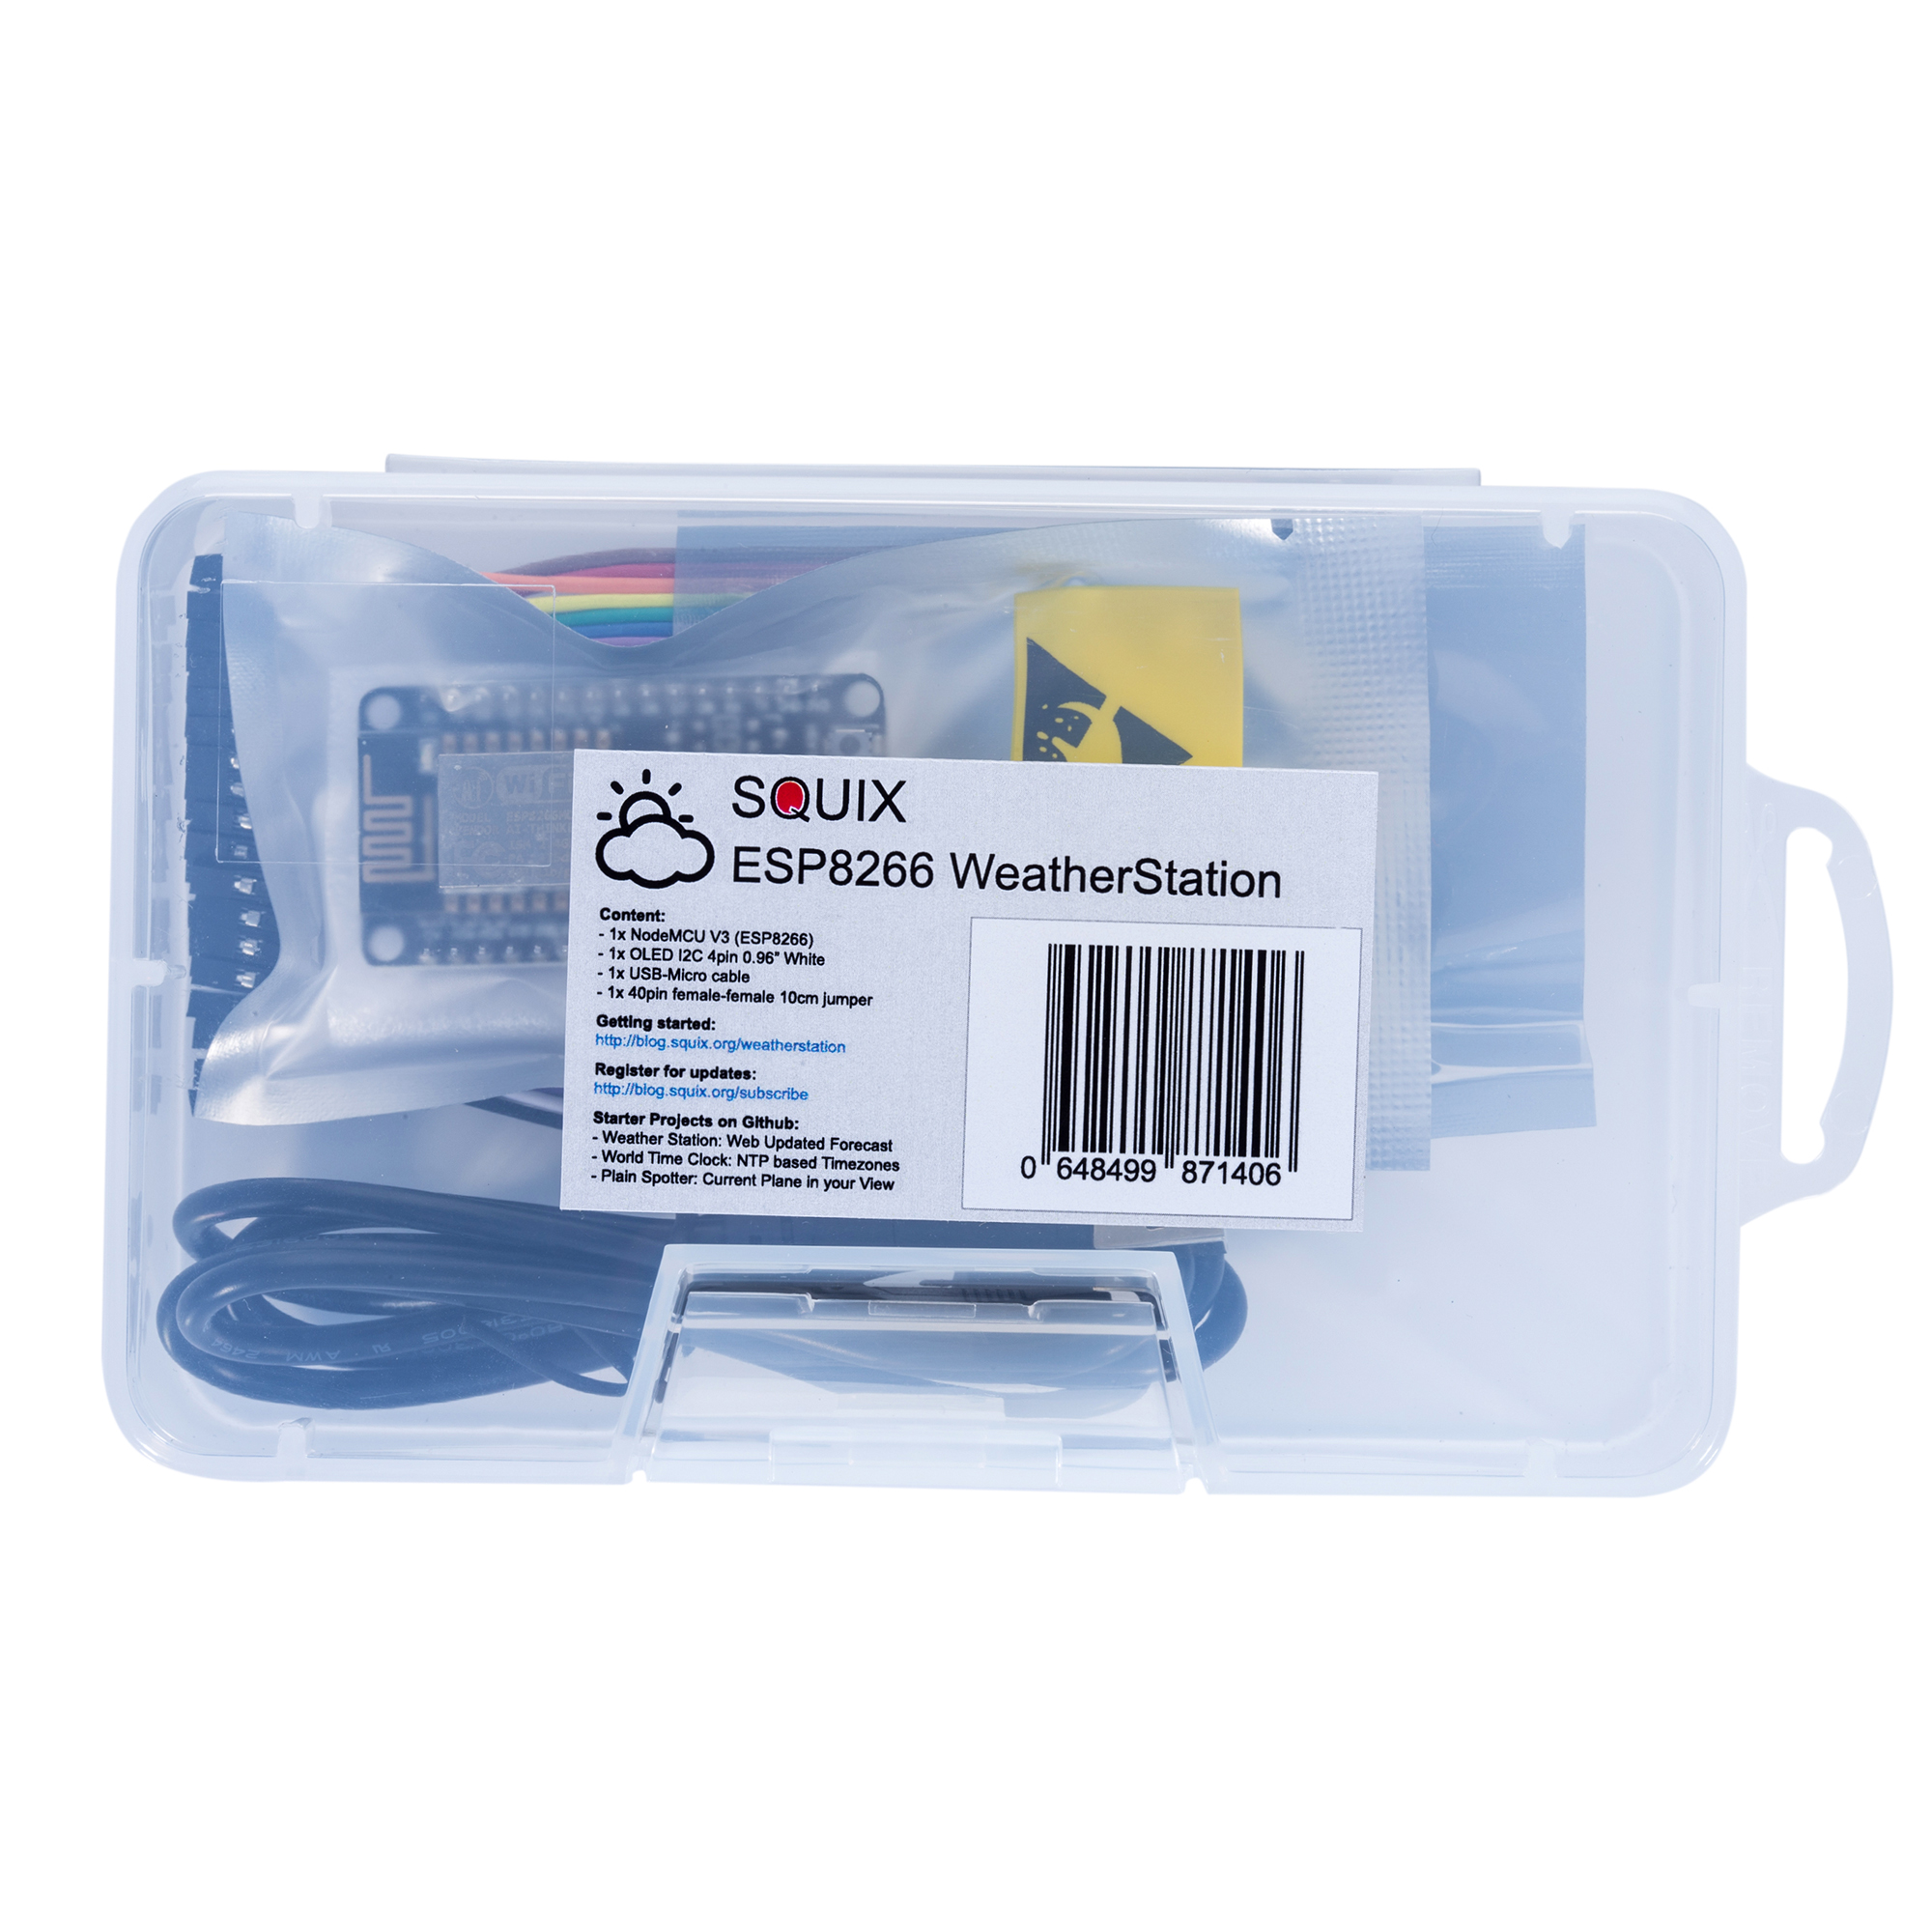
Required Hardware
The Starter Kit is available from two shops. You can buy it from the shop on my blog and shipping is available to almost all destinations: https://thingpulse.com/product/esp8266-iot-electronics-starter-kit-weatherstation-planespotter-worldclock/
If you live in the US you can purchase the WeatherStation from Amazon (https://www.amazon.com/dp/B01KE7BA3O/) as well.
The ThingPulse ESP8266 WeatherStation Kit has the advantage that everything fits together, but you can of course also get the components from your preferred supplier. In this chapter I will quickly go through the minimal requirements and the options you have to build your first WeatherStation.
ESP8266 Module
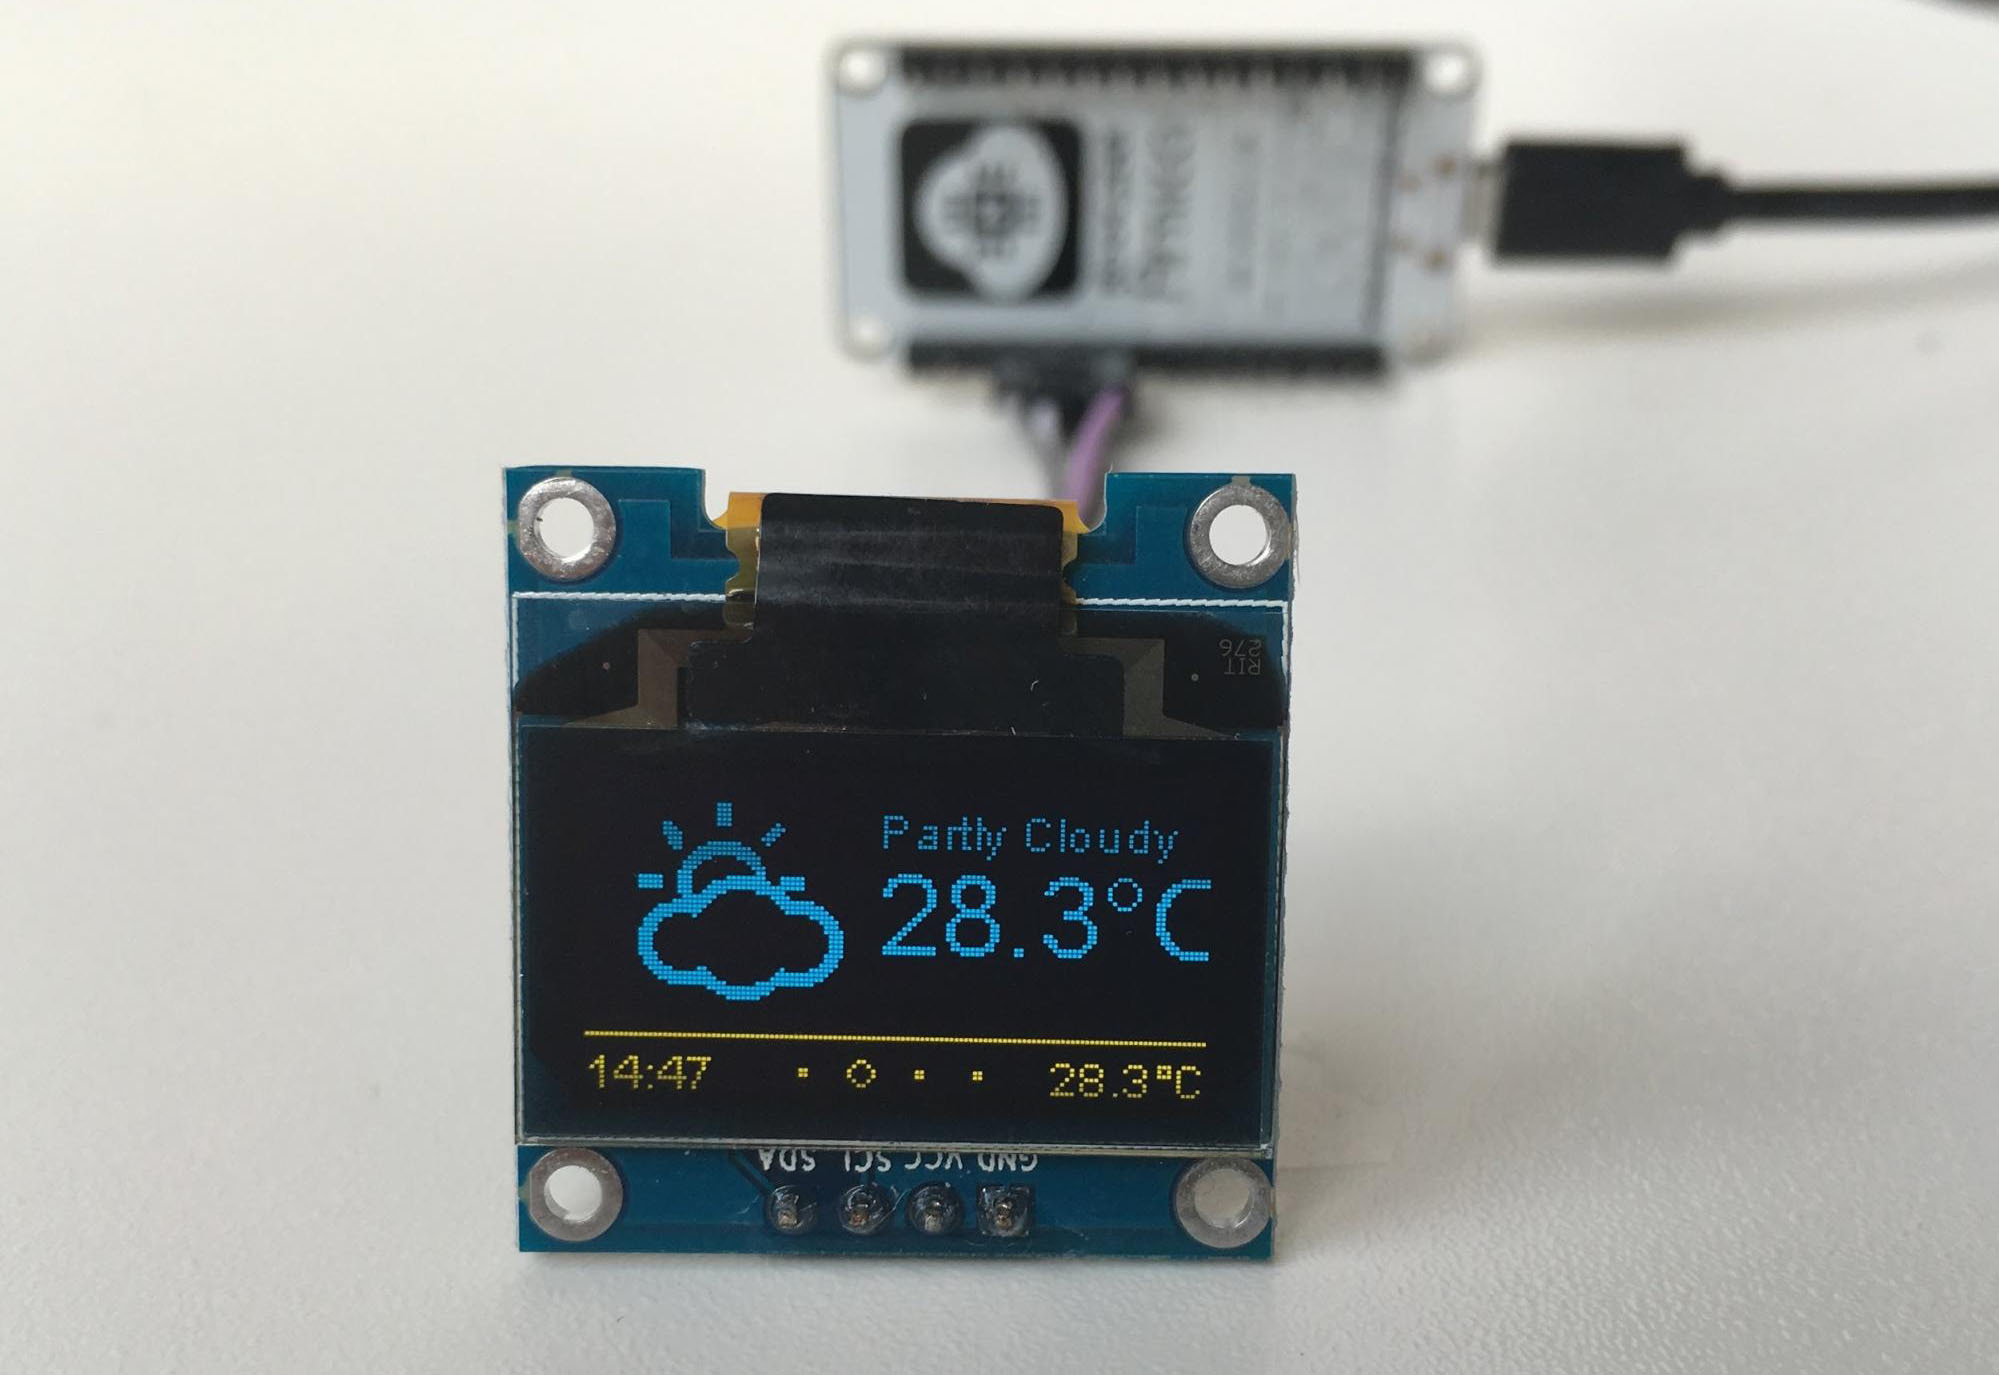
There are many different modules available based on ESP8266s; they differ in a number of aspects such as the quantity of available GPIO pins or if they can be programmed easily without need of an additional Serial-to-USB converter. If you are a beginner I suggest you use a developer-friendly module like the NodeMCU V1.0 or the Wemos D1 mini. They come with a USB connector and have the maximum number of available pins ready for your usage. The absolute minimal requirement is that your ESP8266 module has at least two free GPIO pins to connect it to the OLED display.
OLED Display
With the display you also have many options: do you want the pixels to be white or blue, or do you even prefer a two color display where the footer is in one color and the rest in another? What really matters is the driver chip and the protocol. The OLED library currently supports I2C and SPI for both the SSD1306 and the SH1106 chip. The first is often used for 0.96” inch displays while the second one is used for 1.3” displays. Displays with SPI interface will consume more of your free GPIO pins.
Wires & Cables
You will also need some wires to connect the display to the ESP8266. In case you want to connect the display directly to the NodeMCU you will need at least four female-to-female jumper wires, since both the display and the NodeMCU have male pin headers. The wires don’t need to be long, 4” (10cm) is usually enough.
To program the ESP8266 module you will also need a USB cable. In case of the NodeMCU this cable should have a micro-USB connector on the module side and a normal USB connector for your PC or Mac.