The Basics
The goal of the first chapter is discuss best practices and get your first app configured with Angular 4 and Firebase. By the end of the chapter you will have solid skeleton app from which we can start building more complex features.
1.1 Top Ten Best Practices
Problem
You want a few guidelines and best practices for building Angular apps with Firebase.
Solution
Painless development is grounded in a few core principles. Here are my personal top ten ten tips for Angular Firebase development.
- Learn and use the Angular CLI.
- Use AngularFire when working with Firebase.
- Create generic services to handle data logic.
- Create components/directives to handle data presentation.
- Unwrap Observables in the template with the
asyncpipe when practical. - Deploy your production app with Ahead-of-Time compilation to Firebase hosting.
- Always define backend database and storage rules on Firebase.
- Take advantage of TypeScript static typing features.
- Setup separate Firebase projects for development and production.
- Don’t be afraid to use Lodash to simplify JavaScript.
1.2 Start a New App from Scratch
Problem
You want start a new Angular project, using Firebase for the backend.
Solution
Let’s start with the bare essentials. (You may need to prefix commands with sudo).
1 npm install -g @angular/cli@latest
2 npm install -g typescript
3 npm install -g firebase-tools
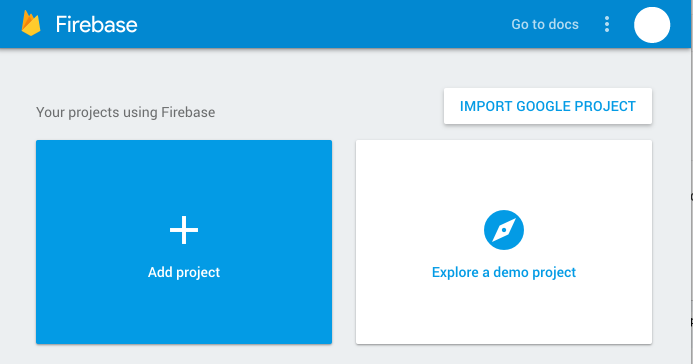
Then head over to https://firebase.com and create a new project.
Setting up an Angular app with Firebase is easy. We are going to build the app with the Angular CLI, specifying the routing module and SCSS for styling. Let’s name the app fire.
1 ng new fire --routing --style scss
2 cd fire
Next, we need to get AngularFire2, which includes Firebase as a dependency.
npm install angularfire2 firebase --save
In the environments/environment.ts, add your credentials. Make sure to keep this file private by adding it to .gitignore. You don’t want it exposed in a public git repo.
 1 export const environment = {
 2   production: false,
 3   firebaseConfig: {
 4     apiKey: '<your-key>',
 5     authDomain: '<your-project-authdomain>',
 6     databaseURL: '<your-database-URL>',
 7     projectId: '<your-project-id>',
 8     storageBucket: '<your-storage-bucket>',
 9     messagingSenderId: '<your-messaging-sender-id>'
10   }
11 };
In the app.module.ts, add AngularFire2 to the imports. You only need to import the modules you plan on using.
 1 import { AngularFireModule } from 'angularfire2';
 2 import { AngularFireDatabaseModule } from 'angularfire2/database';
 3 import { AngularFireAuthModule } from 'angularfire2/auth';
 4 import { AngularFirestoreModule } from 'angularfire2/firestore';
 5 import { AngularFireStorageModule } from 'angularfire2/storage';
 6
 7 import { environment } from '../environments/environment';
 8 export const firebaseConfig = environment.firebaseConfig;
 9 // ...omitted
10 @NgModule({
11   imports: [
12     BrowserModule,
13     AppRoutingModule,
14     AngularFireModule.initializeApp(environment.firebaseConfig),
15     AngularFireDatabaseModule,
16     AngularFireAuthModule,
17     AngularFirestoreModule
18   ],
19   // ...omitted
20 })
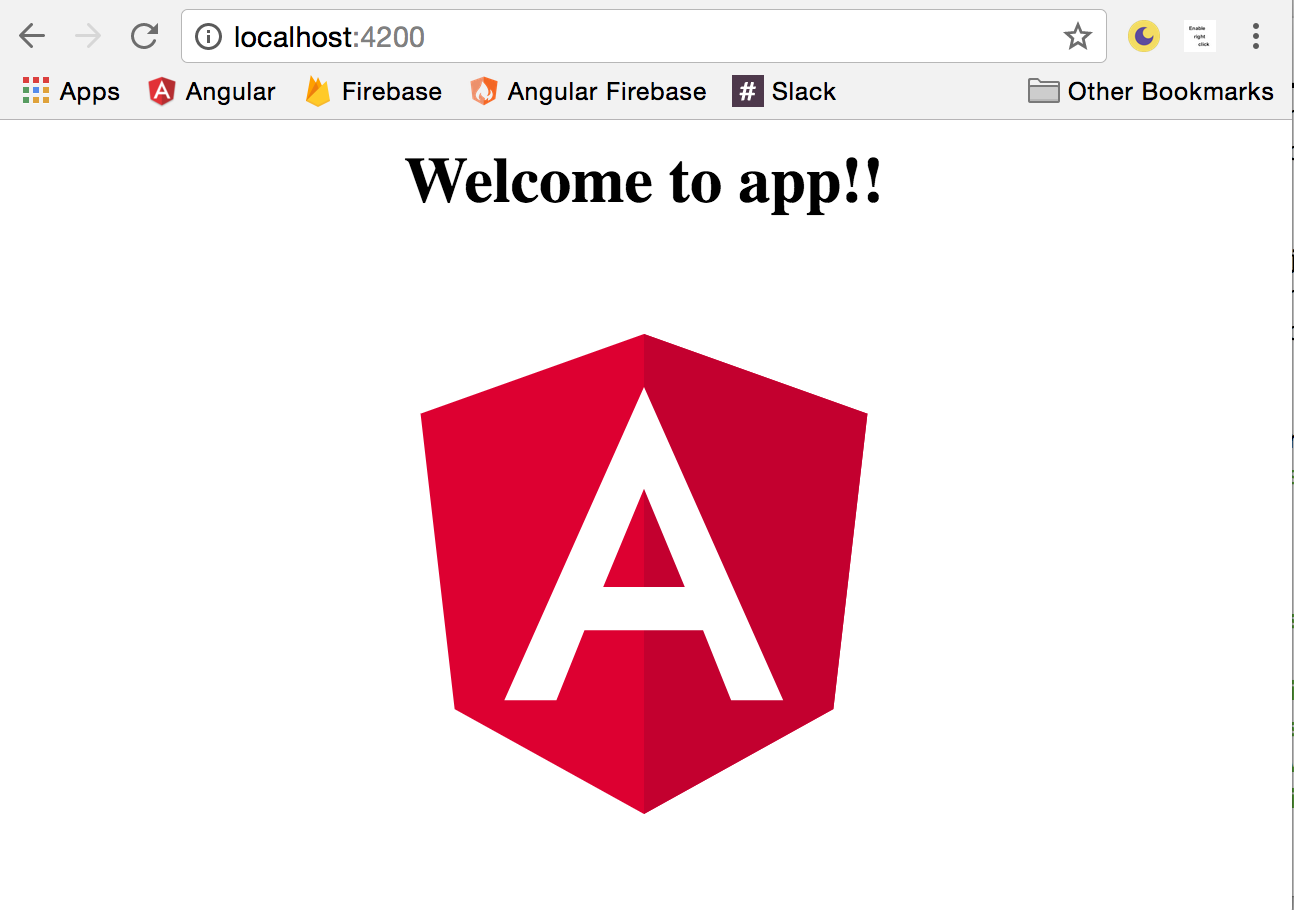
That’s it. You now have a skeleton app ready for development.
1 ng serve
1.3 Separating Development and Production Environments
Problem
You want maintain separate backend environments for develop and production.
Solution
It’s a good practice to perform development on an isolated backend. You don’t want to accidentally pollute or delete your user data while experimenting with a new feature.
The first step is to create a second Firebase project. You should have two projects named something like MyAppDevelopment and MyAppProduction.
Next, grab the API credentials and update the environment.prod.ts file.
1 export const environment = {
2   production: true,
3   firebaseConfig: {
4     apiKey: "PROD_API_KEY",
5     authDomain: "PROD.firebaseapp.com",
6     databaseURL: "https://PROD.firebaseio.com",
7     storageBucket: "PROD.appspot.com"
8   }
9 };
Now, in your app.module.ts, your app will use different backend variables based on the environment.
1 import { environment } from '../environments/environment';
2 export const firebaseConfig = environment.firebaseConfig;
3 // ... omitted
4   imports: [
5     AngularFireModule.initializeApp(firebaseConfig)
6   ]
Test it by running ng serve for development and ng serve --prod for production.
1.4 Importing Firebase Modules
Problem
You want to import the AngularFire2 or the Firebase SDK into a service or component.
Solution
Take advantage of tree shaking with AngularFire2 to only import the modules you need. In many cases, you will only need the database or authentication, but not both. Here’s how to import them into a service or component.
 1 import { AngularFirestore } from 'angularfire2/firestore';
 2 import { AngularFireDatabase } from 'angularfire2/database';
 3 import { AngularFireAuth }     from 'angularfire2/auth';
 4
 5 ///... component or service
 6
 7 constructor(
 8   private afs: AngularFirestore,
 9   private db: AngularFireDatabase,
10   private afAuth: AngularFireAuth
11   ) {}
You can also import the firebase SDK directly when you need functionality not offered by AngularFire2. Firebase is not a NgModule, so no need to include it in the constructor.
1 import * as firebase from 'firebase/app';
1.5 Deployment to Firebase Hosting
Problem
You want to deploy your production app to Firebase Hosting.
Solution
It is a good practice to build your production app frequently. It is common to find bugs and compilation errors when specifically when running an Ahead-of-Time (AOT) build in Angular.
During development, Angular is running with Just-In-Time (JIT) compilation, which is more forgiving with type safety errors.
1 ng build --prod
Make sure you are logged into firebase-tools.
1 npm install -g firebase-tools
2 firebase login
Then initialize the project.
1 firebase init
- Choose hosting.
- Change public folder to
dist/<your-app-name>when asked (it defaults to public). - Configure as single page app? Yes.
- Overwrite your index.html file? No.
1 firebase deploy
If all went well, your app should be live on the firebase project URL.