Installation and Basic Use
Webpack simplifies your workflow by constructing a dependency graph of your application and bundling it together in the right order. It can be configured to customize optimizations to your code, to split vendor, CSS and JavaScript code for production, run a development server that hot-reloads your application without refreshing the page as well many other cool things.
Let’s start testing some of these features out. First we’re going to create a new folder for our project, initialize npm and then install Webpack locally as a dev dependency.
1 $ mkdir webpack_demo
2 $ cd webpack_demo
3 $ npm init -y
4 $ npm install --save-dev webpack
To make sure everything works, we can run:
1 $ ./node_modules/.bin/webpack --help
Creating a Project
To start testing Webpack’s features, we need to have some code in our project. Let’s create two files, an index.html file in the project root, and an index.js file that will act as an entry point in a src subfolder.
1 $ touch index.html
2 $ mkdir src
3 $ touch src/index.js
In the JavaScript file, we’ll create a div container that outputs “Hello, Webpack!” to the screen and append it to the document body.
 1 function appComponent() {
 2   var el = document.createElement('div');
 3
 4   // lodash is required to make this line work
 5   el.innerHTML = _.join([ 'Hello,', 'webpack!' ], ' ');
 6
 7   return el;
 8 }
 9
10 document.body.appendChild(appComponent());
To run this code, we need to add it to the HTML template file. Let’s do that now.
 1 <!DOCTYPE html>
 2 <html>
 3   <head>
 4     <title>Webpack 2 Demo</title>
 5     <script src="https://unpkg.com/lodash@4.16.6"></script>
 6   </head>
 7   <body>
 8     <script type="text/javascript" src="src/index.js"></script>
 9   </body>
10 </html>
In this example, there’s an implicit dependency between our index.js file and lodash. Our application requires lodash be loaded before it runs. The relationship is considered implicit as the index.js file never explicitly declared a requirement for lodash, it just assumes that a global variable _ (underscore) exists.
There’s some glaring problems with managing JavaScript projects in this way:
- If a dependency is missing or including in the wrong order, the application won’t work
- If the dependency is included but isn’t used, that causes the browser to download a lot of unnecessary code
1 $ npm install --save lodash
1 import _ from 'lodash';
2
3 function addComponent() {
4   ...
We also need to change our index.html file to expect our generated bundle file instead of the index.js file.
1 <!DOCTYPE html>
2 <html>
3   <head>
4     <title>Webpack 2 Demo</title>
5   </head>
6   <body>
7     <script type="text/javascript" src="dist/bundle.js"></script>
8   </body>
9 </html>
Now we’ve changed our JavaScript file to explicitly require lodash as a dependency. When we run the index file through Webpack, it’s going to build a dependency graph and generate an optimized bundle with all the code we need. It’s also smart enough to not include any unused dependencies.
Running Webpack from the Command Line
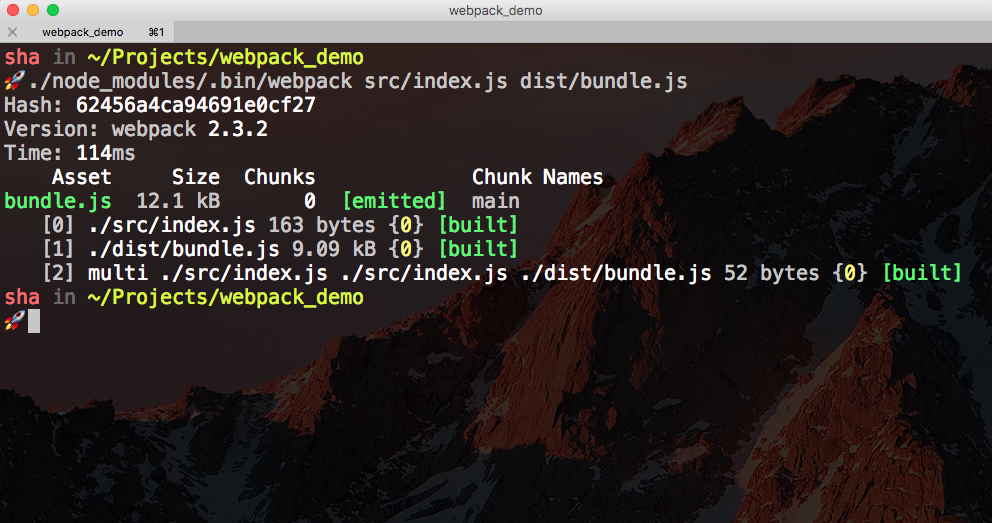
We can run Webpack in our terminal, setting src/index.js as the entry point and dist/bundle.js as the output file.
1 $ ./node_modules/.bin/webpack src/index.js dist/bundle.js
Serving the Project
We can use the http-server npm package to start a simple server in this folder and run this code in the browser. To install this package globally, run:
1 $ npm install -g http-server
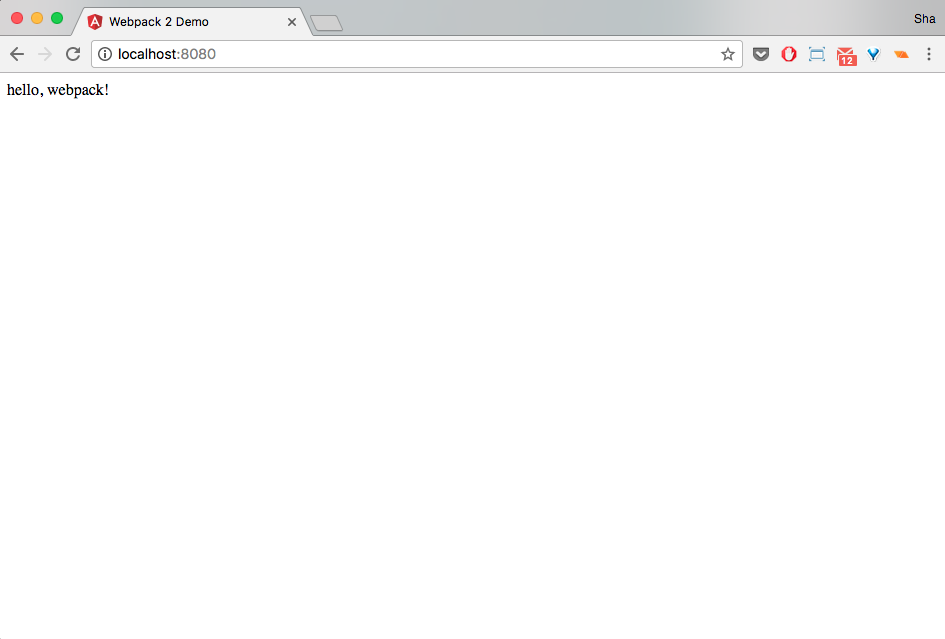
Once this is installed, simply execute the http-server command. The default port that http-server serves our project is 8080, so in the browser navigate to http://localhost:8080. We should see a page with ‘Hello, webpack!’.
This is great, but we’re not leveraging the full power of Webpack. To do this we’re going to create a configuration file called webpack.config.js. We’ll also be able to leverage npm scripts to saving us having to type the entry and output files each time we want to create a build.