Appendix A: Installing PostgreSQL and accessing it from the command line
In this chapter, I’ll walk you through installing the latest version of PostgreSQL on Windows 10, Mac OS X, and select Linux distributions. As stated in Chapter 1, the goal is to get to the point that you can enter the command psql at your system’s command line and connect to a PostgreSQL server running in your local environment.
Why type commands the command line? Although there are point-and-click graphical interfaces available for PostgreSQL, it is difficult for me or any teacher to give clear instructions about how to point and where to click. These interfaces may also be different for users on different platforms. The command line interface (CLI) to PostgreSQL is the same for all platforms and allows me to give precise instructions. It will also ensure that you get lots of practice writing SQL. As a bonus feature, non-technical people who see you doing this will think you’re a super-hacker.
Setting up PostgreSQL in Windows 10
Obtain and install PostgreSQL
First, visit www.postgresql.org for the latest information about PostgreSQL. Take note of the latest stable version number, which at the time of this writing appears under the heading “LATEST RELEASES”. There will probably also be an announcement about an unfinished future version, in alpha or beta test stage, but I recommend you avoid that one. From the homepage, follow the “Download” link(s) until you find a Windows installer for the latest version. At the time of this writing, the first option listed on the website is an interactive installer provided by EnterpriseDB, a company that promotes PostgreSQL.
Unless your computer is very old, it should be a 64-bit system, so you’ll want to choose the “Win x86-64” installer. Again, make sure you’re not downloading the unstable alpha or beta, but are getting the newest mature release. The download may take some time if you have a slow connection. When you have downloaded the installer, run it.
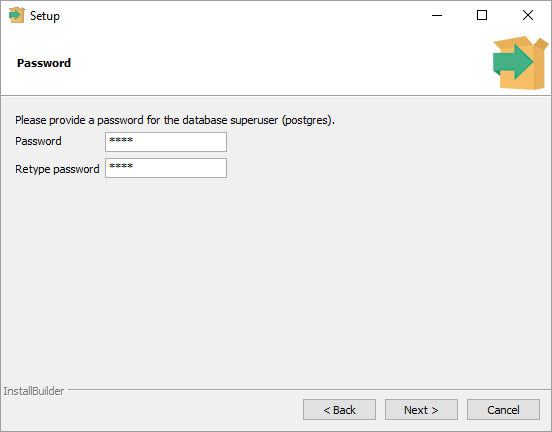
The installer has several screens that ask you how to configure PostgreSQL, but for the most part you can accept the defaults. On about the fourth screen, you’ll be asked to create a password for the database superuser (known as “postgres”). This is the user account that can create and delete databases, and other users. Since you’re just practicing on (presumably) your personal computer, it’s best to pick something easy to remember and that you don’t mind other people seeing. By all means, though, don’t forget what password you entered.
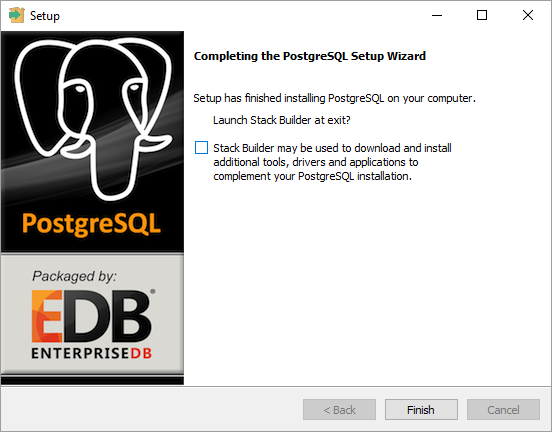
You should be able to click “next” through all of the remaining screens, and watch the installer do its job. After installing the software, the Setup Wizard will give you the option to launch something called “Stack Builder”, to augment PostgreSQL with some optional add-ons. You can uncheck the box and skip that step. If you do find yourself in Stack Builder, you can get out of it by clicking “Cancel” if you wish.
Access psql from the Windows command prompt
To get to the Windows command line, search for the program called “cmd.exe”. In Windows 10 you can do this by clicking the “Windows” icon to launch the main menu, and then typing “cmd”. This should work for other recent versions of Windows, too. I recommend pinning the icon to your taskbar, so you can access it quickly in the future.

Upon opening this application, you’ll be presented with a text-only window into which you can enter commands one at a time. Type help and hit Enter for a list of basic commands you can use to navigate this interface. Most likely you’ll find cd (change directory) and dir (list the files in a directory) useful for navigating folders and getting to your work.
Test your PostgreSQL installation by typing psql -V. If the output of this command is the PostgreSQL version number, try then entering psql to log in to the database server. If psql opens without an error message, you’re done with installation, and may go back to Chapter 1 to begin the lab.
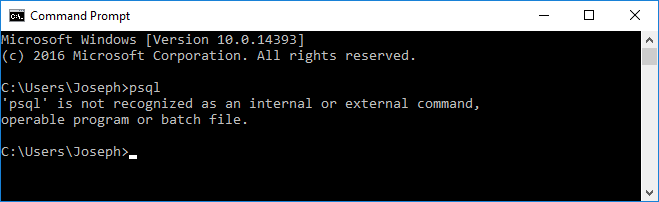
More likely, though, you’ll get an error message saying that psql isn’t recognized as command or program. Failing that, you’ll get an error message saying that your password is wrong. In either case, this means there’s one more step to do: we need to set two important environment variables.
Setting environment variables in Windows 10
Environment variables are data that are accessible to all programs running on your system, and they’re usually used for things that multiple programs need to know about (such as the location of your database) but which may be different from one computer to the next. By using an environment variable to store this information, you don’t have to include it in code. Therefore a program could be developed on one computer and deployed to another that has things set up differently, and the original code wouldn’t need to be altered. In the code, instead of saying “connect to the database located in directory C:/X/Y/Z”, you’d say “connect to the database at environment variable DATABASE_LOCATION”.
The first environment variable we need to get right is the PATH. When you type the name of a program, like PostgreSQL’s command line interface psql, the operating system looks in a number of directories to find a program of that name. If it doesn’t find one, you’ll see an error message saying “psql is not recognized as an internal or external command”. The PATH is the environment variable that stores the list of directories to search in. To configure it correctly, first find out where psql lives on your system, and then add that directory to the PATH.
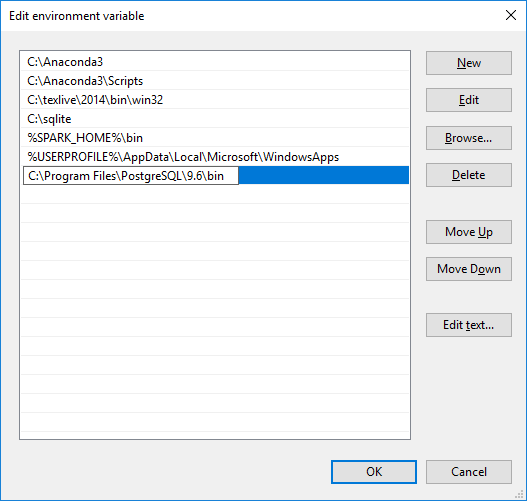
Finding psql is the easy part. It’s most likely in the directory C:\Program Files\PostgreSQL\9.6\bin (change “9.6” if necessary, depending on the version you installed). If not, use your system’s search tools or poke around until you find it. By the way, the true name of this file is “psql.exe”, with the “.exe” suffix signifying to Windows that it is an executable program. Depending on your folder settings, you may or may not see the suffix.
To alter the PATH, navigate to the “System” control panel. Windows 10 makes this a little more complicated than in earlier versions of Windows. You can either do a search for “Control Panel” and then click to “System”, or you can go to the Settings panel, click “System”, then scroll down and click “About”, then scroll down and click “System Info”. Either way you’ll find yourself on a page that displays basic information about your computer, its processor, memory, and operating system version among other details. On the left, click “Advanced system settings”. A new window will appear. Near the bottom of that window, click the button for “Environment Variables…”.
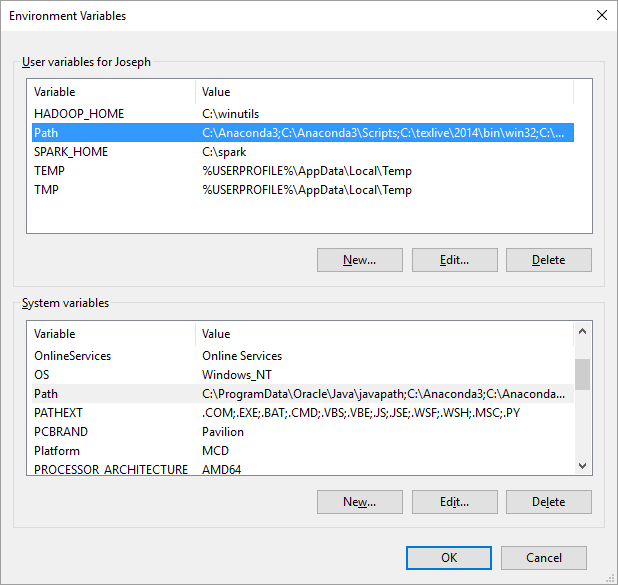
In the environment variable control panel (see Figure A-6), you’ll see a list of variables specific to your user account, and a list of variables that apply to the whole system (all possible users). You can alter the PATH (or “Path”, “path”, “pAtH”, etc.) in either of these lists, or create it if it doesn’t already exist. If one already exists, select it and click “Edit…”. Add a new listing to the end of the PATH for the directory where psql lives. Do not delete existing entries! They are probably important for other programs you use.
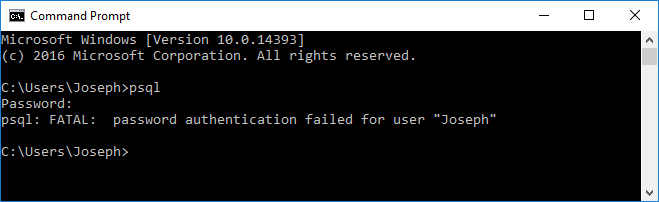
Click ‘OK’. You may now open a new command prompt and try psql again, and you’ll most likely get the confusing error illustrated in figure A-8. The program will ask you for the password–the same password you dutifully wrote down during installation (see above)–and then will tell you that “authentication failed for user YourName”. What this means is not that you got the password wrong, but that Postgres got the username wrong. It assumed your database username was the same as your Windows username. Glancing back up at figure A-2, you’ll see that the database user is simply named “postgres”.
There’s a workaround for this problem: you can append “-U postgres” to all database commands to specify the username, e.g.:
However, that’s a bit tedious, and there’s a better solution. When psql runs, it checks for a username stored in an environment variable called PGUSER before guessing that you want to use your Windows username.
To set this environment variable, click “New…” and enter the name PGUSER with the value postgres. Then click “OK”.

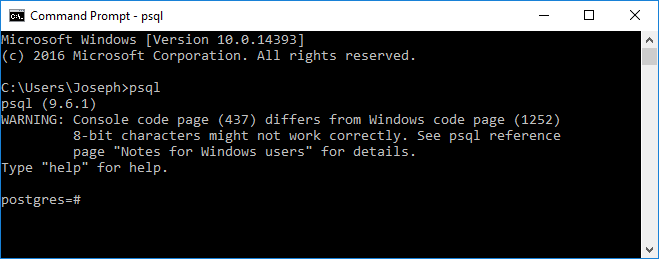
After configuring the PATH and PGUSER environment variables, you must click “OK” to close the Environment Variables control panel. Then open a new command prompt and try psql. If you successfully log in to the database server (as in Figure A-10), you’re up and running!
Setting up PostgreSQL on a Mac
Obtain and install PostgreSQL
The home of PostgreSQL is www.postgresql.org and, although it’s not necessary to go there to obtain Postgres for the Mac,I recommend that you make a visit to that website as your first step anyway. There you can learn about the latest version, locate documentation and other resources, and find the latest information about installation, if this book is out of date by the time you read it. Take note of the latest stable version number, which at the time of this writing appears under the heading “LATEST RELEASES”. There will probably also be an announcement about an unfinished future version, in alpha or beta test stage, but I recommend you avoid that one.
For Mac users, there are actually quite a few ways to obtain Postgres, including an installer program provided by EnterpriseDB, an “app”, and the Homebrew package manager. I’ve found the Homebrew installation quite painless, and it looks like Homebrew may have other handy uses (such as starting and stopping the database server), so that’s the approach I recommend for you.
If you don’t have Homebrew yet, visit their website at brew.sh for instructions. The easiest way to install Homebrew is to open up a Terminal window and paste the code provided on the web page. This downloads an installation script and runs it on your computer.
Installing Postgres with Homebrew couldn’t be easier. Assuming you have installed Homebrew, go to a command line and type
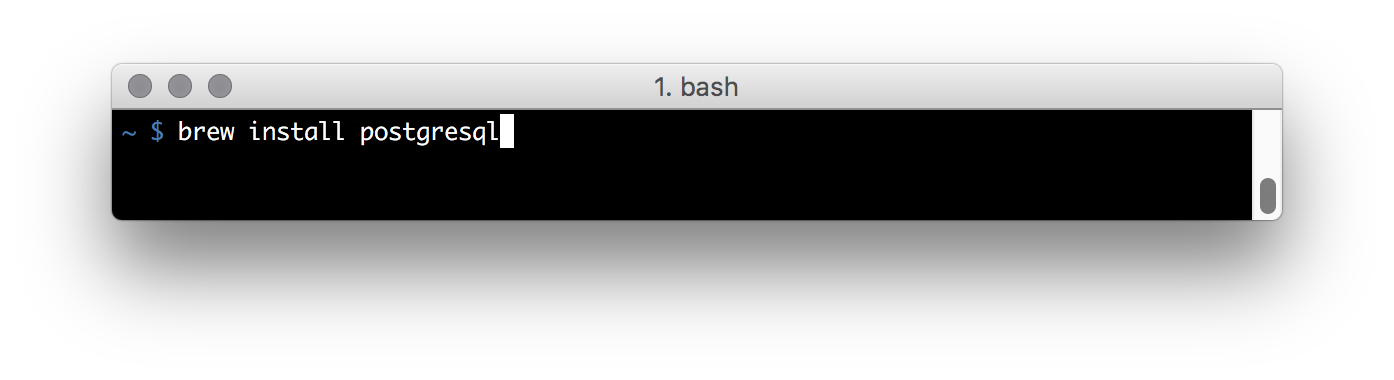
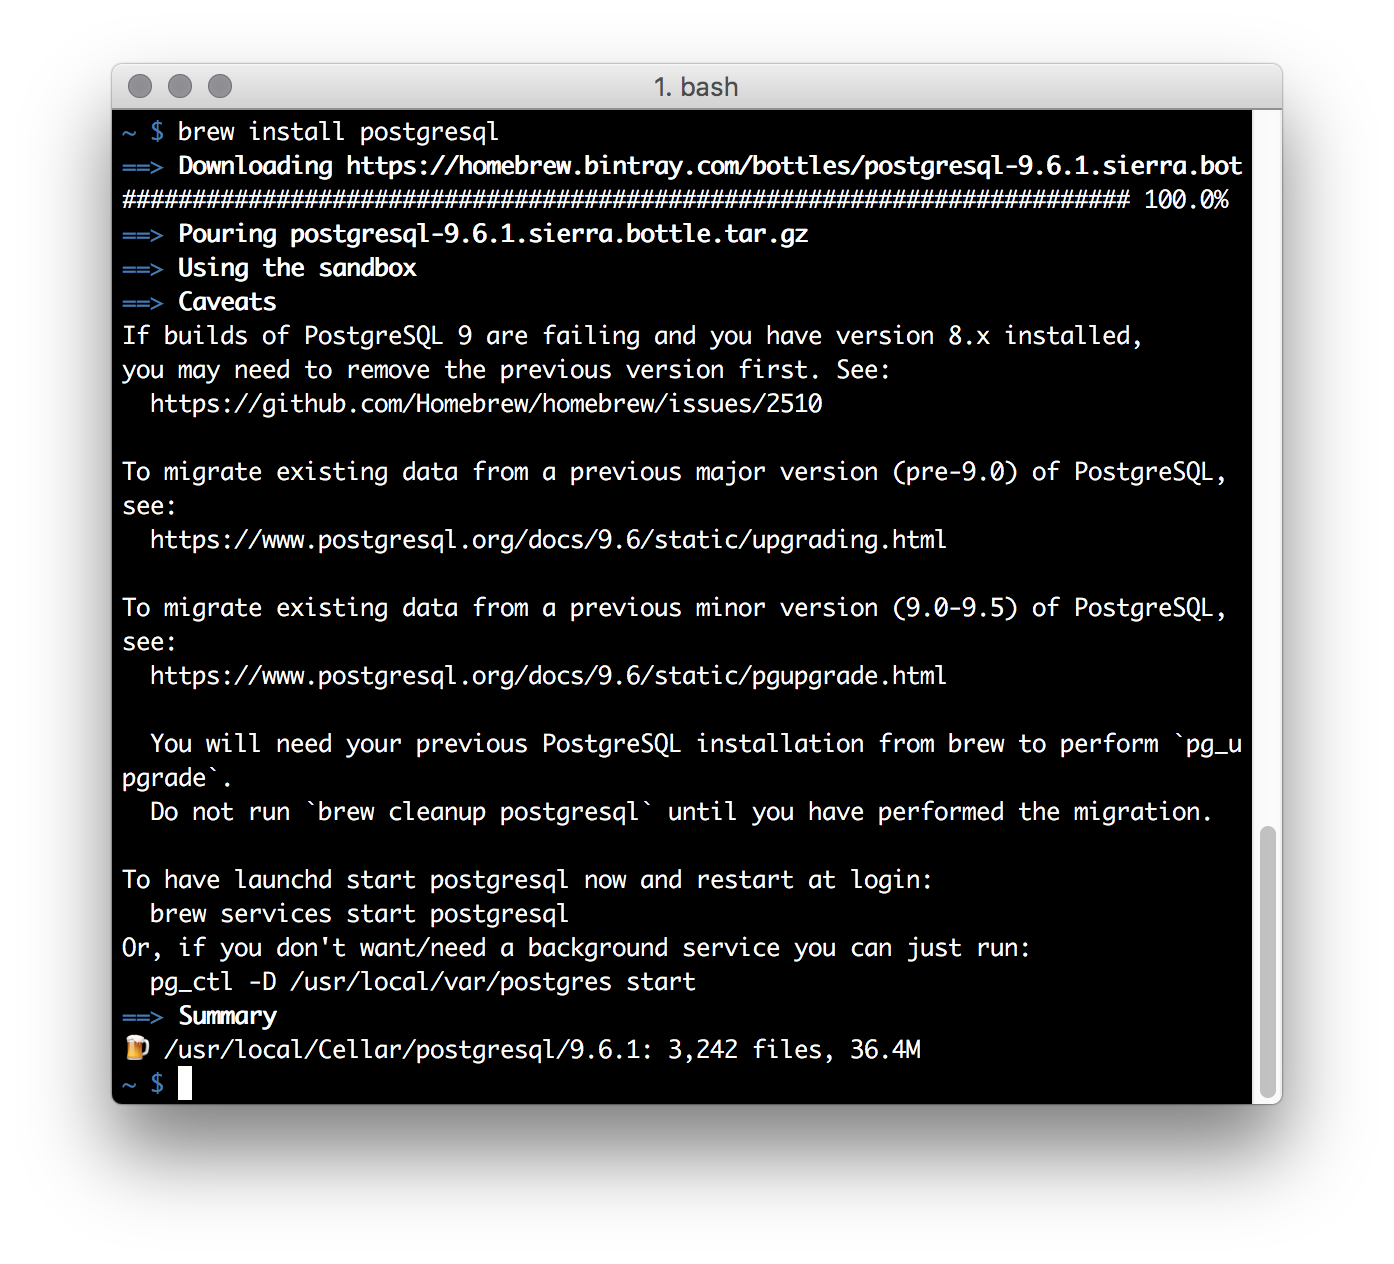
Upon your hitting ENTER, Homebrew should proceed to download Postgres, install it, and configure it for use. You will see a number of messages scrolling by (see for example, Figure A-13) and a new prompt will appear when installation is complete.
Starting the server and creating a database
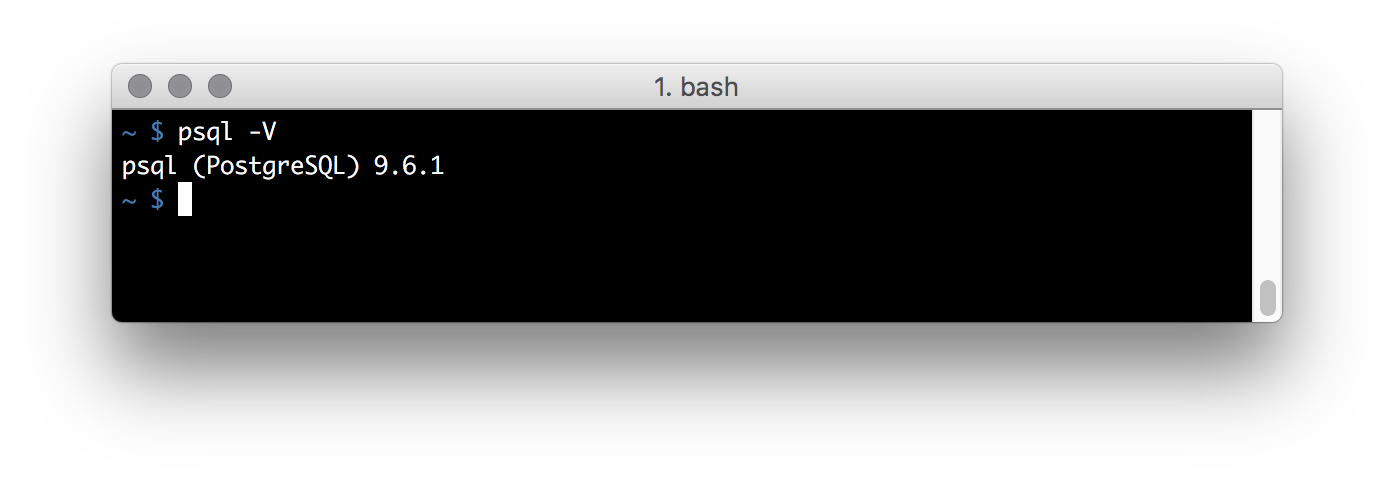
You can test that you installed the software by entering psql -V at the command line. The system should respond by telling you the version of Postgres that you installed. (Tip: if this fails, try closing the Terminal window and opening a new one, then re-enter the command.)
psql works, so the software was installed right.On the Mac, though, there are a couple of additional things to do. Remember that psql is just a utility for talking to the database; for it to be useful we must first start the database. As you might have seen in the messages output by the installation, we can start the server with a Homebrew command like this:
The PostgreSQL server is now running in the background on your computer, and it will keep running even if you restart the computer later. To stop this background server, you can enter the “stop” command at any time:
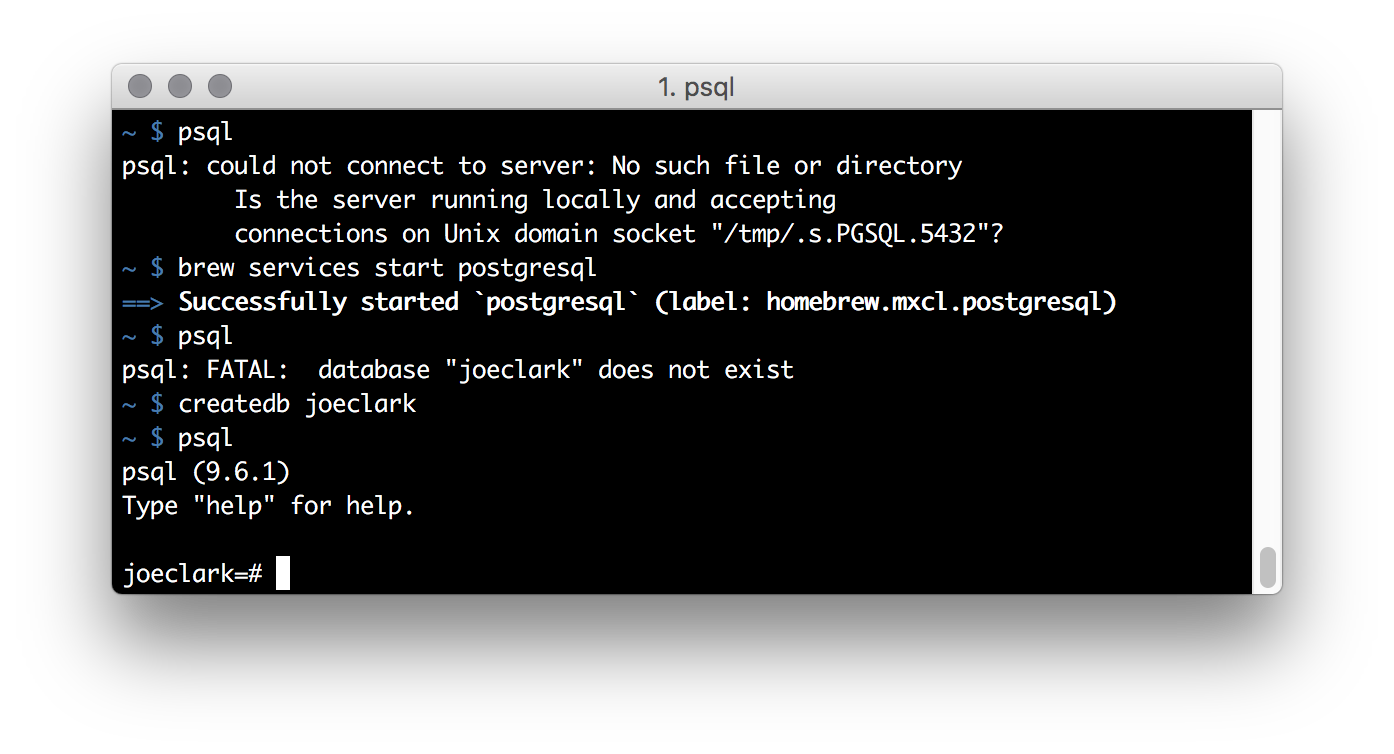
There’s one last thing to do now. By default, if you simply enter psql at the command line, Postgres tries to open a database with the same name as your Mac OS username. Since that database doesn’t exist yet, it will fail. The simple solution is to use createdb <username> (see Chapter 1) to create the database it’s looking for. Figure A-15 illustrates the error messages you may encounter, and the steps needed to successfully start the server and create the default database.
Now your Mac should be ready to play with all the examples in this book.
Setting up PostgreSQL in Linux
(to do)