Getting Started with Node.js
Node.js is a runtime environment for executing JavaScript outside a web browser. It makes JavaScript usable in contexts beyond just web pages.
Node.js is neither a framework nor a programming language. Instead, it is an asynchronous, event-driven environment that provides components and APIs such as:
- JavaScript engine (Google’s V8)
- Module systems (CommonJS and ES modules)
- Operating system APIs (
os) - File system APIs (
fs) - Networking APIs (
http,https, andnet) - Memory and diagnostic APIs
- Event loop
These components make up Node.js’s core infrastructure, enabling JavaScript to run outside of browsers.
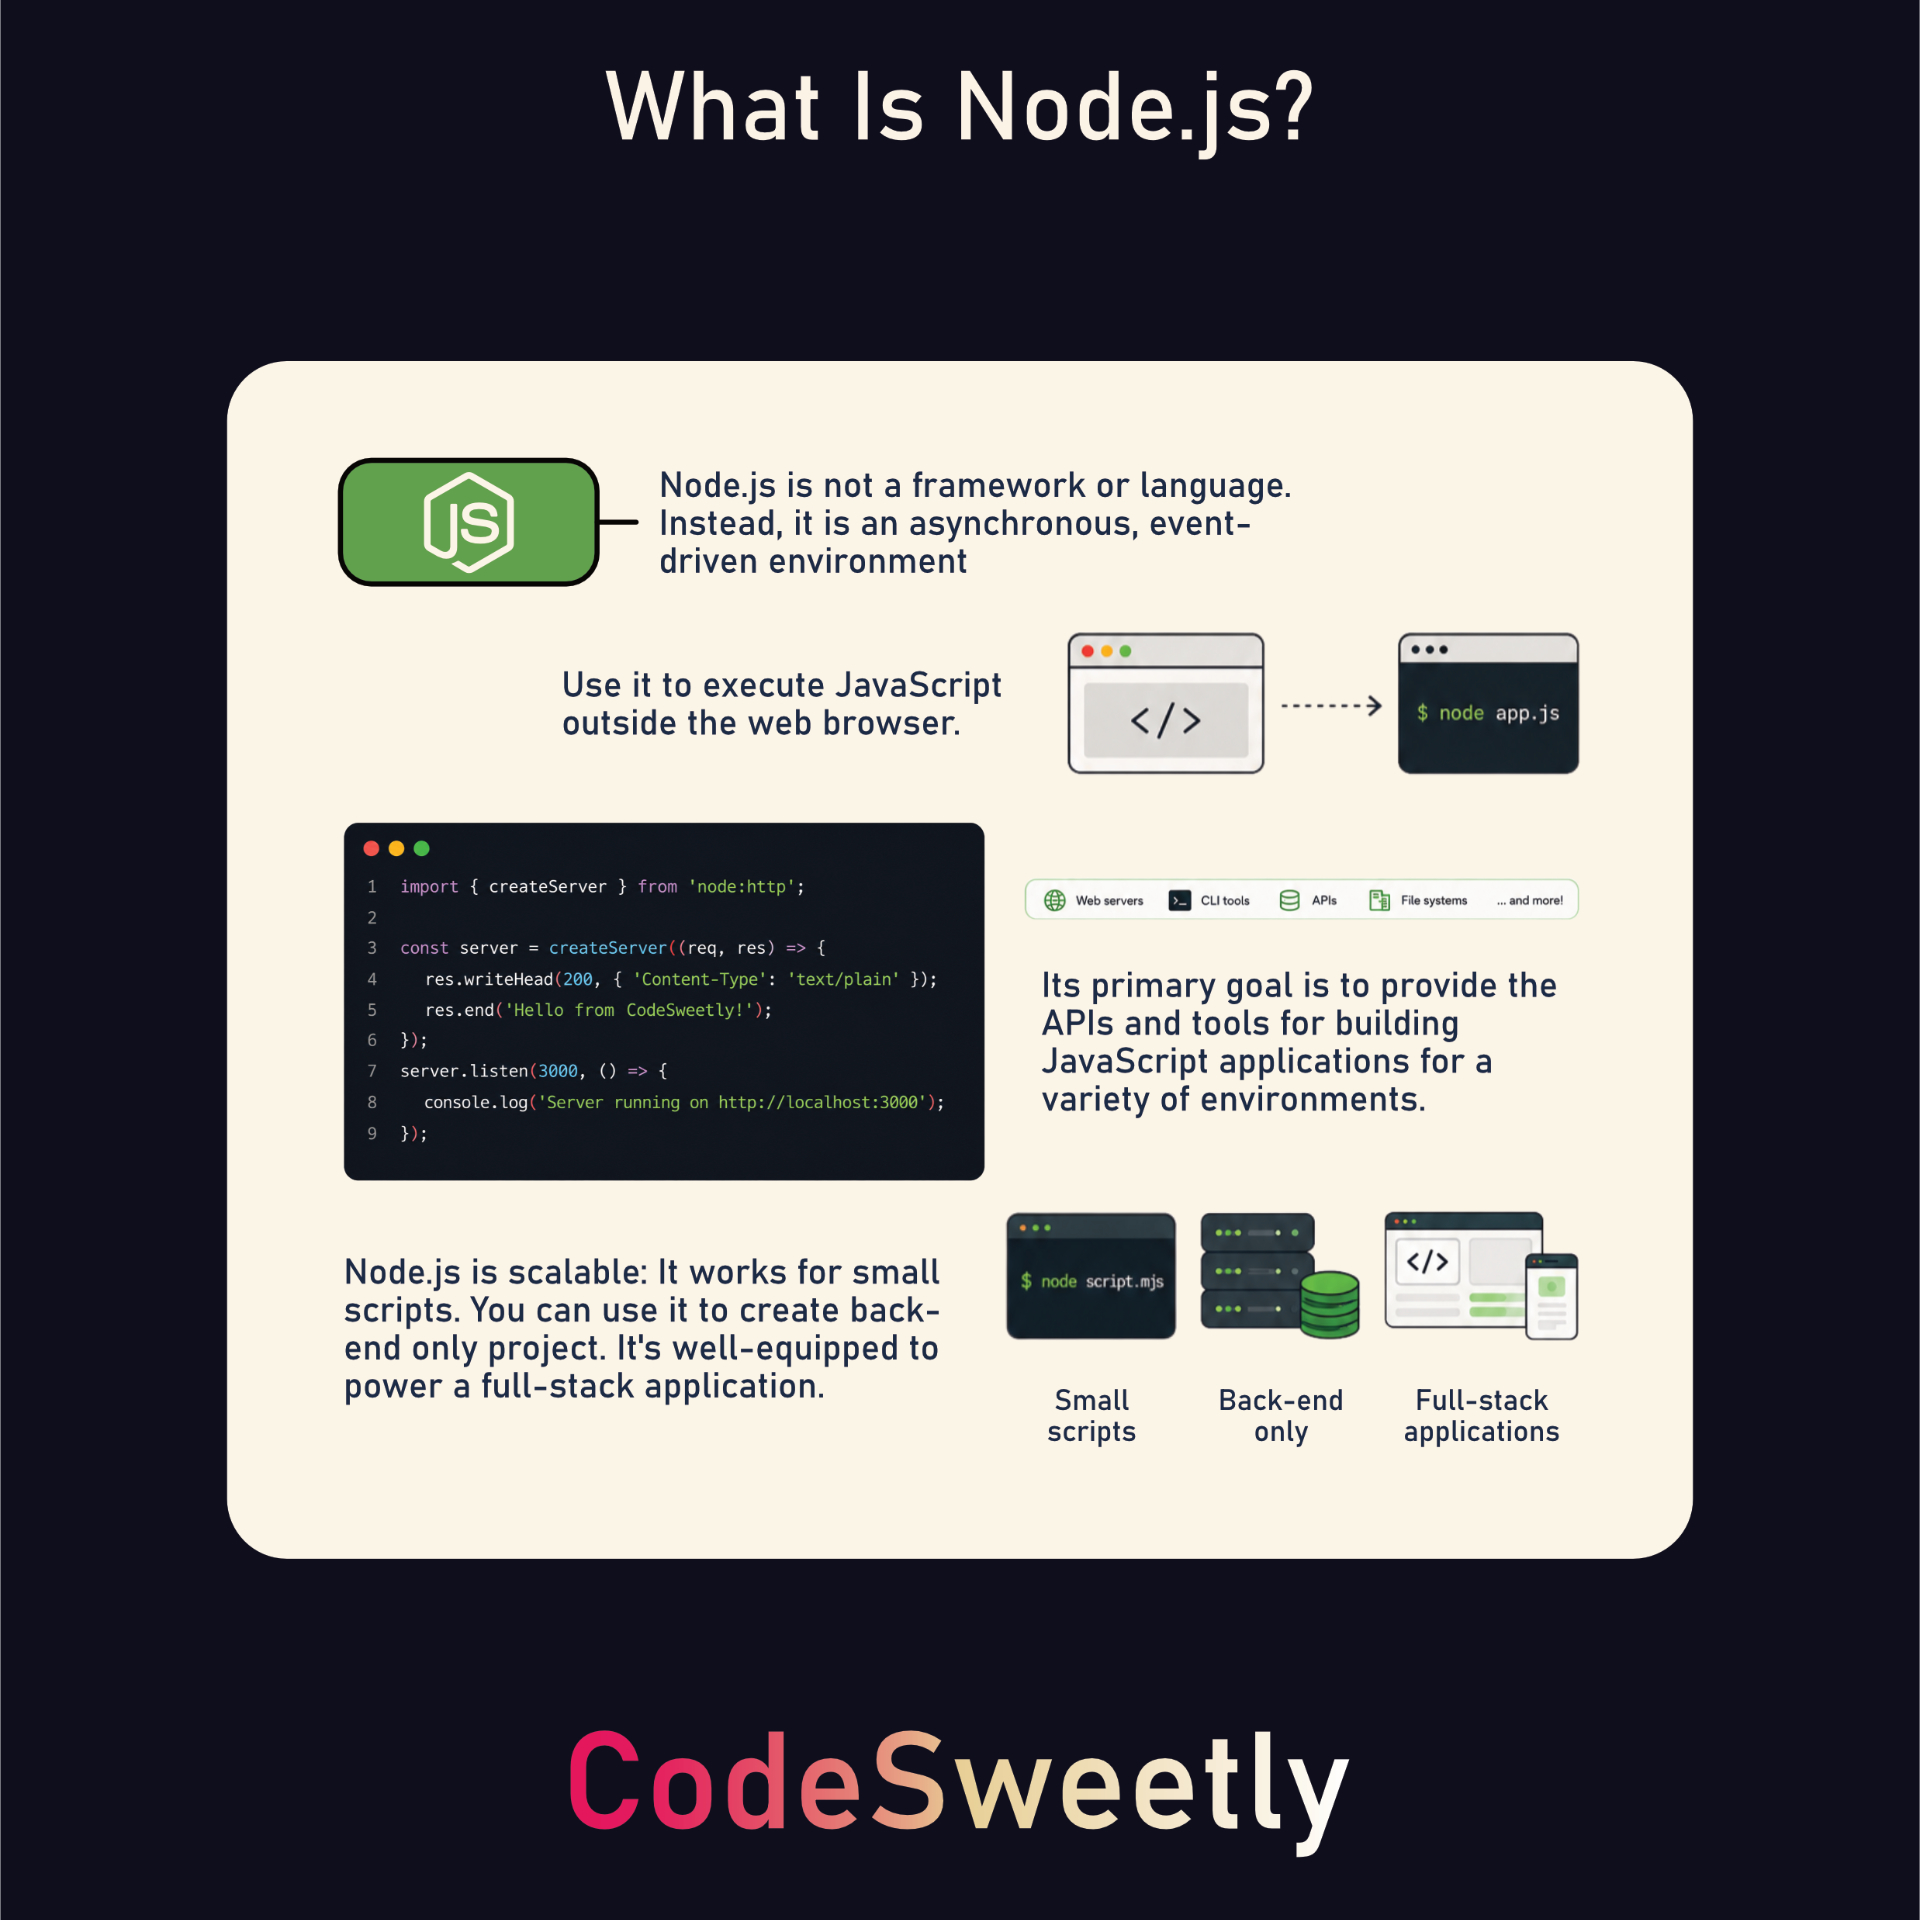
This guide will help you understand Node.js’s purpose by guiding you through a basic application setup. Let’s begin with installing Node.js.
Install Node.js on Your System
The first step to creating a Node.js application is to have Node on your system. So, go to the Node.js website and install the latest LTS (long-term support) version.
After installation, run the following command in your terminal to display the Node.js version installed on your system.
1 node -v
 |
The |
Once you’ve successfully installed Node.js on your system, we can proceed to create the project directory.
Create a New Directory for Your Project
Use the mkdir CLI command to create a new project directory as follows:
1 mkdir codesweetly-nodejs-app-001
 |
You can use any name you prefer. In this guide, we’ll use |
Afterward, navigate to your project directory using the command line.
1 cd codesweetly-nodejs-app-001
Create a package.json File
Use npm to initialize a package.json file after navigating into the project directory.
1 npm init -y
Next, use the following command to delete the optional main field from package.json:
1 npm pkg delete main
|
The |
Why Node.js
JavaScript was originally created for web browsers, but other environments also provide the infrastructure to execute it.
Node’s 2009 release provided an environment for running JavaScript outside the web browser. For example, let’s create a script to run from our system’s terminal.
1. Create a JavaScript file
Create the JavaScript file you want Node to run.
In a shell that supports touch, such as Bash or zsh, use the following command. Otherwise, create the file in your code editor:
1 touch console.js
2. Write your JavaScript program
Open the newly created JavaScript file and write your program:
1 console.log("=== Hello from the CodeSweetly Team! ===");
2 console.log("We hope you have fun Coding Sweetly with Node.js.");
3 console.log("Thank you for being part of the CodeSweetly community.");
4 console.log("=== Keep coding. Keep creating. Keep shipping. ===");
3. Run your JavaScript program
Installing Node.js makes the node command available for running a Node application from your command line.
1 node console.js
node: The command for running Node.js scripts or the REPL.console.js: The JavaScript file you want Node to run.
You can also add the command to the "scripts" field of your project’s package.json file:
1 {
2   "scripts": {
3     "start": "node console.js",
4     "test": "echo \"Error: no test specified\" && exit 1"
5   }
6 }
With this script in place, you can run your JavaScript program from your terminal like this:
1 npm run start
Once you execute your script, Node will print the file’s output to your terminal. It will look like this:
1 $ npm run start
2
3 > codesweetly-nodejs-app-001@1.0.0 start
4 > node console.js
5
6 === Hello from the CodeSweetly Team! ===
7 We hope you have fun Coding Sweetly with Node.js.
8 Thank you for being part of the CodeSweetly community.
9 === Keep coding. Keep creating. Keep shipping. ===
As you can see, we’ve successfully executed JavaScript outside a web browser. That’s precisely what Node.js helps us with. It is an asynchronous, event-driven runtime environment for running JavaScript code outside the web browser. You can also automate rerunning your program. Let’s discuss how.
4. Automatically rerun your JavaScript program
By default, Node.js requires you to manually rerun your JavaScript file each time you make changes.
Repeating the manual process of executing your application as you make changes can be burdensome. Luckily, Node provides the --watch flag for automating the process:
1 node --watch filename.extension
The snippet above uses the --watch flag to start Node.js in watch mode. This causes Node to re-execute the specified script whenever you update any of the files in its dependency graph.
node: The command for running Node.js scripts or the REPL.--watch: The flag for activating Node’s watch mode.filename.extension: The script you want Node to execute.
|
Stop the running process using |
The --watch flag, by default, watches the entry point and all the modules it depends on. In other words, the watch command causes Node to monitor:
- The entry file (
filename.extension) - All files imported by the entry file
- All files imported in those imports
- And so on through the whole dependency graph
Node’s default watch mode does not watch unrelated files. If you want Node to watch other files, use the --watch-path flag:
1 node --watch-path=./src --watch-path=./tests filename.extension
The --watch-path flag, in the snippet above, tells Node to watch all files in the src and tests directories, even if they are not in the entry point’s dependency graph.
node: The command for running Node.js scripts or the REPL.--watch-path: The flag for specifying the path you want Node to watch for changes.filename.extension: The script you want Node to execute.
Node.js supports two module systems. Let’s learn about them.
Node’s Module Support
Node.js supports both CommonJS (.cjs) and ECMAScript (.mjs) modules. This allows you to use your preferred module type to create Node.js applications.
For example, below is a script.mjs JavaScript file. Node will treat it as an ECMAScript module because it has a .mjs file extension.
1 import http from "node:http";
On the other hand, Node will regard the script.cjs JavaScript file below as a CommonJS module because it has a .cjs file extension.
1 const http = require("node:http");
Suppose you want to specify the module type for the .js files in your project. In that case, specify a type field in your package.json file like so:
1 {
2   "scripts": {
3     "start": "node console.js",
4     "test": "echo \"Error: no test specified\" && exit 1"
5   },
6   "type": "module",
7   "license": "ISC"
8 }
The "type": "module" field in the snippet above makes Node treat .js files governed by this package.json as ES modules. A nested package.json establishes its own scope. .mjs and .cjs files retain their respective module types.
Set the "type" field to "commonjs" to make Node treat .js files in that scope as CommonJS.
Some notes:
- The ES module system is the official standard for JavaScript.
- Kevin Dangoor started the project that became CommonJS in January 2009, before JavaScript had an official standard module system.
- ES modules became part of the ECMAScript standard in 2015. CommonJS remains supported in Node.js.
In this guide, we’ll mainly use Node.js with ES modules, since ES modules are JavaScript’s standard module system. To follow the examples, make sure the "type" field in your package.json file is set to "module". You can do this by running the following command from your project directory:
1 npm pkg set type=module
When relevant, we’ll compare CommonJS syntax.
Let’s now discuss using Node.js to create web servers that receive and respond to requests from browsers.
Create HTTP Servers with Node.js
An HTTP server lets your JavaScript application handle requests from clients, such as browsers, and send responses.
There are three basic steps to setting up an HTTP server:
- Create a new HTTP server instance.
- Specify the port where you want the server to listen for connections.
- Define how the server should respond to client requests.
Let’s discuss the three steps in detail. To start, create an ES module for your project.
1 touch server.js
Afterward, open the newly created module and initialize a new instance of the HTTP Server object.
Initialize a new instance of the HTTP Server object
Node provides the createServer method for creating an instance of the HTTP Server object (http.Server).
You can use it in your project by importing it from Node’s http module as follows:
1 import { createServer } from "node:http";
2
3 const server = createServer();
Here’s what’s going on:
importstatement: Imports thecreateServerAPI from Node’shttplibrary to theserver.jsES module.server: A variable for storing the HTTPServerobject that thecreateServer()function outputs.
Here’s the CommonJS alternative:
1 const http = require("node:http");
2
3 const server = http.createServer();
Once you have created the local HTTP Server object, specify the server’s port.
Configure the system’s port where the server should run
The HTTP Server object provides a listen() method to configure the port on which the server should run and accept client requests.
Syntax
1 import { createServer } from "node:http";
2
3 const server = createServer();
4
5 server.listen(port, hostname, backlog, callback);
This form of the listen() method accepts the following arguments:
port: (number) The port number where the server should run and listen for client requests. If omitted, the operating system will assign any unused port. You can useserver.address().portto retrieve the port the server is listening on after it starts listening for client connections.hostname: (string) The hostname or IP address on which the server should accept client connections. If omitted, the server will default to either an unspecified IPv6 (::) address or an IPv4 (0.0.0.0) address. These unspecified addresses bind to all network interfaces for the applicable address family. You can useserver.address().addressto retrieve the bound IP address once it starts listening for client connections.backlog: (number) Maximum length of the pending connections’ queue. 511 is the default value.callback: (function) The function to execute once the server starts listening for client requests.
Example
1 import { createServer } from "node:http";
2
3 const server = createServer();
4
5 server.listen(3000, "127.0.0.1", 511, () => {
6   const info = server.address();
7   console.log(`Server running at http://${info.address}:${info.port}/`);
8 });
Here’s what’s going on:
importstatement: Imports thecreateServerAPI from Node’shttplibrary to theserver.jsES module.server: A variable for storing the HTTPServerobject that thecreateServer()function outputs.server.listen(): Starts the server to listen for client connections. (Tip: The method emits alisteningevent once the server starts successfully.)
Here’s the CommonJS alternative:
1 const http = require("node:http");
2
3 const server = http.createServer();
4
5 server.listen(3000, "127.0.0.1", 511, () => {
6   const info = server.address();
7   console.log(`Server running at http://${info.address}:${info.port}/`);
8 });
What is the 127.0.0.1 address?
The 127.0.0.1 address is an IPv4 loopback address that refers to your local computer. The hostname localhost also refers to your local computer, but it may resolve to 127.0.0.1 or the IPv6 loopback address, ::1. You can use it as follows:
1 import { createServer } from "node:http";
2
3 const server = createServer();
4
5 server.listen(3000, "localhost", 511, () => {
6   console.log(`Server running at http://localhost:3000/`);
7 });
If you run this server and visit its web address, the browser will wait for a response because we have not yet set up a request handler. Let’s configure that now.
Configure the server to respond to client requests
The createServer() method accepts a requestListener callback that is invoked automatically whenever the server receives an HTTP request. Node allows you to use this callback to respond to requests.
Syntax
The createServer() method accepts two optional arguments. Here’s the syntax:
1 import { createServer } from "node:http";
2
3 const server = createServer(options, callback);
options: An object for customizing the server’s behavior.callback: TherequestListenerfunction for handling and responding to client requests. It accepts two parameters:
1 import { createServer } from "node:http";
2
3 const server = createServer(options, function (request, response) {
4   // the requestListener function's body
5 });
requestparameter: Anhttp.IncomingMessageobject that provides details about the client request.responseparameter: Anhttp.ServerResponseobject for responding to the client requests.
Providing the requestListener callback function as createServer’s second argument causes Node.js to automatically register it as a listener for the "request" event. So, the syntax above is equivalent to:
1 import { createServer } from "node:http";
2
3 const server = createServer(options);
4
5 server.on("request", function (request, response) {
6   // the requestListener function's body
7 });
server.on("request", callback) tells the server to listen for a request event and execute the callback on such an event.
Example
 1 // Add the Node.js HTTP module
 2 import { createServer } from "node:http";
 3
 4 // Specify the hostname and port to run the server
 5 const hostname = "localhost";
 6 const port = 3000;
 7
 8 // Create a new Server instance with a requestListener callback
 9 const server = createServer((req, res) => {
10   res.statusCode = 200; // Set an OK success (200) response status code
11   res.setHeader("Content-Type", "text/plain"); // Define the media type of the response data
12   res.end("Hello World!"); // Specify the response data and close the response stream
13 });
14
15 // Run the server on the specified port and hostname
16 server.listen(port, hostname, () => {
17   console.log(`Server running at http://${hostname}:${port}/`);
18 });
The snippet above used the requestListener callback function’s response parameter to configure the server to respond to client requests. Here’s the server.on("request", callback) alternative:
 1 // Add the Node.js HTTP module
 2 import { createServer } from "node:http";
 3
 4 // Specify the hostname and port to run the server
 5 const hostname = "localhost";
 6 const port = 3000;
 7
 8 // Create a new Server instance
 9 const server = createServer();
10
11 // Listen for a request event and execute the requestListener callback
12 server.on("request", (req, res) => {
13   res.statusCode = 200; // Set an OK success (200) response status code
14   res.setHeader("Content-Type", "text/plain"); // Define the media type of the response data
15   res.end("Hello World!"); // Specify the response data and close the response stream
16 });
17
18 // Run the server on the specified port and hostname
19 server.listen(port, hostname, () => {
20   console.log(`Server running at http://${hostname}:${port}/`);
21 });
Now that your server is set up and the port configured, you can run the application.
1 node server.js
node: The command for running Node.js scripts or the REPL.server.js: The JavaScript file you want Node to run.
While the server is running, if users request the app’s resource at the server’s web address, they will see a Hello World! response.
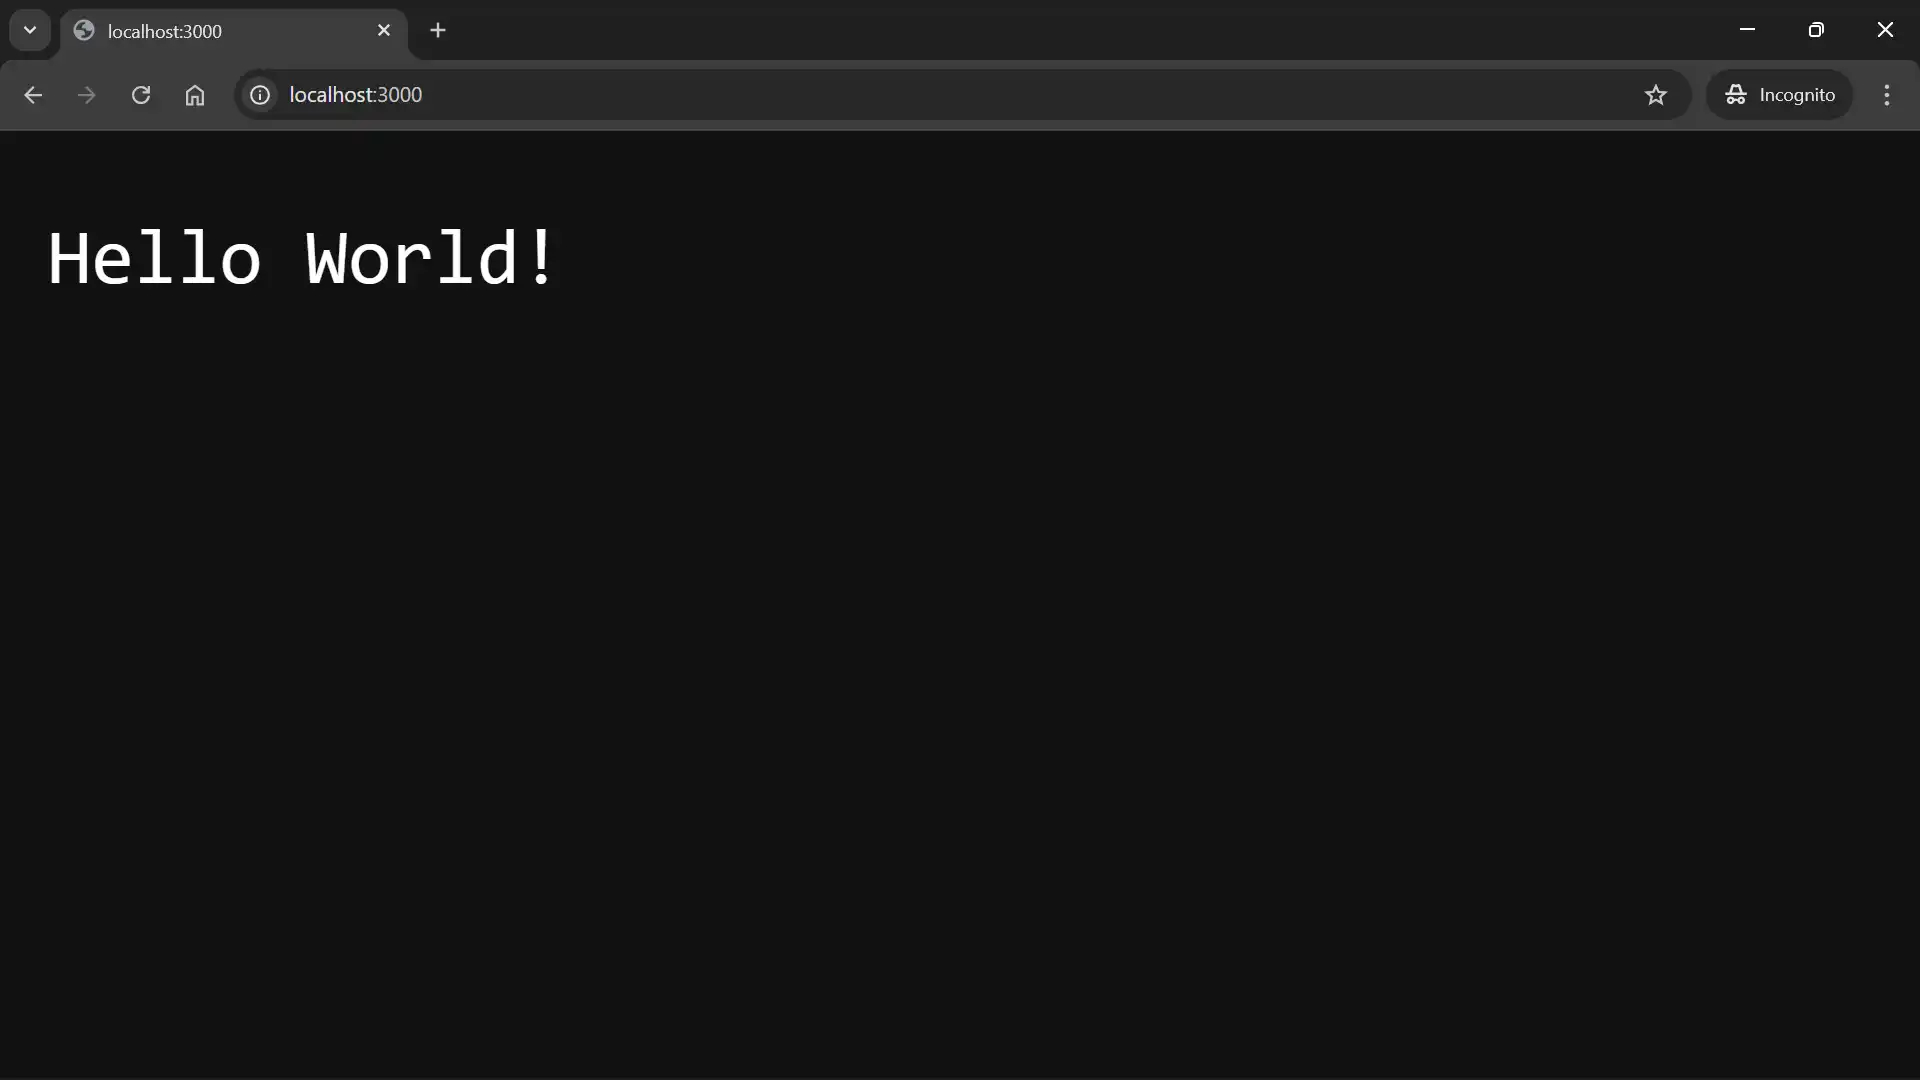
requestListener callback to respond to client requests. |
Stop the running process using |
Let’s now discuss some of the http.ServerResponse object’s APIs you can use to respond to HTTP requests.
The http.ServerResponse APIs
Below are some of the ServerResponse APIs for responding to client requests.
response.statusCode
The response.statusCode property sets the status code used when Node sends implicit response headers, such as on the first write() or end() call.
Syntax
1 import { createServer } from "node:http";
2
3 createServer((request, response) => {
4   response.statusCode = <number>;
5 });
<number> is the status code value you want to send to the client. It typically falls within one of the following categories:
- 100 – 199: Informational responses
- 200 – 299: Successful responses
- 300 – 399: Redirection messages
- 400 – 499: Client error responses
- 500 – 599: Server error responses
200 is the default response status code.
Example
 1 import { createServer } from "node:http";
 2
 3 const server = createServer((req, res) => {
 4   res.statusCode = 200; // Set 200 response status code
 5   res.end(`${res.statusCode}`); // Use the status code as the response data
 6 });
 7
 8 server.listen(8000, () => {
 9   console.log(`Server running at http://localhost:8000/`);
10 });
The snippet above uses res.statusCode to set the response’s status code to 200 (success).
response.statusMessage
The response.statusMessage property sets the human-readable status message used when Node sends implicit response headers.
Syntax
1 import { createServer } from "node:http";
2
3 createServer((request, response) => {
4   response.statusMessage = <string>;
5 });
<string> is the message you want to send to the client. undefined is the default, which makes Node default to the status code’s standard message if you do not define a statusMessage.
Example
 1 import { createServer } from "node:http";
 2
 3 const server = createServer((req, res) => {
 4   res.statusCode = 404;
 5   res.statusMessage = "Sorry, page not found"; // Set a response message
 6   res.end(`${res.statusMessage}`); // Use the status message as the response data
 7 });
 8
 9 server.listen(8000, () => {
10   console.log(`Server running at http://localhost:8000/`);
11 });
The snippet above uses res.statusMessage to set a human-readable status message for the server response’s status code.
response.setHeader
The response.setHeader() method sets an HTTP response header that Node.js will send to the client when it sends the response headers.
Calling setHeader() does not send the header immediately. It stores the header so that Node can send it later—for example, when you call response.write() or response.end().
Syntax
1 import { createServer } from "node:http";
2
3 const server = createServer((request, response) => {
4   response.setHeader("Header-Name", "header-value");
5 });
You can also use an array to define multiple values for a single header:
1 import { createServer } from "node:http";
2
3 const server = createServer((request, response) => {
4   response.setHeader("Header-Name", ["value1", "value2", "value3"]);
5 });
|
Suppose a header with the same name already exists among the headers waiting to be sent. In that case, Node will replace the existing value with the latest one. |
Example
 1 import { createServer } from "node:http";
 2
 3 const server = createServer((req, res) => {
 4   res.setHeader("Content-Type", "text/html"); // Set the response header's content type
 5   res.end(`${res.getHeader("Content-Type")}`); // Use the content type's value as the response data
 6 });
 7
 8 server.listen(8000, () => {
 9   console.log(`Server running at http://localhost:8000/`);
10 });
The snippet above uses res.setHeader to set the header that the server sends to the client in response to the client’s request. The value can also be an array:
 1 import { createServer } from "node:http";
 2
 3 const server = createServer((req, res) => {
 4   res.setHeader("Set-Cookie", ["name=codesweetly", "age=5"]); // Set two cookies in the response
 5   res.end(`${res.getHeader("Set-Cookie")}`); // Use the cookie header values as the response data
 6 });
 7
 8 server.listen(8000, () => {
 9   console.log(`Server running at http://localhost:8000/`);
10 });
|
|
response.writeHead
The response.writeHead() method sets the HTTP response’s status code, status message (optional), and headers that the Node.js server will send to the client.
Syntax
1 import { createServer } from "node:http";
2
3 createServer((request, response) => {
4   response.writeHead(statusCode, statusMessage, headers);
5 });
statusCode: A 3-digit number representing the HTTP response’s status code that the Node.js server will send to the client.statusMessage: An optional string representing the human-readable status message that the Node.js server will send to the client. If omitted, Node uses an existingresponse.statusMessagevalue or the status code’s standard message.headers: An optional object or array representing the HTTP response headers that the server will send to the client. If you use an array, Node will interpret the even-numbered indices as header names and the odd-numbered indices as header values.
|
|
Example
 1 import { createServer } from "node:http";
 2
 3 const server = createServer((req, res) => {
 4   res
 5     .writeHead(200, "OK", {
 6       "Content-Type": "text/plain",
 7       "CodeSweetly-Header": "simplified/tutorials",
 8       "Your-Custom-Header": "your-custom-value",
 9     })
10     .end("Hello from CodeSweetly's Server!");
11 });
12
13 server.listen(8000, () => {
14   console.log(`Server running at http://localhost:8000/`);
15 });
The snippet above uses writeHead to send three headers to the client. We also chained an end() method to the ServerResponse object returned by writeHead().
Here’s the array equivalent of the headers argument:
 1 import { createServer } from "node:http";
 2
 3 const server = createServer((req, res) => {
 4   res
 5     .writeHead(200, "OK", [
 6       "Content-Type",
 7       "text/plain",
 8       "CodeSweetly-Header",
 9       "simplified/tutorials",
10       "Your-Custom-Header",
11       "your-custom-value",
12     ])
13     .end("Hello from CodeSweetly's Server!");
14 });
15
16 server.listen(8000, () => {
17   console.log(`Server running at http://localhost:8000/`);
18 });
Let’s now discuss the difference between writeHead(), statusCode, setHeader, and statusMessage.
writeHead() vs. statusCode vs. statusMessage vs. setHeader()
The writeHead() method sets the status code and, optionally, the status message and headers for one HTTP response. Here’s how it works differently from the implicit alternatives.
Data type
writeHead(): A method of thehttp.ServerResponseobjectstatusCode: A property of thehttp.ServerResponseobjectstatusMessage: A property of thehttp.ServerResponseobjectsetHeader(): A method of thehttp.ServerResponseobject
Purpose
writeHead(): Sets the response’s status code, status message (optional), and headers.statusCode: Sets (or gets) the response’s status code.statusMessage: Sets (or gets) the response’s status message.setHeader(): Sets the response’s header. (You can usegetHeader()to retrieve the header.)
Timing
writeHead(): Commits the status and headers. It does not guarantee immediate network transmission.statusCode: Sets the status code before implicit headers are sent.statusMessage: Sets the status message before implicit headers are sent.setHeader(): Stores a header for later transmission, for example with the firstwrite()orend()call.
Repeated use
Before the headers are committed, you can assign statusCode and statusMessage or call setHeader() repeatedly. The latest value replaces the previous one.
Call writeHead() only once per response, before write() or end().
Precedence
The status code and any status message supplied to writeHead() override the corresponding properties. Its headers merge with those set by setHeader(), overriding values with matching names.
Caching
Headers supplied directly to writeHead() without prior use of setHeader() are not cached for retrieval with getHeader(). The statusCode and statusMessage properties remain readable.
|
|
response.write
The response.write() method sends a chunk (portion) of the HTTP response body to the client. In other words, rather than sending all the data at once, you can use write() to send it in chunks. It is an efficient way to stream or send large amounts of data.
Syntax
1 import { createServer } from "node:http";
2
3 createServer((request, response) => {
4   response.write(chunk, encoding, callback);
5 });
chunk: A string, buffer, or Uint8Array representing the portion of the HTTP body you want to send to the client.encoding: An optional string specifying how Node should encode a string chunk into a byte stream."utf8"is the default value.callback: An optional function, which Node will call when it sends the chunk of data to the client.
|
|
Example
 1 import { createServer } from "node:http";
 2
 3 const server = createServer((req, res) => {
 4   res.writeHead(200, "OK", { "Content-Type": "text/plain" });
 5   res.write("First chunk");
 6   res.write(" | Second chunk");
 7   res.write(" | Third chunk");
 8   res.end();
 9 });
10
11 server.listen(8000, () => {
12   console.log(`Server running at http://localhost:8000/`);
13 });
The snippet above uses write() to send three chunks of body data to the client.
response.end
The response.end() method completes the response to an HTTP request. It signals to Node that you’ve finished sending all response headers and the body to the client. In these examples, call this method to finish the response. It does not necessarily close the underlying connection, which may be reused.
Syntax
1 import { createServer } from "node:http";
2
3 createServer((request, response) => {
4   response.end(chunk, encoding, callback);
5 });
chunk: An optional string, buffer, or Uint8Array representing the portion of the HTTP body you want to send to the client before ending the stream. If specified, it is equivalent to callingresponse.write(chunk)followed byresponse.end().encoding: An optional string specifying how Node should encode a string chunk into a byte stream."utf8"is the default value.callback: An optional function, which Node will call when the data streaming ends.
Example: Use the end() method to finish streaming data to an HTTP client
 1 import { createServer } from "node:http";
 2
 3 const server = createServer((request, response) => {
 4   response.writeHead(200, "OK", { "Content-Type": "text/plain" });
 5   response.write("First chunk\n");
 6   response.write(" | Second chunk\n");
 7   response.write(" | Third chunk\n");
 8   response.end(" | Last data chunk.", "utf8", () => {
 9     console.log("Data streaming completed! All data has been sent.");
10   });
11 });
12
13 server.listen(8000, () => {
14   console.log(`Server running at http://localhost:8000/`);
15 });
The snippet above uses the end() method to properly end data streaming to the client.
|
|
How to Run JavaScript Code on the Command Line
Node.js comes with a built-in REPL, which stands for read-eval-print loop. You can use it to test small pieces of code.
Start a REPL session in Node.js
To begin a REPL session, just type node in your terminal (without any arguments) and press the Enter key.
1 node
The node command starts Node.js in REPL mode, and your terminal will display messages similar to the following:
1 $ node
2 Welcome to Node.js v24.15.0.
3 Type ".help" for more information.
4 >
The message above means the command line is ready and waiting for you to enter JavaScript or REPL code. Here are some examples.
Example 1: Print a JavaScript value
1 $ node
2 Welcome to Node.js v24.15.0.
3 Type ".help" for more information.
4 > console.log("=== Hello from the CodeSweetly Team! ===");
5 === Hello from the CodeSweetly Team! ===
6 undefined
7 >
|
To exit the REPL, press |
The snippet above told Node.js to print the === Hello from the CodeSweetly Team! === string. The REPL is smart enough to know when you want to display values, so you usually do not need to use console.log().
Here’s an example:
1 $ node
2 Welcome to Node.js v24.15.0.
3 Type ".help" for more information.
4 > "=== Hello from the CodeSweetly Team! ==="
5 '=== Hello from the CodeSweetly Team! ==='
6 >
Each time you run some code, the REPL does the following:
- Reads the code.
- Evaluates it.
- Prints the result and waits for your next input.
- Loops (repeats) these steps after each input until you exit the REPL session.
Example 2: Execute code continuously
 1 $ node
 2 Welcome to Node.js v24.15.0.
 3 Type ".help" for more information.
 4 > 3 + 7
 5 10
 6 > "Code" + "Sweetly"
 7 'CodeSweetly'
 8 > 100 > 7
 9 true
10 > .exit
As you can see, REPL lets you keep running code until you exit the session.
Example 3: Write multiline code
To write multiline code, such as a function, press Enter after each line. The REPL will recognize that you wish to continue on a new line.
 1 $ node
 2 Welcome to Node.js v24.15.0.
 3 Type ".help" for more information.
 4 > if (new Date().getHours() < 21) {
 5 ... "Today is special!"
 6 ... } else {
 7 ... "Last minutes embody great opportunities!"
 8 ... }
 9 'Today is special!'
10 > .exit
The example above demonstrates running a multiline if statement in a REPL session. The displayed result depends on the local time when you run it.
In addition to .exit, REPL provides several other useful commands. Below are some of the most common.
REPL commands
.help: Print the REPL’s dot commands..break: Abort the multiline expression currently being entered. Unlike.break,.clearcan also reset the context of a programmatically created REPL..editor: Allows you to write multiple expressions in editor mode and run them all at once. PressCtrl + Don Windows, macOS, or Linux to exit editor mode and execute your code..load: Load code from a JavaScript file into the REPL session..save: Save all the JavaScript code you entered in this REPL session to a file.
REPL also has built-in variables for storing the previous result and error. Let’s look at how they work.
REPL variables
REPL has the following variables predefined:
- Underscore (
_): Stores the previous operation’s result. - Error (
_error): Stores the last error thrown.
Example 1: Access the last operation’s result
The REPL assigns the result of your last operation to an internal underscore variable (_). You can use this variable in your next command.
1 $ node
2 Welcome to Node.js v24.15.0.
3 Type ".help" for more information.
4 > 3 + 7
5 10
6 > _ + " CodeSweetly " + "books"
7 '10 CodeSweetly books'
8 > .exit
The example above uses the underscore variable (_) to retrieve the result of the last operation.
Example 2: Access the last error thrown
The REPL assigns the last error to an internal error variable (_error), or to undefined if no error has occurred.
1 $ node
2 Welcome to Node.js v24.15.0.
3 Type ".help" for more information.
4 > "My String".push("Text")
5 Uncaught TypeError: "My String".push is not a function
6 > _error
7 [TypeError: "My String".push is not a function]
8 > .exit
The example above uses the error variable (_error) to retrieve the most recent error.
Node.js also lets you run the REPL from a JavaScript file for advanced customization. The following section explains how to do this.
Run the REPL from a JavaScript file
To run the REPL from a JavaScript file, import it from the node:repl module like this:
1 import repl from "node:repl";
After importing the repl module, you can use its APIs to create, launch, and manage a REPL instance. Below are a few examples.
Example 1: Start a REPL command-line session from a JavaScript file
1 import repl from "node:repl";
2 repl.start();
3 console.log("REPL session started. Type your commands below:");
The example above uses the repl.start() method to create and launch a new REPL Server instance. Run the file from your command line as shown below:
1 node my-repl-file.js
Node.js will enter REPL mode, and your terminal will display messages similar to the following:
1 $ node ./my-repl-file.js
2 > REPL session started. Type your commands below:
Example 2: Define a custom input prompt
By default, REPL uses a greater-than sign and a space (> ) as its prompt. You can change this by providing a prompt argument to the repl.start() method.
Syntax
1 import repl from "node:repl";
2
3 repl.start(promptValue);
importstatement: Imports thereplAPI from Node’srepllibrary.repl.start(): The method for creating and launching an interactive REPL instance.promptValue: A string or object for specifying a custom REPL prompt.
Example
1 import repl from "node:repl";
2 repl.start("===+ ");
3 console.log("REPL session started. Type your commands below:");
In the example above, the custom prompt is set to ===+ . You can also use an object as shown below:
1 import repl from "node:repl";
2 repl.start({ prompt: "===+ " });
3 console.log("REPL session started. Type your commands below:");
When you run the file from your command line, your terminal will display messages similar to the following:
1 $ node ./my-repl-file.js
2 ===+ REPL session started. Type your commands below:
Example 3: Evaluate the user’s command-line inputs
The options object passed to repl.start({ ... }) has several properties for customizing the REPL environment. For example, you can use the eval property to handle user input.
Here’s an example:
 1 import repl from "node:repl";
 2
 3 function stringToUppercase(code, context, replResourceName, callback) {
 4   const userInput = code.trim();
 5   if (Number.isFinite(+userInput)) {
 6     callback(new Error(`(Invalid input) ${userInput} must not convert to a finite number`));
 7   } else {
 8     callback(null, `Formatted Input = ${userInput.toUpperCase()}`);
 9   }
10 }
11
12 repl.start({ prompt: "Enter a text > ", eval: stringToUppercase });
The example above uses the eval property to define a custom function for processing user input in the REPL session. It rejects input that converts to a finite number and converts other input to uppercase. The input already arrives as a string; this is a numeric-conversion check, not a string-type check.
|
|
Before we proceed to the next chapter, let’s recap what Node.js is.
What Can You Build with Node.js?
Node.js is not just for creating web servers. You can use it for a wide variety of projects, such as:
- Command-line developer tools
- Web applications
- Automation scripts
- Deployment scripts
- Filesystem tools
For example, the snippet below uses Node’s createWriteStream API to write data to a file.
 1 import { createWriteStream } from "node:fs";
 2
 3 const myWritableStream = createWriteStream("myOutputfile.txt");
 4
 5 myWritableStream.write("First data chunk.\n");
 6 myWritableStream.write(" | Second data chunk.\n");
 7 myWritableStream.write(" | Third data chunk.\n");
 8 myWritableStream.end(" | Last data chunk.", "utf8", () => {
 9   console.log("Success! The data streaming has ended.");
10 });
Some notes:
- If the specified file does not exist, Node will create it automatically. With the default settings shown here, an existing file is overwritten.
- The
node filename.extensioncommand still works for running a Node.js script that streams data to a file. Thenodecommand is a universal CLI tool for running all Node.js scripts regardless of their purposes.
And that’s it! This chapter used a basic application setup to explain what Node.js is, its purpose, and how you can use it to run JavaScript programs outside a web browser. In the following chapter, we will discuss how to use Node to manage files.