4. Upgrading
the first step you will take is upgrading. This is (or should be) both easy and painless. This chapter will walk you through the upgrade process for os10.11, and the suggested steps for an easy experience.
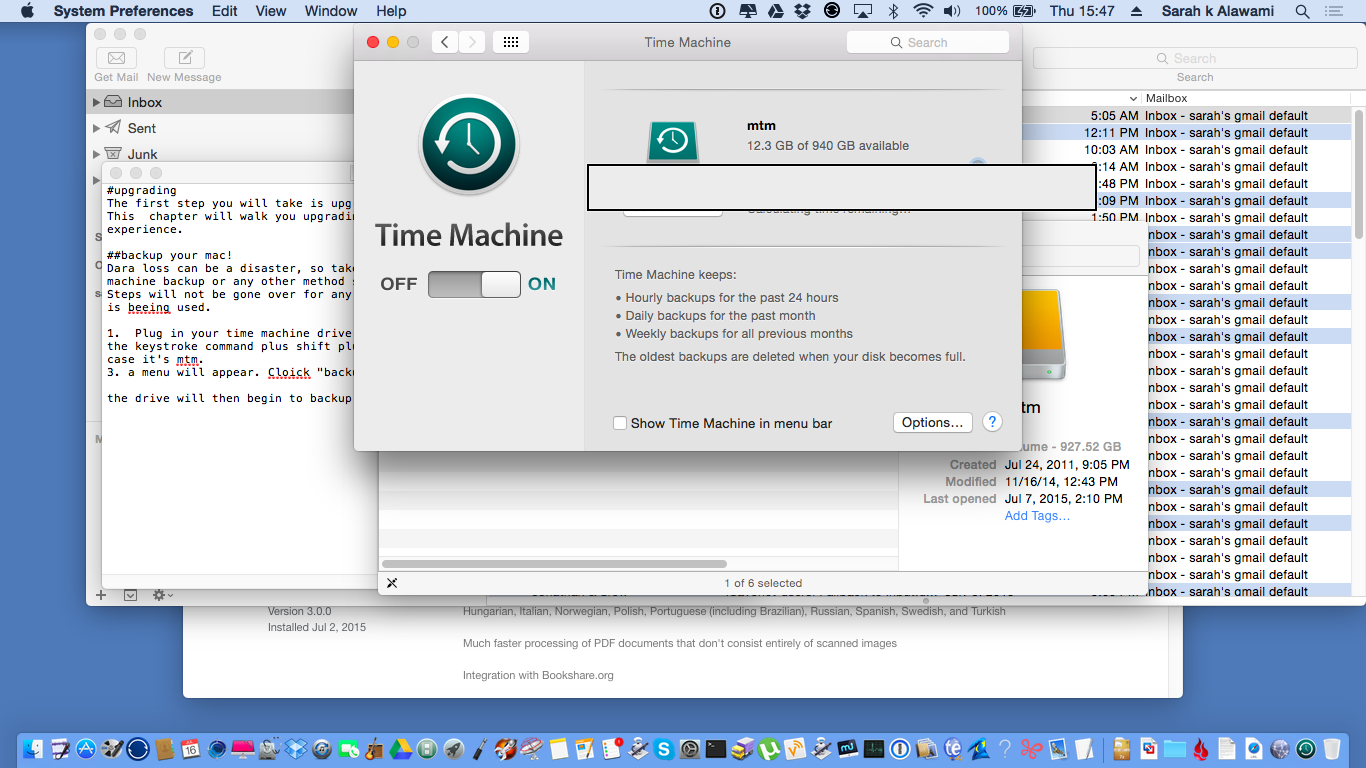
4.1 Backup your mac!
Data loss can be a disaster, so take the time to back up your system with either a time machine backup or any other method such as an offsite back up, a firesafe drive, etc. The following steps are for backing up using a time machine drive. Other methods such as back blaze and other offsite backups may be used.
- Plug in your time machine drive. The volume will show up on your desktop. If not press the keystroke command plus shift plus c..
- Control click the drive in question. In my case my time machine volume is called “Mtm.”
- A menu will appear. Click “Backup now”
the drive will then begin to backup the contents of your mac. Be patient; it might take a while.
once your backup is done you may begin the next steps to upgrade your mac.
4.2 The upgrade
upgrading will take between 1-4 hours. This is not because of server overload. Files that need to be replaced and updated are numerous, and it takes time to upgrade and update said files. Luckily you don’t need to do much but sit back and watch.
Once you are ready to upgrade your system, precede through the following steps making sure that you read each dialogue carefully.
- Launch the app store. This is accomplished by either clicking the icon from the doc, or highlighting the app in the apps folder and double clicking it.
- Check for updates. One can either click updates in the tool bar, or press the keystroke command plus number row 5.
- Wait for the process to complete. This might take a few minutes.
- Once the process finishes, click update all. The download is between 4-6 gigs in length, so be patient. If there is a license agreement before the download begins, click “agree.”
Once the download completes you can, if you are ready,click continue once the install os 10.11 Window appears. If you don’t want to install right away, because of a back up in progress for example, you can either close the window by clicking close or press the keystroke command plus q.
The app, for that’s what has been downloaded, will be located in your apps folder, located in the finder and gotten to with the keystroke command plus shift plus a. You can also get to the apps folder by navigating to your finder, clicking go, then clicking apps.
4.3 Next Steps.
Once you are ready to begin the install, you highlight the app called “install os10.11,” and double click it. You can also open the app with the keystroke command plus down arrow. Follow the on screen instructions. The computer will restart. It will take between 45 minutes to around 1.5 hours to complete the install at this point. Everything from here on out is automated. Keep an eye on the screen, or if you are visually impaired, turn on voice over with command plus f5. The voice will be Fred.1
Once your system reboots, follow the on screen instructions. If you are asked if you want to enable file vault uncheck the box. You can after set up if necessary (if you are for example doing this in an office setting) check file vault, but for now leave it unchecked. If you are visually impaired you can invoke Voiceover with the keystroke command plus f5. Every field is 100 percent accessible at this stage.2
Congratulations. You have successfully upgraded your mac to os10.11. Next comes looking at the various apps that ship with the operating system.
- This cannot be changed, but the tone, volume and speech rate can be changed. See quick help for voice over found on every mac with option plus control plus H.↩
- Screenshots of these steps cannot be included in this text due to the fact that a reboot is required, however the instructions and automated nature of the install should not present any trouble.↩