3. Beginning with Meteor
3.1 Setting up your development machine
You can develop Meteor applications using a Windows, Linux or OS X machine, and this book applies to all of them.
In order to setup your machine, just point your browser to the install page.
For Windows machines, there is an installer. On a Linux or OS X machine, just type:
3.2 Creating a meteor application
Meteor boosts your productivity as a developer. While most JavaScript development environments rely on the help of scaffolding tools like Yeoman in order to hide the fact that you need many files for even a basic application, Meteor needs only three files to code your application.
You read well: three files. That’s all there is to it. Of course you can use a full folder hierarchy and as many files as needed to organize your application, but that’s optional. Simply put, Meteor applies a good coding pattern from the start: KISS (keep it simple).
Although you need only three files, Meteor even makes that process easy. Let me show you how I create my demos application. I’ll use my demos to showcase the techniques I want you to learn, before you get some practice for yourself in the exercises. You’ll soon create your own application, but for now please bear with me: sit and relax, and look at my demonstration.
I want my application to be called demos so I simply open a command line and type:
That’s it! The first line creates a “demos” directory and adds three files to it. It
also adds a .meteor folder, but it’s just a local storage you won’t need to manage or
go into.
Time to run my application. Guess what? Yes, you’re right: Meteor makes it simple. Again, using my command-line I type:
That’s a shortcut for meteor run. It builds my application, runs a local MongoDB database
server, and runs an HTTP server (using Node.js) that serves the application.
Now I can simply open a Web browser and type in the application URL:
What do I see in my browser? Well, not much but that’s a good start:
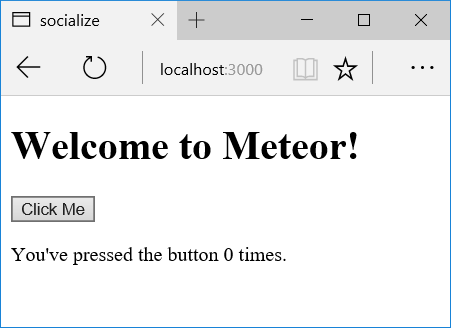
Alright, I didn’t code anything yet but I already have a local database and server that render an HTML page. Out of the box, that page doesn’t do more than increase a counter when you click the button, but it won’t take long to fill that page with data and functionality.
3.3 What are those files ?
As mentioned earlier, there are currently three files that make up my application. In fact, I could code my whole application using those three files. Of course, for maintenance purposes it would be a good idea to split them up, but that’s fully optional.
Let’s take a look at those files. We have:
- demos.html contains the HTML that renders on the client;
- demos.js contains code that executes on the server and/or the client, and may be used by the HTML code;
- demos.css is, well, the CSS that applies to your HTML;
Sounds obvious? Great! In fact it is, but we just overlooked a time-saving feature of Meteor: you can mix server and client code in the same file. More about that later.
3.4 Meteor is listening to your code
Time for some magic: if I change whatever of those files, the result will automatically appear in my browser after a few seconds. If you never used a good development stack this may not feel so natural.
When I typed the meteor command in my command-line, it didn’t just build the application
and listen for HTTP queries. It also stays there listening for file changes. When a change
is detected it builds the application again, and it also sends a message to the connected
browsers so that they reload.
As a developer, this means all you have to do is change your files, and your browser refreshes. Best of all, this also works in production: any connected browser to your application will automatically refresh with the latest version whenever you publish a new version.
3.5 The HTML file
Let me open the demos.html file. Here’s what we find inside:
<head>
  <title>demos</title>
</head>

<body>
  <h1>Welcome to Meteor!</h1>

  {{> hello}}
</body>

<template name="hello">
  <button>Click Me</button>
  <p>You've pressed the button {{counter}} times.</p>
</template>
You can see three base elements: head, body and template. Those are
the only three elements that can be at the root of your HTML. The template
element will be repeated, but any other HTML element should be inside one
of those three elements.
Let’s detail those three elements.
head
When Meteor runs your application, it does a lot of stuff for you, including
referencing the JavaScript and CSS file, plus bundling
and minification for those.
For this, it will locate the head element and add links to those generated
resources there.
body
That’s where you put the HTML that renders at first to the user. Sure, you may feel that this is the easiest place to put your HTML elements, but that would make maintenance a nightmare.
Since you’re a clean developer (I know it, because you’re still reading), you
won’t want to put more than a few lines inside the body element. Later,
we’ll mostly use it as display for our routing engine. But hey, we don’t necessarily
need a routing engine to be clean. So what I recommend you do here is only use
references to your templates.
Did I say templates. Time to look at the third element.
template
As I said, this element will be repeated. You create as many templates
as you want, provided you assign a different name attribute to each.
Then you reference your template elements from the body element
or from other templates using the mustache syntax with a > element:
{{> templateName}}body + template + template + …
In fact, if we look again at the demos.html file, we can see such a reference:
<body>
  ...
  {{> hello}}
</body>

<template name="hello">
  ...
</template>
What this means is that the content of the template element named hello
must go inside the body element.
Which means I can write:
<body>
  {{> header}}
  {{> someGreatInfo}}
  {{> footer}}
</body>

<template name="header">
  ...
</template>

<template name="someGreatInfo">
  ...
</template>

<template name="footer">
  ...
</template>
I could also reference a template from within another template:
<body>
  {{> home}}
</body>

<template name="home">
  {{> latestNews}}
  ...
</template>

<template name="latestNews">
  ...
</template>
Sure, I could elaborate on that syntax but I’ll do that later. For now, you already learned a bunch of new things and it’s time to put them into practice.
3.6 It’s your turn to code: do-it-yourself
Now is your turn to grab the keyboard and code away. Oh, just let me explain you how that works, in case you’re not familiar with my Learn books.
About exercises in this book
All of the exercises are linked together: you’re going to build a small e-commerce application. You’ll allow users to browse for your products, add them to their basket, and you’ll also create a full back-end where the site administrators will be able to list, create, modify, and delete products.
In case you get stuck
You should be able to solve the exercise all by yourself. If you get stuck or don’t have a computer at hand (or you don’t have the prerequisites for that book, which is fine with me!), here’s the solution. I’ll provide the solution for all of the exercises in this book, right after each of them.
3.7 Exercise - Create the application
I know, it’s basic, but you need to learn some more things before you can do more. Beginner badge unlocked: let’s proceed to the next level.
3.8 Exercise solution
- Open a command-line and navigate to an empty development folder or create one.
- In the command-line, type
meteor create meteorshop. - In the command-line, type
cd meteorshop. - Open the
meteorshop.htmlfile. Locate the following code:
    <body>
        ...
    </body>
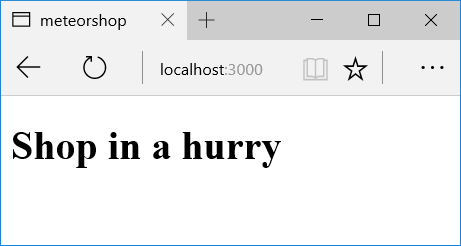
- Replace that code with the following one :
    <body>
        <h1>Shop in a hurry</h1>
    </body>
- In the command-line, type
meteor. - Wait for the application to generate and run.
- Open your browser and type the following URL:
http://localhost:3000